Guides
How to Blur an Image and Inspect the Download
Zight’s browser tool has two separate edit modes: Blur full image softens the entire image, while Cover a region places opaque rectangles over source pixels you select. Editing remains local through preview and PNG download. Upload happens only if you explicitly choose Upload to Zight after the output is ready. Reopen the downloaded PNG and inspect the pixels you will actually share.
1
Open the Image Blur Tool and Add an Image
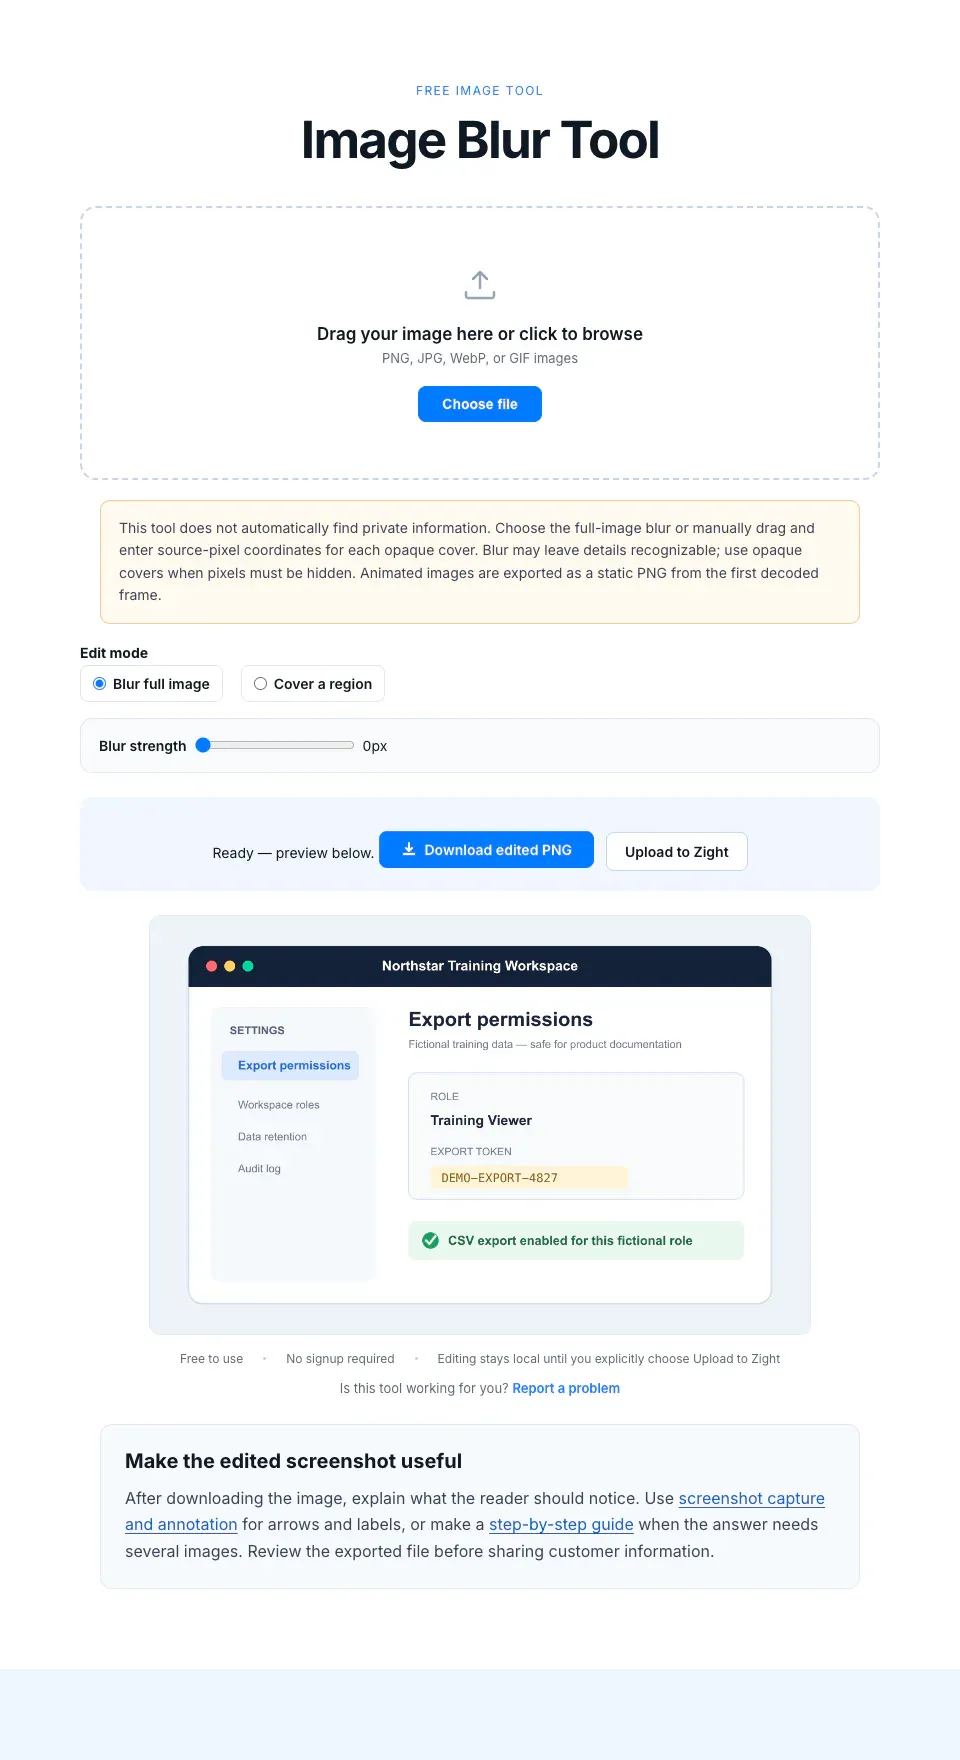
- Open Zight’s free image blur tool and choose or drop the image you want to edit. Use a copy when the original matters.
- Editing, preview and PNG download stay in your browser. Nothing is uploaded unless you later choose the separate Upload to Zight action.
2
Choose Blur Full Image and Set the Strength
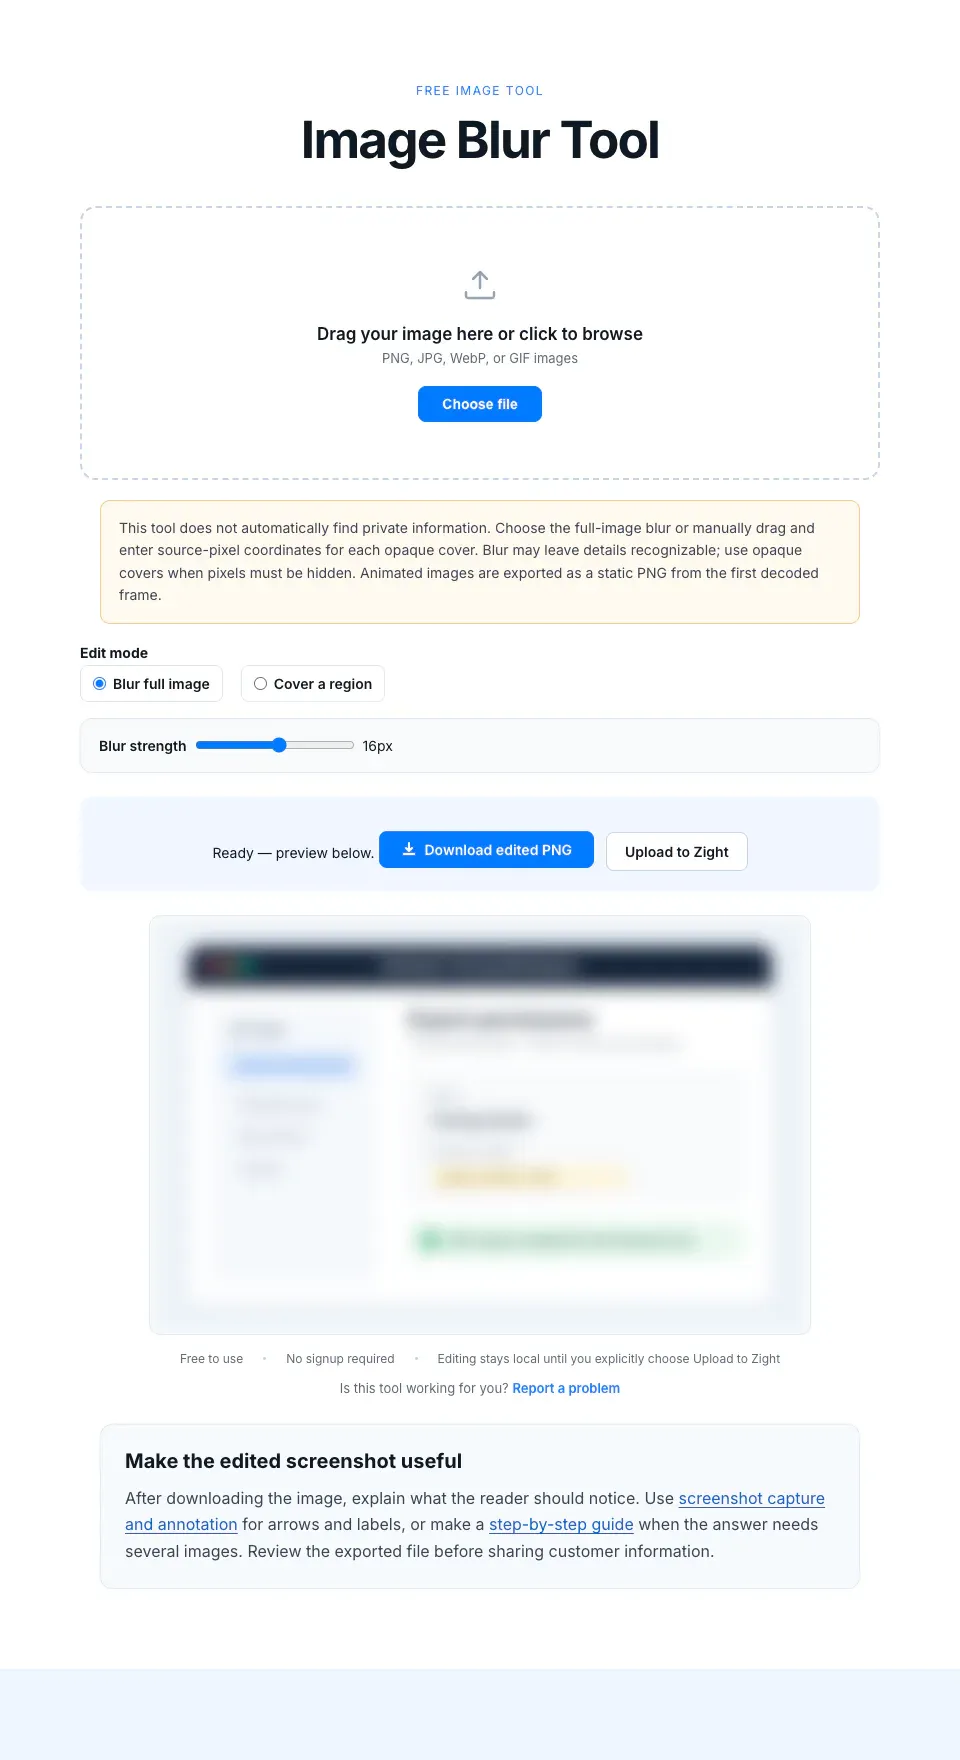
- Leave Blur full image selected and drag the Blur strength slider. The preview updates across the entire image.
- Full-image blur is separate from the region-cover control. It softens every pixel and does not create a solid redaction.
3
Choose Cover a Region for an Opaque Rectangle
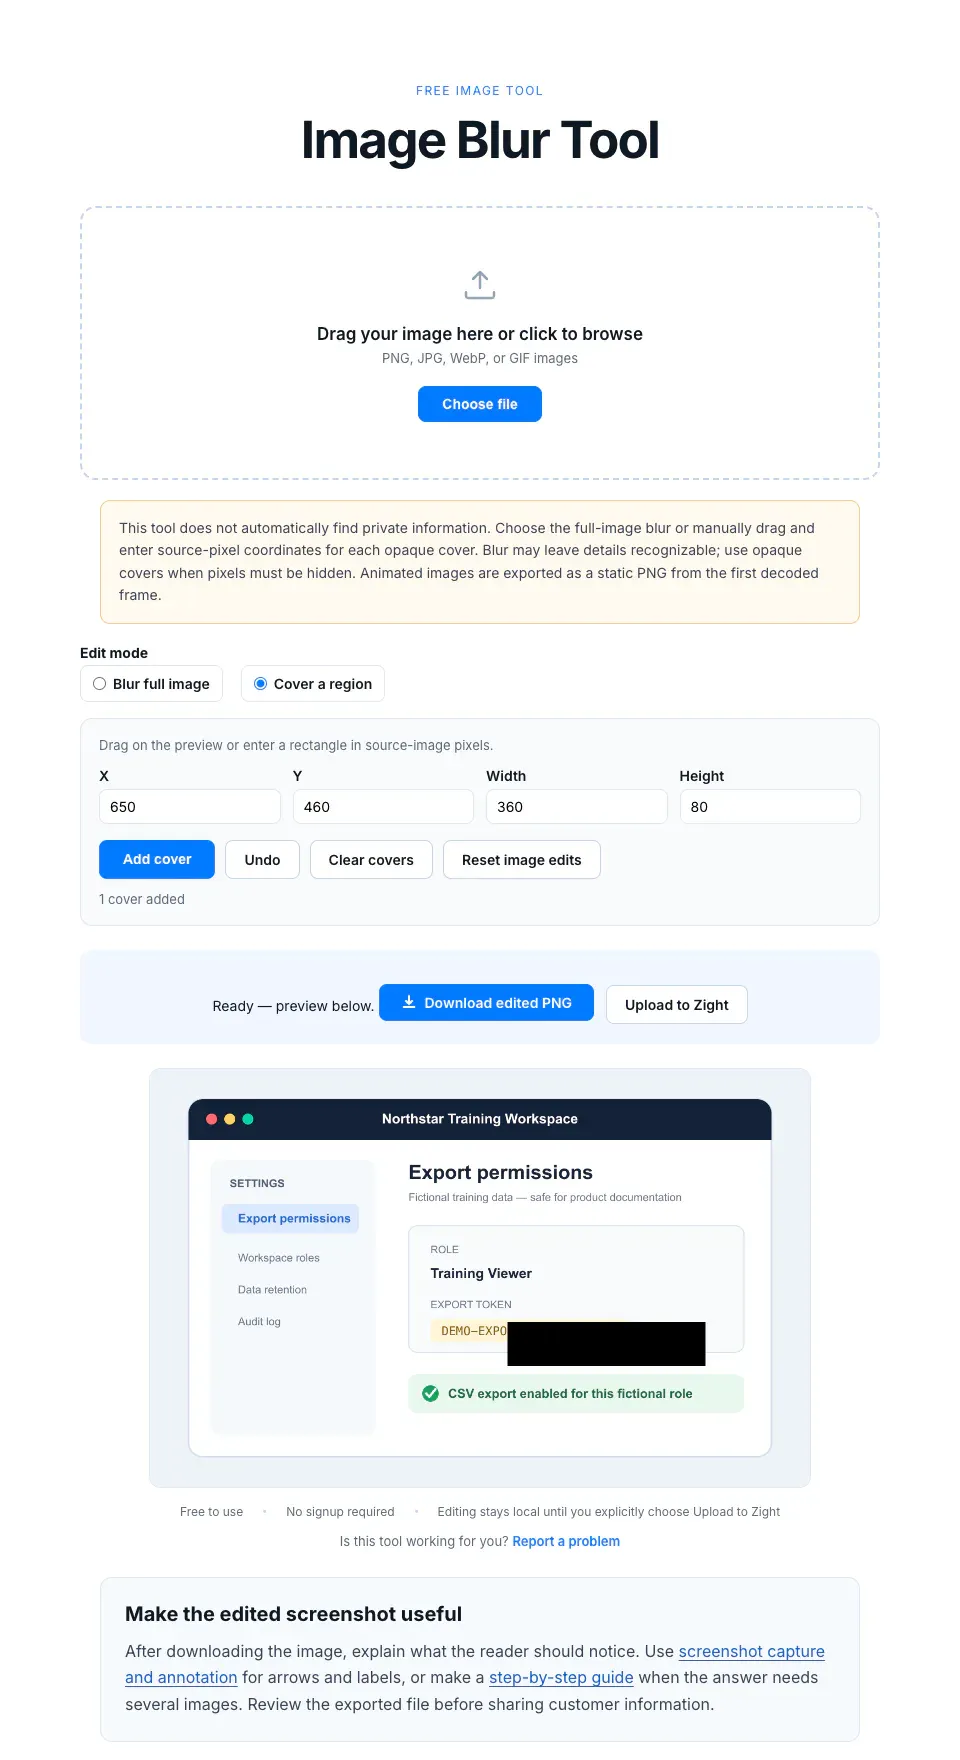
- Switch to Cover a region, then drag on the preview or enter source-image X, Y, width and height values. Select Add cover to flatten an opaque rectangle over those pixels.
- Use Undo to remove the latest cover, Clear covers to remove all rectangles, or Reset image edits to return to the unedited image. Rectangles are covers, not a brush.
- The tool does not find private information automatically. Check each selected region yourself.
4
Download the Flattened PNG or Explicitly Upload It
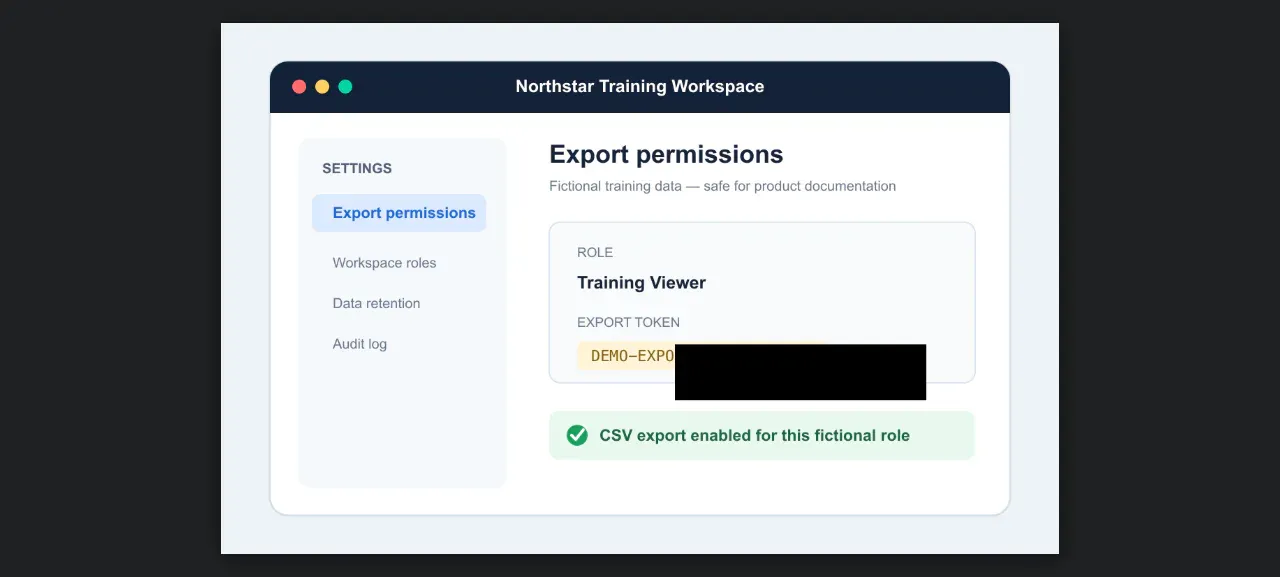
- Select Download edited PNG. The output format is fixed PNG, and the downloaded pixels include the current full-image blur or opaque covers.
- Upload to Zight is optional and separate. It appears only after output is ready and uploads the finished PNG only when you explicitly select it.
- If an upload fails or is cancelled, the direct PNG download remains available.
5
Reopen and Check the Downloaded PNG
- Open the downloaded PNG in a separate image viewer, not only in the browser preview.
- Check the full frame at a useful zoom. Confirm the blur or opaque cover appears where expected, no important context was lost and no detail you intended to hide remains visible before sharing the file.
- Keep the original and edited PNG distinct, and share the inspected output rather than the source by mistake.