Guides
Add an Email Signature in Gmail
Want to make your emails look more professional and on-brand? This guide walks you through how to add an email signature in Gmail including your name, role, logo, and contact info.
1
Access Gmail Settings
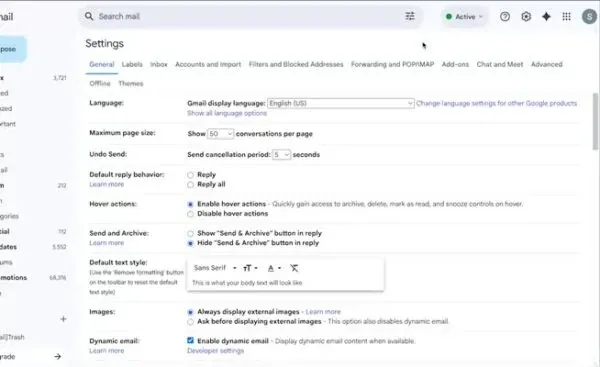
- Go to the settings page of your Gmail account.
2
Scroll to Signature Section to Create a Signature
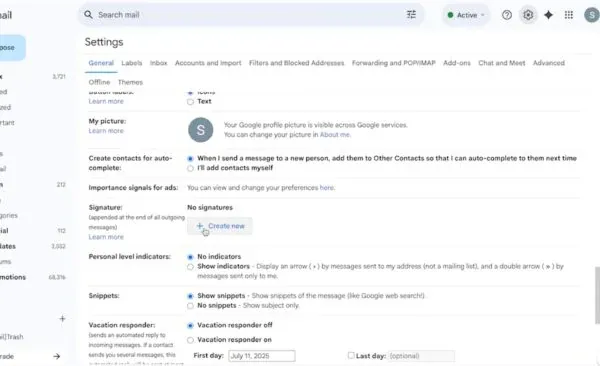
- Scroll all the way down until you reach the signature section.
- Click on “Create new” and name your signature.
3
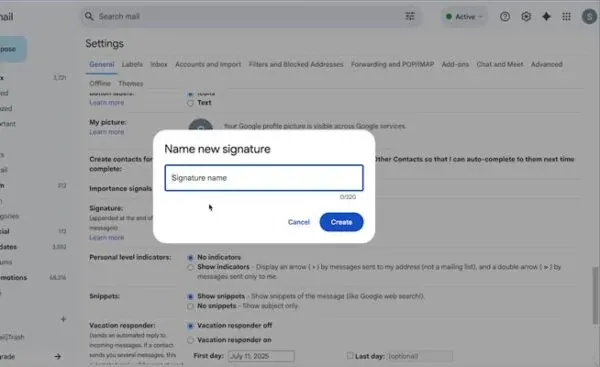
Name Your Signature
- Label your signature, for example, “Zight”, and hit create.
4
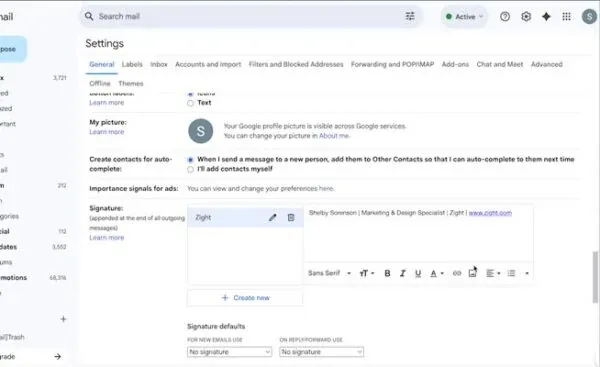
Add Your Details
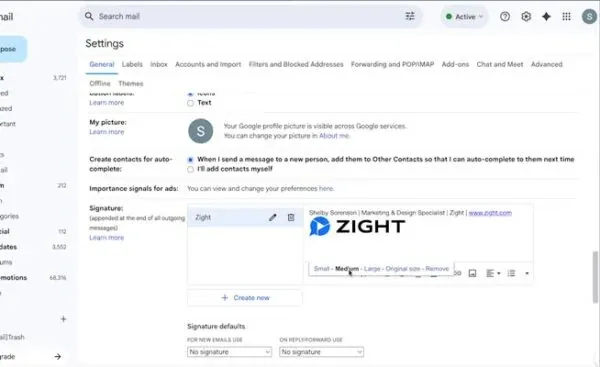
- Add your name, role, and the company you work at.
5
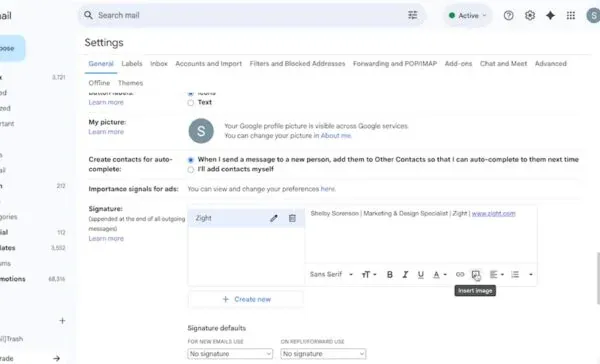
Insert a Logo
- Go to “Insert image” to include a logo.
6
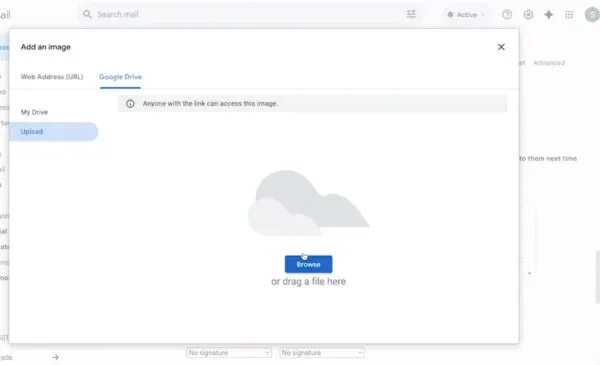
Upload Your Image
- Select the photo from your computer.
7
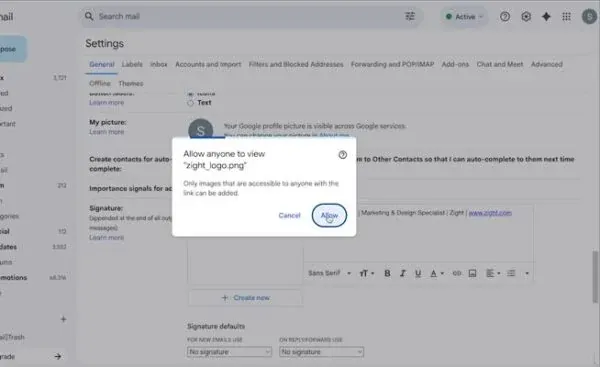
Allow Anyone to View Signature
8
Adjust Image Size and Save Your Signature
- Click on the image to adjust the size.
- Scroll down and click on save to finalize your email signature.