How to Add Dividers to Organize Pages in Figma
Keeping your Figma project organized is key to a smooth workflow. Dividers make it easy to group related pages and navigate your design files faster. In this guide, you’ll learn how to add, move, duplicate, and delete dividers in Figma to keep your workspace neat and structured.
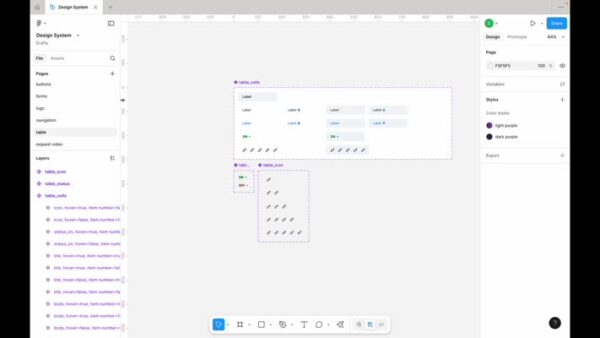
Step 1: Open Figma and Navigate to Desired Page
- Ensure you are on the page where you want to add a divider.
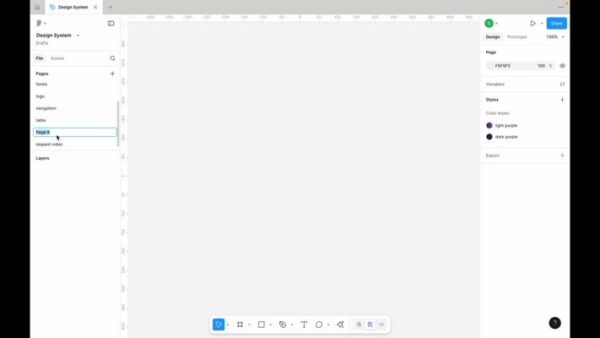
Step 2: Add a New Page
- Click on the plus button to add a new page.

Step 3: Create a Divider
- For the title of the new page, enter a hyphen and press the return key on your keyboard.
Step 4: Position the Divider
- To move the divider, click and drag the page up or down.

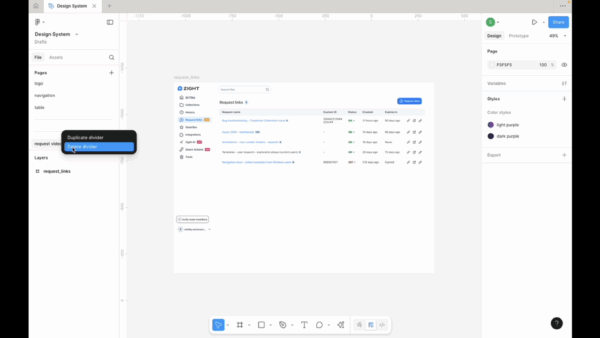
Step 5: Duplicate a Divider
- Right-click on the divider and select “duplicate divider” for a quicker way to add more dividers.
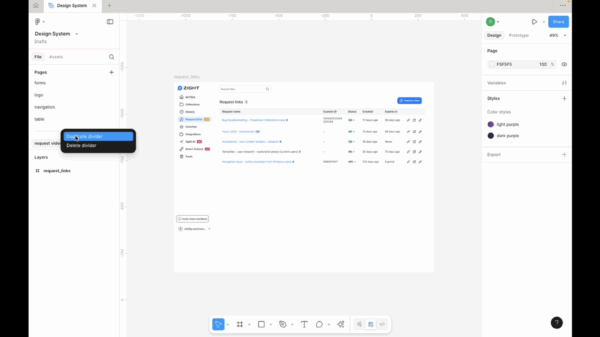
Step 6: Delete a Divider
- To remove a divider, right-click on it and choose “delete divider”
The Ultimate Guide to Adding Dividers to Organize Pages in Figma
When working on complex projects in Figma, keeping your workspace organized can make a huge difference. Designers often manage multiple pages for different screens, components, or design iterations, and without structure, it can quickly get overwhelming. That’s where dividers come in.
Dividers in Figma act as visual breaks that help you categorize and separate different sections of your project. Whether you’re working on a design system, app prototype, or marketing assets, dividers make your workspace cleaner and easier to navigate.
Why dividers are helpful in Figma
If you’ve ever struggled to find a specific page in a large Figma file, dividers can instantly simplify your experience. They act like labeled sections that help you group related pages together. For example, you might create dividers to separate pages for user flows, prototypes, assets, and archived designs.
This small change can significantly improve collaboration, especially when multiple designers or developers are working in the same file. It ensures everyone can find what they need quickly, without scrolling through dozens of pages.
How dividers work in Figma
A divider in Figma is essentially a simple placeholder page. Instead of holding designs, it serves as a visual label or boundary between page groups. You can easily rename or reposition it to fit your preferred workflow.
To create a divider, you just add a new page and title it with a single character like a line, emoji, or keyword. For example, “––––” or “Section 1 – Components.” Once created, you can move it up or down in your page list to keep your workspace structured.
Tips for organizing with dividers
Here are a few best practices for making the most of dividers in your Figma files:
-
Use consistent naming: Keep your dividers uniform with symbols, emojis, or a naming format like “–––– Design System.”
-
Separate by project phase: Create dividers for sections like “Wireframes,” “Mockups,” and “Final Designs.”
-
Keep archived pages below dividers: If you’re keeping old versions, group them under an “Archive” divider to avoid confusion.
-
Add color-coded labels: While dividers themselves can’t be colored, you can use emojis or prefixes to visually distinguish them.
These simple habits can help you stay efficient, especially in team environments.
Managing dividers efficiently
As your project evolves, you might need to move, duplicate, or delete dividers. Moving them is as simple as dragging and dropping to reorder your pages. Duplicating can help when you’re creating multiple sections with similar names or structures.
If you need to remove a divider, right-click and select “Delete.” It won’t affect your other pages, so you can reorganize freely without losing important work.
Why dividers improve collaboration
Design teams often share Figma files with developers, stakeholders, and clients. Having organized sections with clear dividers makes navigation intuitive, even for people unfamiliar with your design system. It reduces the time spent searching for assets or templates and ensures consistency across your projects.
It also makes onboarding new team members easier. Instead of having to explain where everything is, the structure of your file guides them naturally.
Common uses for dividers
You can use dividers for a variety of organizational needs, including:
-
Separating client projects within a single file
-
Grouping pages for design systems and reusable components
-
Marking versions or milestones (for example, “Release 1.0” or “Archived Concepts”)
-
Organizing exploration work versus finalized designs
Once you start using dividers consistently, your workspace becomes much easier to navigate, saving time and reducing clutter.
Conclusion
Using dividers in Figma is one of the easiest ways to bring structure and clarity to your design workflow. They’re simple to create, flexible to manage, and incredibly effective for teams working in large design files.
By adding dividers thoughtfully, you can keep your projects clean, improve collaboration, and save time navigating between sections. Whether you’re designing a product interface or maintaining a brand system, dividers help you stay organized and focused on what matters most — great design.
Frequently Asked Questions
Dividers help organize pages by separating different sections of your project, such as design phases or categories of work.
Create a new page and rename it using a simple symbol, emoji, or label like “––––” or “Section 1.”
Yes. You can click and drag a divider to rearrange your pages and maintain order in your workspace.
Yes. Right-click the divider and select “Duplicate” to quickly create additional ones for new sections.
Right-click on the divider name in your page list and select “Delete.” It won’t affect other pages.
While Figma doesn’t support color coding for dividers, you can use emojis or text symbols to make them visually distinct.
No. Dividers only appear in your page list for organization and won’t show up in exports or prototypes.
Dividers improve navigation and make collaboration easier, ensuring everyone can find and manage pages quickly.


