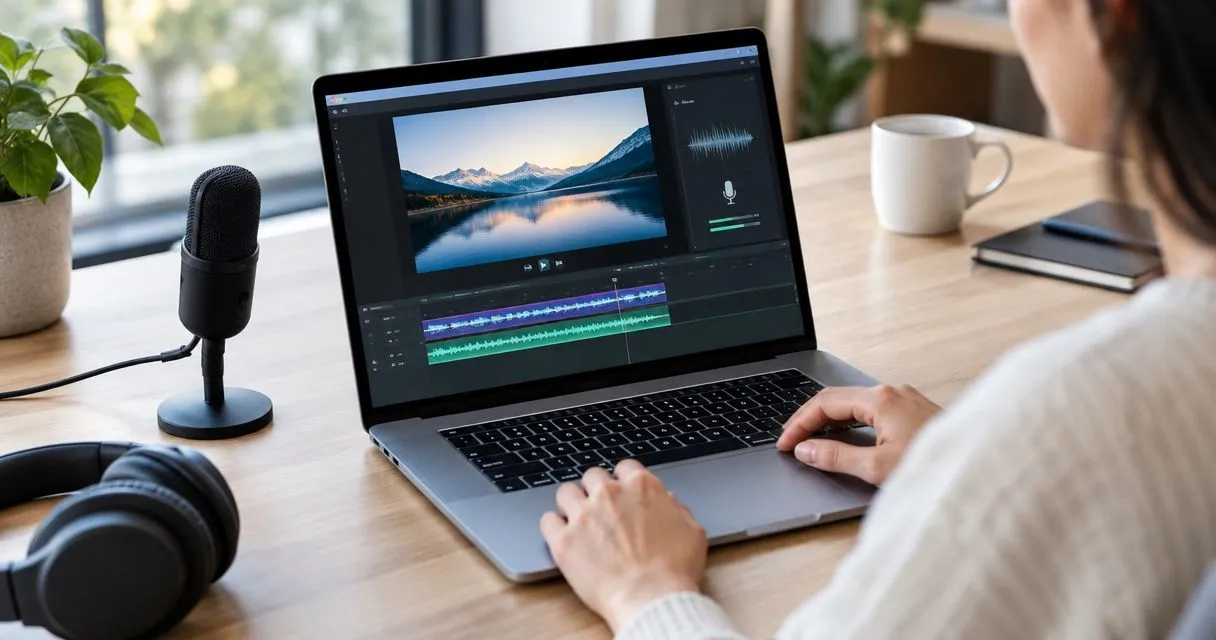
To add audio to a Mac screen recording, select a microphone before recording for narration, use a recorder with explicit system-audio capture for computer sound, or add a separate audio track afterward in a video editor. The Mac’s built-in Screenshot and QuickTime recording controls let you select a microphone, but that does not directly capture the sound playing inside an app.
- How to add audio to a Mac screen recording depends on the source: microphone, system audio, or recorded narration.
- Mac Screenshot and QuickTime support microphone narration; selecting a microphone does not directly capture system audio.
- Add narration to an existing recording in a video editor that supports separate audio tracks.
- Zight suits teams sharing screen recordings and screenshots through links for asynchronous troubleshooting.
How do you add audio to a Mac screen recording?
Choose the audio source before you choose the recording method. Your voice, an app’s sound, and narration added after recording require different controls.
For a team workflow, Zight provides screen recording, screenshots, and shareable links. Treat audio capture as a separate evaluation step: test the exact source you need before recording a support explanation or training walkthrough.
| Method | Best for | What to do | Main limitation |
|---|---|---|---|
| Mac Screenshot toolbar | Narrating a quick demonstration | Select a microphone under Options before recording | Microphone selection does not directly capture app audio |
| QuickTime Player | Starting a narrated recording from a familiar Mac app | Choose New Screen Recording, then select a microphone | The built-in recording workflow does not provide direct system-audio capture |
| Recorder with system-audio capture | Demonstrating an app’s sound | Enable the recorder’s supported computer-audio source | Support depends on the recorder, permissions, and content restrictions |
| Video editor | Adding narration to an existing silent recording | Import the video, add an audio track, and export | Editing cannot restore sound that was never captured |
Record your voice with the Mac Screenshot toolbar
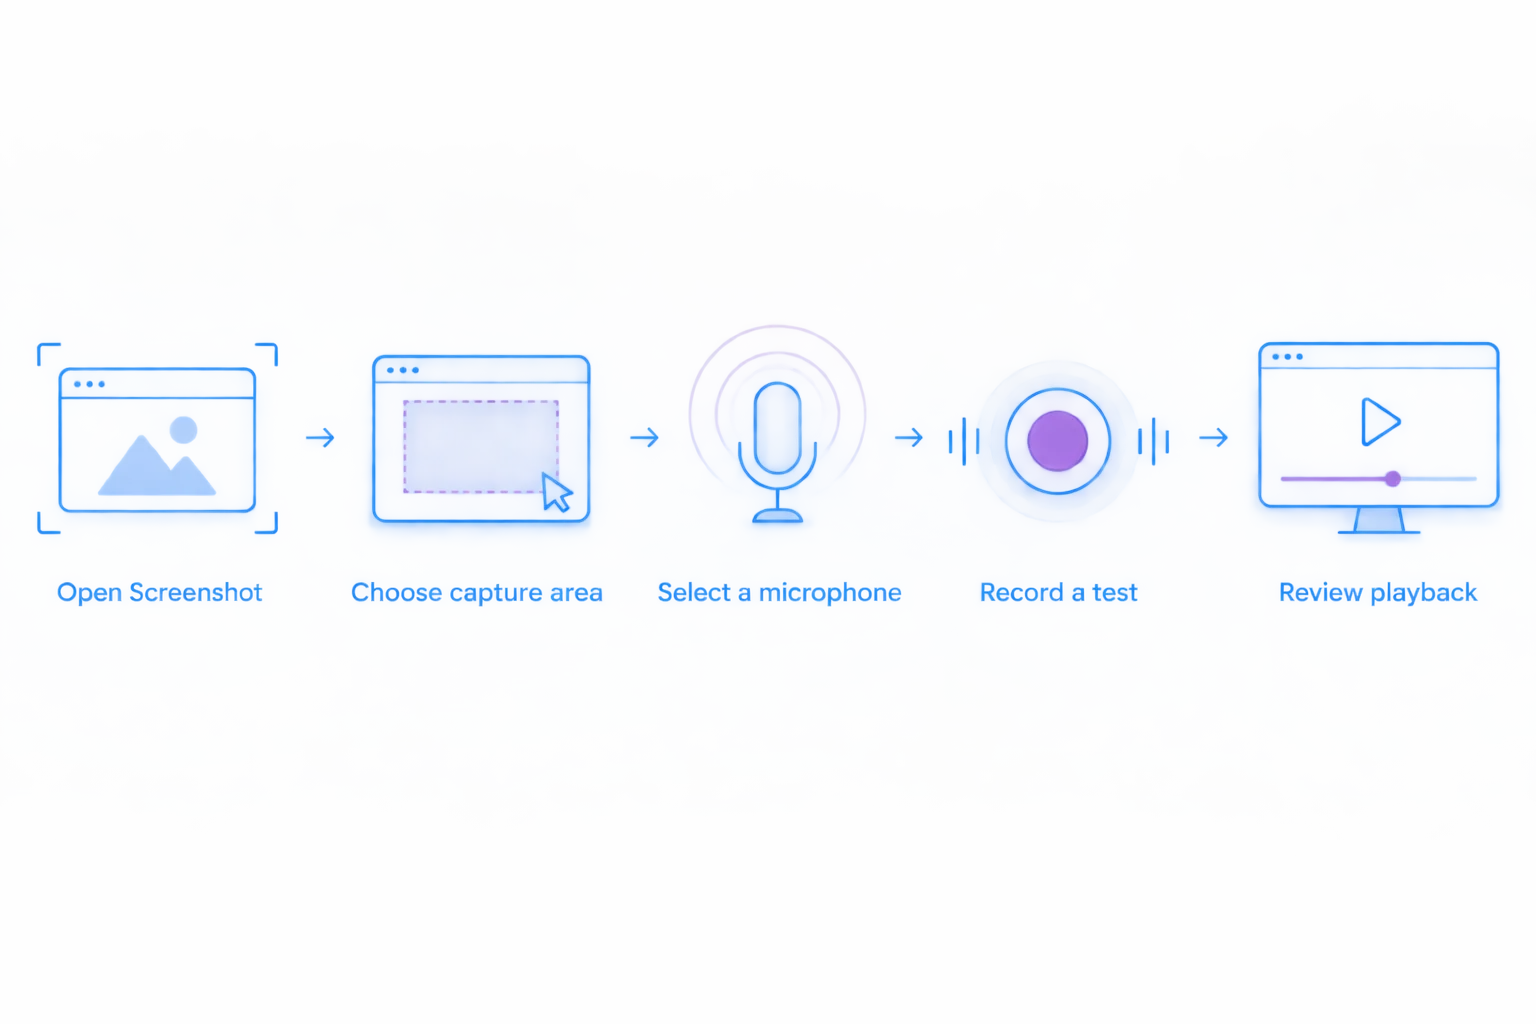
- Open Screenshot. Press Shift–Command–5 to display the recording controls.
- Choose the capture area. Select the entire screen or a selected portion, depending on what your viewer needs to see.
- Select a microphone. Open Options and choose the input you intend to use rather than None.
- Record a test. Make a 10-second recording while speaking and performing a representative action.
- Review playback. Stop recording from the menu bar and play the saved file with headphones before recording the full walkthrough.
If your microphone does not appear, check its connection and the Mac’s sound input settings. An attached headset is not necessarily the selected input.
Start the same workflow from QuickTime Player
Open QuickTime Player and choose File, then New Screen Recording. On current macOS versions, this opens the screen-recording controls, where you can choose a capture area and select a microphone under Options.
QuickTime is not a shortcut around audio-source selection. If you choose None, your recording will not contain microphone narration; if you select a microphone, that input still does not become a direct feed of your Mac’s internal sound.
Why this matters
A silent recording leaves the viewer to infer what happened. A recording with the wrong audio source creates a different problem: your explanation is audible, but the notification, playback error, or application sound you meant to demonstrate is absent.
For support and engineering teams, capture the sound that proves the issue. For training and SOPs, explain the decision behind the click rather than reading every visible label aloud.
Add microphone narration while you record
Best for: support explanations, narrated bug reports, and training walkthroughs. Record your voice while you perform the task when timing matters and you can explain the sequence clearly in one pass.
Choose the correct microphone in the recorder itself, then check the Mac’s input settings if the signal is absent or weak. Moving closer to the microphone improves the balance between your voice and surrounding noise; increasing playback volume does not improve the recorded input.
Use headphones when demonstrating anything that also plays sound. Otherwise, the microphone can pick up the speakers, creating a room recording of the app’s audio rather than a clean direct capture.
The advantage is simplicity: your explanation stays aligned with the action. The trade-off is that a spoken mistake or interruption can require a retake or an edit.
Keep the narration useful
Say what the viewer should notice before triggering the action. For example, explain that a button produces no confirmation, then click it and let the result remain visible.
Leave a 2-second pause before and after the demonstration. That pause gives you room to trim the beginning and ending without cutting into your explanation.
Capture the Mac’s internal audio
Best for: showing application playback, audible errors, and notification behavior. Use a recorder that explicitly supports capturing computer or system audio on your Mac configuration.
Do not confuse that setting with microphone access. A microphone captures an input device; system-audio capture records an audio stream produced by the computer through a supported capture method.
Before recording, check the recorder’s current instructions for your macOS version. Some workflows use native capture support, while others require an audio-routing component and additional setup.
Test the exact sound you need
Make a 30-second sample using the same app and audio source as the final recording. Include a brief spoken explanation if you need narration as well, then listen for both sources separately during playback.
A successful microphone test does not prove system-audio capture works. Likewise, hearing the app does not prove your voice is present.
The benefit is a direct record of the sound you are demonstrating. The limitation is compatibility: protected content, application behavior, and recorder settings can prevent particular audio from being captured.
Do not use speaker playback into a microphone as a substitute for direct capture when sound quality is part of the evidence. Room noise and speaker volume become part of the recording.
Add audio to an existing Mac screen recording
Best for: polished training, reusable SOPs, and correcting narration without repeating the screen capture. Open the saved recording in a video editor that supports adding and positioning an audio track.
- Import the video. Keep an untouched copy of the original recording.
- Add your narration. Record a voiceover in the editor if supported, or import a separately recorded audio file.
- Align the explanation. Position each spoken instruction beside the relevant action on screen.
- Balance the tracks. Lower background sound where necessary so the explanation remains intelligible.
- Export and review. Open the exported file outside the editor and check the beginning, middle, and ending.
Adding narration afterward lets you correct phrasing without repeating every click. The trade-off is editing time, particularly when the original demonstration moves faster than the spoken explanation.
An editor cannot recover audio that the recorder never captured. If the original file contains no application sound, add a new recording of that sound where appropriate or repeat the demonstration with the correct capture settings.
Why audio capture results vary
The same recording instructions do not produce the same result when the audio source or permissions change. Check these factors before switching tools:
- Selected input: A built-in microphone, headset, and external microphone are separate sources. Choose the one you intend to record.
- Capture capability: Microphone recording and system-audio recording are different features. Confirm both when you need both.
- Privacy permissions: The recording app needs the permissions relevant to its capture method. Follow the app’s current setup instructions.
- Audio routing: Headphones, external interfaces, and routing software affect where sound travels. Test with the final setup connected.
- Source restrictions: Protected playback and application-specific behavior can limit what a recorder captures.
- Export settings: An editor can contain an audible track that is muted or omitted during export. Review the actual output file.
Check Mac recording permissions in 2026
Open System Settings and review Privacy & Security when a recording app cannot capture the expected source. Permission names vary by macOS version, so follow the recorder’s instructions rather than assuming every Mac displays identical controls.
Check microphone access for narration and the applicable screen or audio-recording access for the recorder. If macOS asks you to quit and reopen the app after a permission change, do that before testing again.
Permissions enable access; they do not select the right source for you. Return to the recorder afterward and confirm its microphone and computer-audio settings.
Use audio deliberately in team and healthcare workflows
Zight screen recording is best for business teams explaining work asynchronously through shareable links. Use narration to identify the problem, show the relevant action, and state what the recipient should do next.
For paid software evaluation in 2026, test a representative support issue rather than a generic desktop recording. Check whether the saved result preserves the information your recipient needs without exposing unrelated tabs, notifications, or conversations.
Support and IT troubleshooting
Demonstrate the failure with synthetic account details and explain the expected result. If the issue involves an alert sound, capture that source explicitly instead of describing it after the fact.
The benefit is a repeatable explanation that another person can review independently. The limitation is that a recording shows the captured session, not every condition needed to reproduce the issue.
Clinical recording and video requests
Use synthetic examples when demonstrating a clinical software workflow or explaining how someone should record an issue. Keep patient details and medical advice out of the demonstration, including spoken narration and background conversations.
Before using any recorder or video-request workflow with protected health information, verify current plan requirements, BAA availability, feature limitations, and your organization’s approval. A screen-recording feature alone does not establish that the complete workflow meets HIPAA requirements.
Operations training and SOPs
Record a synthetic walkthrough, then add a controlled voiceover if the instructions need revision. State decision points clearly so the recording explains when to take an action, not just where to click.
For healthcare procurement in 2026, review capture, requesting, storage, sharing, and access together. Approval for one activity does not automatically cover every downstream use.
Can I record my voice and computer sound together?
You can record voice and computer sound together when the recorder supports both sources on your Mac. Enable each source separately and verify the saved result before recording the full demonstration.
Can I add narration without recording the screen again?
You can add narration without repeating the screen capture by importing the video into an editor that supports an audio track. Match the explanation to the existing actions, then export a new file.
Why is my screen recording silent even though I heard sound?
A screen recording is silent when the required audio source was not captured, was muted, or was omitted during export. Hearing sound through speakers or headphones does not prove the recorder received that sound.
FAQ
How do I add audio to a Mac screen recording in 2026?
Select a microphone before recording for narration, use supported system-audio capture for app sound, or add an audio track afterward in a video editor. Test the saved recording before sharing it.
Does Shift–Command–5 record my voice?
Shift–Command–5 can record your voice when you select a microphone under Options. Choosing None leaves microphone narration out of the recording.
Does QuickTime record internal Mac audio by default?
QuickTime’s built-in screen-recording workflow does not directly capture internal Mac audio by default. Selecting a microphone captures that input, not a direct system-audio feed.
Can I add sound to a screen recording that is already saved?
You can add sound to a saved screen recording in a video editor that supports audio tracks. Import narration or other appropriate audio, align it with the video, and export a new file.
Why does my recording contain my voice but not the app’s sound?
Your recording contains voice but not app sound when microphone capture is enabled without working system-audio capture. Check the recorder’s separate computer-audio settings and test the exact application.
Should I use headphones when recording a Mac tutorial?
Use headphones when you need to hear playback without feeding speaker sound into the microphone. Headphones do not automatically enable system-audio recording.
Is a screen recording with audio automatically HIPAA compliant?
A screen recording with audio is not automatically HIPAA compliant. Verify the approved plan, BAA, feature limitations, access controls, and complete workflow before recording protected health information.
One last thing
Test the exported file, not just the recording preview. A working input meter or audible editing timeline does not prove the final file includes the intended audio.
Make this your 2026 recording checklist: correct source, clear explanation, appropriate sharing. Listen to the same file your recipient will receive before sending the link.