Whether you’re on Windows 10, Mac, or somewhere in between, the world of desktop screen recording should be at your fingertips. But wait, there’s more! You will need a step-by-step guide on how to use the best screen recording software to record your screen.

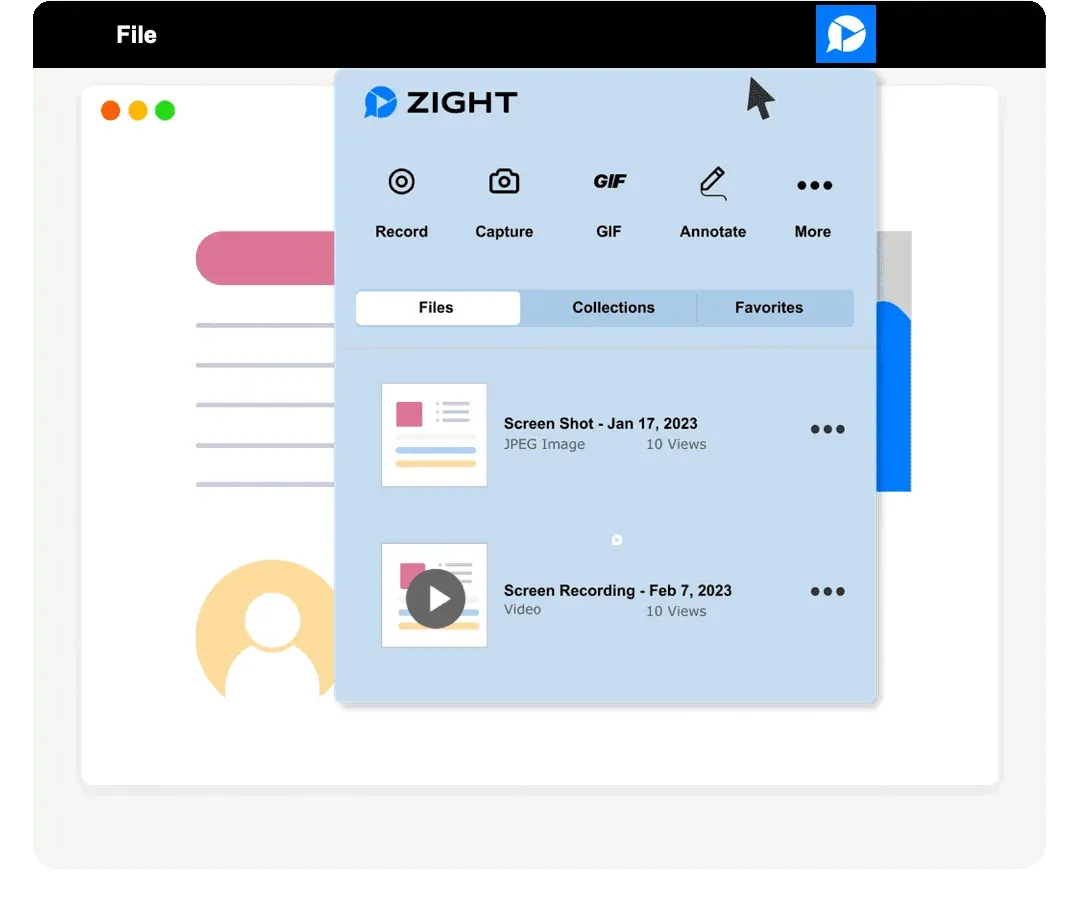
The Best Way to Record Your Desktop: Zight
If you want to learn how to screen record on a desktop for various purposes, such as creating tutorials, capturing gameplay, or making how-to videos , the Zight screen recorder is undoubtedly the best screen recording software. But why?
- It provides a more comprehensive suite of features.
- It allows you to screen capture not only your entire screen but also specific areas or windows.
- You can record audio alongside your screen capture, making it perfect for creating tutorials, presentations , or gaming content.
- Offers advanced video editing tools such as annotations and GIFs , enabling you to enhance your screen recordings further.
- Thanks to its flexible maximum recording length settings, you can record for an extended period.
- It provides better control over video quality and screen capture options.

For Windows:
- Open your web browser and search for “Zight screen recorder,” or visit the official Zight website .
- Locate the “Download” button and click on it.
- Follow the on-screen instructions to complete the download and installation process.
- After installation, open Zight from your desktop or the Start menu.
- In the Zight interface, click on the “Settings” or “Preferences” option.
- Adjust the recording settings, including video quality, max recording length, and audio source (choose your computer’s built-in microphone for voice recording).
- Return to the main Zight window.
- Click on the “Record” or “Start Recording” button.
- Select the recording area (you can choose to record the entire screen or a partial screen).
- Click “Record” to initiate the recording.
- Click the “Stop” or “Finish Recording” button to stop the recording.
- Zight will save the recorded video to your chosen destination folder, typically in the “Videos” folder.
For Mac:
- Open your web browser and search for “Zight screen recorder for Mac,” or visit the official Zight website.
- Locate the “Download” button and click on it.
- Follow the on-screen instructions to complete the download and installation process.
- After installation, open Zight from your Applications folder.
- In the Zight interface, click on the “Preferences” or “Settings” option.
- Adjust the recording settings, such as video quality, maximum recording length, and audio source (select your computer’s built-in microphone for audio recording).
- Return to the Zight main window.
- Click on the “Record” or “Start Recording” button.
- Choose the area you want to record (whole screen or partial screen).
- Click “Record” to begin the recording.
- Click the “Stop” or “Finish Recording” button to end the recording.
- Zight will save the recorded video to your specified location, usually in the “Videos” folder.
How to Pick the Best Screen Recorder
Choosing the best screen recorder is crucial, primarily when you rely on it for various tasks like creating tutorials, recording presentations, or capturing gameplay. By selecting the suitable screen recorder that excels in each aspect, you can produce high-quality, informative, and engaging screen recording content.
1. Screen Recording Quality
High-quality screen recording is essential for producing clear and visually appealing videos . Look for a screen recorder that supports resolutions such as 1080p (Full HD) or 4K for the best clarity.
2. Audio Recording
Quality audio recording is crucial to accompany your screen recording. Ensure that the screen recorder allows for clear and distortion-free audio capture.
3. Recording Options
Versatile recording options provide flexibility in capturing exactly what you need. Choose a screen recorder to record the entire screen, specific application windows, or custom-selected areas.
4. Maximum Recording Length
Longer recording sessions are essential for capturing extended content like webinars , lectures, or lengthy gameplay.
5. Ease of Use
A user-friendly interface simplifies the system audio recording process, making it accessible to users of all levels.
6. Keyboard Shortcuts
Customizable keyboard shortcuts enhance the efficiency of the recording process, especially for power users. You can set up keyboard shortcuts or hotkeys like Ctrl+Alt+R to start and stop recording, allowing quick control over the recording and streamlining your workflow .