There’s no doubt that screen capture is imperative for communication today. You can use screenshots in customer success and boost workplace productivity through fast and clear communication.
What Is Scrolling Capture?
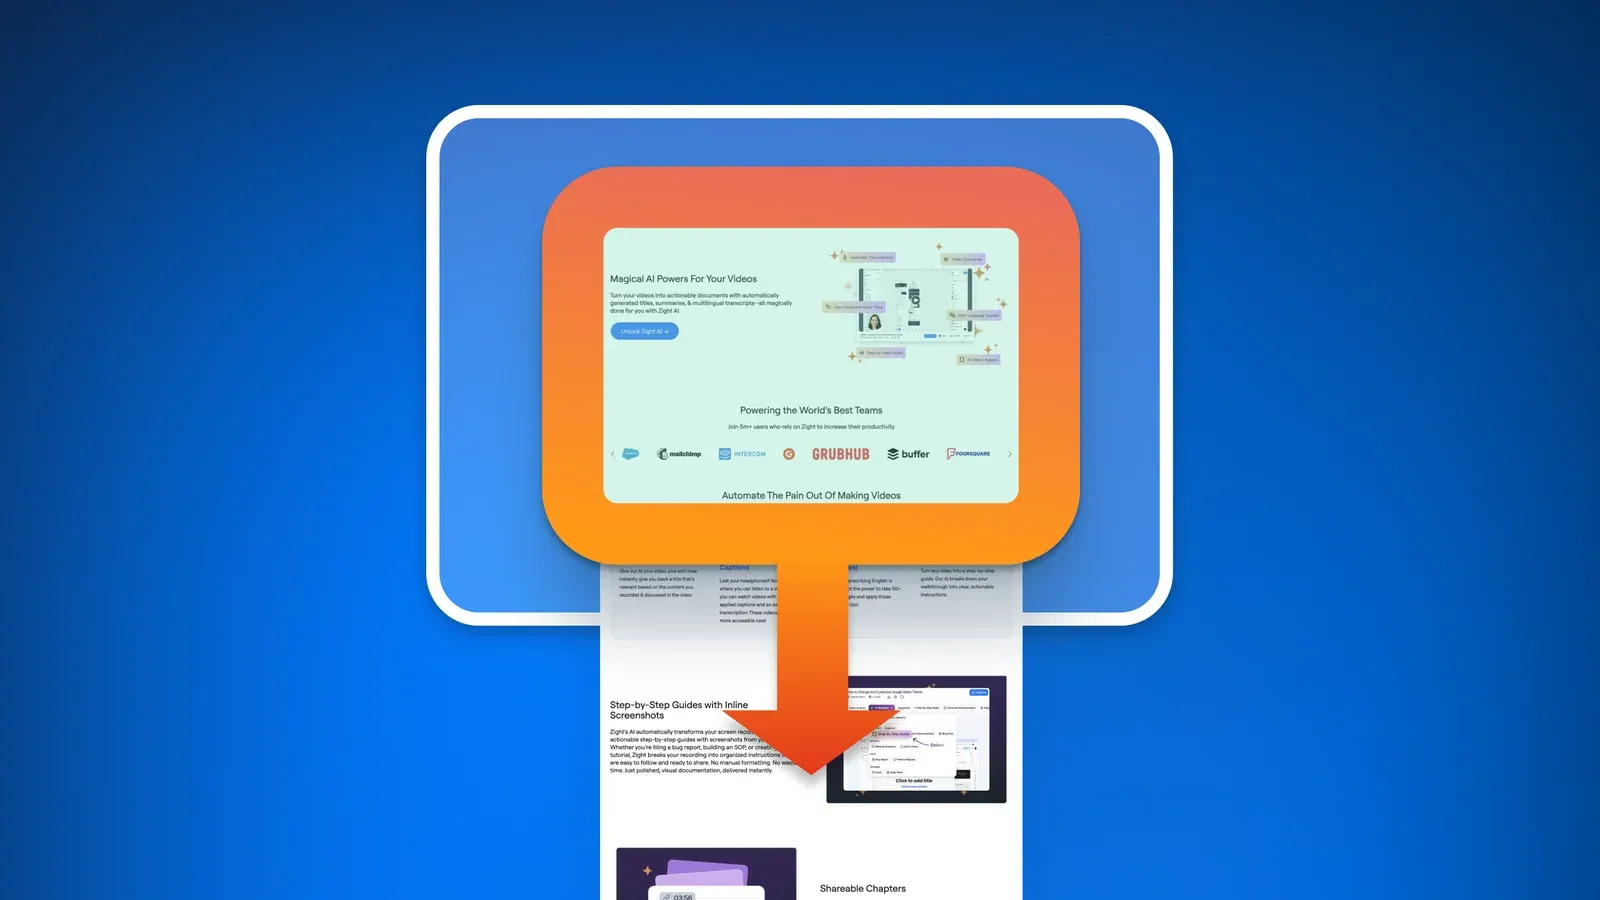
A scrolling screenshot, or scrolling capture, is a method of capturing content that extends beyond the visible area of the display screen. It allows you to take a continuous screenshot of an entire webpage, document, or any other content that can be scrolled through, either vertically or horizontally.
1. Capture Scrolling Screenshots with Zight
If you need a full-page capture on Windows 10 or 11, Zight makes it simple. With Zight’s built-in Scrolling Screenshot feature, you can capture an entire window, document, or webpage in just a few clicks — no manual stitching or recording needed.
- Open the Zight desktop app and click the Screenshot option.
- Select Scrolling Screenshot from the dropdown.
- Hover over the window or page you want to capture until it highlights.
- Click once — Zight will automatically scroll through the content and capture everything in a single image.
- Once the capture is complete, the image uploads instantly to your Zight account, and a shareable link is copied to your clipboard.
- Annotate or blur sections directly in Zight.
- Copy the image or share the link instantly.
- Store it in a collection for future reference.
2. Using Google Chrome
You probably use Google Chrome daily, but did you know the browser has a built-in screenshot tool that supports scrolling screenshot capture? Here’s how to access and use it:
- Open the Inspect Panel : You can do this by either: Right-clicking on any part of the webpage and selecting “Inspect” from the context menu Using the keyboard shortcut Ctrl+Shift+I while within the browser Going to the three-dot menu at the top-right corner of Chrome, selecting “More tools,” and then choosing “Developer Tools”
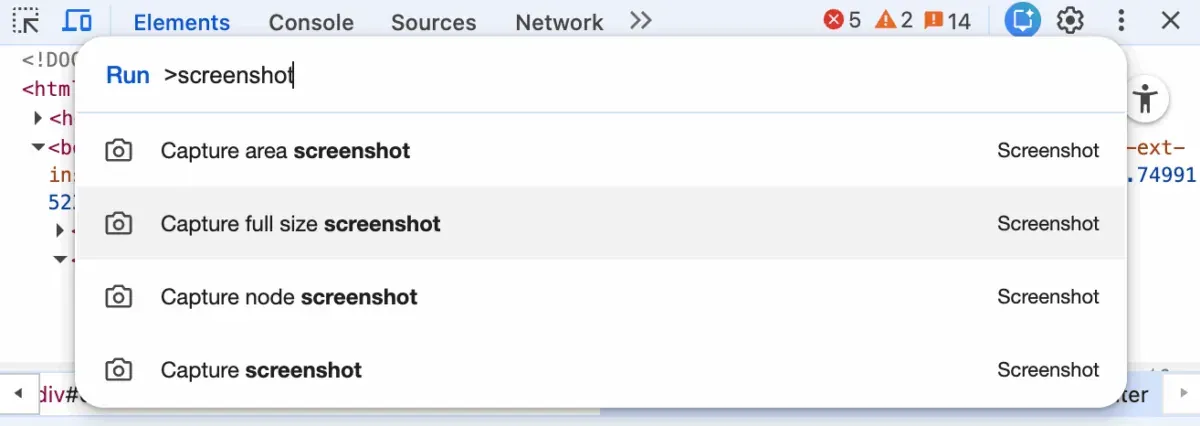
- Open the Run Command Box : Once the Developer Tools panel is open, you can access the Run Command Box by pressing Ctrl+Shift+P
- Take the Screenshot : In the Run Command Box, type “Screenshot,” and several screenshot options will appear (see the screenshot above) Select “Capture full-size screenshot.” This command will capture the entire length of the webpage, not just what you see on your screen
- Download the Screenshot : The screenshot automatically downloads to your PC, typically saving to your default download folder
- Right-clicking on any part of the webpage and selecting “Inspect” from the context menu
- Using the keyboard shortcut Ctrl+Shift+I while within the browser
- Going to the three-dot menu at the top-right corner of Chrome, selecting “More tools,” and then choosing “Developer Tools”
- Once the Developer Tools panel is open, you can access the Run Command Box by pressing Ctrl+Shift+P
- In the Run Command Box, type “Screenshot,” and several screenshot options will appear (see the screenshot above)
- Select “Capture full-size screenshot.” This command will capture the entire length of the webpage, not just what you see on your screen
- The screenshot automatically downloads to your PC, typically saving to your default download folder
- Click the Chrome Downloads icon, then select the screenshot—it will automatically open on the Photos app, and you can click Alt+ Up (the up arrow on your keyboard) to see your sharing options.
- Alternatively, you can right-click on the download and click Show in Folder. Then, right-click again, click Send To and share via the different methods listed.
- You can also share the screenshot by uploading it through different apps like email, Slack, Trello, or any other that allows uploading.
3. Using Mozilla Firefox
Mozilla Firefox is another popular browser for Windows. If you use it frequently, you’ll need to know how to capture screenshots without leaving the browser. Like Chrome, it has a built-in screenshot tool that lets you capture long, scrolling screenshots in a few clicks. Here’s how to set it up for frequent use:
- Open Firefox : Launch the Mozilla Firefox browser and navigate to the page you wish to capture
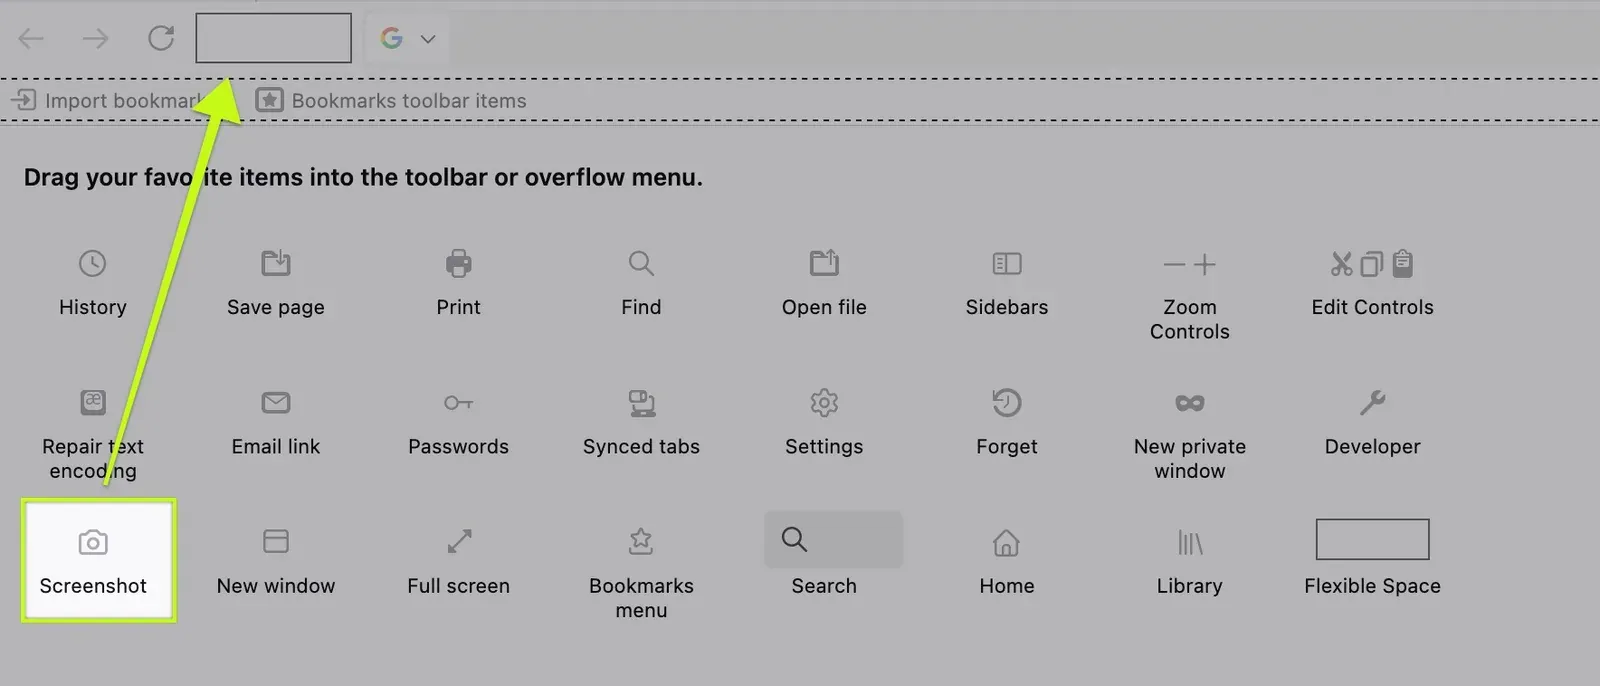
- Customize the Toolbar : To do so; Click on the three horizontal lines (often called the “hamburger” menu) in the upper-right corner of the browser Select “More Tools” and then “Customize Toolbar”
- Add the Screenshot Icon : From the customization options, find the “Screenshot” icon (it has a pair of scissors and will highlight the name screenshot when you hover over it with your mouse). You may need to scroll through the available Mozilla tools to find it Drag the “Screenshot” icon to your toolbar for easy access
- Capture the Full Page : Go back to the web page you wish to capture Click the “Screenshot” icon on your toolbar Select “Save Full Page.” Firefox will capture the entire length of the webpage
- Save the Screenshot : The screenshot will be captured instantly, and you will be prompted to Copy or Download it
- Click on the three horizontal lines (often called the “hamburger” menu) in the upper-right corner of the browser
- Select “More Tools” and then “Customize Toolbar”
- From the customization options, find the “Screenshot” icon (it has a pair of scissors and will highlight the name screenshot when you hover over it with your mouse). You may need to scroll through the available Mozilla tools to find it
- Drag the “Screenshot” icon to your toolbar for easy access
- Go back to the web page you wish to capture
- Click the “Screenshot” icon on your toolbar
- Select “Save Full Page.” Firefox will capture the entire length of the webpage
- The screenshot will be captured instantly, and you will be prompted to Copy or Download it
- If you select “Copy,” the screenshot will be copied to your clipboard. In this case, you can paste the image directly to your recipient without needing to save it on your PC
- If you click “Download,” the screenshot will be saved to your PC, and you can find it in the downloads list on Mozilla or the downloads folder on your PC. From here, you can open it in Photos or share it through communication platforms that allow uploading
4. Using Microsoft Edge
Another popular browser, Microsoft Edge, has some really good screen capture features, and it all takes just a few clicks. When you have a web page open that you want to capture, here’s how to do so:
- Open Microsoft Edge : Launch the browser and navigate to the web page you want to capture
- Access the Web Capture Feature : To do so; You can open the Web Capture tool by right-clicking on the web page (any part of the screen) and selecting “Screenshot” from the context menu You can also use the keyboard shortcut Ctrl+Shift+S Alternatively, you can click the three-dot menu icon at the top right corner of Edge and select “Screenshot” from the drop-down menu
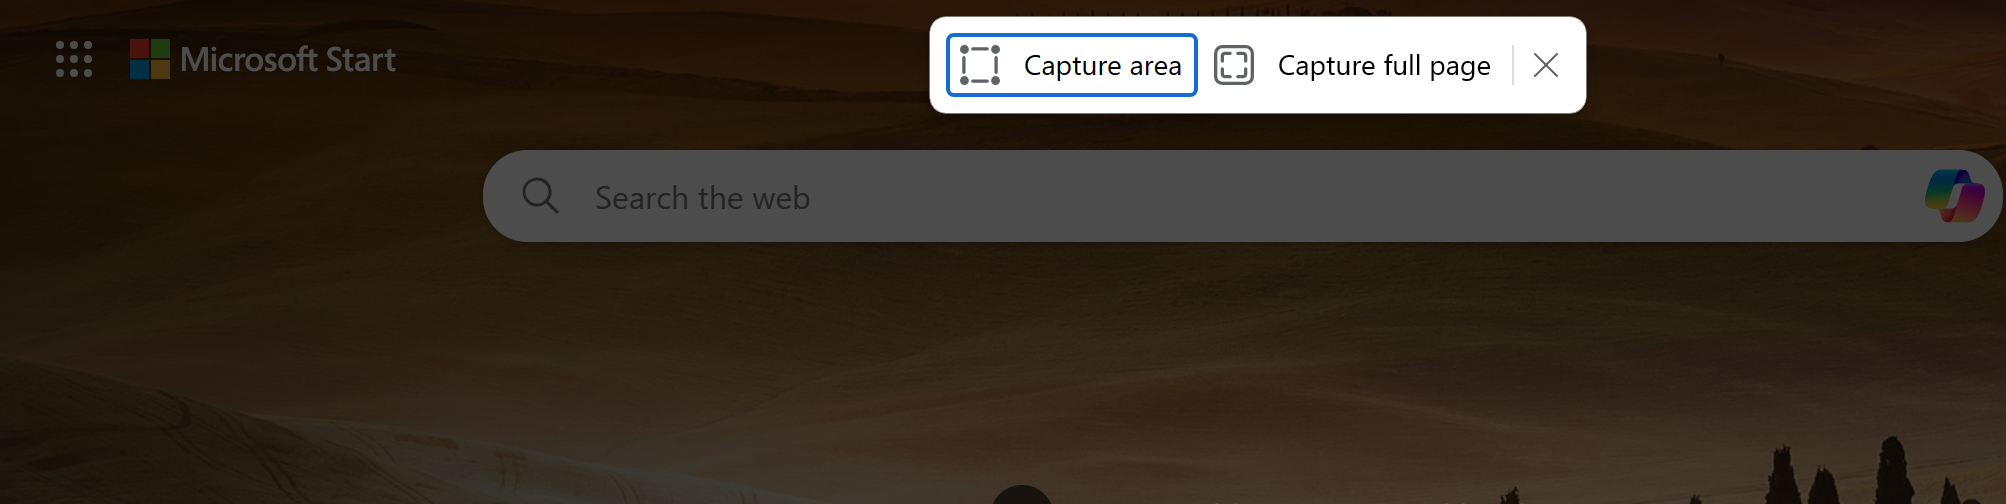
- Capture the Full Page : Once the Web Capture tool is open, you will see options such as “Capture area” and “Capture full page.” Click on “Capture full page” to take a long scrolling screenshot of the entire web page.
- Save or Edit the Screenshot : After capturing, you can view the screenshot directly in Edge. From here, if you need to make annotations or highlight specific parts of the screenshot, you can use the drawing and text tools provided within the Web Capture interface before saving. Then, you can save it to your device, copy it, or share it through Edge.
- You can open the Web Capture tool by right-clicking on the web page (any part of the screen) and selecting “Screenshot” from the context menu
- You can also use the keyboard shortcut Ctrl+Shift+S
- Alternatively, you can click the three-dot menu icon at the top right corner of Edge and select “Screenshot” from the drop-down menu
- Once the Web Capture tool is open, you will see options such as “Capture area” and “Capture full page.” Click on “Capture full page” to take a long scrolling screenshot of the entire web page.
- After capturing, you can view the screenshot directly in Edge. From here, if you need to make annotations or highlight specific parts of the screenshot, you can use the drawing and text tools provided within the Web Capture interface before saving.
- Then, you can save it to your device, copy it, or share it through Edge.
5. Using ShareX
Sometimes, you want to capture a scrolling screenshot of your offline documents, especially PDFs and Word Documents. Since you can’t use the web-based features above, we recommend using ShareX , a free and open-source screenshot software that’s wildly popular with gamers. To use it:
- Download and launch ShareX : You can download it from the official website or through platforms like GitHub Then, launch ShareX on your computer. Then, open and maximize the window that contains the document or application you want to capture. Make sure it is the active window
- Select ‘Capture Scrolling Window’ : In the ShareX main window, click on the “Capture” menu Choose “Scrolling capture” from the dropdown menu
- Start the Scrolling Capture : After selecting “Scrolling capture,” a new window will pop up, asking you to choose the window you want to capture. Click on the target window ShareX will then give you instructions to start the capture, usually pressing a specific key or clicking within the window to initiate scrolling
- Adjust Settings : ShareX offers settings for scrolling captures, such as delay before capture starts, the speed of scrolling, and the number of scrolls. Adjust these settings based on the length and complexity of the document you are capturing
- Review and Save : Once the capture is complete, the image will be shown in the ShareX image editor, where you can review it You can then edit, annotate, or directly save the image to your preferred location
- You can download it from the official website or through platforms like GitHub
- Then, launch ShareX on your computer. Then, open and maximize the window that contains the document or application you want to capture. Make sure it is the active window
- In the ShareX main window, click on the “Capture” menu
- Choose “Scrolling capture” from the dropdown menu
- After selecting “Scrolling capture,” a new window will pop up, asking you to choose the window you want to capture. Click on the target window
- ShareX will then give you instructions to start the capture, usually pressing a specific key or clicking within the window to initiate scrolling
- ShareX offers settings for scrolling captures, such as delay before capture starts, the speed of scrolling, and the number of scrolls. Adjust these settings based on the length and complexity of the document you are capturing
- Once the capture is complete, the image will be shown in the ShareX image editor, where you can review it
- You can then edit, annotate, or directly save the image to your preferred location
6. Using DemoAir Online Web Page Screenshot Tool
You still have more options for capturing scrolling screenshots of your live web pages. To do so on any browser, you need an online tool like Demo Air. It is simple to use and requires just a few steps.
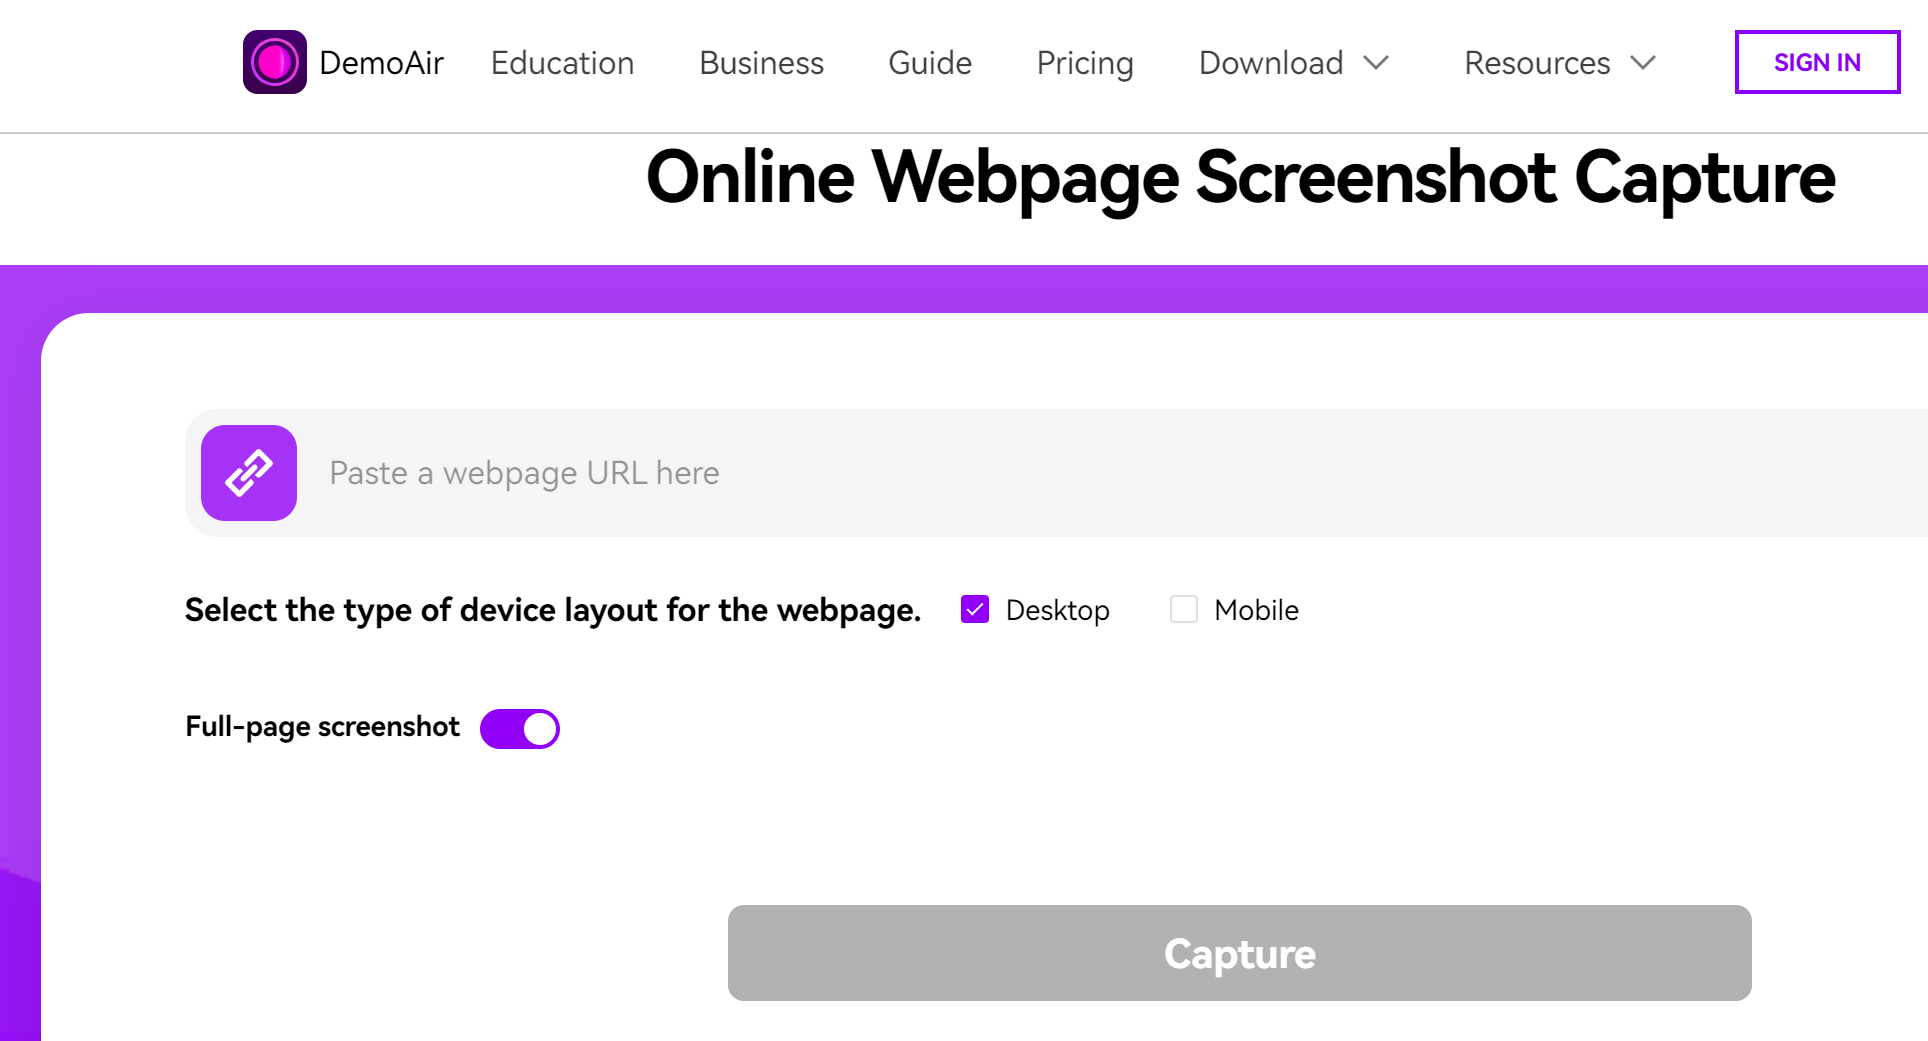
- Go to the DemoAir webpage . This tool is accessible directly from your browser without the need to install software.
- Type or paste the URL of the webpage you want to capture into the designated field on DemoAir.
- Ensure that the “Full-page Screenshot” option is enabled to capture the entire webpage length.
- Click the “Capture” button to start the process. DemoAir will then generate a screenshot of the webpage.
- Once the screenshot is generated, you can edit it if necessary (e.g., crop, resize, blur). After editing, click Done to download and save the screenshot to your PC. Alternatively, you can save the image to the cloud through Wondershare Drive.
Use the capture in a support answer
After capturing the long page, crop or annotate the detail the reader needs. For a sequence of actions, create a step-by-step guide with screenshots so each instruction has its own image. If the customer sees a different state, request a customer recording before writing another set of directions.
To Sum It Up
As we’ve seen, it is now better to capture scrolling screenshots rather than just what’s visible on your computer screen. Scrolling screenshots capture everything on a tab or open window, even when you can’t see it yourself.