Why Add Music to Google Slides Presentations?
This is why you might consider adding an audio file to your Google Slides presentation, as well as for other types of presentations like PowerPoint.1. Enhanced Audience Engagement
Virtual presentations often struggle with one major challenge: keeping viewers focused. For this reason, background music will fill the dead air during transitions and interactive segments to prevent that awkward silence that can make the session feel disconnected.2. Professional Production Quality
Adding music to your Google Slides will show you’ve put extra thought into the viewer experience, which is especially important for client pitches, product launches, or executive meetings. Rather than relying solely on visuals, you’ll create a complete audiovisual experience that maintains professionalism while keeping viewers interested.3. Better Content Structure
You can use music to break up your presentation into clear segments. You can use different tracks to signal new topics, highlight key points, or indicate interactive sections. This structure will thus make it easier for your audience to follow along and understand when you’re transitioning between different parts of your presentation.4. Atmosphere Setting
The right background music will help set the intended mood for your presentation. You might want upbeat music for product demonstrations, subtle background tracks for data presentations, or motivational tunes for team meetings. Having control over the audio will let you match the energy level to your content and audience expectations.1. How to Add Music to Google Slides: The Native Method
 Ready to prepare and add music to your presentation? The first thing you want is to, of course, create a presentation – you can even record your Google Slides presentation with Zight once you go over the main meeting checklist. Then;
 1. Get Your Audio Files Ready
With your presentation content and slides ready, you can now think of what music to add. You can source background music from various platforms, but be mindful of copyright restrictions. For regular presentations, consider using royalty-free music from platforms like Epidemic Sound or Artlist. While YouTube Music, SoundCloud, and Spotify are great for personal listening, their terms of service typically don’t allow direct downloads for use in presentations.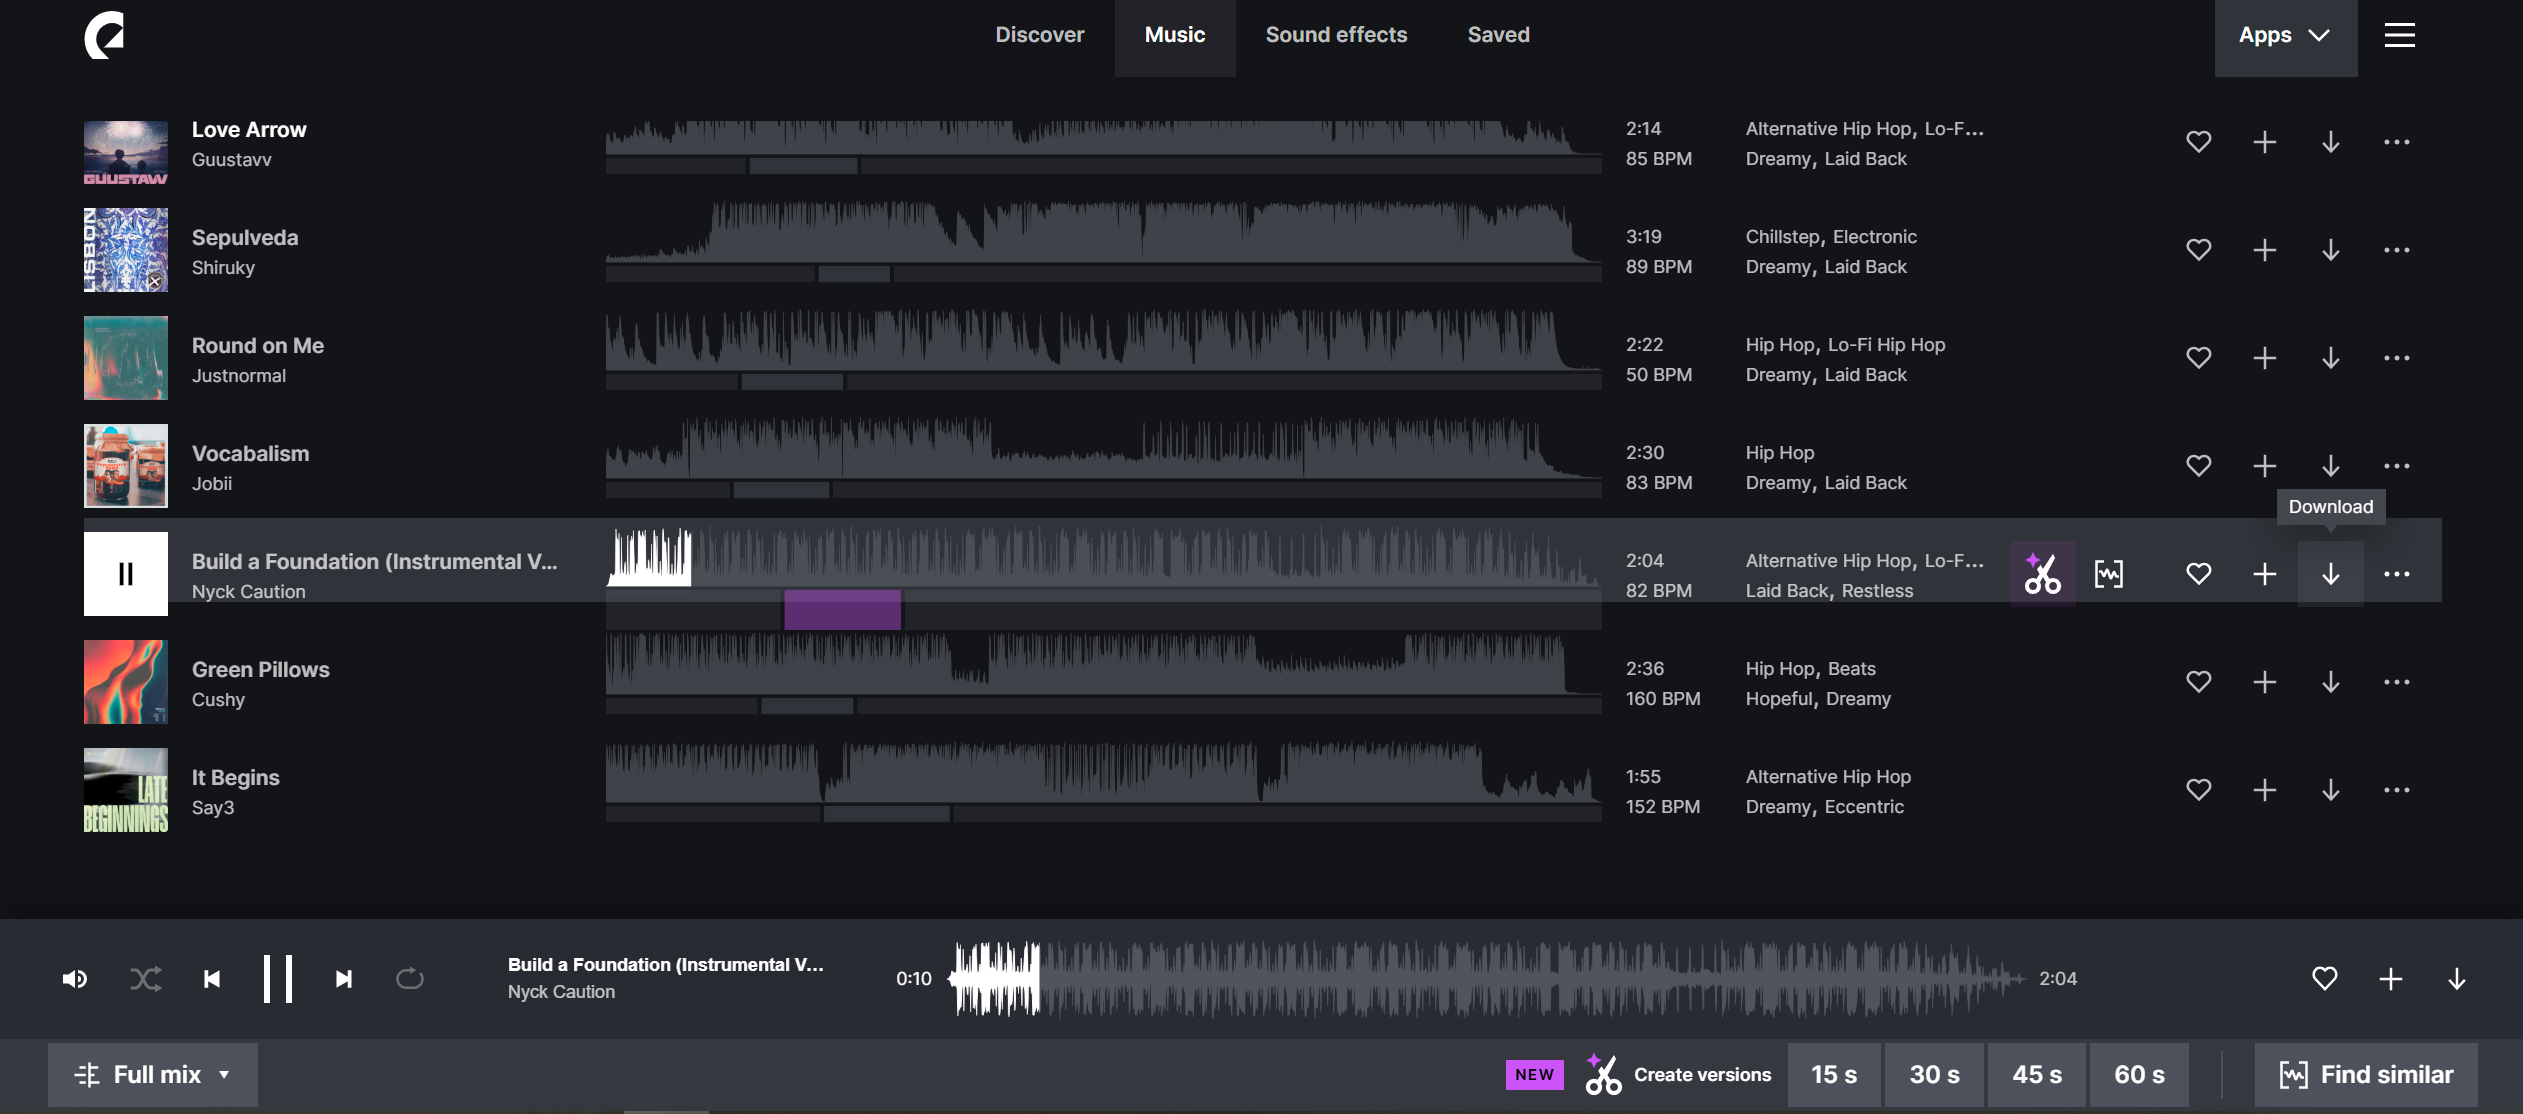 For this tutorial, I’m using a royalty-free track from the Epidemic Sound library – you will need to create a premium trial account to access the different genres and music files for your presentation. You’ll also need to download and save your Google Slides presentation audio files locally on your computer.
 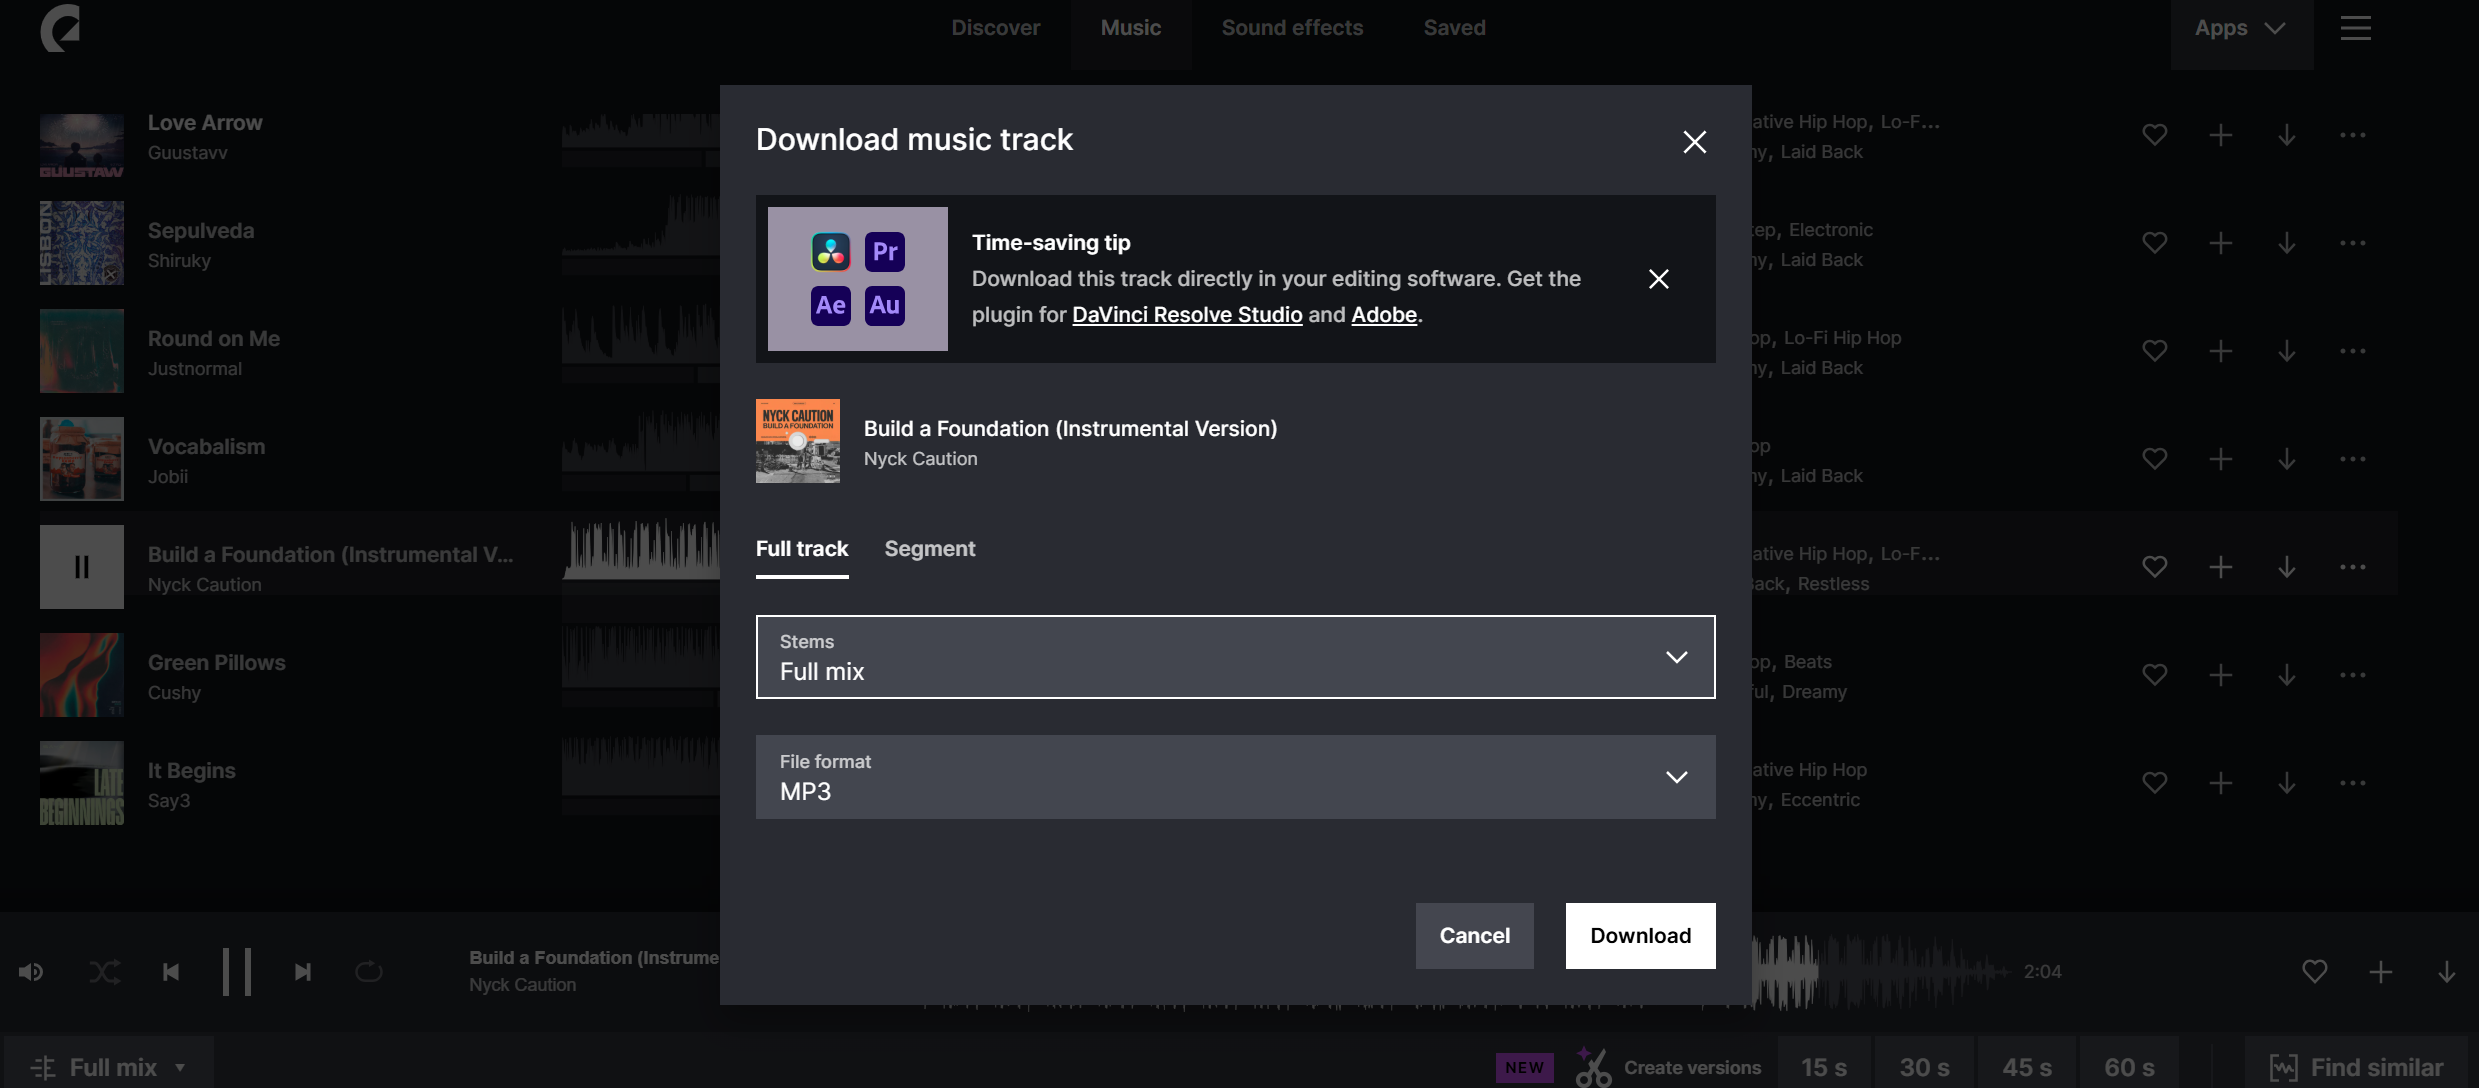 On Epidemic, click Download on the audio file you choose and download it as MP3.
 2. Upload the Audio to Google Drive
First, we’ll upload our audio file to Google Drive since Google Slides pulls audio directly from there. Make sure you’re signed into the same Google account you’ll use for your presentation. Open your Google Drive and click the ‘+ New’ button, then ‘File Upload.’ Select the audio file you downloaded from your computer storage as follows:
  Just to be safe, play the music file on Google Drive to ensure you can upload it to the presentation in the next step.
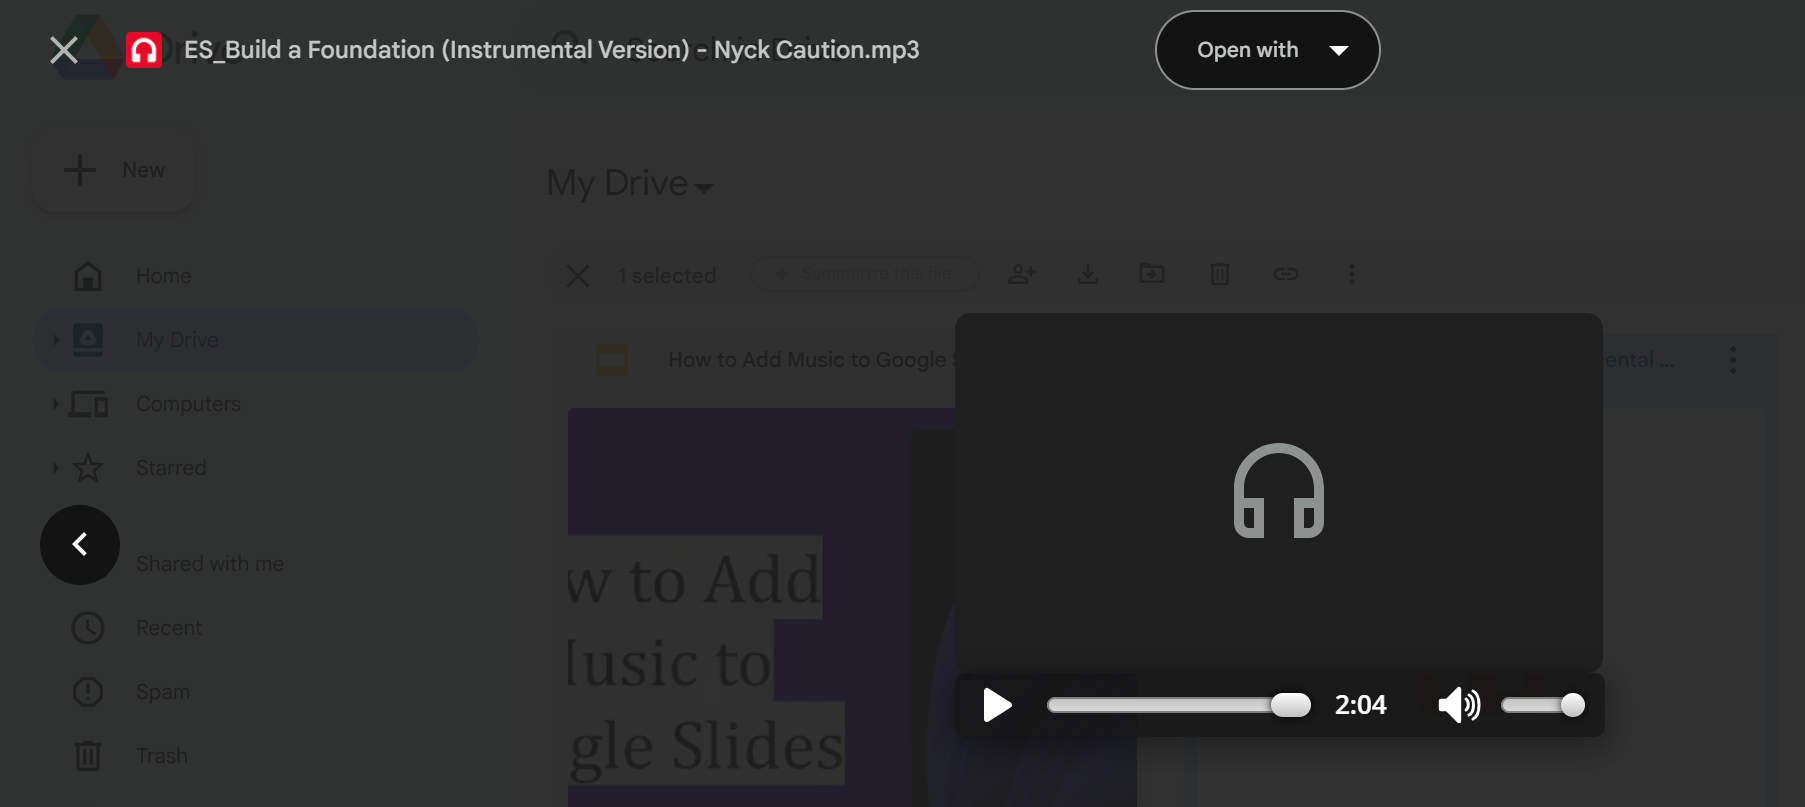
3. Insert Audio into The Presentation
Now comes the part where we add the music to your actual presentation. Google Slides has a specific process for this: Open your presentation and navigate to the slide where you want the audio to appear. Click ‘Insert’ on the menu, then scroll down and tap ‘Audio.’ You can now have to select and insert the audio file you just uploaded to Google Drive as follows:
4. Configure Audio Settings
After you insert the audio file, you’ll see a speaker icon on your slide. Click it to open and adjust the important playback settings: You can control when the audio starts playing – it is best to change it to ‘Automatically.’ Then, adjust the volume setting and decide whether the audio should play across all slides or stop when you move to the next one. You can even turn on the ‘Loop Audio’ feature if you choose to play the audio across all slides. You can also move the audio icon anywhere on your slide or even hide it if you prefer (click ‘hide icon when presenting’). However, before hiding the icon, ensure you select your ideal audio playback settings that will play automatically when you click the slide. Again, just to ensure you can play music on the selected slide, click Slideshow above to go into presentation mode. If your settings are good, the audio file should play once you click the slide.
  If the audio file does not play, click ‘ESC’ to exit presentation mode and go to that specific slide (assuming you set audio for one slide. Click the audio icon, go to ‘Audio Playback,’ and set the file to play ‘Automatically’ when you get to the slide. After this, your audio file should play when you enter presentation mode and when you finally get to present to your audience.
 Format and Size Best Practices
That is the easiest way to insert music onto a Google Slides presentation. However, keep these technical specifications in mind for the best results:- Always add MP3 or WAV files to your presentation
- Ensure the maximum file size is below 100 MB to keep your presentation lightweight
- The recommended length is under 5 minutes per audio file
- Ensure an audio quality of 192kbps for optimal balance between quality and file size
2. How to Add Music to Google Slides Using Third-Party Audio Integration
Want to explore other alternatives to add audio files to your Google Slides presentation? These approaches offer more flexibility but require a few extra steps.1. YouTube Music
 YouTube Music has a lot of music you can add to your presentation, but the platform poses a challenge because it doesn’t provide direct MP3 downloads. You can use either of these two methods to add YouTube Music to your slides:
 Method 1: Convert and Embed
The first method, though time-consuming considering the native method above, can be a good alternative if you don’t mind the extra steps. It includes extracting audio formats from YouTube videos or music files (even music-only content on YouTube is stored as MP4). The conversion step is necessary because YouTube files will always open in a new browser tab during your presentation – they can’t be embedded directly as audio in your slides. In simple terms;- Find the YouTube video or music file you want (ensure you comply with copyright policies) and convert the track to MP3 using a YouTube to MP3 converter.
- Save the MP3 file locally
- Follow the native Google Slides method we covered earlier
Method 2: Direct Link Integration
 This alternative direct link method requires internet access and means managing multiple tabs during your presentation. While you will use YouTube Music (music audio, not video or lyrics), the music files on the platform still don’t play as MP3. This means you have to leave the presentation when you get to the slide. Here are the simple steps:
 - Open your track on YouTube Music
- Click the ‘Share’ button
- Copy the track URL
 In Google Slides, click on text or an image and select Insert > Link. Then, paste your URL and click ‘Apply.’ you can leave the file as a naked link, or rename it with anchor text that matches your presentation goals.
  Unfortunately, this music file will not play automatically when you start presenting. So, during your presentation:
 - Click the link to open YouTube Music in a new tab
- Start the music playback
- Minimize the browser tab
- Continue your presentation with the music playing in the background
3. Adding Music to Google Slides with Zight
 Looking at the methods we discussed above, you can run into a few problems:
 - You will need to source for good royalty-free music – and that often comes at a price on platforms like Epidemic
- You will need to convert video files into MP3 if you forego the royalty-free music and don’t have usable audio files on your device
- You might even have to leave a naked link to your presentation, which then means you will have to open a new tab as you present – it’s distracting and quite an unprofessional look
1. Record Your Presentation with Background Music
 Zight allows you to record your screen and webcam. You can do this with these recording options: screen only and screen & cam. This means you can also record your Google Slides presentation along with audio! Apropos of adding audio to Google Slides, you can work smart with the Screen & Cam option that would let you show and narrate your slides – and share the video as a link instead of calling a boardroom, Google Meet, or Microsoft Teams meeting afterward. Prepare your presentation slides and also set up your environment before you start recording. Then open your Google Slides presentation and your chosen music source – Spotify, YouTube Music, or another player. Adjust your background music volume to a level that won’t overpower your presentation. Also, run a quick test recording to make sure both your slide content and music are being captured clearly. This test will help you avoid any audio issues during your main recording.
 How to Record the Presentation
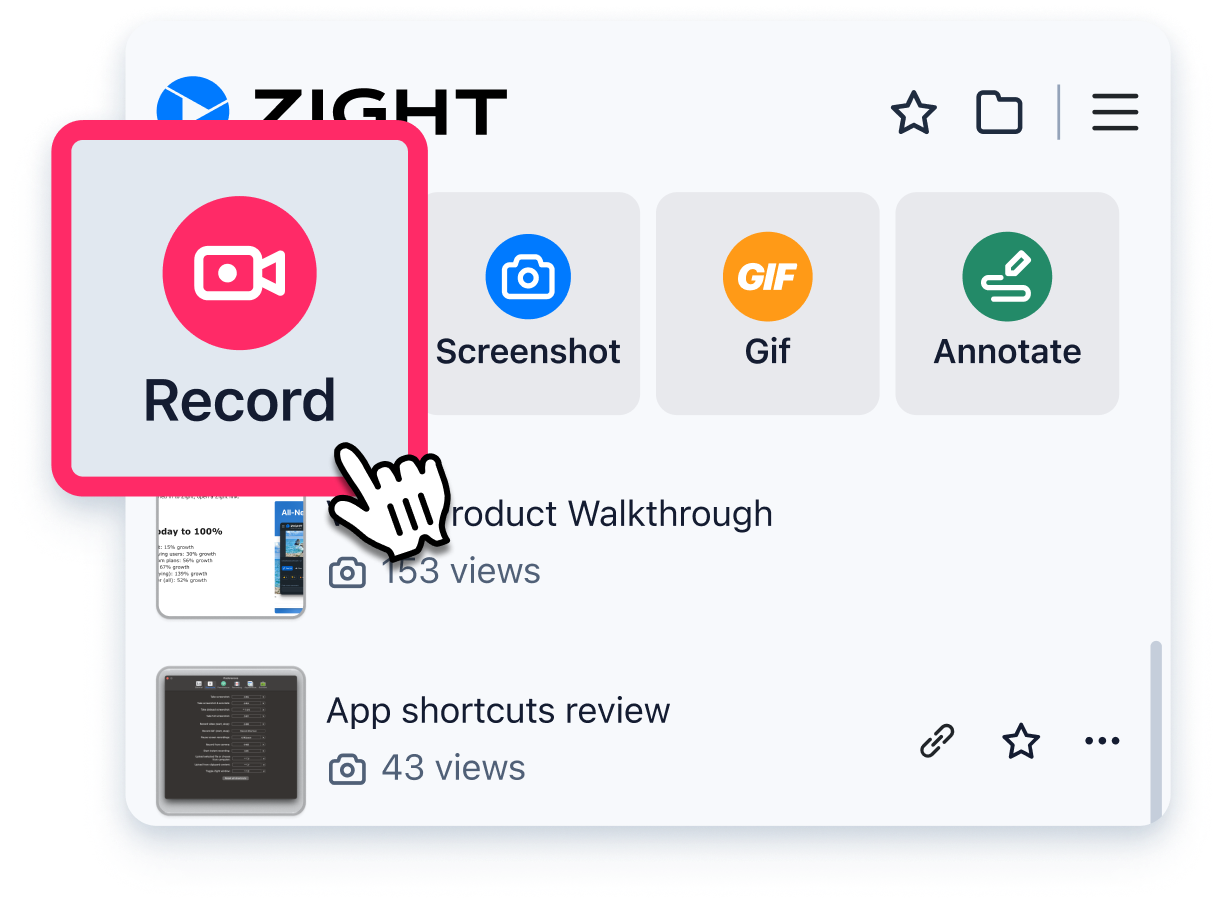
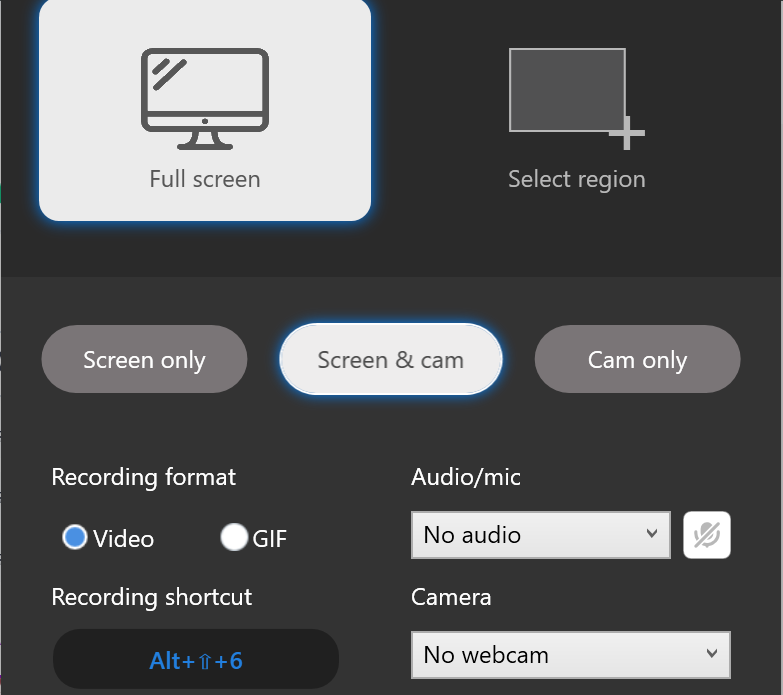 Then, open Zight and click Record or press Alt+Shift+6 (Windows) or Cmd+Shift+6 (Mac) to launch the Zight screen recorder. Select whether you want to capture your entire screen or just the presentation window. Also, make sure you’ve enabled system audio in Zight’s settings – this is crucial for capturing your computer audio/background music. When you’re ready to record, start your music playback first, then begin the Zight recording.
  Present your slides at your preferred pace, making sure your slide transitions complement the music’s tempo. You’ll have complete control over the timing, so take advantage of this to create natural breaks and transitions that match your background music – you can pause, annotate, and resume. Once you’ve finished recording, click Finish and wait as the presentation uploads online. To edit the video, you can trim any unnecessary sections from the beginning or end, merge different sections, and more to ensure everything flows smoothly before sharing the presentation with the team.
 2. Creating a Voice-Over Version
We previously talked about how to record a voice-over, which is another clever way to add audio to a presentation. This method will work best for a presentation that;- you intend to send as a link to your team so they can watch it on their own time
- you want to publish online on a platform like YouTube
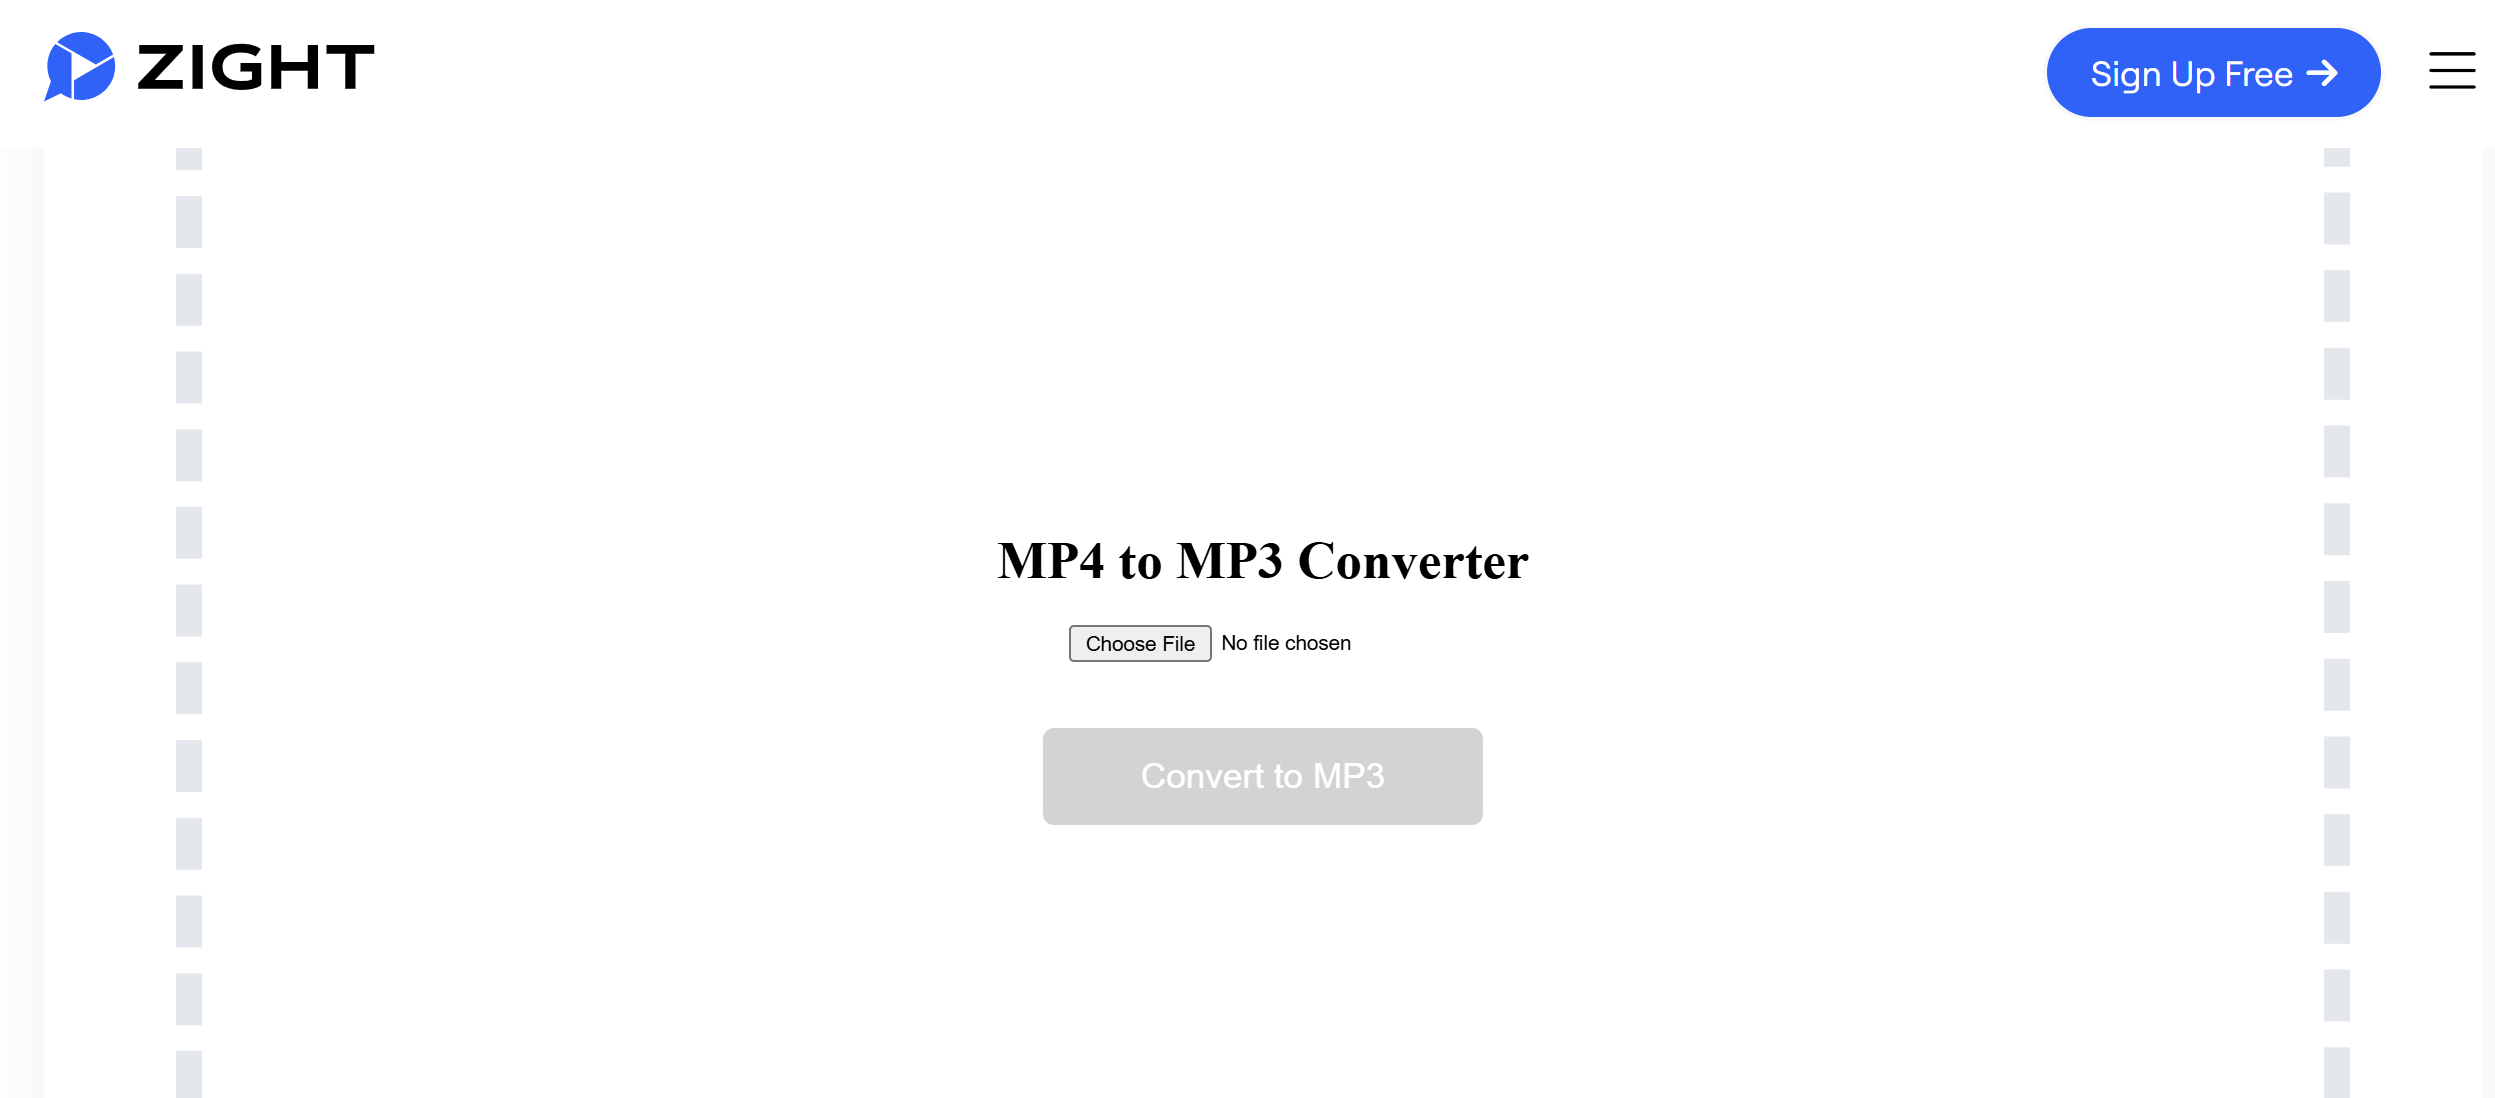 Upload each video to the Zight MP4 to MP3 converter to convert the recording into an audio file. After conversion, save the MP3 file on your device. Finally, you can follow our native method above to add the audio file to your presentation. Simply upload each voice-over to Google Drive, then add them to the relevant slides on your presentation, where it will play automatically.


