Best All-In-One Screenshot App, Snipping Tool, Screen Recorder and GIF Maker for Mac

Zight is an all-in-one app screenshot and screen recorder for Mac. Easily capture full or partial screenshots, record your screen, record a webcam video or GIF and instantly share it via a url.

How To Use Zight on Mac

Explore other Zight features by clicking the buttons below.

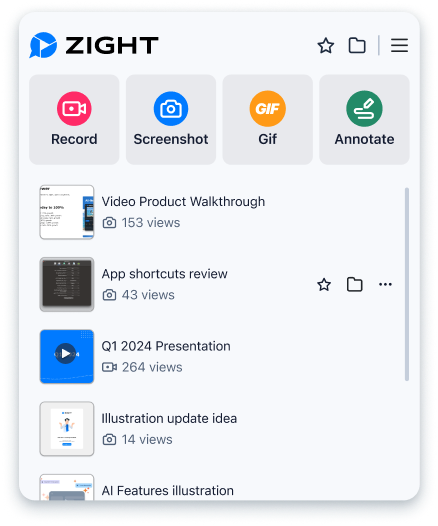
Take Screenshots on Mac with Zight

Take a full or partial screenshot and send it in seconds. Zight automatically stores the image in the cloud for easy access and organization. No more desktop screenshot clutter for you.

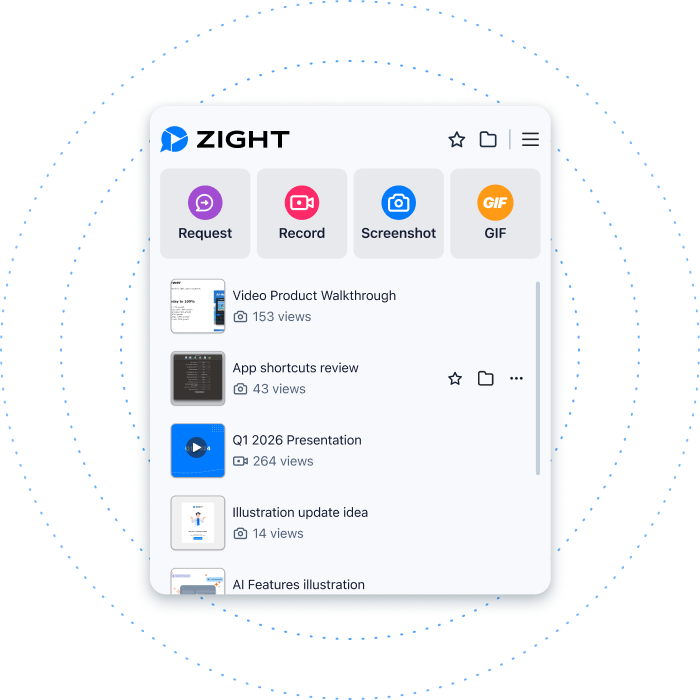
Zight offers flexible workflows to suit your needs. Here is how you can take a screenshot on Mac with Zight.

Option 1:

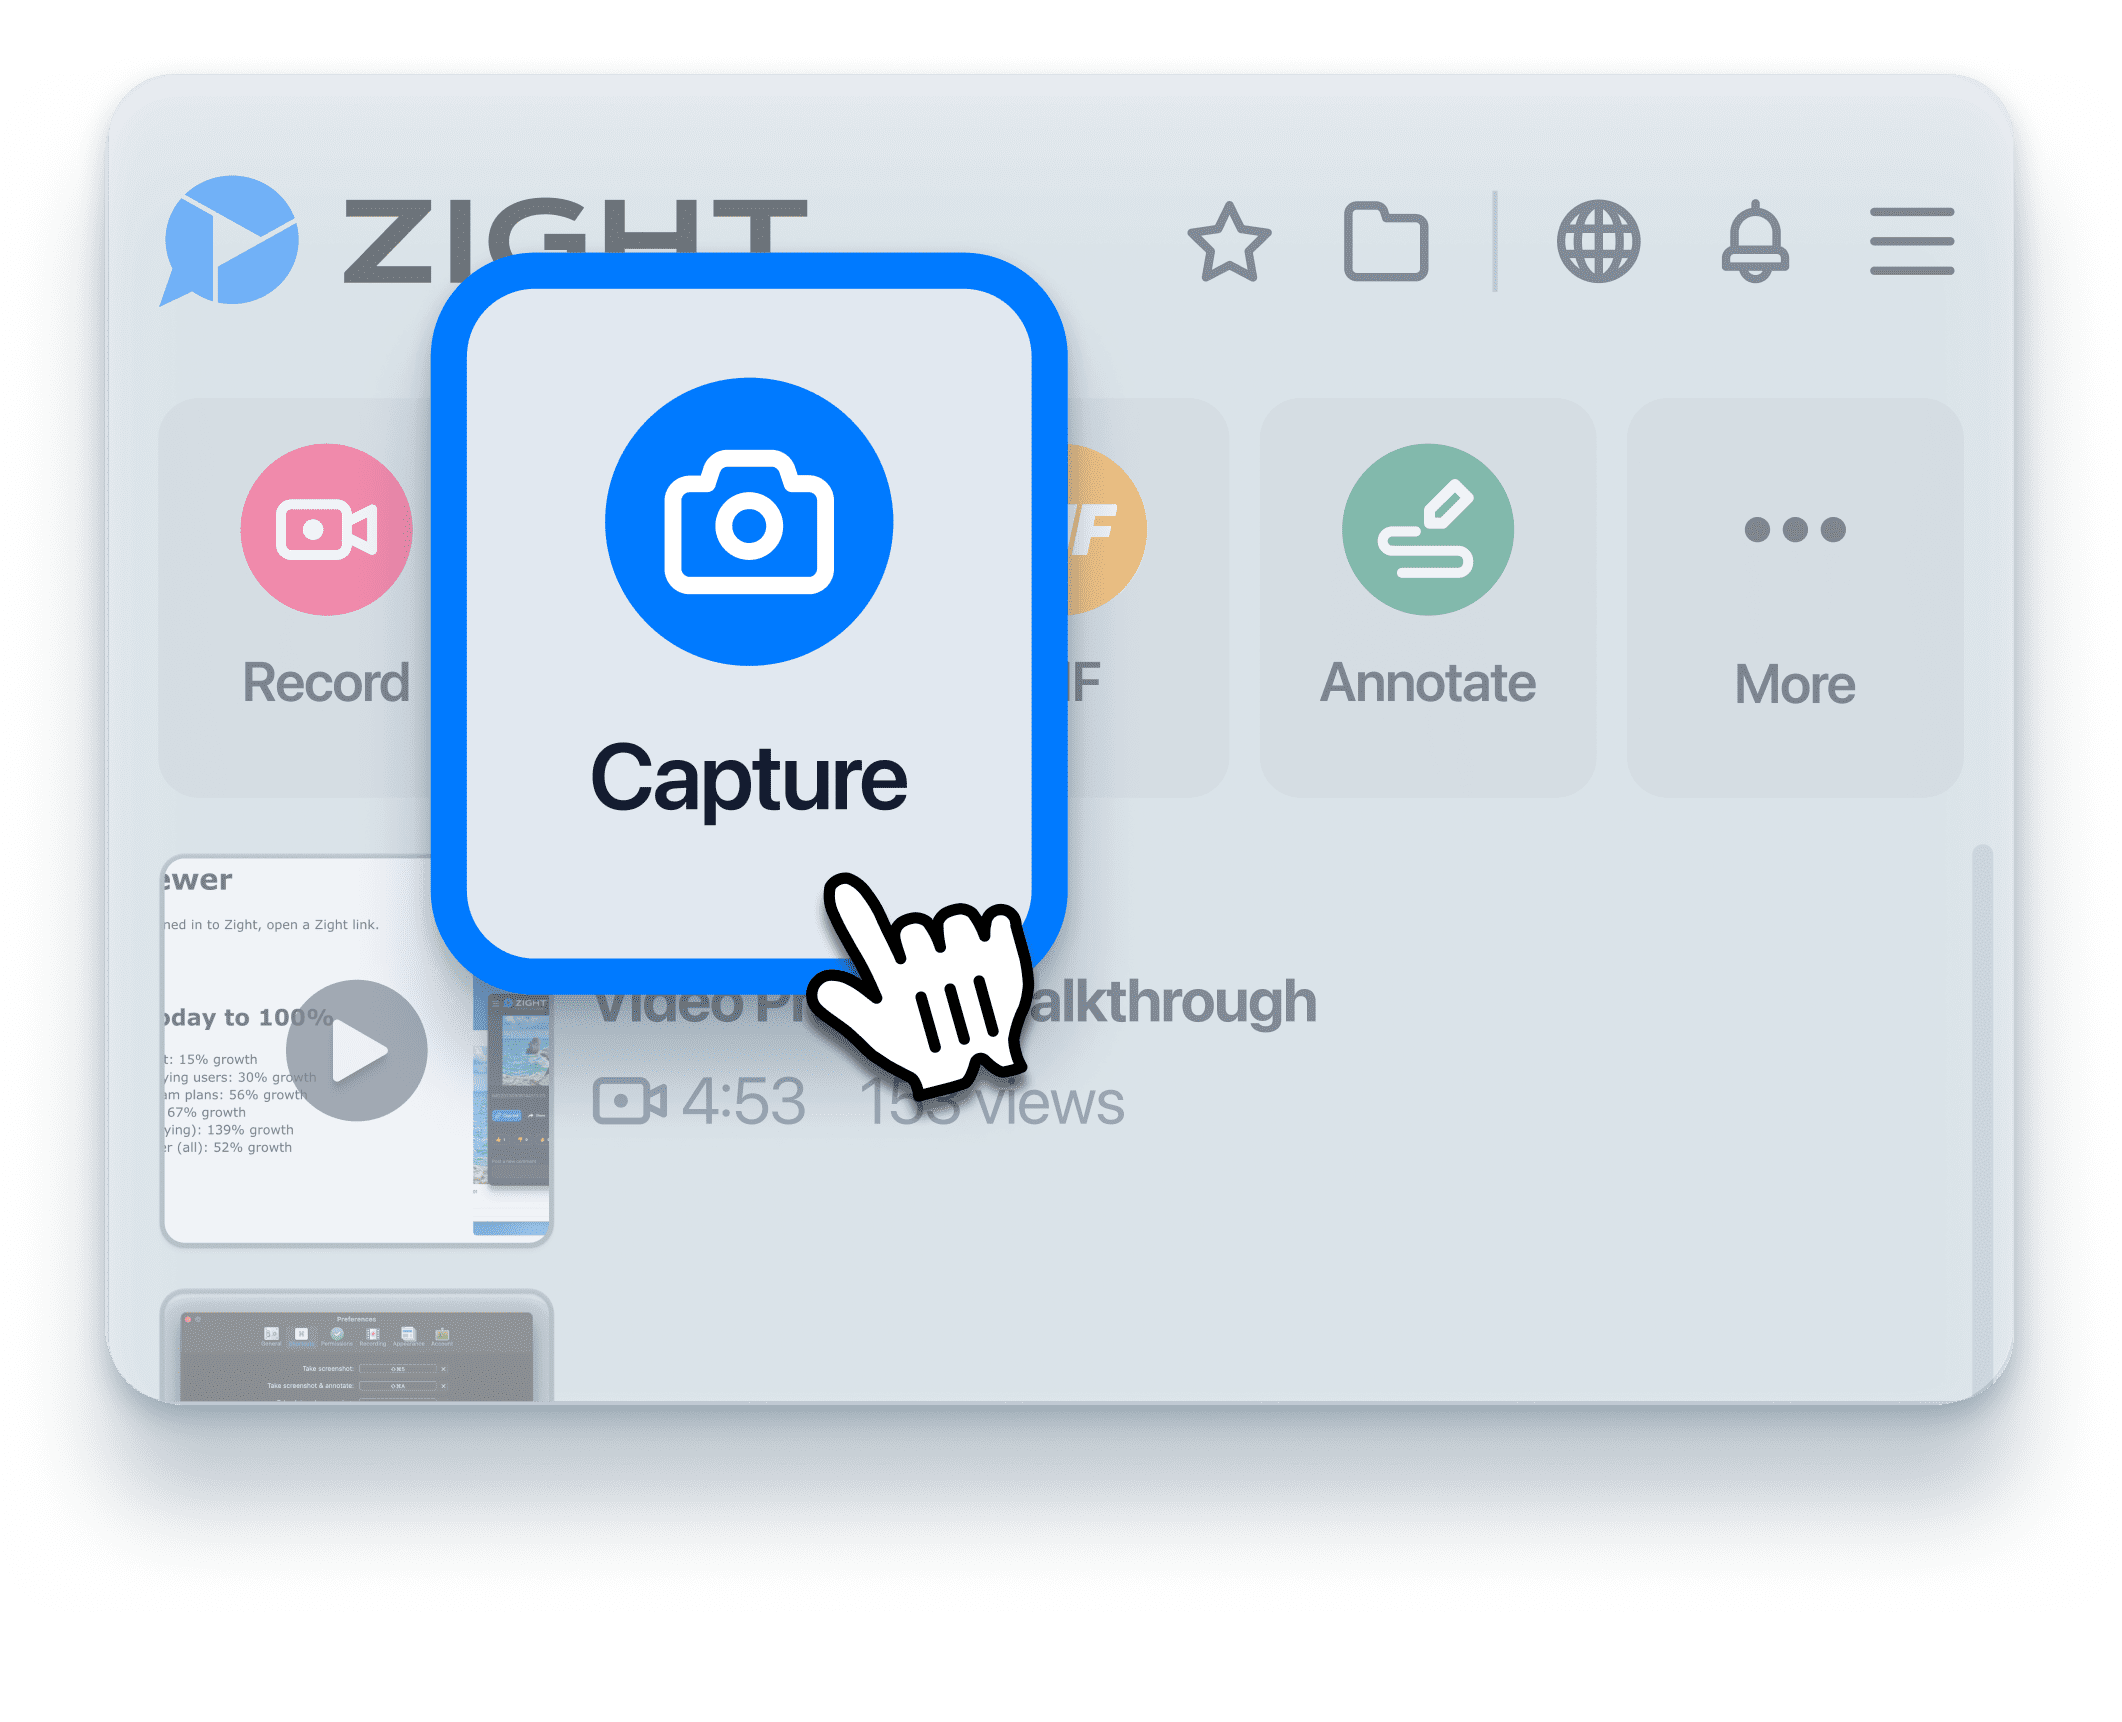
  • Click on the Zight toolbar icon and select the screenshot option
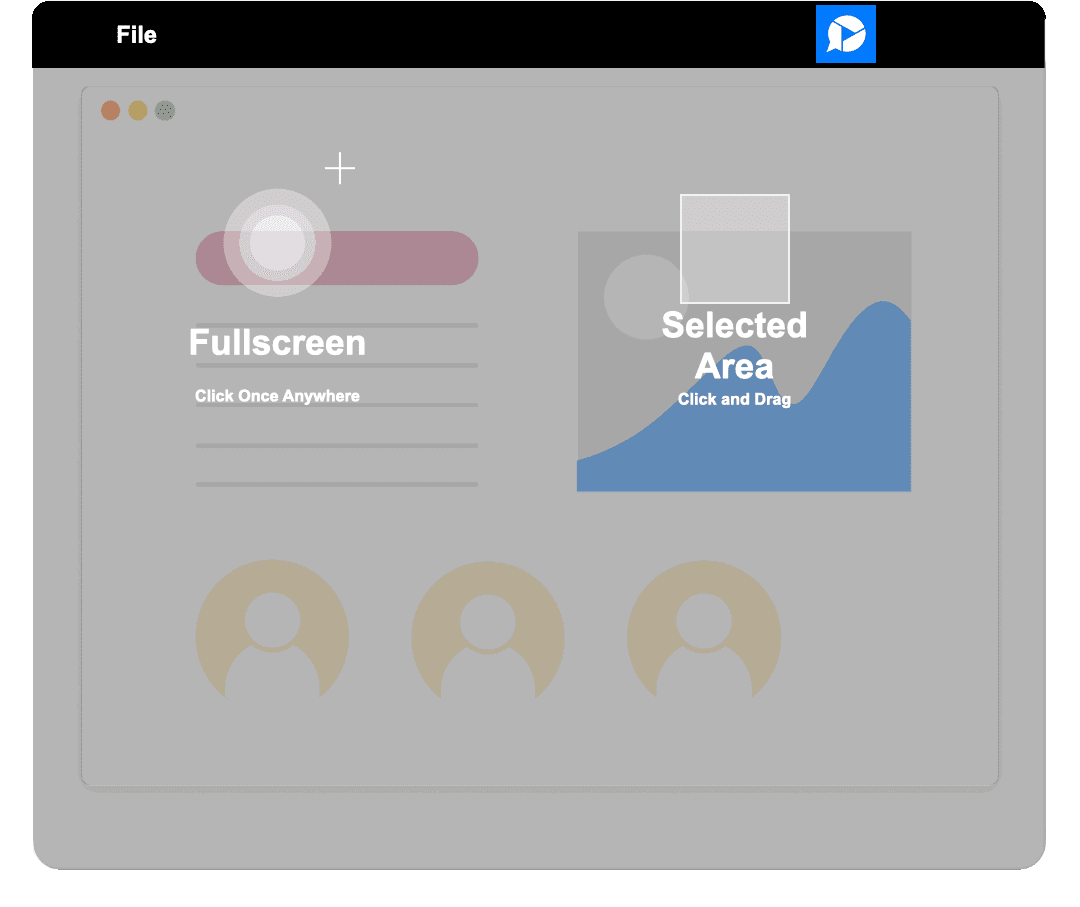
  • Use your mouse to control the tool and select the area on your screen you wish to capture

Option 2:

  • Use keyboard shortcuts. Simply select Shift + Command + 5 or set your own shortcuts in preferences

Screenshot or Screen Snip

Zight allows you to take full or partial screenshots of a selected area or window. Whether you are looking for a screenshot tool, snipping tool, or the ability to “print screen,” Zight can do it all.

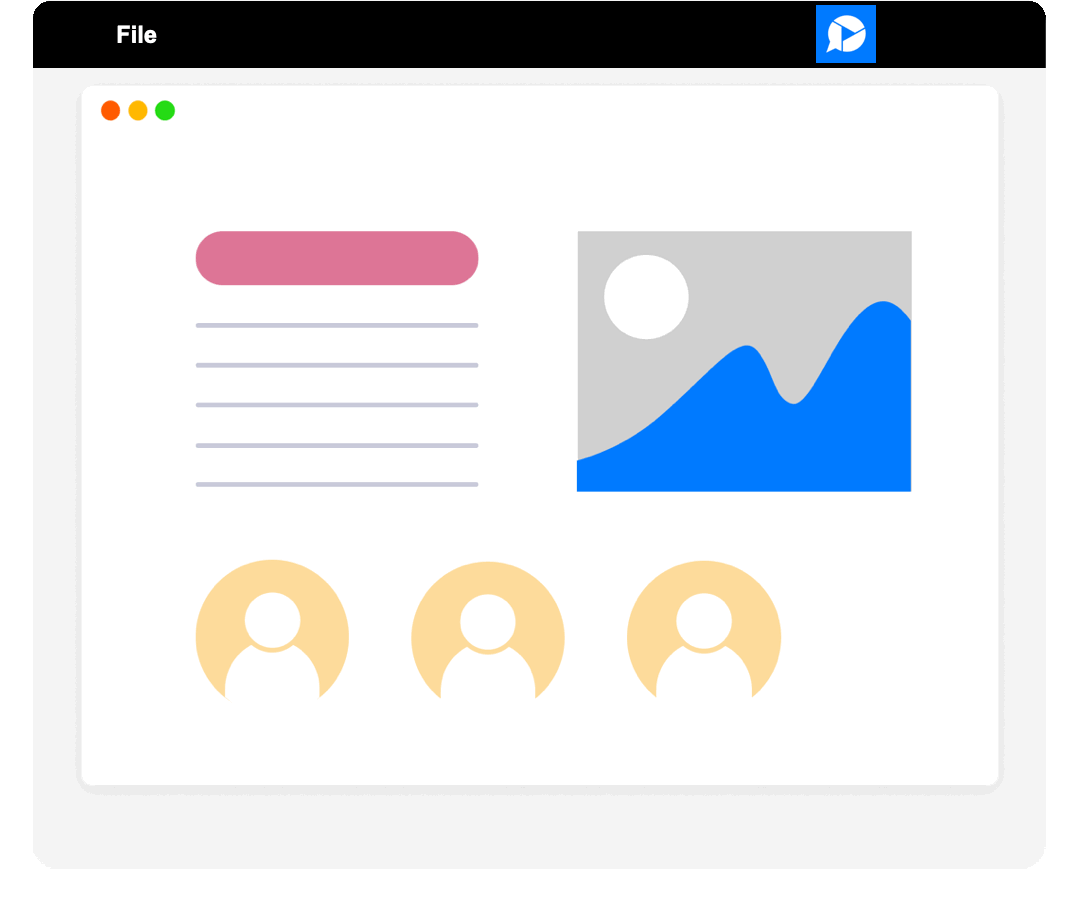
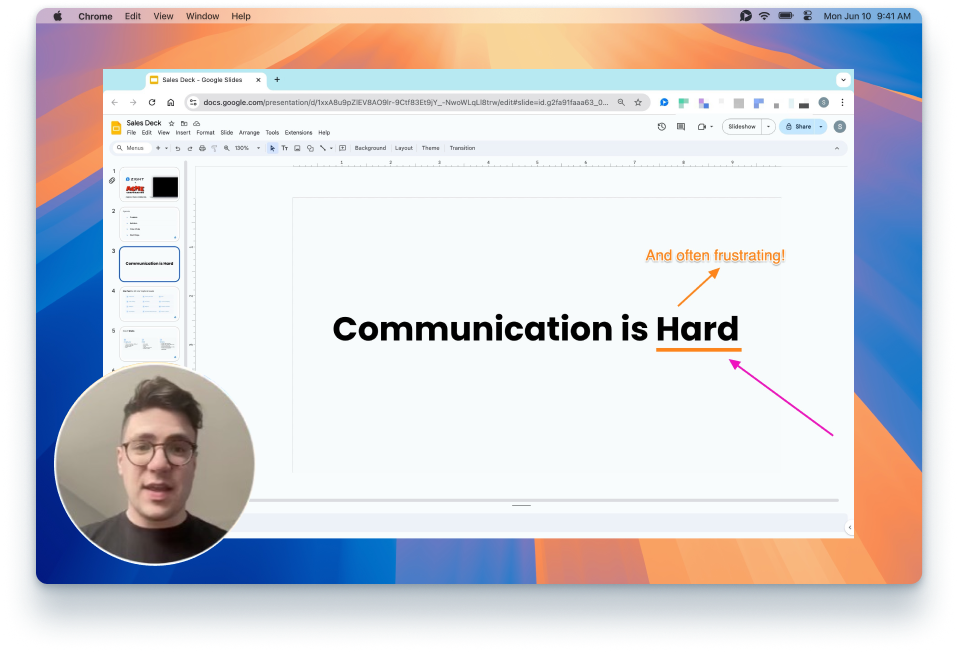
Annotate and Edit Mac Screenshots

Annotate and edit screenshots with ease. Annotations help clarify your points with arrows, text, highlights, shapes, or blurring.

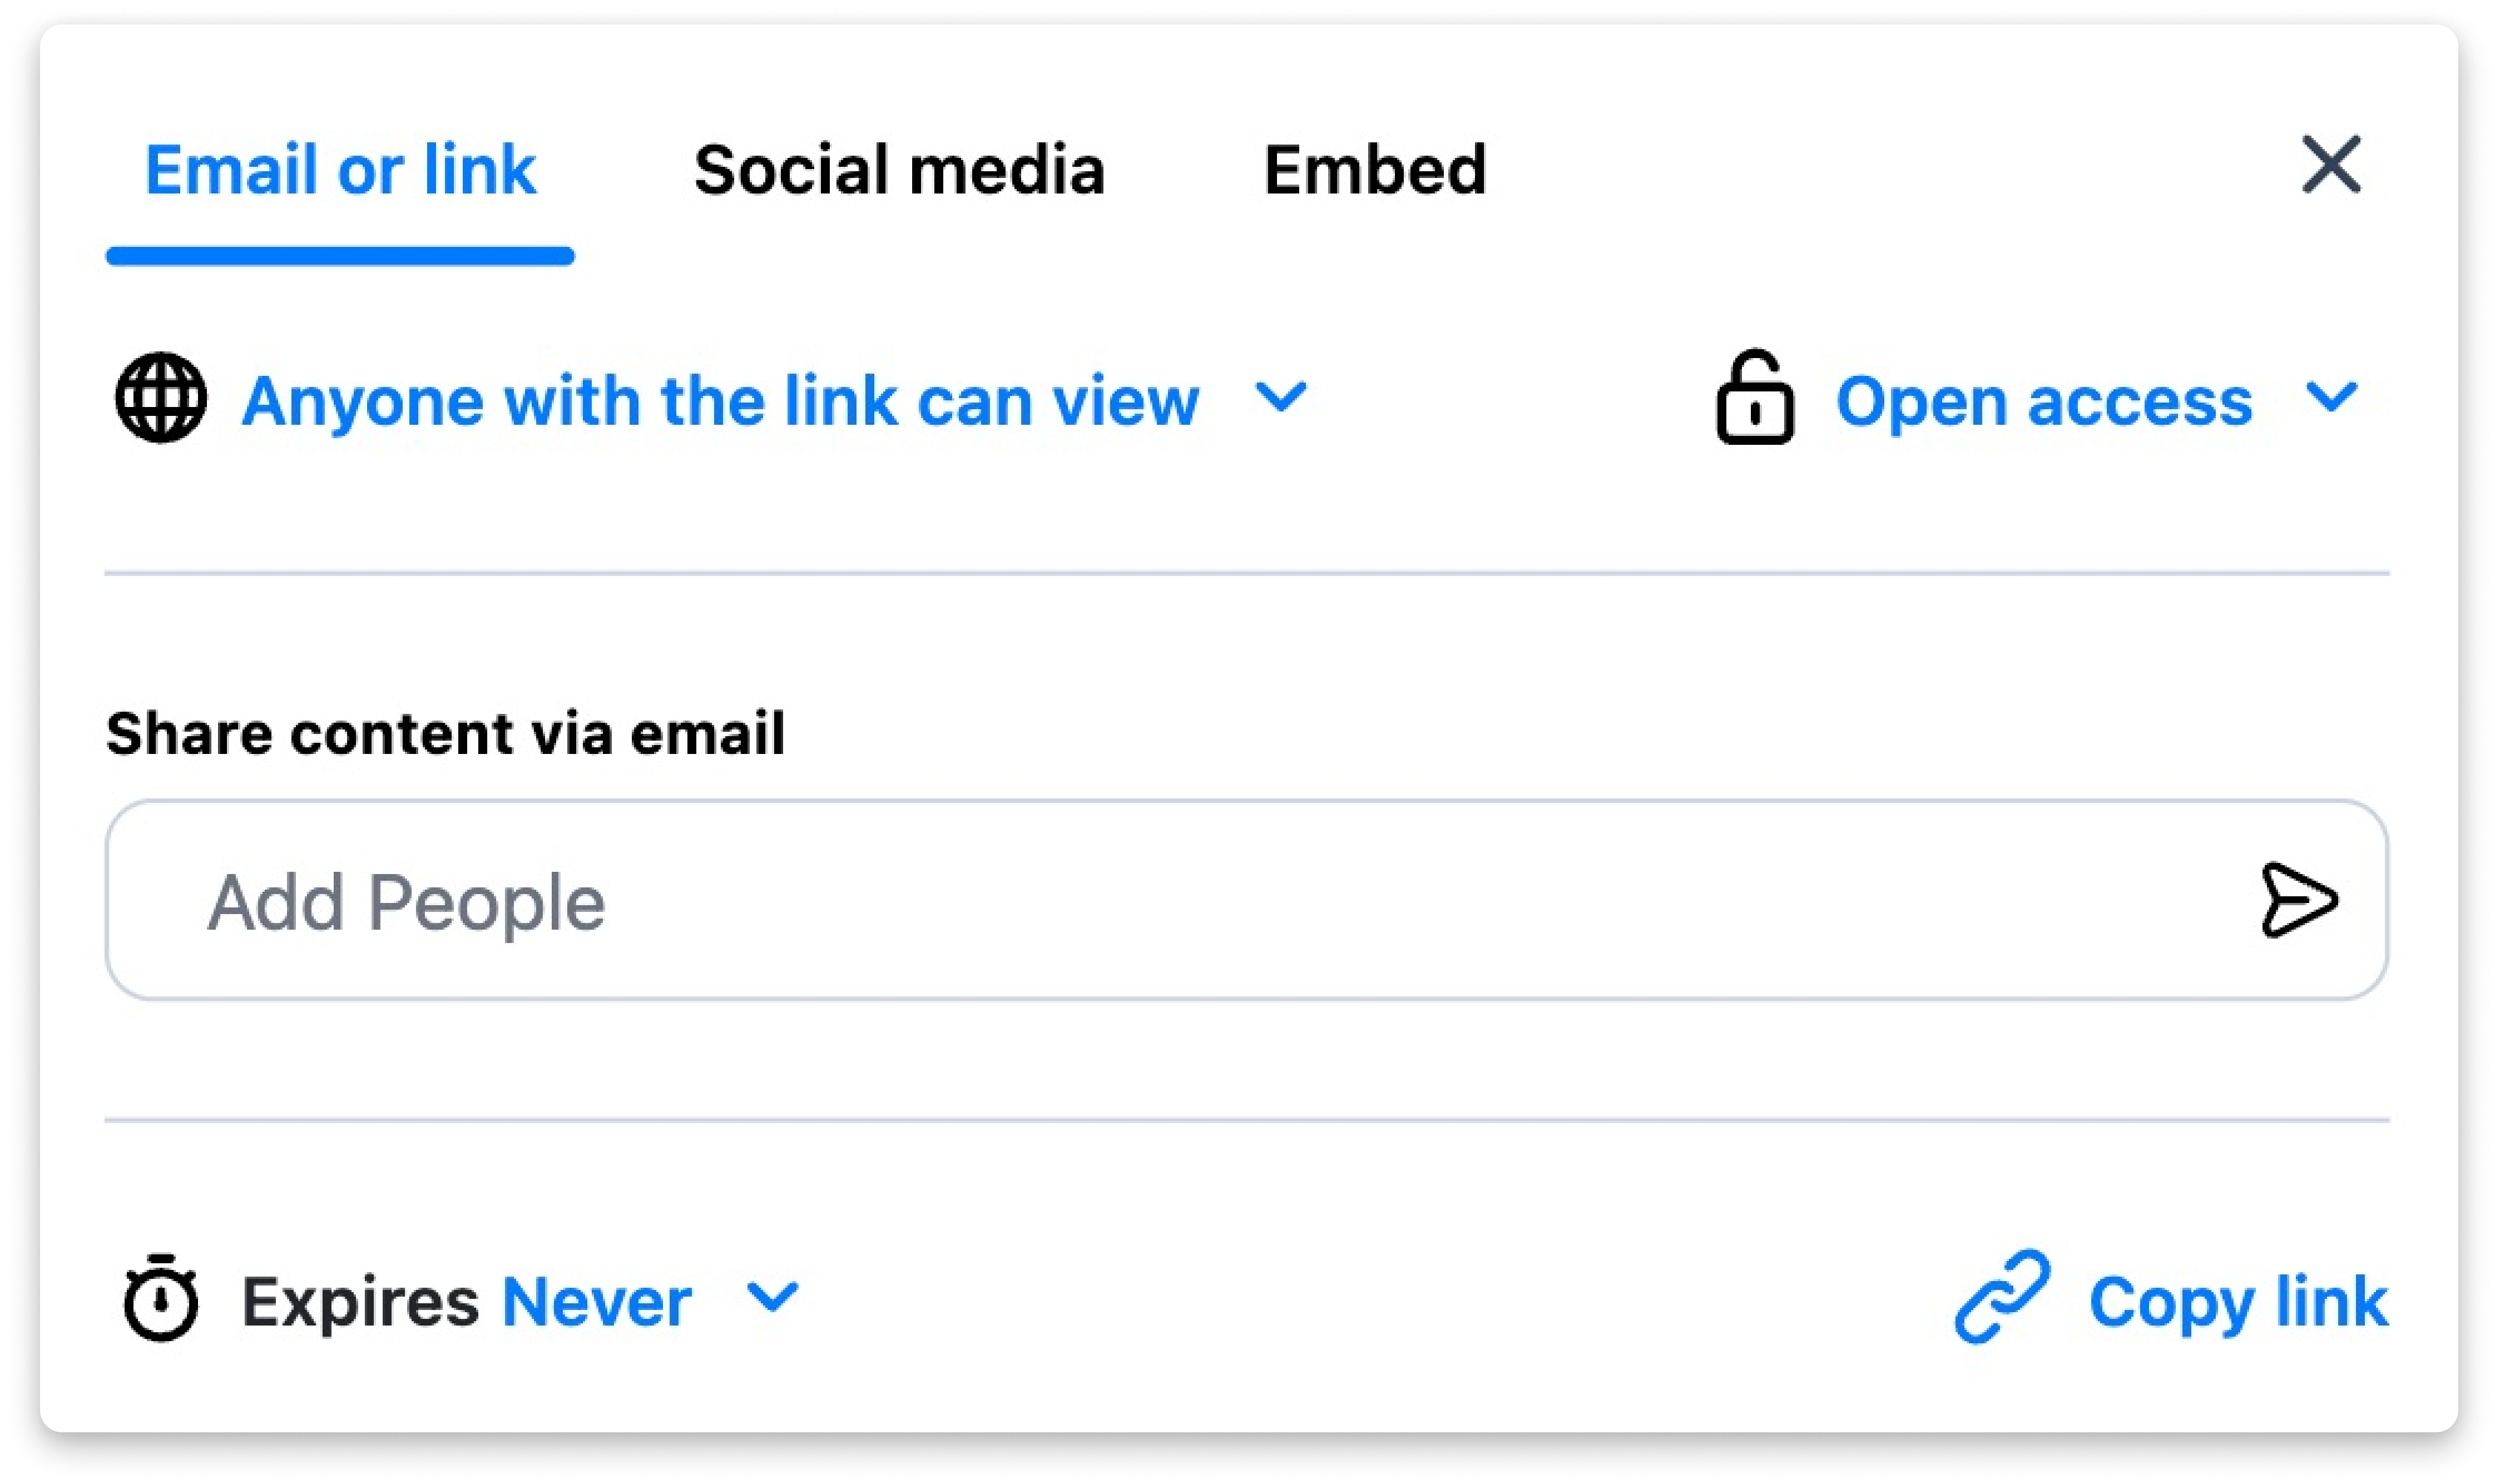
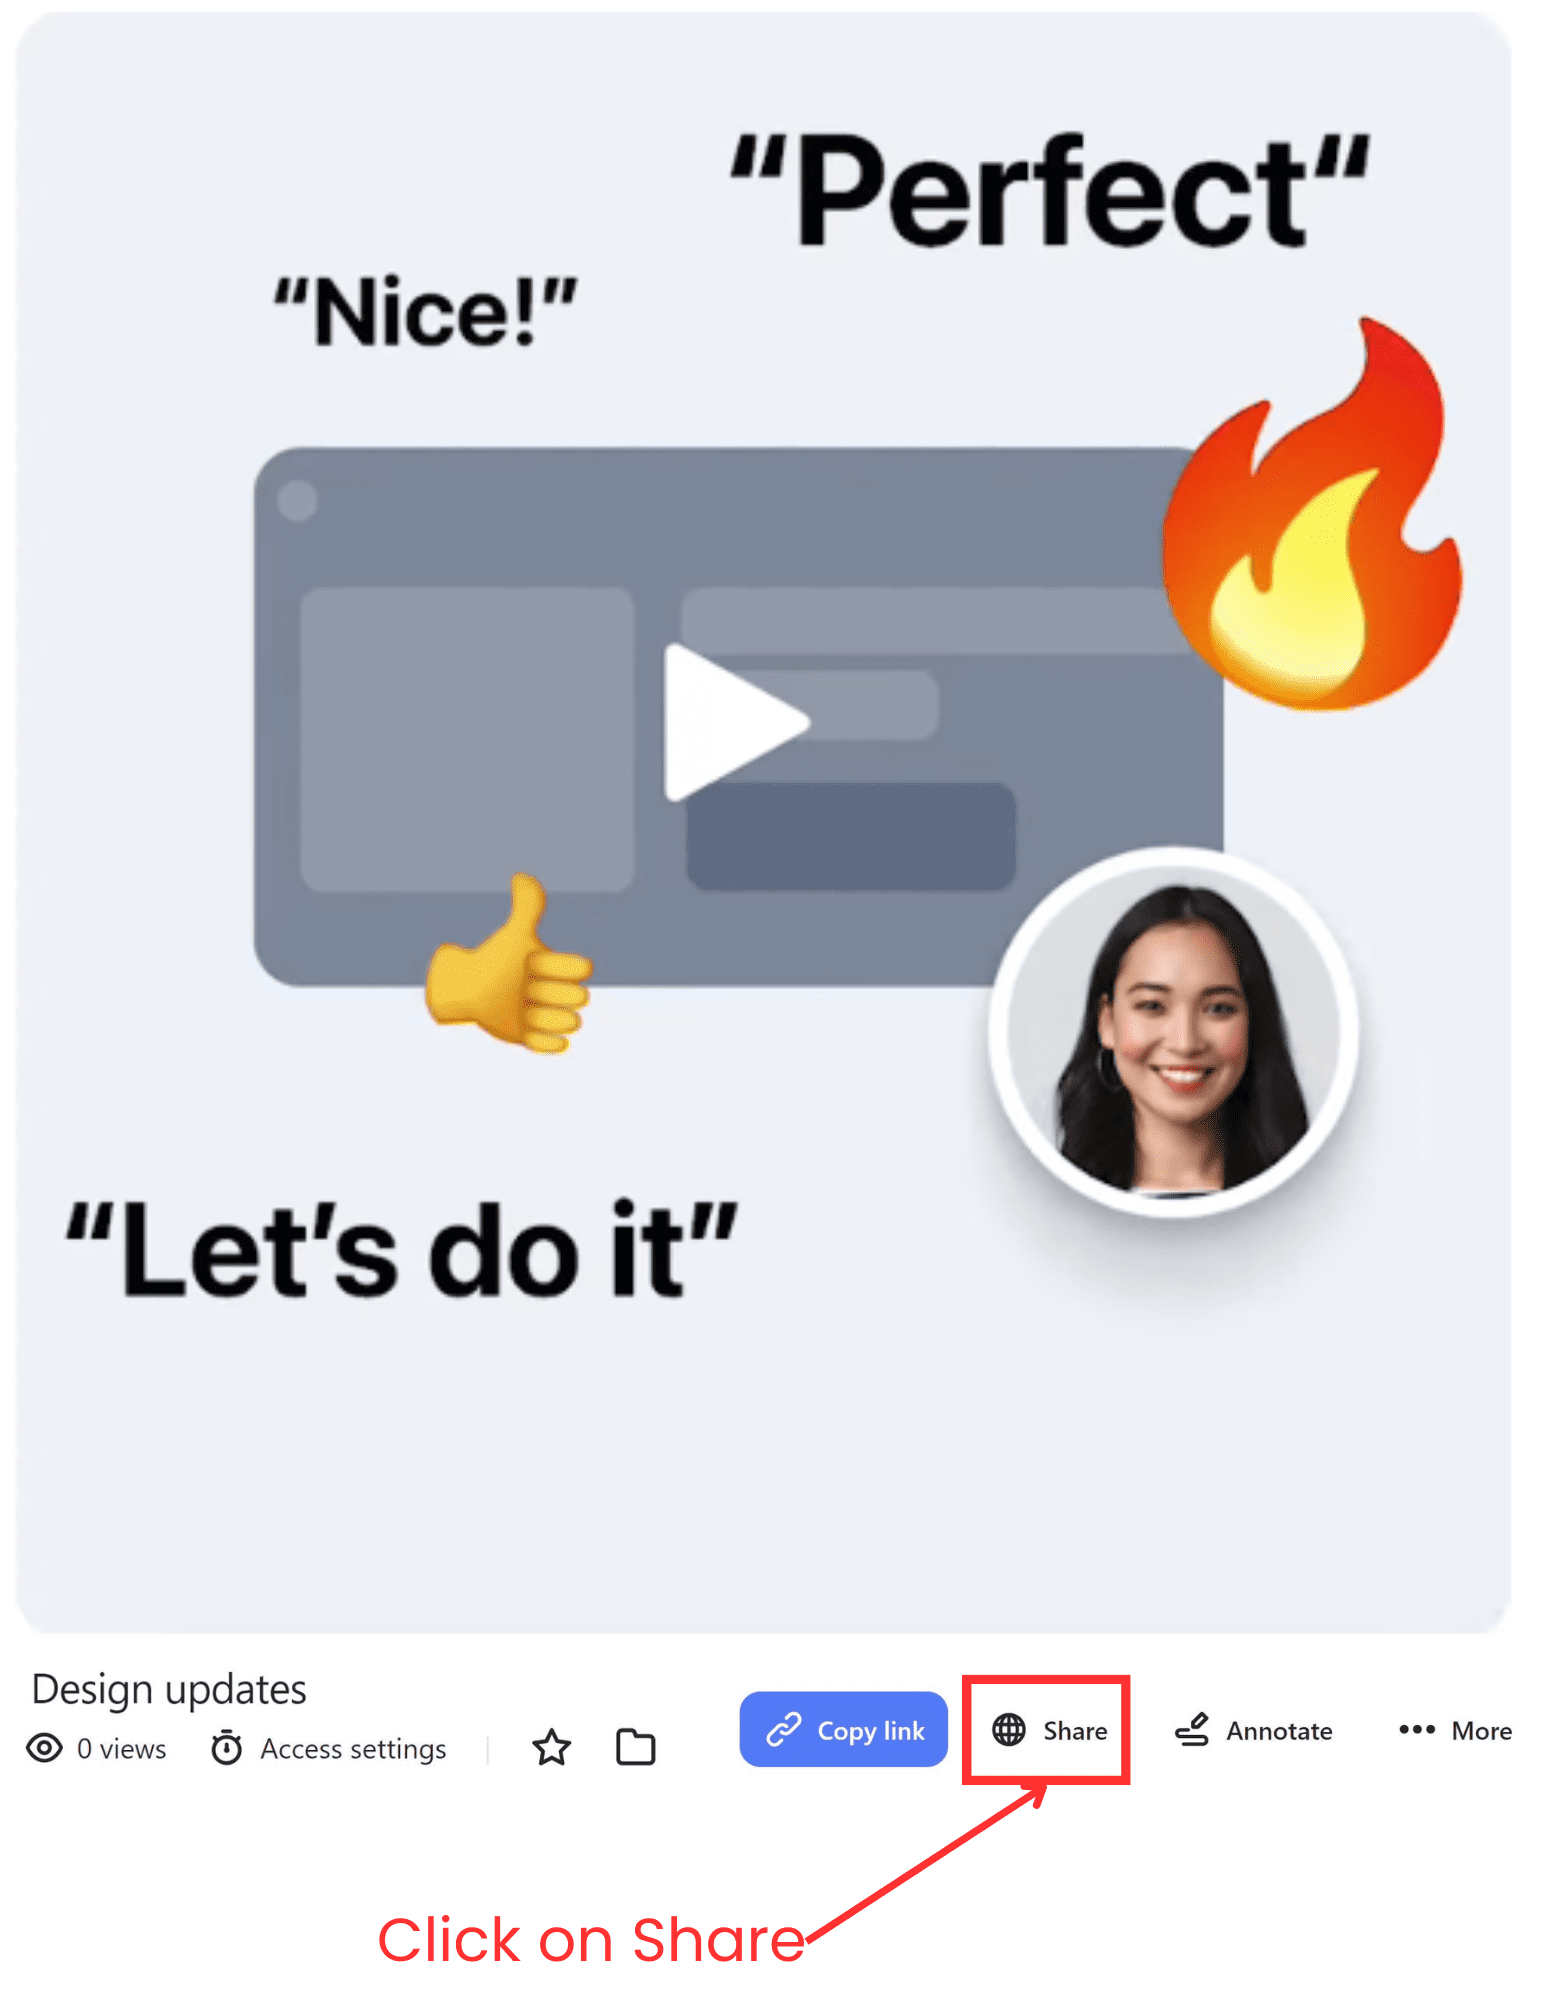
Share or Paste Your Screenshot

Screenshots taken with Zight are instantly uploaded to the cloud and content can be easily shared anywhere via:

  • URL
    Use Command + C to copy the link
  • Copy and paste content
    Use shortcut Ctrl + Command + C to copy
  • Copy a direct link
    Use shortcut Shift + Command + C
  • Download the file locally
    Use shortcut Command + D
  • Paste your content or links that have been copied
    Use shortcut Command + V

Screen Recording Video or GIFs on Mac

Quickly communicate ideas with more than novel-length textual descriptions. In addition to screenshots, you can also record your screen with audio or as a GIF. Record with or without a camera overlay and set your preferences for audio and mic.

To record your screen on Mac with Zight.

Option 1:

  • Click on the Zight toolbar icon and select the record option
  • Select your recording preferences and start your recording

Option 2:

  • Use keyboard shortcuts. Several keyboard shortcuts are available for your recording needs.
    • Shift + Command + 6 or set your own shortcuts in preferences to start or stop videos
    • Check your preferences for other shortcut options

Add Annotations & Edit Recordings

With Zight, you can add emphasis to your recording by adding annotations while recording.

  • Add arrows, highlights, shapes, and more
  • Once you are done recording, edit recordings with trims or cuts
  • ‘Trim’ edits out the ends, while ‘Cut’ edits out the middle sections

Upload & Share Files

Just like with screenshots, your Zight recordings are instantly uploaded to the cloud and content can be easily shared anywhere via url.

Sharing Options & Shortcuts

  • URL
    Use Command + C to copy the link
  • Copy and paste content
    Use shortcut Ctrl + Command + C to copy
  • Copy a direct link
    Use shortcut Shift + Command + C
  • Download the file locally
    Use shortcut Command + D
  • Paste your content or links that have been copied
    Use shortcut Command + V

You can also upload other files you Zight to take advantage of easy sharing, view notifications and set view security preferences.

Screen Record & Screen Capture
Get Zight for free
  • Screenshots, recordings, and GIFS
  • Annotate with arrows, lines, and blur
  • Instantly share with a link

Learn How Teams Use Zight

Here are some ideas on how you can use Zight to improve your communication, be more productive and work more efficiently.

Frequently Asked Questions

Yes. Zight offers a free plan that’s great for the occasional quick project. Our free plan allows for up to 25 captures of screenshots or recordings.

While Zight has a free plan available, paid plans vary based on plan type and number of users. The Pro Plan is available for $9.95 per month, Teams plans are $8.00 per month with a minimum of 3 users, and custom enterprise plan quotes are available. You can speak with someone on our sales team if you would like to learn more about Enterprise pricing. Contact Sales here.

  • Mac

  • Windows

  • Chrome

  • iOS

Zight is available for Mac, Windows, Chrome and iOS. Zight supports Windows 10 and up as well as MacOS BigSur (11.0) and up.

We have a support portal available. You can find it here.

A screen capture tool creates an image of your entire screen, or a specific part of it—to share context and information easily with others. A screen capture may also be referred to as a screenshot or screen recording.

To screenshot Mac with Zight, open the app or Chrome extension, the click the Capture button. Select the entire screen or a region of the screen you want to capture. Alternatively, you can select Shift + Command + 5 and select the region of your screen to capture.

Mac PCs have a built-in snipping tool you can access from the Launchpad>Other> Screenshot. Alternatively, you can select Shift + Command + 4 to access and use it. Unlike Zight, this Mac screenshot app can make your desktop quite cluttered since all screenshots get saved locally on your device.

Want better storage and screen capture options? Zight really is your best all-in-one app!

When you want to take a screenshot on a Mac, you can select Shift + Command + 4 to use the built-in screenshot app, or Shift + Command + 5 to use Zight.

Zight allows you to take a screenshot on a Mac without clicking the app’s buttons. To do so, use the Shift + Command + 5 shortcut, then use your mouse to select either your entire screen or a region of it. Once you select the region to capture, Zight will take the screenshot and save it to the cloud.

In addition, you can also take a screenshot without pressing your keyboard. Just navigate to the Zight app and select Capture to open the screenshot menu. Then, use your mouse to select the area you want to capture and take a screenshot.

You’ll then get a shareable link where you can edit and share the capture with others.

To take a partial screen shot on your Mac, open Zight then select the Screenshot option. Alternatively, use the Shift + Command + 5 shortcut to open the screenshot menu. You’ll then get the option to drag and select the area of your screen you want to capture. Use your mouse to select the region of the screen for your screenshot image, and Zight will capture the screenshot once you release the mouse.

You can capture an entire page using Zight. To do so;

  1. Open Safari and navigate to the page you want to capture.
  2. Press Command + Shift + 5 to open the Mac Screenshot app.
  3. Click on the “Options” button in the Screenshot app.
  4. Select “Capture Entire Screen” or “Capture Selected Window.”
  5. Click on the “Capture” button.

Using Zight, you can select the size of your screenshot before the capture. To do so, just open the screenshot app, then click Capture. Here, select the area of the screen you want to capture by dragging and releasing your mouse.

However, if you are not satisfied with the size of your screenshot, just wait for it to upload to the cloud. Zight will also generate a link to the screenshot, and you can follow that link to crop and edit your screenshot to your ideal size.

To capture the entire screen and page on MacBook Chrome, install the Zight Chrome extension and open it.

Then, in the preview window, click the screenshot option and select capture entire page. Zight will capture all content on that page and save your screenshot in the cloud.

Zight allows you to copy your screenshots to clipboard easily. To do so, capture screenshots through the apps or extension, and Zight will automatically generate and copy the links to these screenshots to your clipboard.

If you want to share a previously taken screenshot, you can open your Zight dashboard, find the screen capture you want and copy its link to your clipboard. You will then only need to paste this link to your recipient’s communication channel and they can follow the link to view your capture without downloading it.

To snip on a Mac, you can use Mac screenshot shortcuts or a control panel to capture a specific portion or the whole screen:

  1. Press Shift + Command + 4 simultaneously to bring up a crosshair cursor that you can drag to select the area you wish to capture.
  2. To take a screenshot of the whole screen, press Shift + Command + 3.

Alternatively, you can use Zight to snip screen captures. Just open the app or use the Shift+ Command + 5 shortcut to get the option to select which part of your screen you want yo snip.

Zight makes it easy to highlight your Mac screenshots. Just go to your dashboard, and click on a screen capture or “drop” that you want to highlight. Click the annotate button and you get different ways to highlight your screenshot.

For example, you can add an arrow, line, text, ellipse, rectangle, a marker, or even emojis to improve your communication. For most editing, you choose an ideal color that’ll attract the attention of your viewer.

You can also highlight your screenshot on a Mac even when using the built-in app. To do so;

  1. Open the screenshot in Preview.
  2. Click on the “Markup” button in the toolbar.
  3. Select the “Highlight” tool from the toolbar.
  4. Drag your cursor over the area you want to highlight.

Zight lets you easily crop screenshots on your Mac. After your screen shot is saved in the cloud, follow the link and hit the annotate button. You will find the option to crop it on a panel left to the screenshot. Click Crop and you can click, drag, and release the rectangular selection. You can also use the same rectangular selection of your screenshot to rotate and scale the image. You can also flip the image on the same page.

You can use the snipping tool on a Mac by pressing the keys Shift + Command + 4. Drag the crosshair to capture a specific portion of the screen. The part of the screen that’s going to be captured will darken.

If you want to copy the snip to the clipboard without saving it, press and hold the Control key while you click on the snip.

There could be several reasons why you can’t snip on your Mac. Here are some things you can try:

  1. Ensure you’re using the correct keyboard shortcut. The default shortcut for snipping is Shift + Command + 4 .
  2. Check if your keyboard is working properly.
  3. Restart your computer and try again.
  4. Check if there’s enough space in your hard drive.

If the above troubleshooting doesn’t work, install Zight on a free plan and you can snip 25 images ad save them to the cloud. You’ll only need to open the app, click the screenshot option, and snip.

By default, your Mac screenshots are saved to a designated Desktop folder. To change the location, open the snipping tool menu, then click Options and Save to then choose a location. Alternatively, you can drag thumbnails to specific folders to organize the snips saved.

If you want even better storage, Zight saves all your snips to the cloud so you can always recover them in future.

If you’re using a Windows keyboard on a Mac, you can still take screenshots by pressing Windows + Shift + 3 keys. This will take a screenshot of the entire screen. If you want to take a screenshot of a specific area, press Windows + Shift + 4 keys.

Macs do have a native snipping tool called Screenshot. You can find it in the Other folder inside Launchpad

If you want to take screen recordings on a Mac computer, install Zight. Then, open the app or Chrome extension and click the Record button. Choose whether to record a full screen or select region, decide whether to record screen only or with your webcam.

Finally, choose whether to record video or GIF, and set your audio and camera settings. You will fins an Audio/Mic button on the side and if you want to record your webcam with the screen, click on the camera icon to select your camera options.

Open you Zight app, navigate to Record, and select your video preferences. Choose your screen size and webcam options, then Video if you want to record with audio. Note that when you record a GIF, the mic is automatically turned off. To ensure you get your audio just fine, click the Audio/Mic icon and select the microphone to use.

To record your Mac screen with QuickTime:

  1. Open QuickTime Player from your Applications folder.
  2. Choose File > New Screen Recording from the menu bar.
  3. Before starting your recording, you can click the arrow next to the Record button to change the recording settings.
  4. To record your voice or other audio with the screen, choose a microphone. You can also choose a mouse button for the recording to show your mouse clicks.
  5. Click the Record button to start recording.

You can use Zight to record a video of your screen or a presentation on your MacBook. To do so, open the app or Chrome extension and click the Record button. Then, set your recording preferences – screen only, screen & cam, or cam only. Choose between video and GIF and set your audio or camera preferences. When done, click the blue Start Recording button.

Alternatively, you can use your built-in app as follows:

  1. Open QuickTime Player from your Applications folder.
  2. Choose File > New Movie Recording from the menu bar for the preview window.
  3. Choose whether to record your mouse, webcam, and audio, then click the Record button to start recording.

This could be because:

  • QuickTime screen recorder isn’t allowed to use your Mac’s microphone
  • Your microphone isn’t set to be the sound input device
  • The sound input volume is too low

Here are some things you can do to troubleshoot this:

  • Check if your microphone is working fine
  • Ensure your microphone is set as the sound input device
  • Select the built-in microphone in QuickTime Player

All screen recordings on QuickTime Player on macOS record audio too. To ensure this, select the appropriate audio settings. Click the arrow next to the recording button to choose a microphone and adjust the volume level.

Fortunately, you can also use Zight to record your screen video with sound. Just open the application, click Record, then video. Select the region of the screen to record and whether to include your webcam. In addition, click on the mic on to turn it on and record with sound.

You can use the QuickTime Player app to download audio from YouTube videos. To do so, download and install a third-party plugin like Soundflower. Once installed, open it and click Preference Settings, then Sound Settings, Output, and Soundflower.

Then, play the YouTube video whose audio you want to download. Open your QuickTime Player and navigate to New Recording. In the preview window, click down arrow next to the Record button and select Soundflower as the audio source. Now you can click the Record button to record audio from YouTube.

Open your Zight app and click the Record button. Then, in the recording preferences, you can choose between Full Screen or Select Region. Also, choose between Screen Only or Screen & Cam.

To be able to talk over your recording, ensure you select Video instead of GIF since the latter mutes the mic. Ensure the Audio/Mic option is turned on and you can start recording the screen and speaking over it.

To make a high-quality GIF on Mac, open Zight and click the Record or GIF button. With either button, you’ll open the recording preferences where you pick the part of the screen and whether to include your webcam. Then, under recording format, select GIF and click Start Recording.

You can use the Zight tool to create high-quality GIFs on Mac. On a free Zight plan, you can record 15-second GIFs while a premium plan lets you record longer 60-second GIFS.

Zight is your best free Mac GIF maker. The free plan will let you create and upload up to 25 15-second GIFs for free.

Alternatively, you can also us the free GIF maker from Apple called Giphy Capture. But unlike Zight, this app does not offer cloud storage and easy sharing options that use minimal space in your desktop.

The easiest to use GIF maker for Mac is Zight. It lets you create GIFs in a few clicks, with options about screen and webcam easy to select. In addition, your GIFs automatically upload to the cloud and you get a shareable link to send to your recipients.

Use Zight’s video to GIF feature to convert a video into GIF. You only have to open the video you want to convert, and open the Zight app.

As the video plays, click the GIF button on Zight to get the recording options. Choose the area of your video you want to convert into a GIF and click Start Recording. Remember that GIFs record without sound.