Screen recording is a useful communication tool that makes it easy to share what you are seeing on your computer screen with others. From helping train employees to create content to share with your audience, screen recording has a lot of prominent use cases in today’s digital age. However, many people aren’t sure how to record and share their computer screen in real-time.
In this ultimate guide to screen recording, we’ll cover everything you need to know about this important feature, including why it’s useful, how to screen record on both Mac and PC computers, and the top screen recording software solutions you can use to make the process a breeze!
Why Should You Screen Record?
You might want to record and share your screen for many reasons. In business settings, screen recorder software is often used to help train or explain new concepts to team members. In many cases, simply sending team members a video of your recorded screen along with audio of you explaining what they are seeing can help eliminate the need for in-person meetings. This can be especially helpful when working with remote teams since hosting an in-person meeting isn’t always a convenient option in this case.
In fact, the rise of remote work has made screen recording more popular than ever. When you aren’t able to meet with your employees face-to-face, it becomes all the more essential to use the right communication tools. Screen recording apps make it easy to provide remote employees with helpful visual aids that can make the process of onboarding and training these employees much more streamlined and effective.
Lastly, screen recording is essential for content creators such as Twitch streamers. If you want to share clips or live streams of you playing a video game, the ability to record what’s happening on your gaming screen is an all-important first step. Beyond video game streamers, screen recording is also a useful tool for a variety of other content creators, allowing them to generate original content that is easy to create and share.
These are just a few of the more common use cases of high-quality screen recording tools such as Zight. Whether you’re a streaming hobbyist, a manager in charge of training remote teams, or anything in between, there are plenty of instances where a screen record app can come in handy!
How to Screen Record on a Mac
Screen recording on a Mac is a relatively simple and straightforward process. To record and share your screen using your Mac computer, here are the steps that you should follow:
- Open QuickTime Player: Launch the QuickTime Player application on your Mac. You can easily find this application by searching for it in the search task bar located at the upper right-hand side of the computer screen.
- Choose New Screen Recording: Click on “File” in the menu bar, then select “New Screen Recording.” This will open the screen record app that is built into the QuickTime Player application.
- Adjust Settings: Click the red record button and choose to record the entire screen or a selected portion. You can also enable the microphone if you need to record audio.
- Start Recording: Click the “Record” button, and your screen recording will begin.
- Stop Recording: After you’ve captured what you need, click the stop button in the menu bar and save your recording. QuickTime Player will then save the screen recording as a MOV file that you can easily share online.
How to Screen Record on a PC
The best way to record your screen on a Windows PC is to use the Xbox Game Bar that is built into Windows. This tool is designed to record games you play on your PC or stream from your Xbox console, but it can also be used to record screen activity from other Windows applications. To record your screen on a Windows PC using the Xbox Game Bar, here are the steps that you should follow:
- Open Xbox Game Bar: You can press Win + G to open the Xbox Game Bar. You can also find the Xbox Game Bar by going to Settings > Gaming > Xbox Game Bar.
- Start Recording: Click on the red record button to start your recording. You can also start recording by pressing Win + Alt + R.
- Adjust Settings: Xbox Game Bar allows you to configure settings for your screen recording. This includes settings such as audio capture and recording duration as well as display settings such as theme, environment, and lighting.
- Stop Recording: You can click the Stop button on the Xbox Game Bar to end and save your screen recording, or you can end and save the recording by using the keyboard shortcut Win + Alt + R.
Along with using Xbox Game Bar to capture screen recording, Windows PCs also enable you to record your screen using the Windows Snipping Tool. Here are the steps you can follow to screen record using this tool:
- Make Sure You Are Running The Latest Version of Windows 11: Screen recording using the Snipping Tool is a feature that’s only available on Windows 11 build number 22621.1344 or higher. If you are using an older version of the OS, you can install the latest update by going to Settings > Windows Update. You will then need to update the Snipping Tool as well by locating it in the library of the Microsoft Store app and downloading the latest update file.
- Open the Snipping Tool: You can open the Snipping Tool by selecting the app’s shortcut from the Start menu or by using the keyboard shortcut Win + Shift + S.
- Start Recording: Once you open the Snipping Tool, a small recording toolbar will appear at the top of the screen. You can then select the portion of your screen that you want to record and begin by clicking the Start button on the toolbar.
- Stop Recording: To end your screen recording, click the Stop button on the Snipping Tool’s recording toolbar. Once you are finished recording, you can click the Share button to share your recording with another person or app, and you can click the Save button to save the screen recording as an MP4 file.
Screen Recording Tools
While PC and Mac computers both offer built-in tools for capturing screen recordings, these tools can be very limited compared to a lot of the third-party screen recording apps that are available for download. If you would like to access more advanced features and functionalities when capturing screen recordings, here are some of the top screen recording tools to consider:
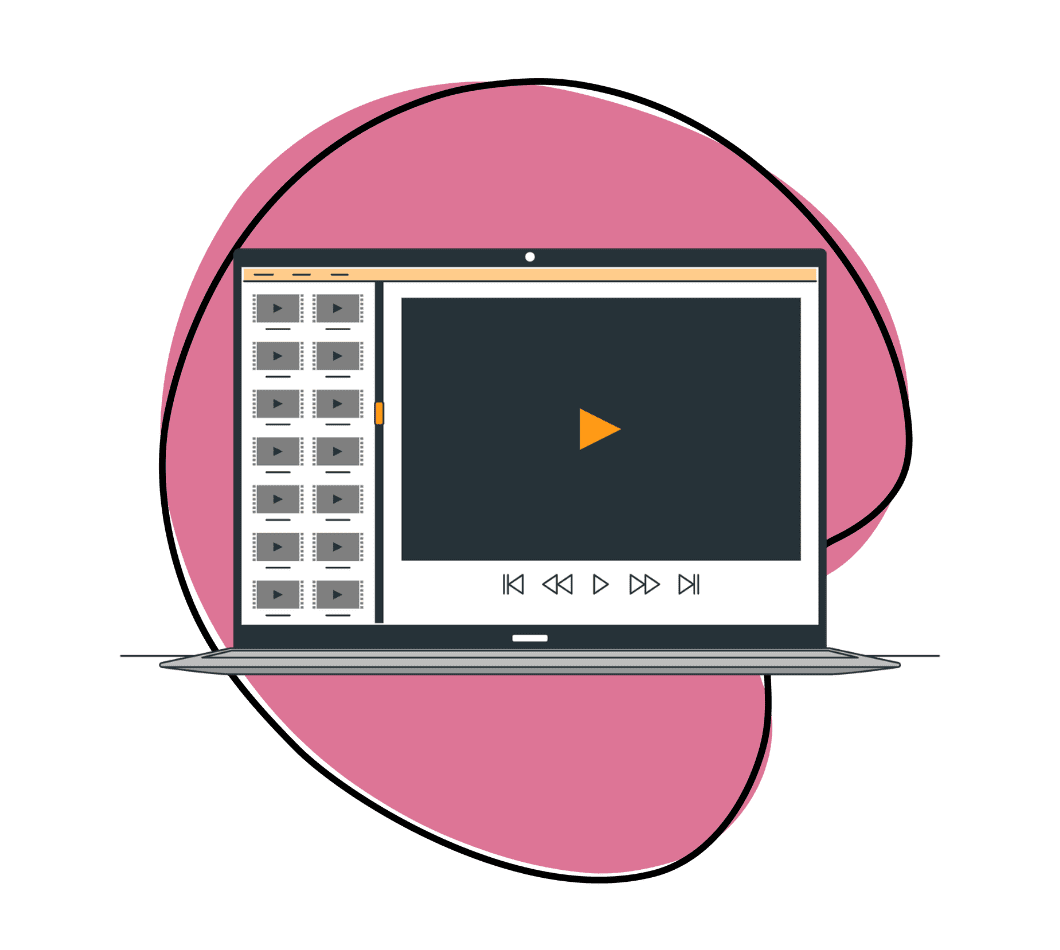
1. Zight
Zight is an innovative, AI-powered screen recording tool that is designed to work with PC, Mac, and iOS devices. With Zight, you are given a wide range of options to customize your screen recordings, including the option to record your full-screen activity or only a part of your screen. Once your recording is complete, Zight’s video editing tools make it easy to trim, cut, and edit your video. Zight also automatically generates a shareable link for each video file for effortless sharing and collaboration.
One of the features that really sets Zight apart from other screen recorder tools on the market is Zight AI. With Zight AI, you can automatically generate custom titles and summaries for your videos, automatically generate captions and subtitles, translate the audio in your videos into over 50 different languages, and a whole lot more!
Thanks to these powerful features combined with Zight’s ease of use and streamlined interface, Zight stands out as one of the most capable screen recording tools ever released. To see for yourself why Zight is the top choice for quickly generating polished and professional screen recordings, be sure to sign up for a free Zight demo today!
2. Camtasia
Camtasia is an all-in-one video editing platform developed by TechSmith that includes a screen recorder tool and a wide range of other video tools. Camtasia makes it easy to capture screen recordings, and once your recording is complete, you can use Camtasia’s video editing features to add effects, annotations, animations, and more.
Camtasia is designed to make video editing a breeze regardless of your technical know-how. Offering a library of hundreds of templates, assets, and text effects, Camtasia lets you edit and customize your screen recordings in almost every imaginable way using only point-and-click commands. If you are looking for a feature-rich yet user-friendly screen recorder focusing on video editing, Camtasia by TechSmith is a fine option.
3. OBS Studio
If you want to use a free and open-source screen recording tool, OBS Studio (Open Broadcaster Software) is a great option to check out. Originally designed for live streaming, OBS Studio offers robust screen recording capabilities. It supports multiple platforms, including Windows, macOS, and Linux, and it offers an impressive range of video editing features.
While OBS Studio may have a steeper learning curve compared to some other options, its flexibility and customization options make it a favorite among content creators. If you have the time and skill to learn the ins and outs of this platform, you’re sure to find it a very advanced and capable tool for capturing screen recordings — and, best of all, OBS Studio is completely free to download and use.
4. Snagit
With Snagit, speed, and simplicity are the name of the game. This popular screen recording app may not offer the advanced features and customization options you get with more advanced platforms, but what it lacks in functionality, it makes up for in efficiency and ease of use.
Snagit’s intuitive interface allows you to capture screen recordings, add annotations, and share your creations effortlessly. For those who need more advanced video editing features than this, Snagit may not be the best solution. However, if you are looking for a simple and straightforward tool ready to use right out of the box, you will surely find a lot to like about Snagit’s user-friendly interface.
5. Bandicam
Bandicam is a lightweight yet powerful screen recording app designed exclusively for Windows PCs. Known for its minimal impact on system resources, Bandicam is an excellent option for users with less powerful hardware. However, this screen recorder app still manages to pack a punch despite its lightweight design, offering an impressive list of video editing features.
With Bandicam, you can draw on your video in real-time, add webcam overlay to the video, schedule recordings to begin automatically at specific dates and times, and add a variety of animations and effects. Bandicam is also free to download and use, making it a great option for anyone who wants to access premium screen recorder features without paying a premium price.
Bonus Tips for Effective Screen Recording
Screen recording can be an invaluable tool, but to get the best results, it’s important to consider several factors beyond just the basic steps. Here are some advanced tips to ensure your screen recordings are professional, clear, and effective:
1. Plan Your Content
Before you hit the record button, outline what you want to cover. This can be a script or a list of key points to ensure you stay on track and cover all necessary information without unnecessary pauses or digressions. This preparation helps make your recording more coherent and engaging.
2. Use High-Quality Audio
Good audio quality is crucial. Use an external microphone rather than the built-in one on your computer, as it will typically produce clearer and more professional sound. Additionally, record in a quiet environment to minimize background noise.
3. Optimize Your Recording Settings
Adjust your recording settings for optimal quality. For instance, record at a high resolution (at least 1080p) to ensure your video is clear, especially if your content includes detailed visuals or text. Also, set your frame rate to 30 fps or higher for smooth playback.
4. Clear Your Desktop and Close Unnecessary Applications
Before recording, tidy up your desktop and close any applications or browser tabs you don’t need. This reduces distractions and potential interruptions, and it can also enhance the performance of your recording software.
5. Use Visual Cues
Incorporate visual cues like mouse highlights, click animations, and keystroke displays. These cues help viewers follow along more easily and understand exactly what you are doing. Many screen recording tools offer these features as built-in options.
6. Leverage Hotkeys
Familiarize yourself with the hotkeys of your screen recording software. Hotkeys allow you to start, pause, and stop recordings quickly without moving your mouse, which can help you maintain a smooth flow.
7. Edit Your Recordings
Post-recording editing can significantly enhance the final product. Trim unnecessary parts, add annotations, zoom in on important details, and insert transitions to make your recording more polished. Tools like Camtasia, Zight, and OBS Studio offer robust editing features.
8. Include a Call-to-Action
If your screen recording is for marketing or instructional purposes, include a call-to-action (CTA). This could be a prompt to visit a website, sign up for a newsletter, or follow along with the next steps in a training program.
9. Practice Makes Perfect
Do a few practice runs before the final recording. This can help you iron out any issues, get comfortable with the software, and ensure your delivery is smooth and confident.
10. Monitor Your System Performance
Ensure your computer can handle screen recording without lag. Close resource-intensive applications and monitor your system’s performance during recording. A powerful, well-maintained computer ensures smooth and uninterrupted recordings.
11. Backup Your Recordings
Always save your recordings in multiple locations or use cloud storage solutions. This protects against data loss due to hardware failure or accidental deletion.
12. Choose the Right Format
Select a recording format that balances quality and file size. MP4 is a widely used format that offers good quality with manageable file sizes, making it suitable for most screen recordings.
13. Share Thoughtfully
Consider how you will share your recordings. Platforms like YouTube, Vimeo, or specialized cloud services like Zight provide easy ways to share and distribute your videos. Ensure the platform supports the resolution and format of your recording.
14. Add Subtitles or Captions
Adding subtitles or captions can make your recordings more accessible to a broader audience, including those who are hearing impaired or non-native speakers. Many tools offer automatic captioning features, which you can then review and edit for accuracy.
15. Test Audio Levels
Before starting your main recording, do a quick test to check your audio levels. Ensure your voice is clear and not too loud or too soft compared to any other audio in your recording.
By incorporating these tips, you can elevate the quality of your screen recordings, making them more effective and engaging for your audience. Whether you’re creating content for business training, educational purposes, or personal projects, attention to detail and thoughtful preparation can make a significant difference.
Conclusion
The ability to capture, edit, and share screen recordings is a functionality that can have a wide range of use cases. If you are looking for an advanced yet intuitive screen recording app that goes beyond basic screen recording, there’s no better tool on the market today than Zight!
Zight’s powerful video editing features, intuitive interface, and advanced AI tools make it easy to record, customize, and share high-quality screen recordings. To see why so many business leaders and content creators trust Zight as their go-to screen recording tool, we invite you to sign up for a free Zight demo today.


