Easy Screen Capture
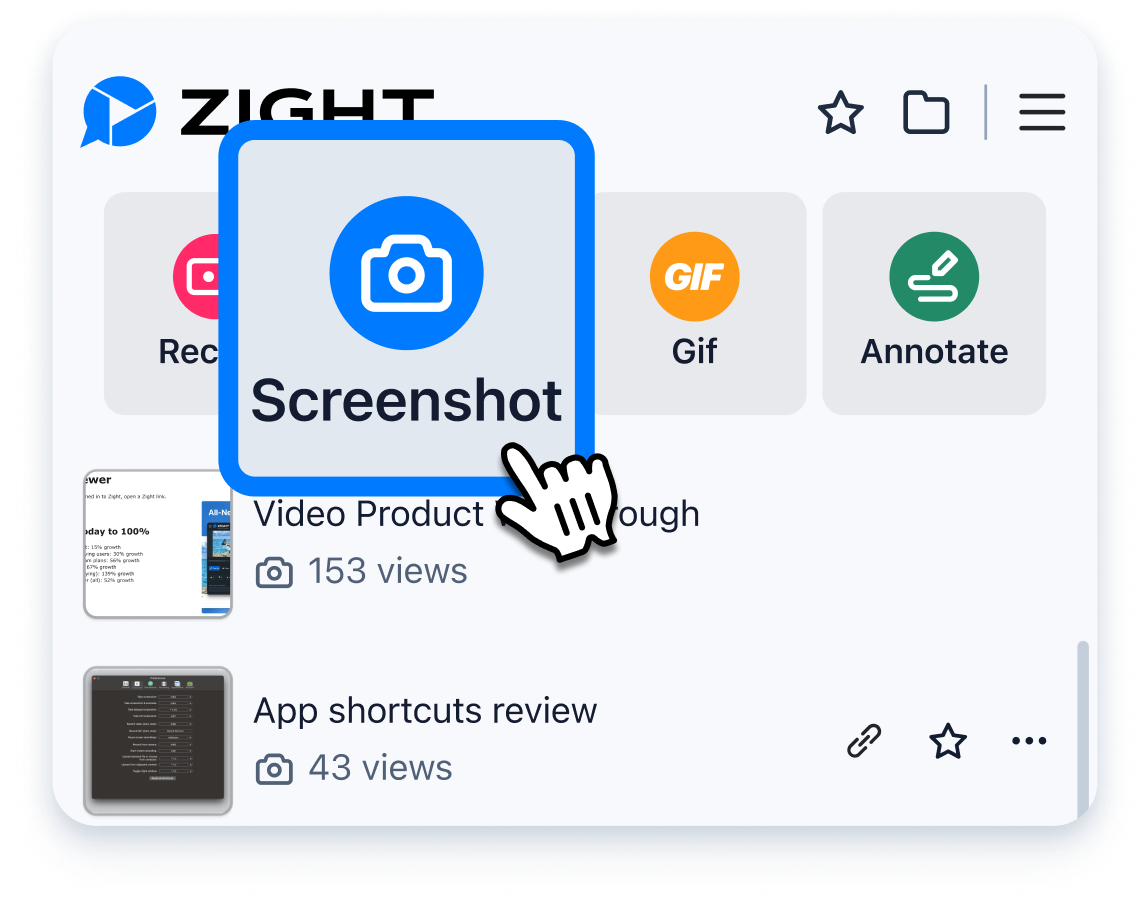
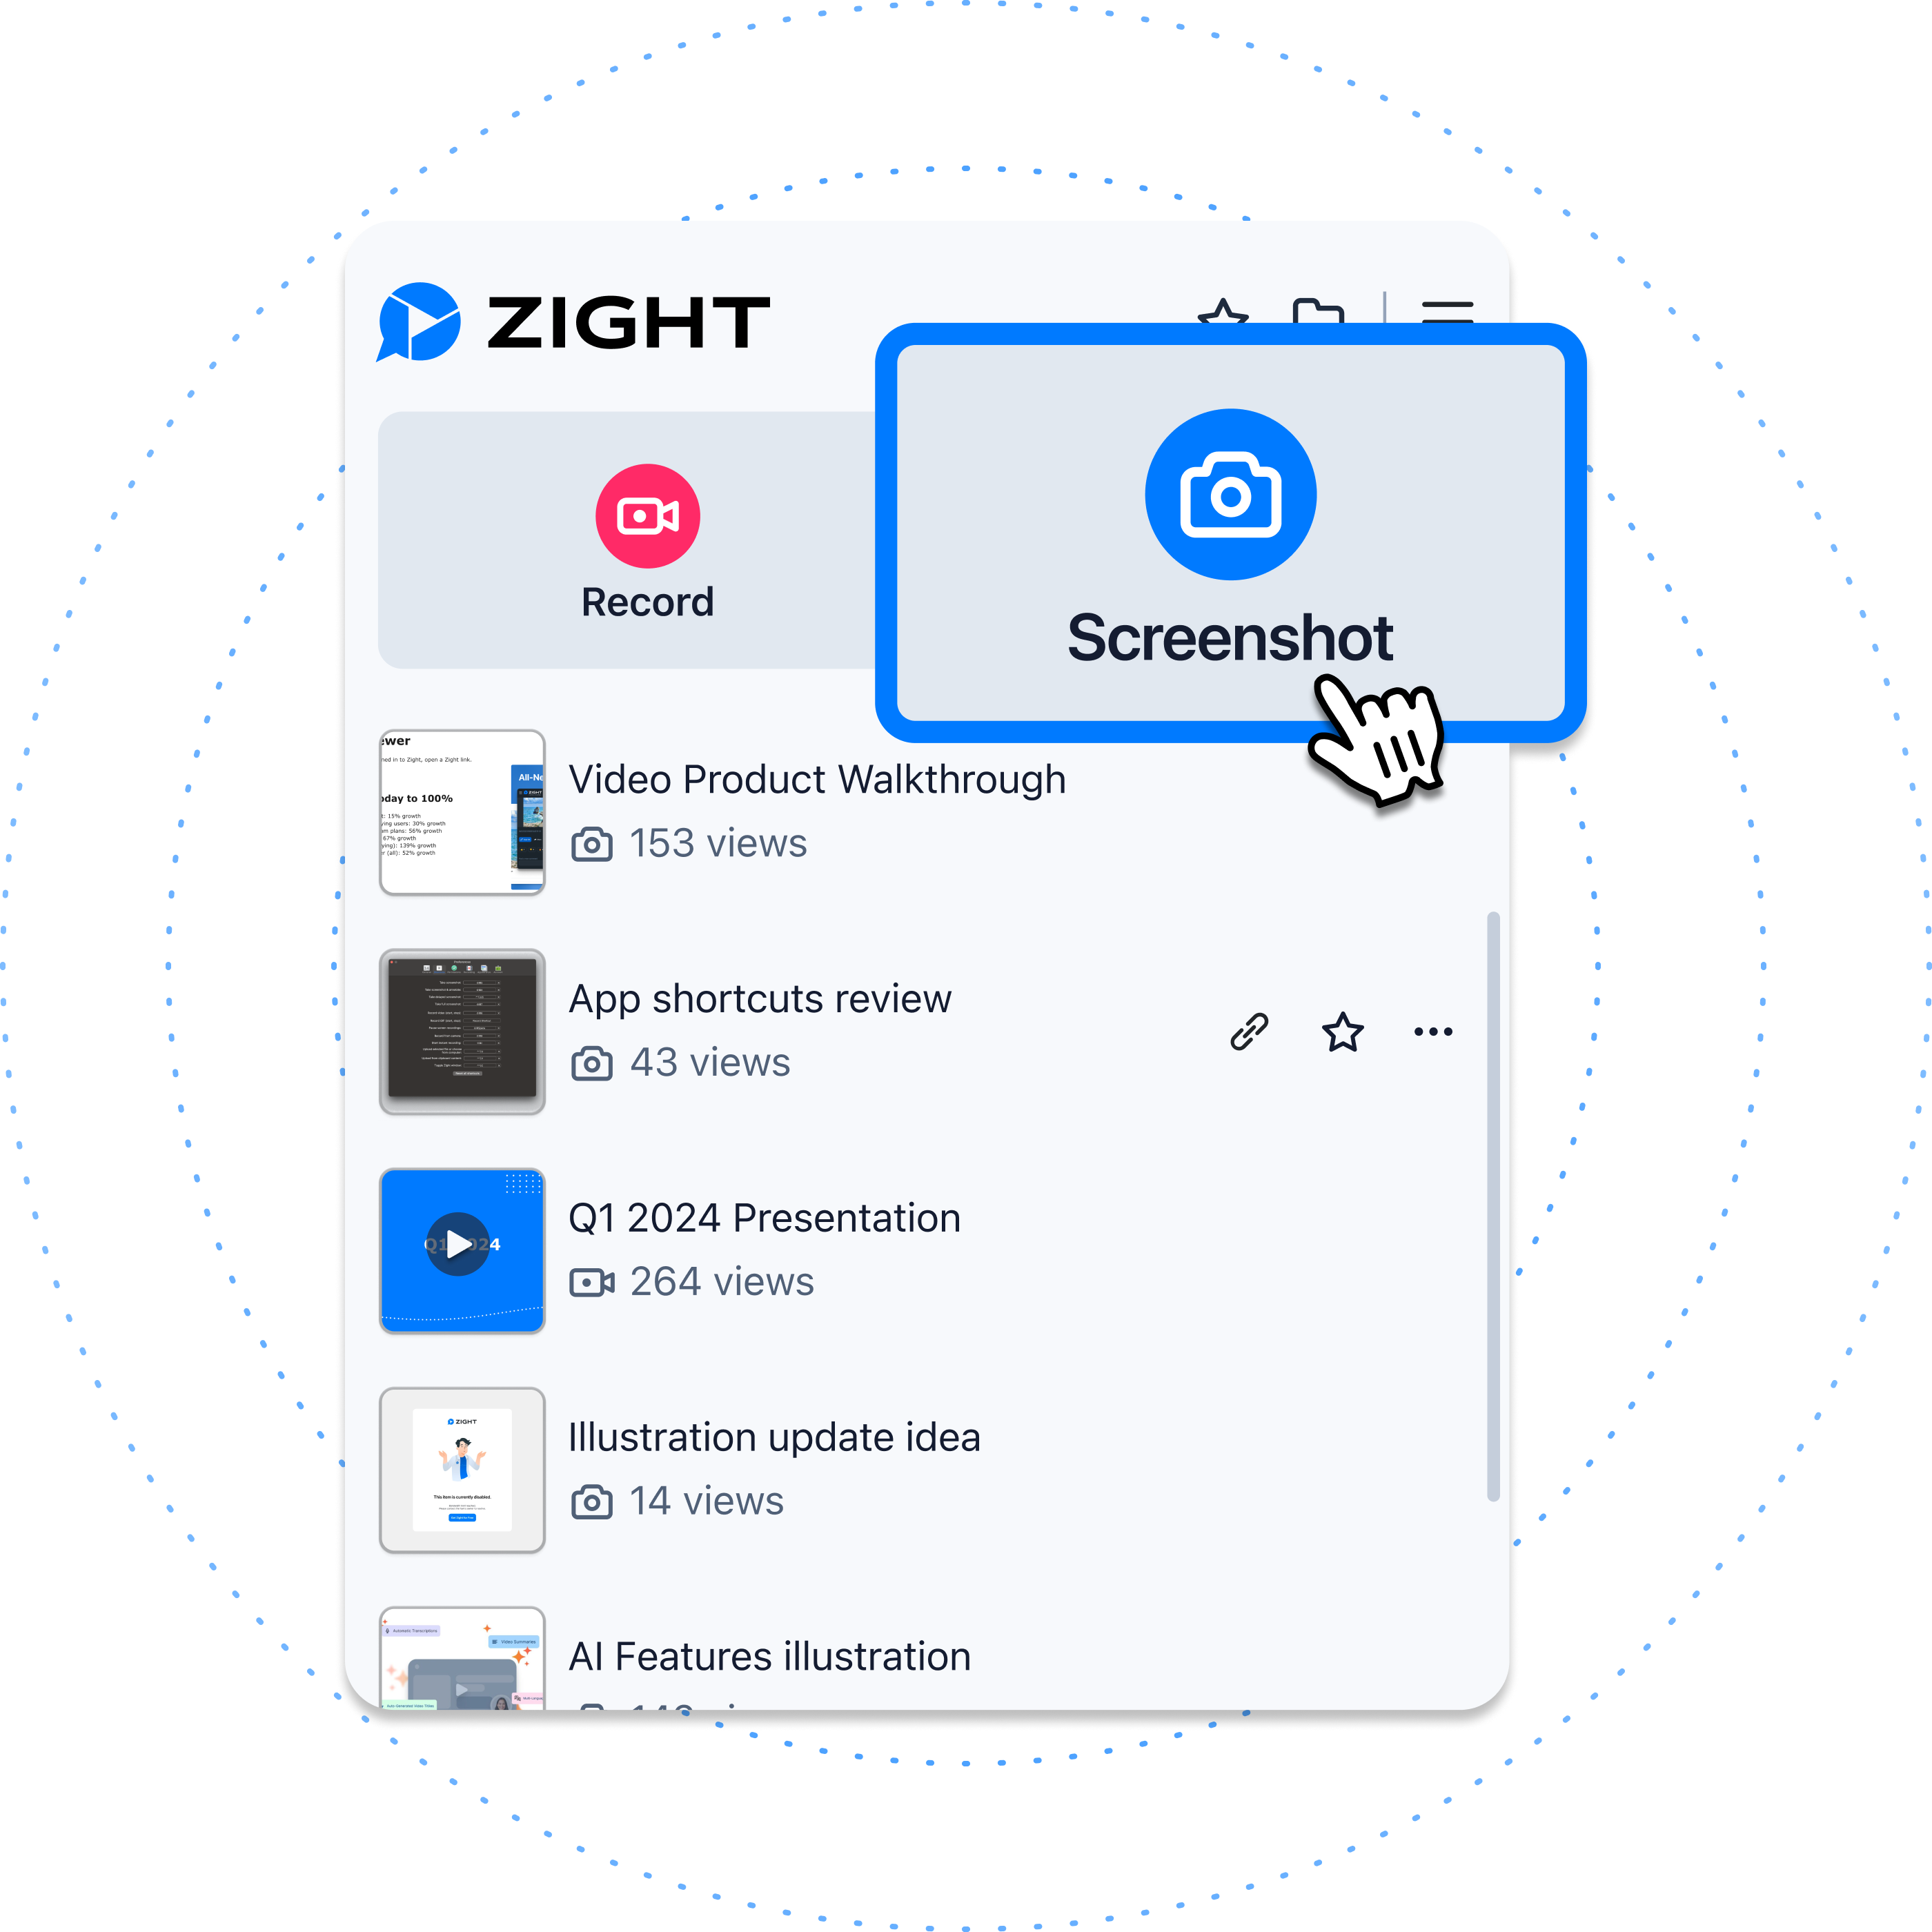
1. Capture Your Screen
Use a shortcut or launch the app and take full or partial screenshots. Zight automatically stores the image in the cloud for easy access. No more desktop screenshot clutter for you.

2. Edit & Annotate
Once you have taken your screenshot, you can modify and edit it to add emphasis and clarity. Editing capabilities allow you to trim recordings, add arrows and text, crop, blur and more.
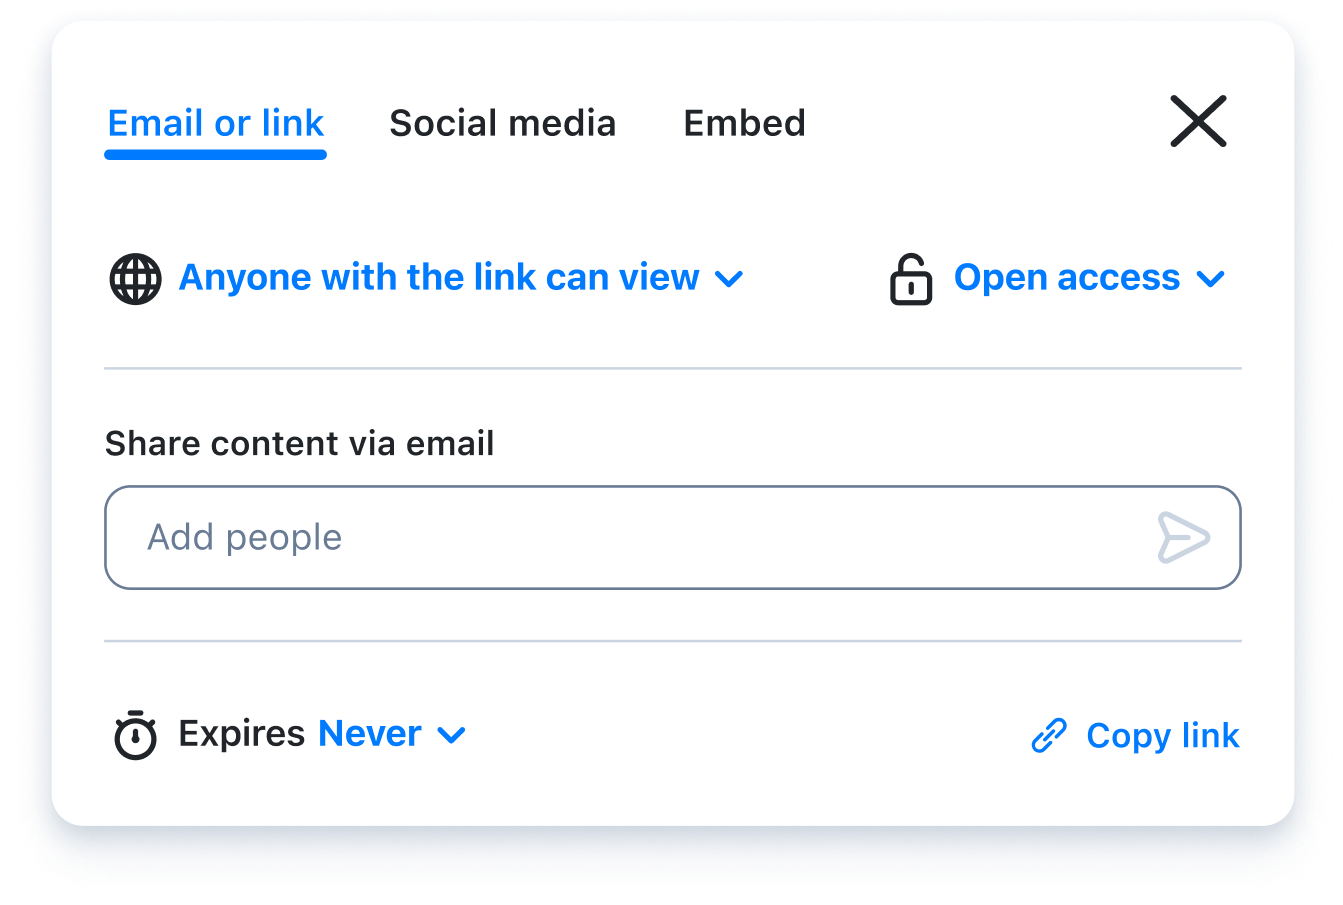
3. Share Instantly
Your screenshot is now available in your Zight files. Keep it for yourself or easily share it via an auto generated link anywhere you can share a url. You can also drag and drop items into emails and chat apps.
How to Record Your Screen with Zight
Zight offers multiple ways to record your screen in a few simple steps.


"Zight has been great, I’ve used it for many years now. Primarily I use it as a visual reference in Slack messages. I will write up instructions/updates etc and link specific words to Zight screenshots to illustrate my point. As a designer this happens a lot, so I’m doing quick UI mocks to get concepts across fast."
Kate Frappell | Senior Design Lead | OfloadIntegrates to Work Where You Work
Zight screenshots can be shared wherever you can share a link and integrates directly with your favorite apps including:

Explore Other Zight Features
Explore other Zight features by clicking the buttons.
The Ultimate Guide to Screenshot Apps for Business
We’re in the age of information, and what better way than to simplify how you share the information? That’s where a screen shot tool for visual communication comes in.
With one, you can easily capture what’s on your screen. But you need screenshot software that makes sharing easy. For this reason, we recommend the Zight screenshot app.
It’s easy to use as well – open your page, capture the high-quality screenshot, and the file uploads to the cloud with the link copied to your clipboard. From there, annotate and edit your screenshot, then share it as a link.
Looking for the best screenshot app for your business? Let’s tell you more below!
Types of Screen Capture Apps
Here are some options you can consider when choosing screenshot software:
- Native apps: These are built into the operating system of a device. For example, Windows has the Snipping Tool and Snip & Sketch, and macOS uses Command + Shift + 3/4. These apps are typically basic but integrate seamlessly with the device’s ecosystem
- Third-party desktop apps: These are downloadable applications that offer advanced features beyond what native tools provide. Examples include Zight, Snagit, Lightshot, and Greenshot. They often include capabilities for screenshot capture, video recording, advanced image editing, and more customizable settings
- Mobile Apps: These are usually built-in features on smartphones that let you take a screenshot through button combinations or gestures. To take a screenshot on an iPhone, press and release both the side button and the volume up button simultaneously. On an Android device, press and hold the volume down button and the power button together until the screen flashes. For advanced capabilities, you can use third-party apps like AZ Screen Recorder and Mobizen
- Browser Extensions: Extensions such as Zight, Fireshot, or Nimbus Screenshot are added directly to web browsers like Chrome or Firefox. They are ideal for when you need to capture long web pages (full-page screenshots) or want a tool integrated into your browsing experience.
Why Do You Need A Screenshot App Like Zight?
Using a screenshot app like Zight offers several advantages that can enhance your productivity and communication at work:
- Streamlined asynchronous communication: Zight lets you communicate more effectively across different time zones and schedules when you share your screenshot instantly. Annotate and share screenshots and screen recordings with team members, who can view and respond at their convenience, thus enhancing clarity and reducing the need for real-time explanations
- Enhanced collaborative feedback: With features like annotations and comments directly on the screenshots, Zight facilitates detailed and specific feedback. It cuts down on the back-and-forth typically associated with text-only feedback
- Increased productivity: Zight’s integration with other tools (like Slack, Jira, and Microsoft Teams) streamlines workflows when you share screenshots without switching between apps. This integration helps maintain focus and significantly reduces the time spent on communication
- Efficient problem-solving and troubleshooting: Zight’s tools enable teams to visually document problems and their solutions, which can then be shared as part of knowledge bases or used in training materials
- Documentation and Training: Use Zight to create comprehensive visual guides and training content – quite useful for onboarding new employees or demonstrating new software without requiring synchronous meetings
How to Choose Screenshot Software
You need a screenshot app. So, when choosing your software, consider these features to ensure it meets your specific screen capture needs:
- Capturing Capabilities: The software should allow for diverse types of captures, including the entire screen, active window, specific region, and scrolling screenshots
- Editing Tools: Look for software that provides robust editing features such as annotating – adding text or shapes and blurring sensitive information
- Integration: Consider whether the screenshot tool integrates well with other applications you frequently use, such as cloud storage services, team collaboration tools, or project management software
- File Sharing: Features like direct link sharing, cloud storage, and organizational tools such as tagging or sorting are beneficial for managing large volumes of screenshots
- Customization and automation: Some tools offer customizable settings, such as keyboard shortcuts, automatic cloud uploading, and setting default editing options, which can enhance productivity and adapt the tool to your workflow
- Security and privacy: Especially important in a professional setting, features that protect privacy, such as automatic blurring of sensitive information and controlled access to screenshots, are crucial
Why You Need to Start Using the Zight Screenshot App Today
Here’s why Zight stands out for Mac, Windows, iOS, and Google Chrome:
- Versatile capture options: Zight allows you to take both full-screen and partial screenshots on Mac and Windows, which caters to diverse needs, whether capturing websites, an entire workflow, or a specific detail
- Advanced annotation tools: After capturing a screenshot, you can annotate it directly within the Zight dashboard. This includes adding text, arrows, and other visual aids that help clarify points and make communications more effective
- Seamless integration and sharing: Zight integrates with various productivity tools such as Slack, Microsoft Teams, and more, so you can share your screenshots and recordings quickly across platforms.
- Cloud storage and access: Screenshots are automatically saved to the cloud, ensuring they are secure and accessible from anywhere. This eliminates the clutter on your local storage and provides easy retrieval whenever needed. Plus, you can recover deleted screenshots since Zight stores them for 30 days!
- GIF and screen recording: Beyond static images, Zight supports the creation of GIFs and video recordings, which are crucial for detailed demonstrations or walkthroughs. To screen record, launch the app and press “Record.” Then, choose your recording preferences and start recording. You can annotate the video as you go. When done, click “Stop Recording,” and the video will upload to the cloud. You get a video link for easy sharing!
Tips for the Best Screenshot Capture
Want to capture the best screenshot on your computer, iPhone, or Android device? Here are some useful tips:
- Adjust display settings for clarity: Increase your screen resolution in your display settings to capture sharper images. A high screen resolution will lead to a clearer screenshot
- Choose a suitable format: Save your screenshots in PNG format to ensure the best quality, as it preserves more details and supports transparency – also ideal for higher clarity and quality
- Practice and experiment: The more you practice taking screenshots, the better you’ll get. Experiment with different tools and settings to find what works best for the content you are capturing
- Utilize annotation tools: Annotation tools can enhance your screenshots by adding clarity through text, arrows, and other markers to highlight important parts of your screenshot
Which Teams Need To Capture Screenshots with Zight?
If you’re part of any of these teams, you want to be using a screenshot app like Zight for effective communication:
- Customer support teams: To visually communicate solutions to customers or internally document issues. The ability to annotate screenshots can help clarify communication and reduce misunderstandings in troubleshooting scenarios
- Design teams: To streamline the feedback process. Designers can easily share their work and receive specific visual feedback without lengthy meetings, making iterative design more efficient
- Educators: To create instructional materials and share educational content asynchronously with students. By capturing instructional content as screenshots or videos, educators can enhance the learning experience outside the traditional classroom setting
- Engineering teams: To share and review code snippets, error messages, or architectural diagrams. Zight can facilitate easier collaboration, especially in remote settings where visual communication is crucial
- Marketing teams: To collaborate on visual content, plan layout adjustments, or demonstrate user flows in marketing platforms. Zight maintains alignment across various stakeholders
- Sales teams: To effectively communicate with potential clients by showcasing product demos or presentations visually. Capturing and sharing detailed screen content can help articulate the value proposition better and expedite the decision-making process
- Product managers: To capture user feedback, document feature requests, and communicate visually with development teams
Bonus Tips for Screenshot Mastery
- Use keyboard shortcuts: Learn and use keyboard shortcuts for your screenshot tool. This speeds up the capture process and makes it more efficient. For example, Zight offers customizable shortcuts to quickly access different capture modes.
- Organize your screenshots: Create a systematic way to organize your screenshots. Use folders, tags, or categories to keep your images easily accessible and manageable.
- Leverage cloud services: Use cloud storage options provided by tools like Zight to store and access your screenshots from any device. This also helps in sharing files with team members seamlessly.
- Regularly update your tools: Ensure your screenshot tools are always updated to the latest version. Updates often bring new features, improved performance, and enhanced security.
- Experiment with different capture modes: Explore various capture modes like full-screen, window, region, or scrolling capture to find the most effective method for your needs.
- Enhance screenshots with visual aids: Use features like spotlight, magnifier, or pixelate to draw attention to specific areas or to conceal sensitive information.
Wrapping Up
As you can see, you need the best screenshot tools for your business. The good thing is that Zight is a cut above the rest. Get your free account now, and you can capture, edit, annotate, and share screenshots in a few moments!


