Internal audio is sound produced by the Mac or an application. Microphone audio is sound captured from a physical input. A screen recording can contain either source, both sources, or no audio. Choose the narrowest source the task needs, verify consent, and test the final file before sharing it.

Quick answer: choose system audio, microphone audio, or both
Use system audio for a product demonstration, playback problem, or app sound the viewer needs to hear. Use microphone audio for narration. Use both when the explanation and the app sound matter. macOS Screenshot and QuickTime expose microphone controls but do not provide a general internal-audio capture path for every app. Zight and OBS can record screen, microphone, and compatible system or application audio, subject to macOS permissions and source restrictions.
- Zight: screen plus microphone and supported system or application audio, with a share link and workspace controls.
- macOS Screenshot or QuickTime: built-in screen recording with microphone selection; verify whether the specific app audio is present in the saved file.
- OBS Studio: configurable scenes and audio sources for advanced local recording.
- Voice Memos or an audio editor: microphone or audio-only work when the screen is not part of the answer.
Check macOS permissions and the actual device before recording
Open System Settings and review Screen & System Audio Recording, Microphone, and Camera access for the recorder you intend to use. Permission labels vary by macOS version. Quit and reopen the app when macOS asks for it, then make a short test recording and play it back with headphones.
- Confirm the input meter responds to the intended microphone.
- Play a permitted sample inside the target app and confirm it appears in the saved recording.
- Check Bluetooth headsets separately; the selected input and output can change when a call starts.
- Record a specific application or window when the tool supports it instead of exposing the full desktop.
Use consent, privacy, and copyright checks
Tell participants what will be recorded and how the file will be shared. Close notifications, private messages, password managers, customer records, and unrelated tabs. Streaming services and protected media may block capture or prohibit recording. Having technical access to an audio stream does not grant permission to copy or distribute it.
Internal Vs. External Audio Recording on Mac
When it comes to audio recording on a Mac, it’s essential to understand the differences between internal and external audio recording. Each method serves different purposes and requires different tools and setups.
- Recording streaming audio or music playing from applications like Spotify, Apple Music, or YouTube .
- Capturing audio from video calls or webinars .
- Recording system sounds for tutorials or demonstrations .
- Creating high-quality audio for screen recordings.
- Recording voiceovers or podcasts.
- Capturing sound from musical instruments via audio interfaces.
- Recording interviews or live events.
- Conducting and recording voice or video calls with external microphones for better audio quality.
Best Way to Record Internal Audio on Mac
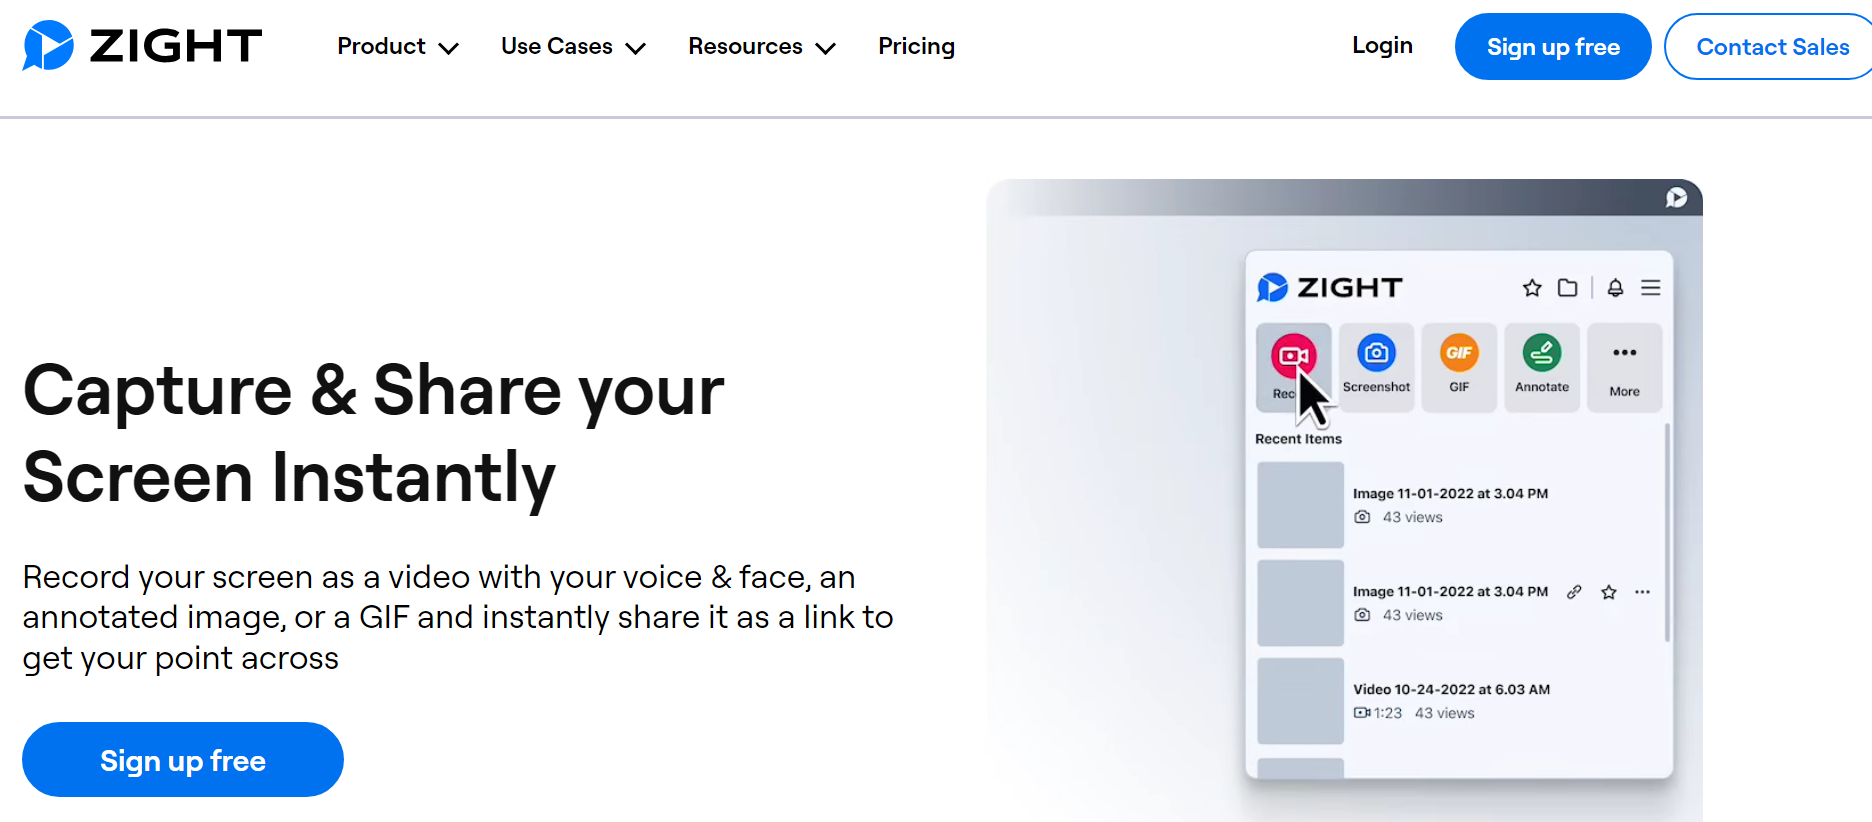
Zight can record the screen, microphone, and supported system or application audio in one workflow. Select and test the sources you intend to capture rather than assuming every source is enabled. macOS permissions, device routing, managed-device policy, and protected content can affect the result.
1. Zight
Now that you already know what Zight does, here’s how to record audio on Mac:
- Effortless recording of high-quality videos with just a few simple steps.
- Record your screen along with internal audio for comprehensive presentations.
- Choose to capture the entire screen or select specific regions, focusing on the most crucial content for your teams.
- Annotate as you record , facilitating the addition of verbal and visual instructions seamlessly. Pause your recording to add annotations such as arrows, lines, shapes, pens, and highlights. Customize each element with different colors and durations.
- Enjoy cloud storage for all your screenshots and recordings, ensuring easy access and organization.
- Access a variety of video editing tools once your content is uploaded to the cloud . Trim sections, split and merge others, blur areas, and more to perfect your recordings.
- Share your audio recordings effortlessly by copying and pasting the video link to reach a diverse audience.
- Compatibility with both Mac and Windows platforms ensures flexibility and accessibility.
- Capture keystrokes and mouse actions for detailed documentation and analysis.
Other Ways on How to Record Internal Audio on Mac
If you are looking for something basic, we have other solutions on how to record audio on Mac. Let’s get into each below:
2. QuickTime Player
We have all heard about QuickTime player since every Mac computer has a built-in audio and video recorder called QuickTime. But did we all know that this media player can do a lot of activities?

3. MP3 Audio Recorder
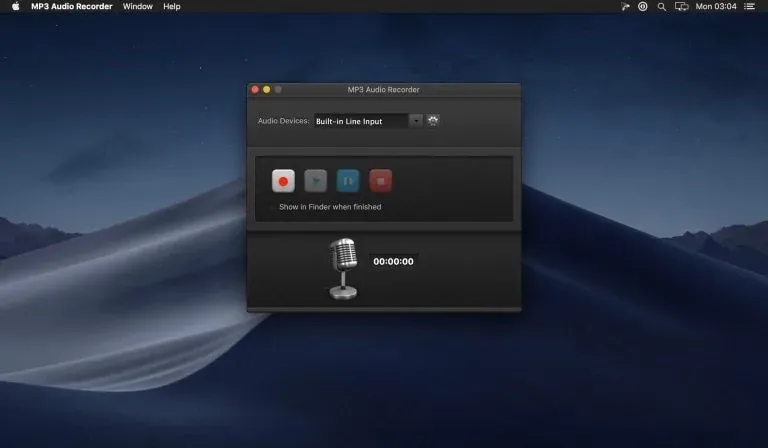
Since we are using third-party tools to record audio on Mac, it should not be surprising to see media players in our list. Many of us have been using the MP3 Audio Recorder, but we might not have realized it can also record sound on a Mac. This app is designed to simplify audio recording with extensive customization options.
4. Voice Memos App
Voice Memos is a built-in voice recorder on iOS devices, and it’s also available for free download on the Mac. It’s designed for high-quality audio recording and is very easy to use. Being user-friendly makes it ideal for recording meetings, conversations, ideas, or memos.
5. Audacity
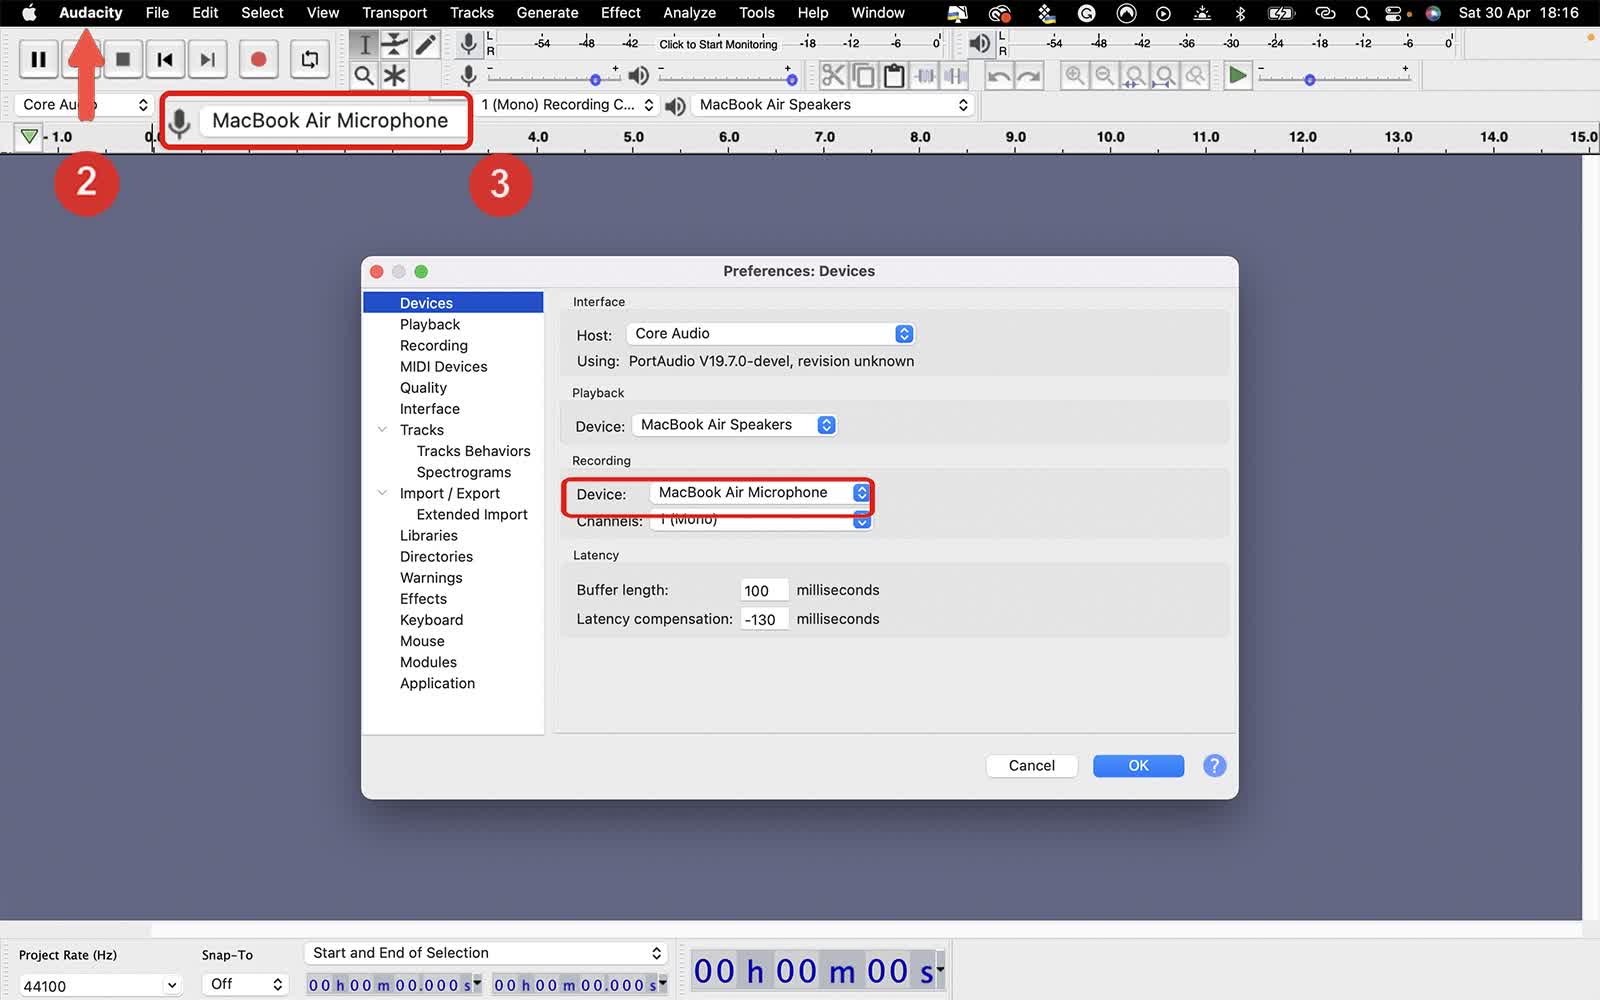
Another great option on how to record audio on Mac is the professional voice recording system called Audacity, a free audio recording software. It is an open-source audio editing software mostly downloaded by musicians and podcasters. This audio editing software lets users play, record, edit, import, and export MP3, AIFF, and WAV files. The best feature of Audacity is its ability to record both internal and external audio on your MacBook.
6. Online Free Recorder
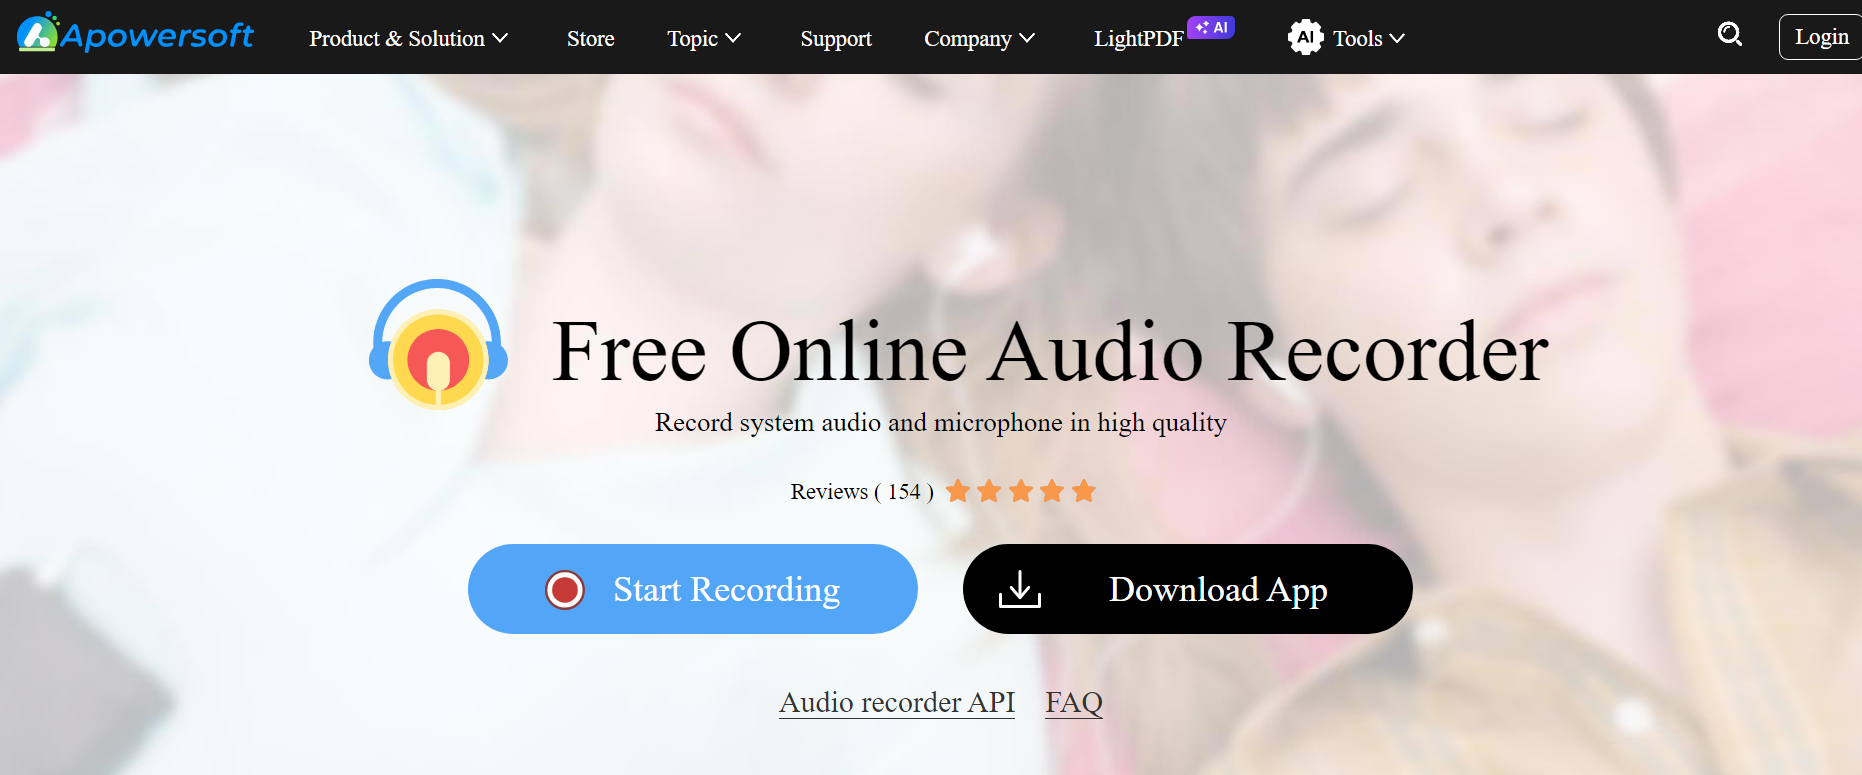
Another way to record audio on your Mac is to utilize free online web-based audio recording tools. Apowersoft Online Audio Recorder stands out as a top-notch audio recording solution. It requires no software download or registration, providing a hassle-free experience. With a clean website interface devoid of intrusive ads, users can effortlessly record screen sound, browser audio, or microphone input without capturing the screen itself.
7. OBS Recorder
OBS (Open Broadcaster Software) is a free open-source recorder software used to record audio and video simultaneously. However, you cannot switch off your computer screen and record audio on Mac without the video.
- Create a New Scene : Open OBS Studio and create a new scene, giving it a title of your choice. Each scene can incorporate a variety of audio and video sources.
- Configure Your Scene : Customize scenes with specific templates and configurations to suit different recording needs. For example, you could have one scene for close-up webcam shots and another for screen recording with a picture-in-picture webcam view .
- Add Internal Audio Source :
- Adjust Settings : Before recording, check the settings to customize your recording preferences. You can modify the recording format for both audio and video, adjusting file compression, streaming, resolution, and file type options as needed.
- Start Recording : With your scene and sources set up, click “Start Recording” in the bottom right corner to begin.
- Stop Recording : Click “Stop Recording” when you’re ready to finish.
- Perform a Test Recording : It’s a good idea to do a test recording to ensure everything is working correctly. Record a short clip and play it back to check the audio and video quality.
- Automatic Saving : OBS Studio will automatically save your recordings to a new folder in your Documents.
- View Recordings : To view your recordings, go to the “File” menu and select “Show Recordings.”
- Custom Save Location :
