
Has this ever happened to you: you join or host a conference meeting and instantly know the points being discussed can make collaboration easier in the future? In most cases, you’re left wishing there was a way to record the meeting. Lucky for you, you can record, especially if you’re on a Teams meeting!
Microsoft Teams meetings are becoming more popular by the day, and that’s because Teams is one of the best conference platforms out there, an excellent alternative to Zoom and Skype.
In this article, we want to explore how you can record your live Teams meeting. We’ll show you how to use the built-in recording feature and the more effective Zight screen recorder app. Read on!
1. How to Record Microsoft Teams Meetings Using the Built-in Feature
The first option available to you is the built-in recording feature. But, while the process is straightforward, you have to fit specific criteria to be able to record the meeting. Here’s more:
Who Can Record A Microsoft Teams Meeting
Not everyone can record Teams meetings—the ability to record is typically restricted to only users within the organization with the appropriate permissions set by an IT admin. External guests and anonymous users usually cannot record meetings.
In addition, you need to have one of the following licenses:
- Office 365 Enterprise E1, E3, E5, F3, A1, A3, A5
- Microsoft 365 Business, Business Premium, or Business Essentials
How to Record a Teams Meeting on a Desktop
If you are the meeting organizer or a member of your organization who meets the criteria to start recording, here’s how you can do so on a Windows or Mac desktop:
- Start or join a Teams meeting: Launch your Microsoft Teams app on your device. Then, click the “Teams” tab to start a meeting with team members or go to the “Calendar” to schedule a new meeting. Alternatively, if you’ve been invited to a Teams meeting, you’ll receive an email invitation or a notification in your Teams calendar. Click on the link in the email or the event in your Teams calendar to join the meeting.
- Once the meeting starts, find the “More actions” option (represented by three dots).
- From the drop-down menu, locate and click “Start Recording”
- After recording, return to “More actions,” then select “Stop recording.”
Tips for Recording Your Teams Meeting on Desktop
Here are some things you should know about recording the meeting using the native feature:
- When the recording starts, all participants will be notified, which is a privacy feature to ensure transparency
- Once the meeting ends, the recording is processed and saved to Microsoft OneDrive or SharePoint. You can access it from the meeting chat or via the Teams channel conversation
- Only one person can record a Teams meeting at a time. So, you must let every team member know who will be recording to prevent a conflict of interest. If you get a notification that someone is recording, you can only wait until they stop recording to be able to record
- Once you start recording, Microsoft will continue recording the meeting even if you leave. The recording would only stop automatically when the meeting ends, and every participant leaves. In case someone forgets to leave the meeting once it’s over, the software will continue recording for up to four hours
How to Edit and Share a Microsoft Teams Meeting
After recording a Microsoft Teams meeting, you have several options for managing and utilizing the recording, primarily dependent on how your organization has set up permissions and policies.
For instance, you can access and play the recording as follows:
- Find the meeting recording in the meeting chat or by accessing the Recap tab in your Teams Calendar for non-channel meetings.
- For channel meetings, the recording will be available in the Files tab of the respective channel.
You’d need permissions from the organization to share the meeting recording. Then, you can share the recording with others, including those who did not attend the meeting. You can do this by copying the link to the recording from the chat or Recap tab, pasting it, and sending it to others. You can also download the meeting for later use, especially if your organization has an expiry date for recorded meetings.
Talking of expiry, your organization can decide when recorded meetings automatically expire. This means the recordings will be deleted after a set period unless saved elsewhere. You can check the expiration settings and adjust them if your admin permits, ensuring recordings are retained as needed for compliance or reference.
2. How to Record Microsoft Teams Meetings with Zight
The built-in method above is straightforward but also limiting. The Microsoft Teams feature is limited to organizations, and even if you are part of one, it limits who can record a meeting and interact with the recording later. Considering those detractors, we recommend a more flexible method in Zight.
You only need to download the Zight screen recorder on your Mac or Windows laptop. Then, you can record a Teams meeting individually.
Here’s how to record the virtual meeting with Zight:
- Download and launch your Zight screen recorder software here.
- Start or join the Teams meeting. Once your participants join, it is best practice to inform them you’d like to record the meeting for future use. If they agree, you can record the meeting.
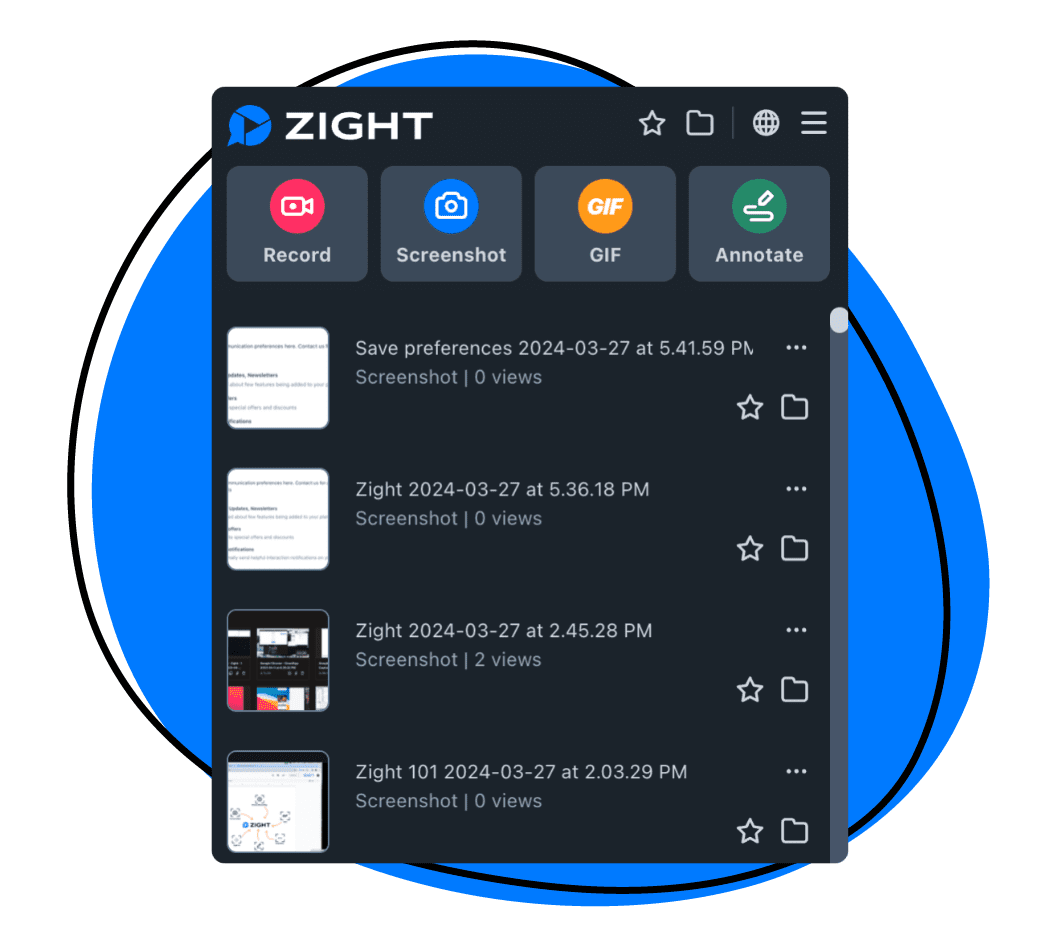
- Go to your Zight app and click Record. Here, you need to record your Screen Only. You can also record Full Screen. Then, ensure that you toggle on the audio/mic feature to capture audio from your speakers. After selecting your recording preferences, click the blue “Start Recording” button and wait for the three-second timer to run.
- The meeting will be recorded in HD or 4K, depending on your Zight settings. As the meeting goes on, you can highlight crucial sections with annotations like the arrow, line, shapes, pen, and highlighter.
- Click the “Finish Recording” button when you’ve finished recording or when the meeting is over.
How to Access and Edit the Teams Meeting Recording On Zight
The meeting recording will automatically upload to the cloud, and its link will be copied to your clipboard. Once the upload is complete, Zight will open the video link on your default browser so you can view or edit the video further.
After polishing your recording online, you can set security parameters such as who can view it, how long until the recording expires, and more. You can even download the meeting recording to your computer if necessary.
How to Share the Recording with Zight
Want to share the Teams meeting recording? Copy and paste the Zight link to your Slack, Asana, or Trello teams. You can also embed the video link in an email.
Your recipients will not need to download the video—they can view it online once the link loads, even if they don’t use Zight. But for good results, you can encourage your team to use Zight, in which case you can use the software as a collaboration tool. You can leave comments and reactions, and so can your viewers.
Even better, you will get notifications when changes are made to the video, and you can tag your team members in the future in case you need them to use the video as a reference point—this is easier than writing a message or an email where you’d also need to embed the video for reference.
An alternative sharing method would be to download the meeting video and then attach it to an email or message—but that takes away from the faster experience of sharing a link and also limits your collaboration features!
Why Record Teams Meetings with Zight?
Zight is the best alternative to Teams for recording live meetings for several reasons:
- You will capture the entire meeting in 4K! Thanks to the high-definition resolution, the meeting and everything that happens in it, including presentations, will always be viable for future use.
- Zight is easier to use and allows every meeting participant to record the meeting simultaneously. If you recall, only one person can record the meeting on Microsoft Teams, which could mean delays and inconveniences if the person who recorded it cannot share the meeting recording on time. With Zight, anyone can record the meeting and access the recording at any time without delay.
- The meeting recording will be saved in the cloud, and anyone on your team can access it and cooperate on the video for more efficient team collaboration.
- Zight has a Chrome extension, allowing you to record the meeting online. So, if you’re working from Google Chrome, you don’t need to exit the browser to locate the Zight application. Download and enable the extension, then pin it to your browser, and you can access it faster. To use it, you will only hit “Record”, then choose the part of the screen you want to record and turn on the mic. Then, you can record the Chrome tab where the meeting is happening—click the tab and then “Share,” and you can start recording.
3. How To Record Microsoft Teams Meetings on Windows using the Xbox Game bar

You can also use the X Box Game Screen Recorder to capture the Teams meeting on Windows. To do so:
- Ensure that the Xbox Game Bar is enabled on your Windows machine. You can check this by going to Settings > Gaming > Xbox Game Bar. Turn in on here.
- Open Microsoft Teams and start or join your scheduled meeting. Once participants join, ask for permission to record the meeting and all interactions—this is important to adhere to privacy laws and Microsoft’s policies regarding the ethical use of its software.
- Press Win + G on your keyboard during the meeting to open the Xbox Game Bar. You’ll see a floating bar with various widgets related to gaming; however, it can also be used to record other activities on your screen.
- Click on the “Record” widget, which looks like a dot, to start recording. Alternatively, press Win + Alt + R to begin recording immediately. Check the Game Bar settings to ensure that the audio settings are configured to capture the meeting’s audio.
- To stop recording, press Win + Alt + R again or click the stop button in the capture widget. The video file will automatically be saved to your “Videos” folder in a ” Captures ” subfolder.
- You can find the recording by navigating to your system’s Videos/Captures directory. You can share the meeting video by clicking “Send To,” uploading the file via message or attaching it to an email.
4. How to Record Microsoft Teams Meetings on Mac with the QuickTime Player
Need another way to record meetings on Teams with crisp audio on Mac? You can use the QuickTime recorder as follows:
- Open QuickTime Player on your Mac. You can find it in your Applications folder.
- In QuickTime Player, go to “File” in the menu bar and select “New Screen Recording.” A recording window will appear. Here, you can choose to record the entire screen or just a selected portion. If you want to record audio (both from the microphone and the computer), click on the arrow next to the record button and choose your sound source under the microphone options.
- Open Microsoft Teams, and start or join your meeting. Before recording the meeting, ensure all participants know of the recording to comply with privacy laws and Microsoft’s policy.
- Back in QuickTime, click the “Record” button. If you choose to record a portion of the screen, you’ll need to drag to select the area where the Teams meeting is displayed. Then, click “Start Recording” within that area.
- When your meeting is done, return to QuickTime and click the “Stop Recording” button in the menu bar, or press Command + Control + Esc.
- QuickTime will automatically open the recorded video. Go to “File” and select “Save” to save your recording. Choose a location on your Mac to save the file, enter a file name, and click “Save”.
- You can also edit the recording using this native tool. To do so, click the “Edit” menu and apply changes such as Trim, Split, Cut, Copy, and Paste. Save all the changes.
- To share your recording, go to the File menu, select “Share,” and then choose how you want to share it.
5. How to Record Teams Meetings on Android and iOS
If you’re attending a meeting via your smartphone, you can still record it using three methods.
The first is using the Microsoft built-in feature if you’re authorized to do so in the organization. In this case:
- Download and install the Microsoft Teams app for Android or iOS.
- Join the meeting or start one.
- Then, click “More Options” and “Start Recording.”
- This will notify all participants that you’re recording the meeting.
- To stop recording, go to More Actions again and click “Stop recording.”
The recording will be saved in the cloud storage, where you can view and share it with participants.
The second method applies to iOS devices only, and it includes using the Zight iOS app to screen record as the meeting happens. To record;
- Join the meeting and notify participants that you want to record it.
- If they consent, open the Zight app, hit the screen recording feature, and record the meeting.
Finally, you can also use your smartphone’s native screen recorders to record the Teams meeting, but with the consent of all meeting participants.
On Android;
- Ensure your device has a screen recording feature. Most modern Android devices have this feature built into the quick settings menu. Then, ensure that the screen recorder settings are configured to record internal audio (the sound within the device), which will capture the audio from the Teams meeting. This is essential as not all Android devices support internal audio recording due to security policies.
- Open the Microsoft Teams app and join or start your meeting.
- Activate the screen recorder from the quick settings menu and choose “Start Recording”. Confirm any prompts that ask for permission to record the screen.
- Once the meeting is over, swipe down and tap the “Stop” button in the notification panel to stop recording.
- The recorded video will be saved in your device’s gallery or within a specific folder designated by the screen recording app.
On your iPhone;
- Go to “Settings” > “Control Center” > “Customize Controls,” then tap the “+” icon next to “Screen Recording” to add it to the Control Center.
- Swipe down from the upper-right corner of the screen to access the Control Center. Press and hold the screen recording button. Then, tap “Microphone” to turn it on to record audio from the microphone. This will capture both the internal and external audio.
- Launch the Microsoft Teams app and start or join your meeting.
- Open the Control Center again and tap the screen recording icon to start recording. There will be a three-second countdown before the recording begins.
- To stop recording, open the Control Center and tap the red screen recording button again, or tap the red status bar at the top of your screen and confirm that you want to stop.
- The video will automatically be saved in the “Photos” app under “Recents” or in the “Screen Recordings” album.
Conclusion
There you have it! You can now record a Teams meeting on your desktop and smartphone. Recording meetings preserves information for future reference, which is one way to improve productivity at work.
If you need the best way to do this, just sign up for your Zight account, and you can record any meeting with just a few clicks!


