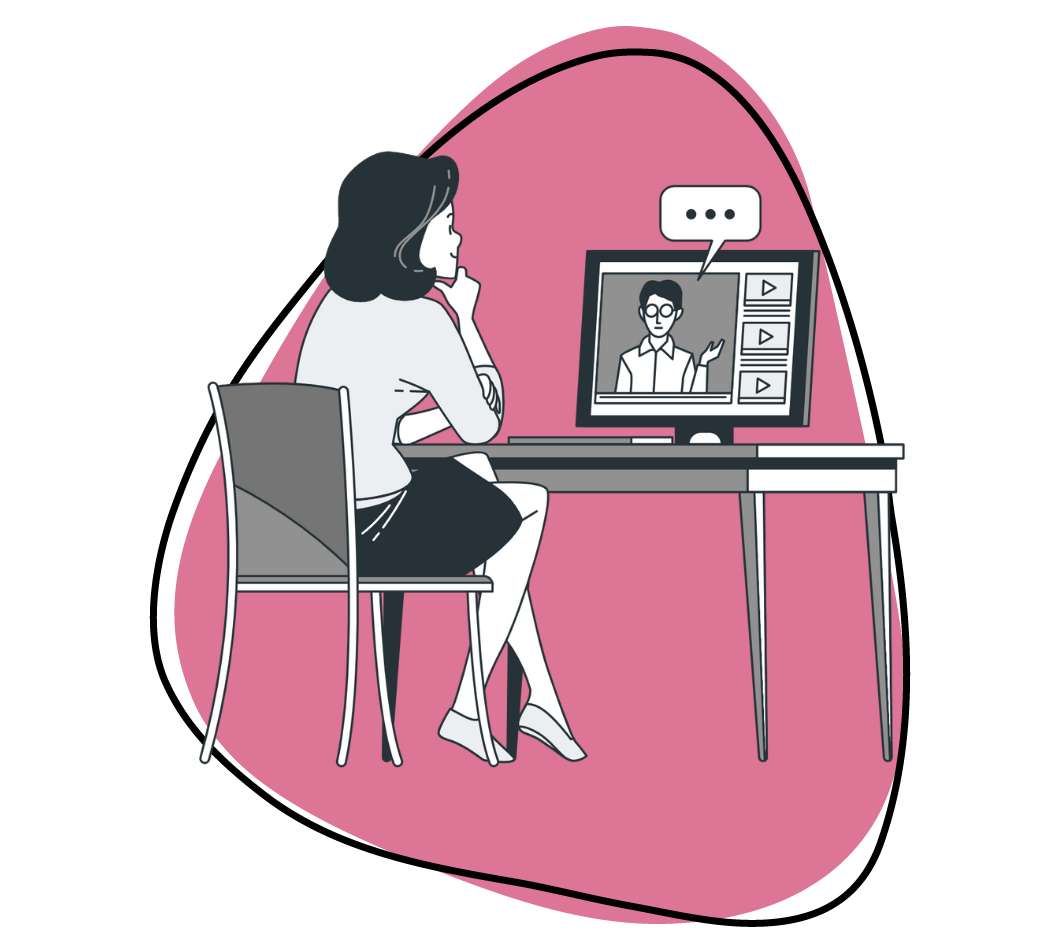
You’re hosting a crucial online meeting with your team, discussing strategies and brainstorming ideas that could propel your project to the next level. You’re well-prepared, and your presentation is polished, but when you record the meeting, it turns out blurry—choppy audio and missed crucial parts due to technical glitches. What a missed chance!
Next time, you need a better method for recording meetings. We recommend using a good screen recording app like Zight. With it, you can capture your meeting in 4K and with crisp audio. All you need to do is record your screen; the software will capture everything you see and hear. Once done, sharing the file is super easy, too; just paste the video link to your recipients, and they can watch the video on their browsers—without downloading it!
But in addition to reliable screen recording software, you could also use some crucial tips to ensure that no valuable information is lost and that participants can revisit the content later. So, in this article, we’ll explore the best practices for online meeting recording to help you capture high-quality videos every time.
1. Choose the Right Tool for Recording
When recording online meetings and webinars, you need a reliable screen recorder like Zight to improve the quality of your recordings. It offers high-definition recording capabilities, easy sharing options, and user-friendly features that make it a top choice for professionals.
To access screen recording controls on Zight, download and open the app and click record just before you start your online meeting.
Select recording preferences like the screen area to record, then click Screen Only or Screen & Cam.
Finally, turn on the mic and camera and choose your ideal tools—the built-in mic, webcam, or external tools. Once done, click the Start Recording button to start your webinar recording.
As a screen recorder, Zight is compatible with any webinar platform. You can record and then upload your webinar recording to the cloud. Open the link, and you can edit the video more before sharing it!
2. Test Your Equipment and Setup Beforehand
Before you start recording, take the time to test your equipment and setup. This includes your microphone, camera, internet connection, and the recording tool itself. On Zight, ensure you toggle on the mic and camera icons and choose the best tools to use between built-in features or an external camera or mic.
You can record a short video before the meeting to check for any issues with audio or video quality. If any, adjust your microphone settings to reduce background noise and ensure clear audio. Here’s a screen recording checklist you can use to ensure you record a high-quality video.
3. Optimize Your Recording Settings
To improve video quality, start by optimizing your recording settings. This includes selecting the appropriate resolution, frame rate, and audio settings.
For most online meetings and webinars, a resolution of 1080p and a frame rate of 30 frames per second are ideal. Ensure your system audio icon is on and the audio settings are configured for clear and crisp sound.
Zight offers customizable recording settings that allow you to adjust these parameters easily, ensuring the best possible quality.
4. Plan and Structure Your Content
A well-structured and planned presentation is easier to record and follow. Before the meeting or webinar, outline the key points you want to cover and organize them logically.
You can create a video script or a set of bullet points to guide your presentation. You can even invite meeting participants to a brief pre-meeting to discuss these points. This will keep the meeting on track and ensure your recording is coherent and professional.
5. Use High-Quality Audio Equipment
Audio quality is a critical aspect of any recording. So, if your built-in mic is not that good, you can invest in a high-quality microphone to ensure clear and professional sound. External microphones often provide better audio quality than built-in laptop microphones.
Position the microphone correctly and test it before the meeting to avoid any audio issues. Additionally, consider using a pop filter to reduce plosive sounds and a windscreen to minimize background noise.
6. Minimize Background Noise and Distractions
Background noise and distractions can significantly impact the quality of your recordings. Choose a quiet location for your recording and inform others in your household or office to minimize interruptions. You can also close windows and doors and use noise-canceling headphones if necessary.
Another great tip for crisp audio recording is to instruct participants to mute their microphones when they are not speaking to reduce background noise during the meeting or webinar.
In addition, you don’t want to be a distraction yourself. So, maintain a professional demeanor—dress appropriately for the occasion, as you would for an in-person meeting or presentation, and keep your background tidy and free from distractions. If your surroundings are not suitable, consider using a virtual background. Finally, speak clearly and at a moderate pace, and avoid using filler words or jargon. A polished and professional appearance improves your recordings’ quality and credibility.
7. Use Visual and Audio Cues
When you record meetings, you can incorporate visual and audio cues to enhance clarity and engagement. These are visual aids like slides, diagrams, and videos to illustrate key points. When using Zight, you can also annotate the video as you record your meeting to highlight important information with arrows, shapes, or on-screen pointers.
Additionally, use audio cues such as a brief musical introduction or sound effects to signal transitions or emphasize critical points. These cues can make your recordings more engaging and easier to follow.
8. Monitor and Improve Lighting
Whenever you hold a virtual meeting, you know it’s imperative to use good lighting—it is even more critical for meeting recordings!
Ensure that your face is well-lit, and avoid harsh shadows. Natural light is ideal, but if it’s not available, use soft, diffused lighting sources. Then, position your light source in front of you rather than behind to avoid backlighting, and experiment with different lighting setups to find what works best for your environment.
Proper lighting will significantly enhance the visual quality of your recordings.
9. Utilize Screen Sharing Wisely
Screen sharing is a valuable feature for online meetings and webinars, allowing you to present slides, documents, or other visual aids. However, it’s essential to use screen sharing wisely to avoid clutter and confusion.
Before sharing your screen, close any unnecessary applications and tabs to prevent distractions. Organize your presentation materials in advance and practice navigating through them smoothly. You can also use tools like Discord to share your screen with other participants while you use Zight to record the screen share.
10. Engage Your Audience
Engaging your audience is crucial for a successful online meeting or webinar. Encourage participation by asking questions, conducting polls, and using interactive features.
Address your audience directly and make eye contact with the camera to create a more personal connection. Engaged participants are more likely to stay focused and retain information, making your recordings more valuable for future reference.
11. Record in Segments
Recording in segments can make your editing process more manageable and ensure that each part of your presentation is clear and concise. So, break your content into smaller sections and record each segment separately.
This allows you to focus on one topic at a time and make adjustments as needed. If you make a mistake, you can easily re-record a segment without affecting the entire recording. Zight offers easy editing tools that enable you to stitch together segments seamlessly.
12. Backup Your Recordings
It’s essential to have a backup plan for your recordings. Save them to multiple locations, such as your computer, an external hard drive, and a cloud storage service. This ensures you can access your recordings even if one storage option fails. With Zight, you can store and share your recordings securely with the cloud storage option.
13. Edit and Enhance Your Recordings
After you host and record a webinar, take the time to edit and enhance your recordings.
For instance, remove unnecessary parts, add transitions, and include captions or annotations if needed. Editing can significantly improve the overall quality and professionalism of your recordings. Zight offers built-in editing tools that make this process straightforward and efficient.
14. Share Your Recordings Effectively
Once your recordings are ready, choose a platform that allows easy access and sharing, such as a company intranet, a learning management system, or a video hosting service.
Provide clear instructions on accessing the recordings and consider offering downloadable versions for offline viewing. Zight offers simple sharing options, allowing you to share your large video recordings via links or email.
15. Evaluate and Improve
After each recorded meeting or webinar, evaluate the recording and gather feedback from participants. Assess the quality of the audio and video, the clarity of the content, and the overall effectiveness of the presentation.
Use this feedback to improve future recordings. Continuously refining your recording process ensures that you deliver high-quality content every time.
16. Addressing Privacy and Compliance Concerns
When recording online meetings and webinars, it’s essential to address privacy and compliance concerns. Inform all participants that the session will be recorded and obtain their consent. This is crucial for webinars that may include sensitive information or personal data.
Be transparent about how the recordings will be used and stored, and ensure that your recording practices comply with relevant privacy laws and regulations, such as GDPR or HIPAA, if applicable.
17. Manage Recording Permissions
Managing recording permissions is another essential aspect of capturing online meetings and webinars. Ensure that only authorized individuals can start and stop recordings. This helps maintain control over the content and prevents unauthorized recordings.
Platforms like Zoom allow you to assign co-hosts or use specific settings to manage recording permissions. Zight also offers secure recording options to help you manage access and permissions effectively.
Conclusion
Recording online meetings and webinars is essential in today’s digital age. By following these best practices, you will ensure that your recordings are clear, professional, and valuable for future reference.
From choosing the right tool, like Zight, to optimizing your settings and engaging your audience, each step plays a crucial role in capturing high-quality recordings. With these tips, you’ll be well on your way to mastering the art of recording online meetings and webinars.


