If you work with a big team, sometimes even a remote one, it becomes imperative to communicate clearly. One of the best ways to do so is by sharing what’s on your screen for all to see. We have talked about how to record your screen, how to make a GIF, and even how to take a screenshot on Mac.
Today, let’s tell you how to take a screenshot on Windows to equip you with more tips on visual communication. Whether you want to document a bug, capture an error message, or share a specific moment in a digital workflow, Windows screenshots offer a visual means to convey complex information.
We discuss seven simple methods, but if you want to know our best recommendation for screenshot capture right now, we say Zight. With this software, you can effortlessly capture the entire screen or select precise screen areas. After capture, you can also edit and annotate your screenshot from the cloud before sharing. More below, so get started with Zight for free!
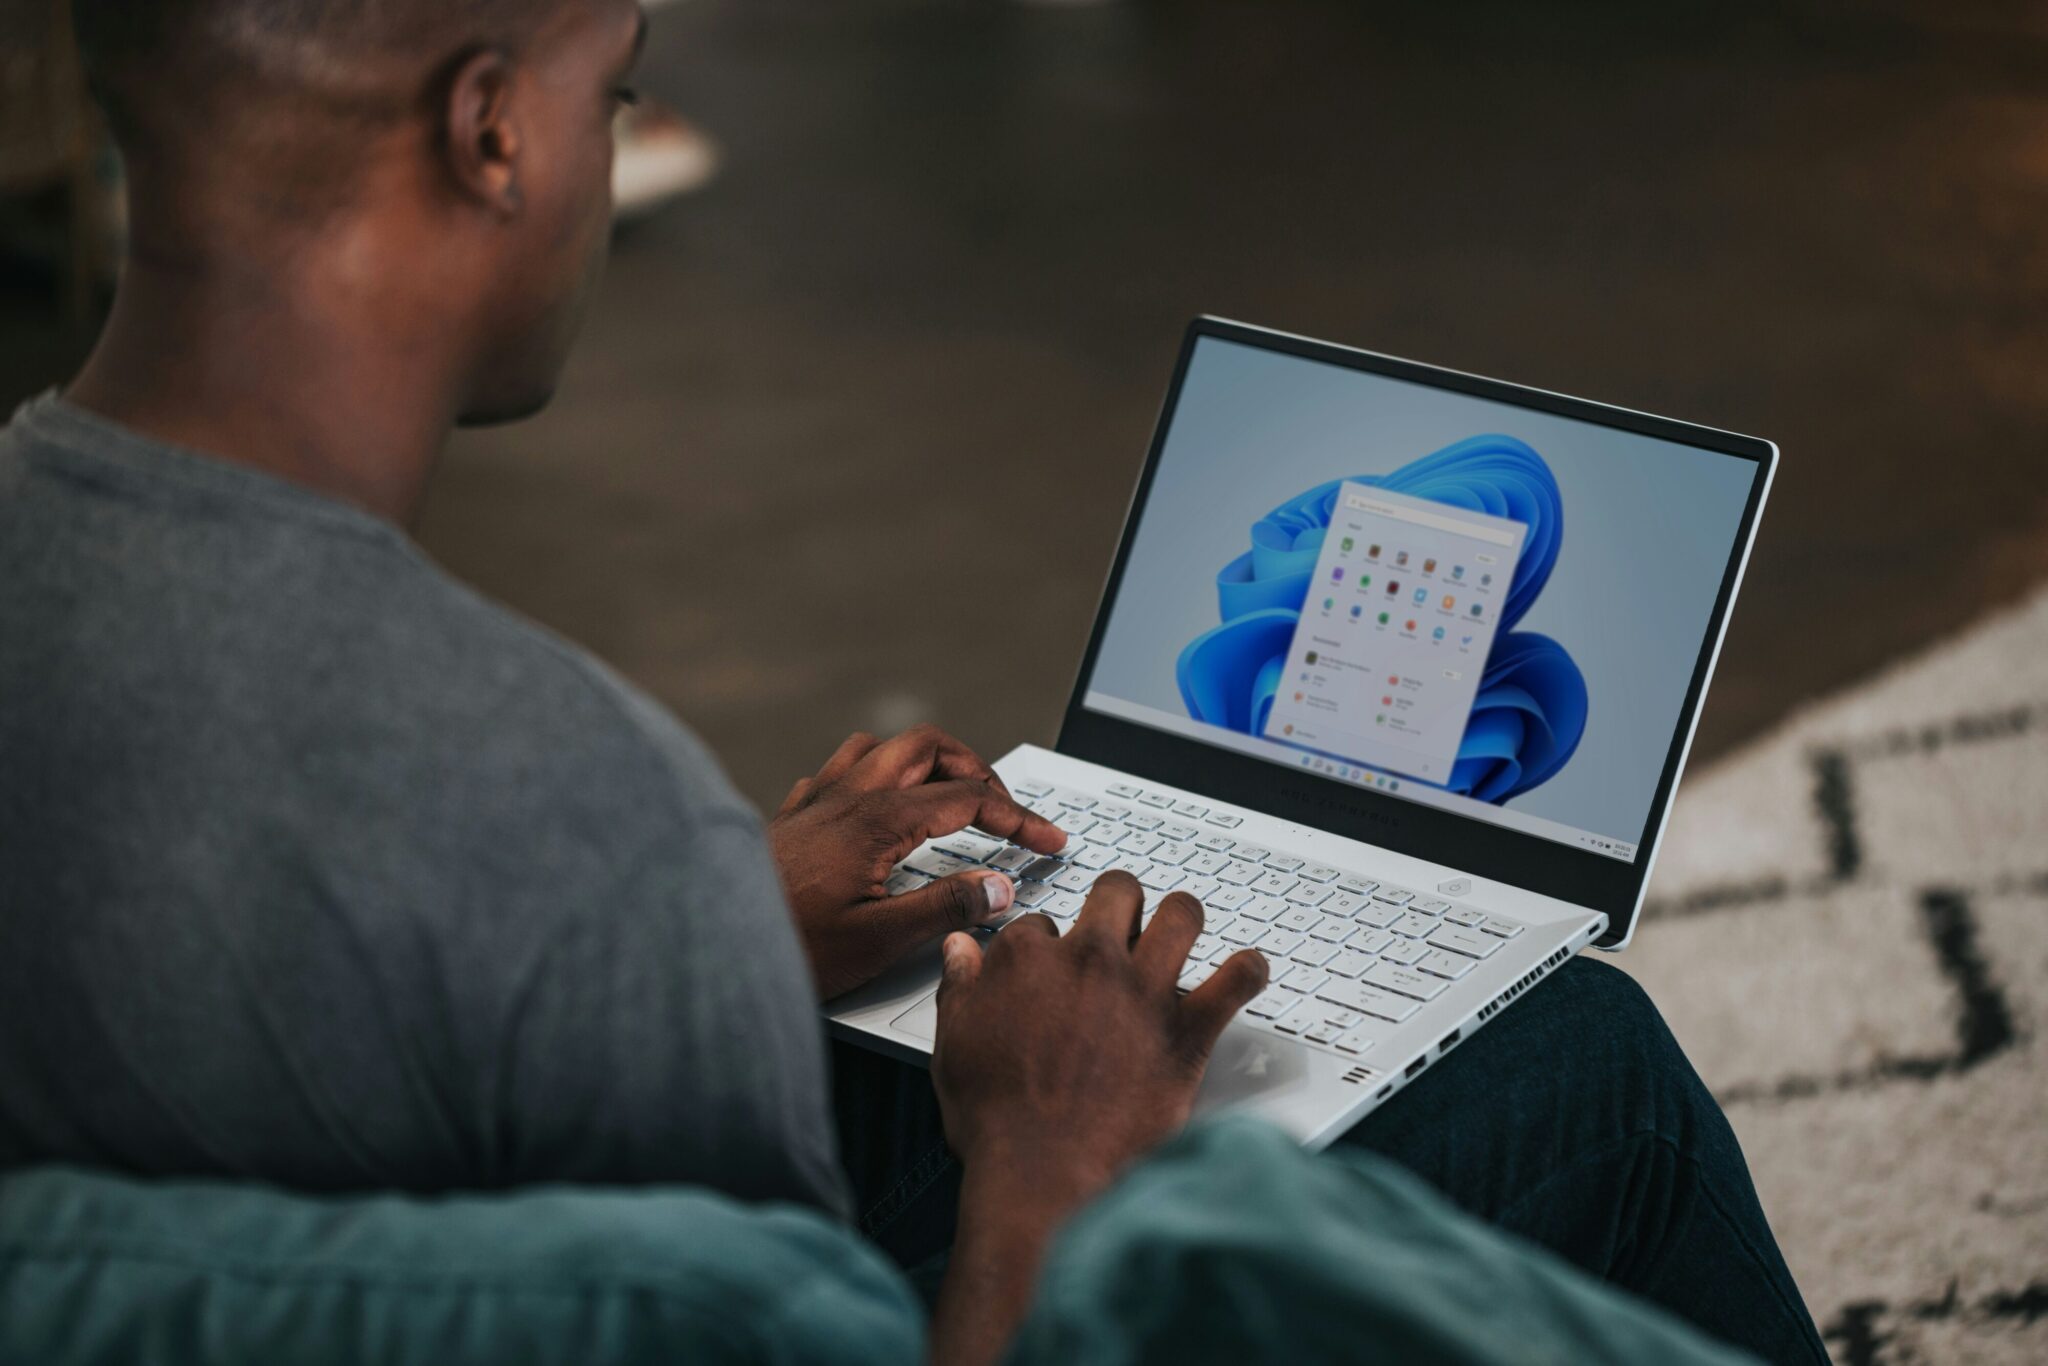
Here’s how to screenshot on Windows!
1. Using Windows Keyboard Shortcuts
Want the easiest method to take screenshots without leaving your workspace? Here are the different keyboard shortcuts you can use on Windows:
I. The Print Screen Key
The simplest way to take a screenshot in Windows is to use the key made for this function. Most Windows laptops have a button labeled either “Prt Sc” or “PRTSC.” When pressed, it will capture a screenshot of your entire screen.
The Print Screen button can take a screenshot and do 2 things with it:
- Copy the screenshot to your clipboard without saving it.
- Save the screenshot as a file.
The screenshot will be saved to the clipboard. You can then paste (Ctrl + V) it inside a Word document, for example, or another program that allows you to manipulate and edit the image.
Quick Tip: The Print Screen button varies from keyboard to keyboard. Desktops will sometimes have a standalone Print Screen button, but oftentimes, especially on laptops, the standalone button is embedded as a secondary function within an existing key and to access it, you have to press and hold the “Function” or “Fn” key, then press Print Screen. Also, some laptops, like Lenovo Thinkpad x1 Carbon, might not have the print screen keyboard shortcut. To take a screenshot, you can press the Fn + T keys, then paste the screenshot to your image editor like Paint for further editing.
II. Capture the Entire Screen and Save the Image In the Screenshots Folder
Press the Windows key + print screen key at the same time to capture a screenshot and save it in the Screenshots folder in Pictures. When you press these keys, the screen will dim for a second to indicate successful screen capture.
Quick Tip: To locate the Screenshots folder, open File Explorer and click Pictures. You can also use the Windows key + E keyboard shortcut to open File Explorer and look for Pictures on the navigation panel. In addition, your screenshot will be saved in your OneDrive account if you have it enabled.
Worthy read: Best Windows shortcuts.
III. Capture an Active Window
Click on the specific window you want to capture, then press Alt + PrtScn. The screenshot will be captured and copied to your clipboard. To view or edit it, paste the screenshot on another program like Paint or Word processor, then save it after editing.
2. Use the Snipping Tool

Most Windows computers have the Snipping tool. To open it, type “Snipping Tool” in the search bar and open the app.
To take a screenshot, click New and select the screenshot modes:
- Free-form snip: allows you to draw any shape with your cursor to capture exactly what you need
- Rectangular snip: lets you capture a precise rectangular area of your screen. It’s ideal for grabbing sections of websites, documents, or any application, providing a straightforward way to focus on specific content
- Window snip: lets you select and capture an active window, making it easy to document your work in any program without extra background distractions
- Full-screen snip: captures everything visible on your screen with a single click
You can also time your screenshot by clicking the Delay button, then select a delay of up to 5 seconds.
Once you capture the screenshot, you can view it from the app and make a few edits, like annotating with a colored pen or highlighter. You can also use an eraser to remove the annotations. If you want to edit or annotate further, click Edit with Paint 3D where you can add shapes, etc.
Save your screen capture by clicking Save Snip.
3. Use the Snip & Sketch Tool
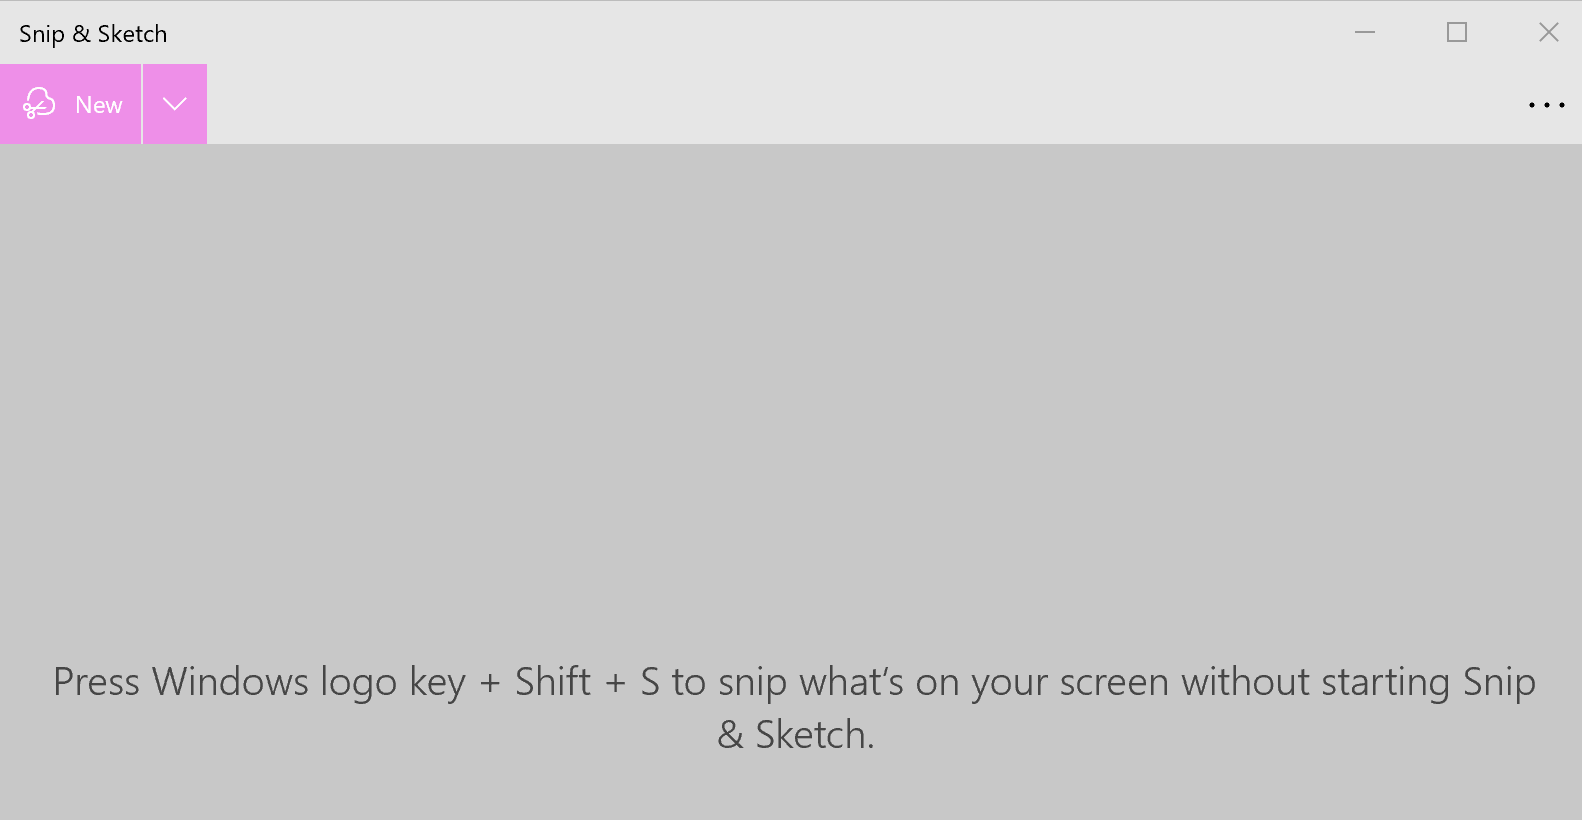
On Windows 10 and above, you can also use the Snip & Sketch tool to capture screenshots. You can type Snip & Sketch in the search bar to locate and open the app or press Windows Key + Shift + S.
When you open the app, your screen will dim, and you can select your best mode:
- Rectangular snip where you select the area to capture
- Window snip where you select the precise window to screenshot
- Free form snip when you draw freehand with your mouse/cursor when selecting the area to capture on your screen
- Full-screen snip where you capture everything on your screen
The screenshot will be saved to your clipboard, and you may even see a pop-up preview in the bottom right corner of your screen. You can edit your captured screenshot from the Snip & Sketch app. For instance, you can use annotations like touch writing, a ballpoint pen, a pencil, a highlighter, and an eraser to add instructions. The ruler makes it easy to draw lines on some areas to highlight them.
After editing, you can save the screenshot to your computer, or click Share to send it to someone or share via Bluetooth or Wi-Fi.
4. Use the Xbox Game Bar
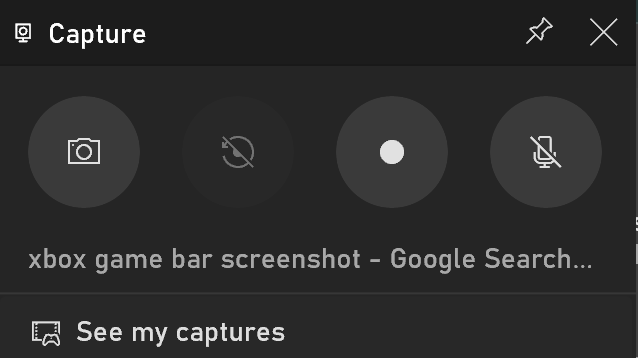
Press the Windows key + G to bring up the Game Bar overlay on your screen. It is primarily designed for gaming but can be used to capture screenshots in any application.
Once the Game Bar is open, look for the camera icon, which represents the screenshot function. either click this icon or press Windows + Alt + PrtScn as a shortcut to capture a screenshot of your current window.
After taking the screenshot, a notification will appear, indicating that the screenshot was captured successfully. You can click on this notification to quickly access the screenshot, or find it saved in the Videos/Captures folder in File Explorer. You can also find your screenshots in the Gallery folder in the Game Bar. To do so, click the Widgets Menu, then Gallery.
5. Power + Volume Up
The method of taking screenshots using the Power + Volume Up button combination is specific to Windows devices with a physical hardware layout that includes these buttons, such as the Microsoft Surface series of tablets and laptops. Here’s how to screenshot:
Navigate to the screen or application you want to capture on your device, hold down the Power button and then press the Volume Up button on the side of your device simultaneously.
The screen will dim briefly, indicating that a screenshot has been taken. This method captures the entire screen. The screenshot you’ve just taken will be automatically saved to the Screenshots folder within the Pictures library on your device. You can access this folder through the File Explorer to view, edit, or share your screenshot.
Quick Tip: if you have Surface 3 or earlier, you will need to press the Windows + Volume Down Button instead of the power button.
6. Use the Windows Steps Recorder

The Windows Steps Recorder, previously known as the Problem Steps Recorder (PSR), is an incredibly useful tool built into Windows that allows you to capture a series of actions performed on your computer. This tool is especially beneficial for creating step-by-step tutorials or documenting processes in a collaborative environment.
Here’s how you can use it to capture screenshots of different pages effectively:
- On some laptops, you won’t find the Steps Recorder directly in the Start menu. Instead, press the Windows key + R to open the Run dialog box, type psr.exe, and press Enter. Alternatively, click Start or Windows + S and type Steps Recorder, then open the app.
- Click on the “Start Record” button. The tool will now start documenting every mouse click and keyboard input. Each action you take will be accompanied by a screenshot, ensuring a visual and descriptive documentation of the process.
- For additional clarity or to highlight specific details within a step, you can click “Add Comment” during the recording. Select the part of the screen you’re commenting on, and type your explanation or note. This capability is invaluable for emphasizing critical points or providing extra guidance.
- After completing the sequence of actions you want to document, click “Stop Record.” The Steps Recorder will prompt you to save the recorded session. In addition, the output is a zipped file containing an MHTML document, which is convenient for sharing and reviewing.
- Open the saved file to review the recorded steps, complete with screenshots and descriptive annotations. This document can then be shared with colleagues or used as instructional material.
7. How to Take a Screenshot on Windows Using Zight (Best Method)

Zight (formerly CloudApp) is a free screenshot tool with a ton of features you won’t find in many other free software programs.
This software lets you capture screenshots in seconds, and then edit and share almost instantly, allowing you and your team to visually communicate with ease. Here’s how to use the image capture tool on Windows to capture and edit a screenshot in a few simple steps:
- To get started, download and install Zight.
- Open the Zight icon in the system tray in the lower right-hand of the Windows desktop and select the “Screenshot” option. You can also take a screenshot by pressing Alt + Shift + 5.
- Use your mouse to control the snipping tool and select the area on your screen you wish to record, and once done, the screenshot will be captured.
Two things happen immediately after you capture your screen:
- The screenshot is saved to your clipboard as a shareable link
- And the screenshot link automatically opens in your default browser where you can annotate and edit it before sharing
You can choose from a wide range of editing options for your screenshot through the screenshot editor. For starters, markup your image with arrows pointing to important information. Underline or separate elements in the image with lines. Draw on the image with a pen, highlighter, circle, and square tools – or even layer text on top of the image, among other options.
Besides annotating your screenshot, you can also edit it by cropping, zooming, redacting sensitive information, or adding stickers to it.
Now that your screenshot is ready, you can also protect it before sharing. Zight allows you to set your Share settings. Locate Share Your Image, and below it, you might find the default setting to be Anyone with the link can view. If your screenshot includes sensitive information, you want to change this.
Click Edit, and you find share settings like:
- Anyone with the link can view
- Anyone with the link and passcode can view
- Anyone can view in your organization
- Anyone can edit in your organization
- Anyone, as long they give their email address can view
- Only emailed people can view
You can also set when the link expires. To do so, click Advanced Settings under When does this link expire? You can save the link to expire after a certain number of views or set an expiry date. Before sharing, you can also allow reactions and comments on the image to create a better collaborative environment.
The best part about all this? Zight makes it very easy to share your screenshot. All you need to send your recipients is the link, and they can view it on their browser even if they don’t have a Zight account. In addition, you can embed the link in emails, or chat forums on Google Docs, Slack, Asana and more. In addition, you can also track various analytics like the number of views – especially when you want to reach a wide audience or track team engagement.
Quick Tip: Suppose you already took a screenshot with any of the Windows methods we discussed above, but can’t find the right annotation tools to leave the best instructions for your teams. In this case, you can open your Zight dashboard and click Upload. Then locate the screenshot from your File Explorer, upload it to Zight, and annotate it. Then, you can share it as a link, or download it to your computer, too.
Clearly, Zight is powerful screenshot software, but it has a whole lot more to offer…
How Zight Can Be Your All-In-One Visual Communication Tool
In addition to our screenshot tool, we bring HD screen and webcam recording, and GIF creation to the cloud in an easy-to-use, enterprise-grade app so you can quickly create and share visual content.
Zight is used by over 3 million people and is trusted by top companies such as Uber, Salesforce, and Adobe. We’ve been ranked by G2 Crowd as one of the top sales enablement tools and we continue to help companies improve communication with all of our solutions.
We believe fast and easy collaboration is a great thing, not only for your bottom line but for your company culture as well. And we make it easy for teams like yours to:
- Save Time
- Communicate More Clearly
- Grab Attention
- Personalize Content
- Engage Customers
And so much more.
Discover why Zight (formerly CloudApp) is the best free screenshot software for teams using Windows today.
Bonus Tips: Here’s How to Screenshot on PC!
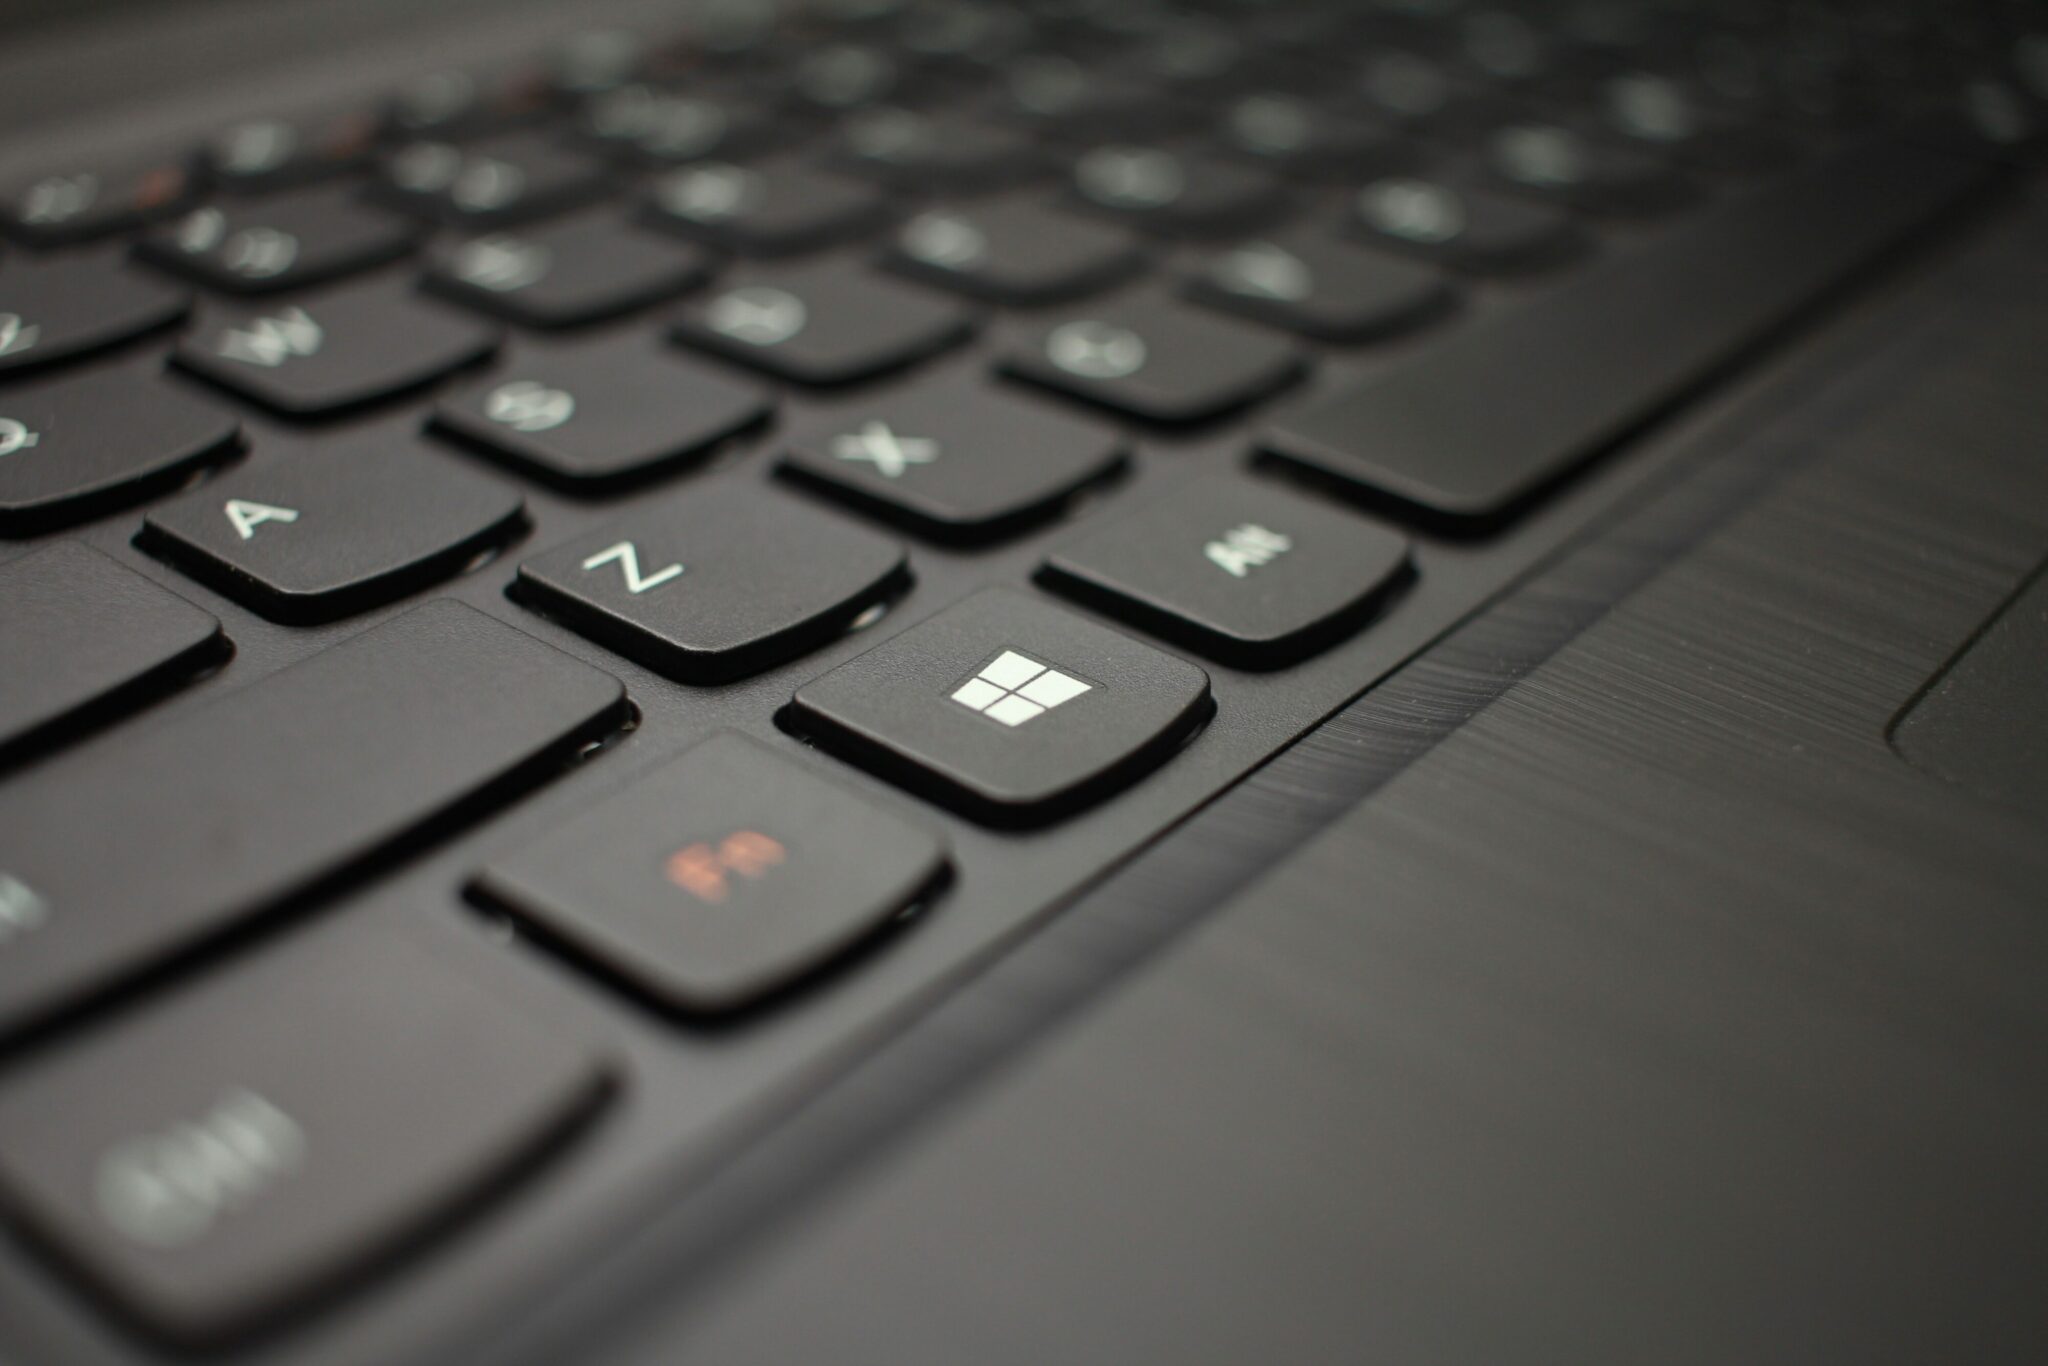
- Use the Windows Key + Shift + S Shortcut
- This keyboard shortcut opens the Snip & Sketch tool quickly. Press Windows Key + Shift + S, and your screen will dim, allowing you to choose between rectangular snip, free-form snip, window snip, or full-screen snip. The screenshot will be copied to your clipboard for easy pasting into any application.
- Utilize Third-Party Screenshot Tools
- While Windows provides several built-in tools, third-party apps like Lightshot, Greenshot, or Snagit offer advanced features like scrolling captures, better annotation tools, and more sharing options. These tools can significantly enhance your screenshot-taking experience.
- Use OneNote for Screenshots
- If you have Microsoft OneNote installed, you can take screenshots directly from it. Press Windows Key + Shift + S, and it will activate OneNote’s screen clipping feature. After selecting the area you want to capture, OneNote will open with your screenshot ready for further annotation and organization.
- Employ Windows 10’s Virtual Desktop
- If you’re working with multiple virtual desktops in Windows 10, you can take screenshots specific to each desktop. Simply switch to the desired virtual desktop using Windows Key + Ctrl + Left/Right Arrow and use any of the screenshot methods to capture the screen on that particular desktop.
- Save Screenshots Directly to OneDrive
- Configure your screenshots to be automatically saved to OneDrive. Go to OneDrive Settings > Backup > Screenshots, and check the option “Automatically save screenshots I capture to OneDrive.” This ensures all your screenshots are backed up and accessible from any device linked to your OneDrive account.
By integrating these bonus tips with the existing methods, you’ll have a comprehensive set of tools and techniques for capturing, editing, and sharing screenshots on Windows, making your workflow more efficient and versatile.
5 Reasons to Take a Screenshot on Windows
- Documenting Bugs and Errors
- Screenshots provide a clear and precise way to capture and share software bugs or error messages. This visual evidence is crucial for technical support teams to understand and resolve issues efficiently, ensuring minimal downtime and quick troubleshooting.
- Creating Tutorials and Guides
- When creating instructional content or step-by-step guides, screenshots help illustrate the process. Visual aids make the information more accessible and easier to follow, enhancing the learning experience for users who need to perform tasks on their Windows systems.
- Enhancing Communication in Remote Teams
- In a remote working environment, visual communication is key. Screenshots allow team members to share exactly what they are seeing on their screens, making it easier to explain concepts, provide feedback, and collaborate effectively without misunderstandings.
- Capturing and Sharing Visual Content
- Screenshots are useful for capturing and sharing visual content from the web or applications. Whether it’s a design mockup, a section of a webpage, or an important chart from a presentation, screenshots help convey visual information quickly and accurately.
- Saving Important Information
- Sometimes, you might come across important information that you want to save for later reference. Screenshots allow you to capture and store this information, ensuring you have a visual record of things like confirmation pages, receipts, or critical data displayed on your screen.
These reasons highlight the importance of being able to take screenshots on Windows, enhancing productivity, clarity, and efficiency in various professional and personal scenarios.
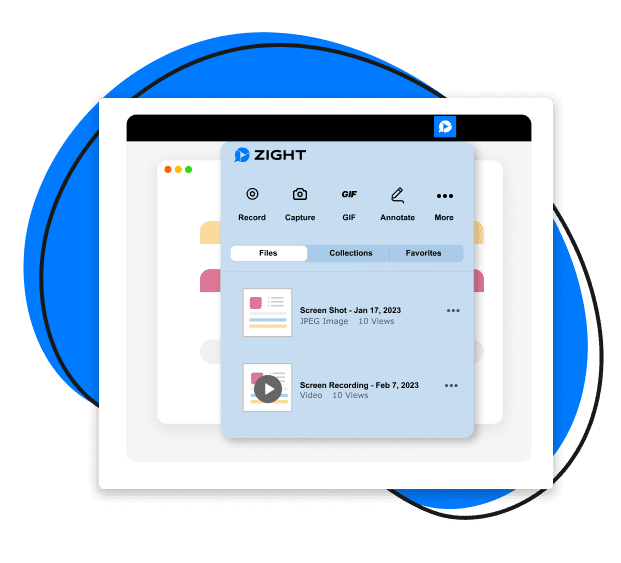
10 Reasons To Use Zight To Take Windows Screenshots Instead Of The Snipping Tool
- Advanced Annotation and Editing Tools
Zight offers powerful annotation and editing features that go beyond simple screenshot capture. You can add arrows, text, shapes, highlights, and even blur sensitive information, making your screenshots more informative and visually appealing.
2. Effortless Sharing and Collaboration
With Zight, you can instantly share your screenshots via a shareable link. This feature is invaluable for remote teams and collaborative projects, allowing team members to view and comment on screenshots without the need for additional software.
3. Cloud Storage and Accessibility
Zight automatically saves your screenshots to the cloud, ensuring they are accessible from any device and safe from being lost. This also makes it easy to organize and retrieve your screenshots anytime, anywhere, which is particularly useful when switching between devices.
4. Integrated Screen Recording and GIF Creation
Zight is more than just a screenshot tool. It also offers screen recording and GIF creation capabilities. This versatility allows you to capture dynamic content and create engaging visual communication materials, all within a single application.
5. Enhanced Security Features
Zight provides robust security options for your screenshots. You can set access permissions, add passcodes, and control how long a link is active. These features are crucial for sharing sensitive information securely, ensuring that only authorized individuals can view your screenshots.
6. Customizable Keyboard Shortcuts
Zight allows you to set up and customize keyboard shortcuts for capturing screenshots quickly and efficiently. This customization ensures that you can take screenshots without interrupting your workflow, providing a seamless user experience.
7. OCR (Optical Character Recognition) Technology
Zight incorporates OCR technology, enabling you to extract text from screenshots with ease. This feature is incredibly useful for digitizing printed documents, capturing information from images, and quickly copying text for further use.
8. User-Friendly Interface
Zight’s intuitive and user-friendly interface makes it easy for both beginners and advanced users to navigate and utilize all its features. The streamlined design reduces the learning curve and allows you to access tools and functionalities quickly.
9. High-Resolution Capture Options
Zight supports high-resolution screenshot captures, ensuring that your images are clear and detailed. This is particularly beneficial for professionals who need to capture high-quality images for presentations, tutorials, or detailed work analysis.
10. Regular Updates and Customer Support
Zight provides regular software updates to improve performance and add new features, ensuring that you always have the latest tools at your disposal. Additionally, their responsive customer support team is available to help with any issues or questions, enhancing the overall user experience.
These benefits make Zight an exceptional choice for anyone looking to enhance their screenshotting capabilities on Windows, offering a comprehensive solution that combines ease of use with advanced functionality.
Top Ten Reasons to Use Zight for Windows Screenshots – David Letterman Style
- Powerful Annotations
You can do more than just capture! Add arrows, text, shapes, highlights, and even blur sensitive information. Your screenshots will look like a work of art. - Instant Sharing
With Zight, you get an instant shareable link. Share with your team faster than you can say “Snipping Tool.” - Cloud Storage
Forget losing your screenshots. Zight saves them in the cloud, so they’re always accessible, organized, and safe. - Screen Recording & GIFs
Why stop at screenshots? Zight lets you record your screen and create GIFs. Perfect for capturing those epic fail moments in your favorite games. - Security Features
Keep it secret, keep it safe. Set permissions, add passcodes, and control how long your link is active. Your screenshots are as secure as a vault. - Custom Keyboard Shortcuts
Capture with a tap. Customize your keyboard shortcuts to snap screenshots without breaking your workflow. - OCR Technology
Need text from an image? Zight’s OCR feature extracts text from screenshots with ease. It’s like magic, but real. - User-Friendly Interface
No need for a degree in rocket science. Zight’s intuitive interface is designed for everyone, from beginners to pros. - High-Resolution Capture
Your screenshots will be as clear as day. Perfect for presentations, tutorials, or just showing off your desktop setup. - Regular Updates & Support
Stay ahead of the curve with regular updates and a responsive customer support team ready to help with any issue.
So, if you’re looking for the best way to capture, edit, and share screenshots on Windows, Zight is the way to go! Get started today and elevate your visual communication game.
In Closing
You can only use native apps or a third-party tool to take a screenshot on Windows. Each method comes with simple shortcuts to make the capturing process as painless as possible.
But, if you ask us, we’ll tell you it’s much better to take a screenshot on Windows using a third-party app like Zight. There are many reasons to not use native screenshot apps, including the risk of losing your captures with device change, and the lack of enough editing tools. Zight, on the other hand, gives you all you need for high-quality screenshots, from the Alt + Shift + 5 keyboard shortcut to advanced annotations and security features, and cloud storage.
Want to explore more about third-party apps? We have awesome reads too, including the best Greenshot alternatives, Lightshot alternatives, Fireshot alternatives, Snagit alternatives, and so much more! As you’ll see, not many tools beat Zight for screenshots and screen recordings.
So, get Zight today – it’s your best screenshot tool for Windows!
