Capturing screenshots on your Windows PC is a handy feature for capturing important information, sharing moments, or saving visual references. While the basic screen capture functionality has remained consistent, newer Windows versions have brought a few useful upgrades.
Luckily, there are dedicated screenshot apps like Zight that are compatible with all versions of Windows. Plus, the Zight app works the same on all devices, so you won’t have limitations (like when sharing a screenshot on the Snipping Tool on older versions). You can even get the Zight Chrome extension , and you’ll be able to capture your screen within your Google workflows !

What Happened to Snip & Sketch?
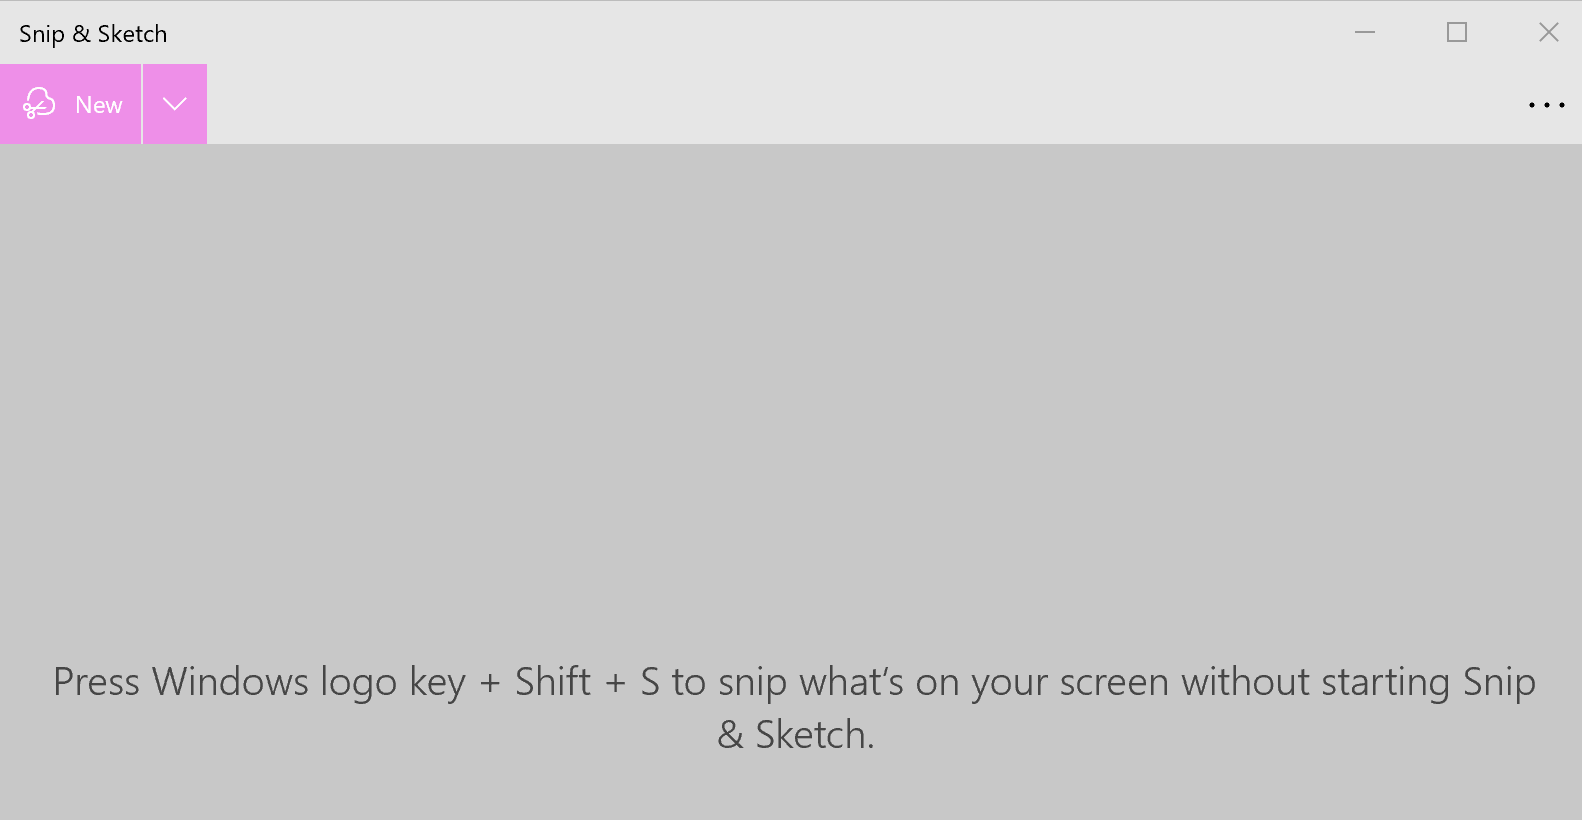
When Windows 10 was introduced, Microsoft launched a new tool called Snip & Sketch as a modernized version of the classic Snipping Tool. It aimed to streamline screenshot tasks and added features like annotations for marking up images directly. However, many users missed familiar functions like delayed captures, leading them to either revert to the older Snipping Tool or seek out third-party screenshot apps for a more complete experience.
Is the Windows Snipping Tool Upgrade Worth It?
Yes. Windows 11’s Snipping Tool is more than just a basic screenshot utility. It comes with additional features like text extraction, a built-in ruler, and even a protractor for precise measurements. Let’s learn how to fully utilize the Windows snipping tool.
a). Copying Text from Screenshots
The Snipping Tool in Windows 11 lets you easily extract text from your screenshots, saving you time from typing it out manually. This feature is perfect for quickly grabbing quotes, error messages, or any text from images. Here’s how:
- Open the Snipping Tool by selecting it from the taskbar or using the shortcut Win + Shift + S .
- Click New to capture a screenshot of the desired area.
- On the toolbar, select Copy all text (or use Ctrl + A to select and Ctrl + C to copy).
- Paste the extracted text into any document or editor using Ctrl + V .
b). Using the Built-in Ruler for Precision
If you need to measure items on your screen, the Snipping Tool’s ruler feature comes in handy. This is especially useful for graphic designers or anyone needing exact measurements. Here’s how to use it:
- Launch the Snipping Tool and click New to take a screenshot.
- On the toolbar, select the Ruler icon.
- Adjust the ruler’s position by moving or rotating it to align with your target area.
- Use a drawing tool to trace along the ruler, ensuring precise lines.
c). Measuring Angles with the Protractor
For tasks requiring angle measurements, the Snipping Tool includes a built-in protractor. This feature is great for students tackling geometry problems or professionals working on design tasks, providing an extra level of accuracy. To use it:
- Open the Snipping Tool and capture a new screenshot.
- Choose the Protractor tool from the toolbar.
- Place the protractor over the angle you want to measure.
- Using a drawing tool, trace along the protractor to gauge the angle.
1. How to Snip in Windows 11 Using the Snipping Tool App
Step 1: Open the Snipping Tool App
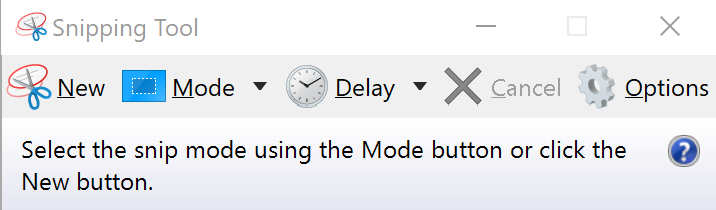
Opening Snipping Tool in Windows 11 is easy and there’s more than one way to do it! You can open it using the Start menu, Search bar, or even a keyboard shortcut.
- On Windows 8.1, swipe in from the edge, select Search, type snipping, and then select Snipping Tool.
- On Windows 7, click the Start menu, type Snipping, and then click Snipping Tool.
Step 2: Choose Your Snip Type
The snipping tool will trigger screen capture with the option to select one of the following modes.
- Rectangular Snip Mode : This is the default option. It lets you manually draw a rectangular shape to capture the area you want. Simply click and drag your mouse to select the region.
- Window Snip : If you need a screenshot of a specific window, this mode is perfect. Just click on the window you want to capture, and it will snap a picture of just that window.
- Full-Screen Snip : This mode captures an image of your entire screen. Simply click anywhere on the screen to take the screenshot.
- Free form Snip : With this mode, you can create a custom-shaped snip. There are no restrictions, so you can capture any shape, even a freehand outline.
Step 3: Capture your Snip
By default, screenshots are captured immediately once you select the area. However, if you need a few extra moments to prepare, you can set a delay of up to 10 seconds. This is useful if you need time to open an app or adjust your screen before taking the screenshot. To set the delay, simply click on the “No delay” button within the app and choose your preferred delay time.
2. Using Keyboard Shortcuts
Another way to snip your screen on Windows is by using the dedicated keyboard shortcut keys. Microsoft has designated the Windows Key + Shift + S shortcut to open the Snipping Tool on both Windows 11 and Windows 10 (if installed). Pressing these keys together will instantly launch the tool, allowing you to quickly capture your screen. However, this method was unavailable in Windows 8.