How many times do you need to share the contents of your computer screen? It has to be very often, especially at work. It happens all the time, whether giving instructions through email or when chatting about work on apps like Asana, Trello, or Slack. A screenshot makes work easy, so you don’t have to type or copy and paste content – and edit it more!
But, even as you create screenshots, it is important to edit them so they look professional. Some edits, for example, cropping, remove unwanted or unrelated content like your open tabs or the taskbar, while advanced edits like blurring effects remove sensitive or private information like contacts.
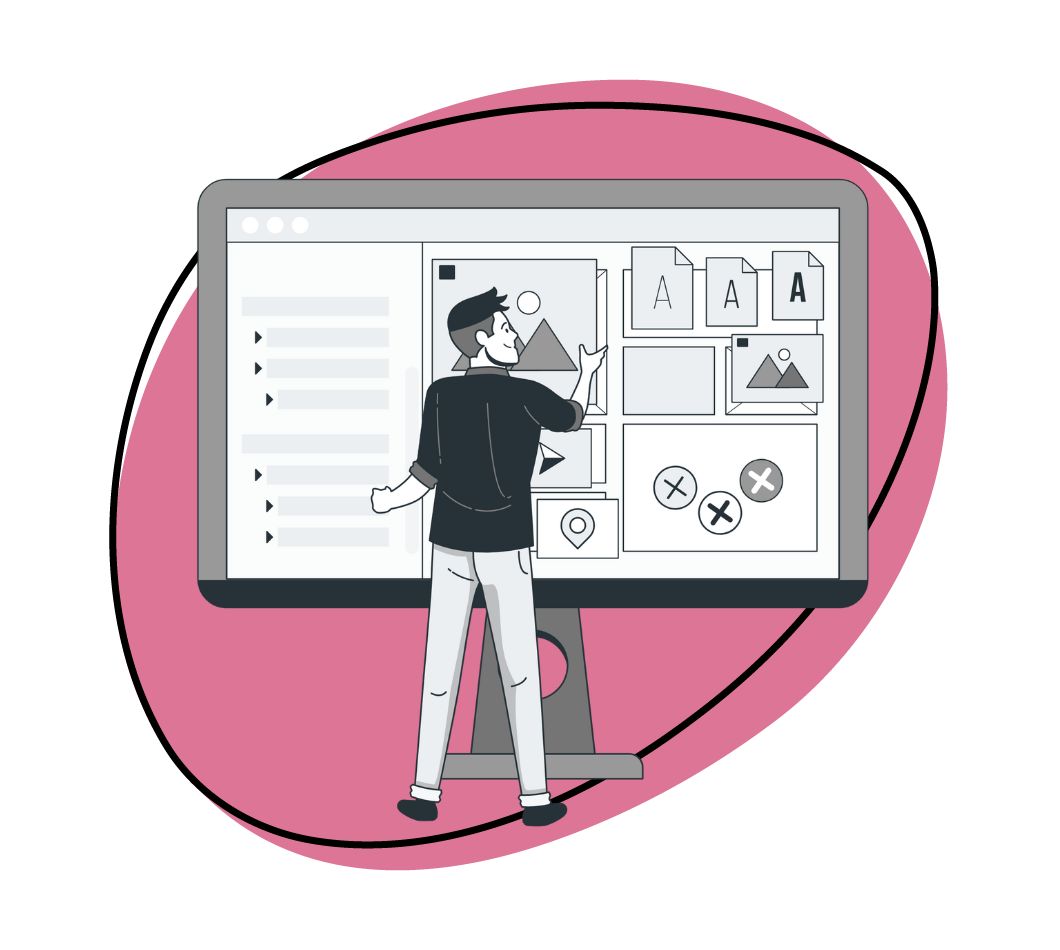
Want to know how to edit screenshots on your computer? Let’s show you how!
Why It’s Important to Edit Screenshots
You can use screenshots to improve productivity at work. But editing them before sharing can make your communication much smoother. Here’s why:
- You’ll highlight what matters: Sometimes, a screenshot can be cluttered with extra stuff you don’t need others to focus on. Cropping out unnecessary parts lets you spotlight what’s important. This way, you’re making sure that everyone’s looking exactly where they should be, and there’s less room for confusion
- You can annotate screenshots to communicate even better: Add arrows, text, or other marks to guide someone through your screenshot. This is super handy for step-by-step instructions or when pointing out specific issues that need fixing
- You can boost your brand image: Editing screenshots gives them a more polished, professional look that reflects well on you, especially when presenting to clients or higher-ups. A clean, focused screenshot can say a lot about your attention to detail and professionalism
- You will protect sensitive information: When you edit a screenshot, you can blur or erase any sensitive information that shouldn’t be shared publicly or outside the intended audience. This is crucial for maintaining privacy and security, especially when screenshots include personal data or proprietary information
How to Edit A Screenshot on Your Computer
You have two ways to edit screenshots on your computer, but they depend on the screenshot tool you’re using;
- Using a native screenshot app
- Using a third-party screenshot tool like Zight
Starting with the free method, you can use native screenshot tools on your computer. On Mac computers, you can capture screenshots using keyboard shortcuts like Shift + Command + 3 or a Mac Snipping Tool version like Preview (how to capture a screenshot on Mac). On Windows, you can use the Snipping Tool, Snip & Sketch, or Game Bar to capture screenshots (how to take screenshots on Windows). You can also use these Windows shortcuts to capture screenshots if you don’t want to manually navigate to the native apps.
When you use native apps to capture screenshots, you also get various editing tools. For instance, you can crop or add annotations on Mac and Windows. You can also share the screenshots via email and download the screenshots to your device. Unfortunately, the editing features are very limited and may not be best suited for the professional landscape.
If you want more professional screenshots with advanced editing features, you want to use a third-party app like Zight to capture and edit screenshots. To use it, search for Zight online, then download the app that is compatible with your device. Zight is available for Mac, Windows, and even Chrome.
However, sometimes you need a taste of both worlds, so let’s tell you how to edit your screenshots using Zight and the native apps.
1. How to Edit a Screenshot Image with Zight
Before we tell you how to edit your image, here is a quick rundown of how to capture a screenshot on Mac, Windows, and Chrome using Zight.
1. On Mac:
- Open your Zight app and click Capture. Too much work? The Command + Shift + 6 shortcut works like a charm!
- Select the region of your screen you want to capture, or click Enter to capture the entire screen.
- Share the screenshot link that copies to your clipboard, or wait for it to load on your default browser to edit.
2. On Windows:
- Open your Zight app and click Screenshot. You can also use Alt + Shift + 5.
- Select the region of the screen you want to capture. Just click and drag your mouse over the desired area. Alternatively, click Enter, and Zight will screenshot your entire screen.
- The screenshot is ready to share with the automatic link, but you can wait for the link to open online to edit the screenshot further.
3. On Chrome:
We all have and use this browser, so we need the best screenshot tools for Chrome. Zight ranks #1, and here’s how to use it:
- Download and enable the Zight Chrome extension for the screenshot software to have access to your browser tabs. For quick access, pin the Zight icon to your Chrome bar on the top left corner of your tab.
- Click Screenshot (Windows) or Capture (Mac) to capture the screen.
- Then, select the area you want to capture. Click and Drag your mouse to select the region. Alternatively, click the Space button on your computer to capture the entire visible area (you’ll hear the click sound after a successful capture). You can also click E to capture the entire page, or D to capture your desktop (you will choose between Chrome Tab, Windows, or Entire Screen when capturing your desktop).
- Wait for the screenshot’s link to load on a new tab, and you can edit the image before sharing.
When you use Zight to capture a screenshot on your computer, it automatically uploads to the cloud, meaning you can already share it as a link. But if you need to edit it before sharing, just wait for the link to open and the screenshot to upload. Then, you can annotate the image as follows:
Annotating and Editing a Screenshot with Zight
- Click Annotate under the image on your Zight dashboard.
- Select your line color and width. Then, choose how the line starts and ends (both are settings under your annotations – simply click the dropdown menus for each and select from a variety of options like bar, arrow, circle, or square).
- Choose from the different annotations like arrow, line, ellipse, rectangle, and marker. You can also add and edit text with each annotation. For a step-by-step screenshot guide, use the Path annotation to guide your viewer.
You can also use the Zight screenshot editor for more features on the editor’s left-hand panel as follows:
- Select Crop to cut out sections of your screenshot image that you don’t want to share. This feature is especially vital when you want to edit a full-screen capture that will obviously have unwanted content.
- Redact sections of your capture that would have sensitive information. When you click Redact, you can blur content by clicking and dragging your mouse cursor over an area.
- Click Stickers, and you get emoji icons like thumbs up, thumbs down, backhand index pointing right, fire (or lit!), heart, and a smiley face. You can decide when to use these emojis, ensuring you maintain the right communication tone (formal or informal) when sending the edited screenshot. Pro Tip: crop the emoji to size, flip horizontally, or even duplicate the addition.
- Still, on stickers, you can add Markers (numbers 1 to 9). You will probably need these for step-by-step instructions – especially when using the path annotation. You can also click Select Image and upload an image file from your computer. Once it uploads, you can click and drag it to the desired region of your screenshot. Remember, you can resize all stickers, flip them horizontally, or duplicate them across the screenshot. Don’t like any sticker? Just click on it and backspace on your keyboard!
- Fill background color: You can also choose from a lineup of background colors to add to your screenshot. These range from none, grays, black, blues, greens, yellows, orange, red, pink, and purple. This editing feature is particularly useful when editing multiple screenshots to share with the same person – different backgrounds will make it easier to follow!
Screenshot editing with Zight ensures your content is communicative and easy on the eye. When you use all or some of the applicable editing features above, click Save.
Use the editing tools to crop, annotate, or blur parts of your screenshot before sharing it; for more detailed touch-ups, Photoshop AI can also be useful.
This will take you back to the screenshot page, where you can copy the link to share. But there’s still more you can do before sharing:
Add More Zight Features
There are more features you can use that would make your screenshot look professional when you click More under the screenshot (if using Zight Beta. If using the Classic layout, this will appear on the right).
For instance:
- Add a button to tell your readers what you want them to do. Choose the text (i.e., Click Here), add the button link, select the button and text color, and corner style (square and rounded). When done, choose where the button appears (on the image) and add it to your screenshot.
- Apply a template to optimize your screenshot for the right audience. Some Zight templates you can choose from include Sales, Customer Success, and Bug Fixes. You can also create yours from scratch!
- Allow comments – good for collaboration and feedback loops.
- Allow reactions from recipients – they can leave emojis to communicate feedback.
- Set access settings – decide who can view the screenshot, when it expires, and where to share or embed the image. See the new Zight enhancements to see how this works!
If you’re with us at this point, you’ve left nothing to chance. You have edited your screenshot nicely and can now share it with recipients.
So, click Copy Link and paste this to your recipient. This is the easiest and most professional way to share a screenshot – your recipient doesn’t even need to be using Zight to view the screenshot!
Alternatively, click More, then Download to save the screenshot on your computer. You can then upload the screenshot to send.
2. How to Edit a Screenshot Using Your Native Screenshot App
While Zight is the better option for editing screenshots, there are still times when native apps come in handy – especially when you don’t need super-enhanced editing features or are just taking a fun screenshot. For this reason, it makes sense to want to know which editing features (albeit limited) you can use to improve your screenshot.
On Mac;
- Press a keyboard shortcut like Shift + Command + 4 to screenshot. Your cursor turns into a crosshair. Click and drag to select the area you want to capture. Release your mouse or trackpad button, and your Mac saves the screenshot on your desktop. It usually saves as a PNG file.
- Find the screenshot on your desktop or in the location where it was saved. Right-click on the screenshot and select ‘Open with’ followed by ‘Preview’.
- To crop, select the area you want to keep with your mouse, then go to the ‘Tools’ menu and select ‘Crop’ or press Command + K. To annotate, click on the ‘Show Markup Toolbar’ button to bring up the editing tools. Here, you can add text, shapes, and more. Use the ‘Adjust Color’ and ‘Adjust Size’ options from the Markup Toolbar to adjust color or size.
- Save your image by going to ‘File’ and selecting ‘Save’ or ‘Save As’ to create a copy with your changes.
On Windows;
You can use several tools to capture a screenshot on Windows, so let’s tell you how to use each to capture and edit screenshots.
i) Snip & Sketch:
- Press Windows + Shift + S to capture your screenshot. You can select either rectangular, freeform, window, or full-screen capture.
- You can edit the screenshot directly in the Snip & Sketch app. Add annotations with a pen, pencil, and highlighter, use a ruler or protractor for precision, and erase mistakes easily. For cropping, select the area you want to keep and adjust accordingly.
- After editing, save your screenshot by clicking the floppy disk icon or use the share option to send it directly.
ii) Snipping Tool:
- Open the Snipping Tool, and choose the type of snip you want – free-form, rectangular, window, or full screen. Once you’ve selected your mode, capture the snip.
- You can use basic editing options like a pen and highlighter in the Snipping Tool. For more detailed editing, you can open your capture in Paint (more on how to use Paint below).
- Save your edits directly from the Snipping Tool or after editing in Paint, where you can further adjust colors, add text, and more.
iii) Paint:
- There are three ways to open a screenshot on Paint: If you used the Print Screen shortcut, click Ctrl + V to paste it directly with Ctrl + V. You can also open a screenshot file by going to File > Open and selecting the screenshot from your files. Alternatively, you can click paint if you took a screenshot with the Snipping tool (see above).
- You can then edit the screenshot using 2D or 3D shapes, text, stickers, markers, and effects or create a custom canvas.
- Once satisfied with your edits, go to File > Save As and choose your desired file format, like JPEG or PNG, to save your edited screenshot.
10 Reasons You Should Use Zight as Your Screenshot Editing Tool
- Comprehensive Annotation Tools: Zight allows you to annotate your screenshots with text, arrows, lines, and blurring effects, making it easy to highlight important details and guide viewers effectively.
- Professional Image Editing: It offers advanced editing features like cropping, blurring, and adding emojis or markers, which help in creating professional-looking screenshots suitable for work presentations and client communications.
- Cloud Integration: Screenshots captured with Zight are automatically uploaded to the cloud, allowing for easy sharing via a link, which is convenient and professional.
- Multiple Capture Options: Zight supports capturing the entire screen, specific regions, or browser tabs, providing flexibility depending on what you need to share.
- Cross-Platform Availability: It is available for Mac, Windows, and Chrome, ensuring that users can take advantage of its features regardless of their operating system.
- Customization Options: Users can customize annotations with different line colors, widths, and end shapes, as well as add text, shapes, and stickers to make the screenshots more informative and visually appealing.
- Security Features: Zight allows you to redact sensitive information by blurring sections of your screenshot, which is crucial for maintaining privacy and confidentiality.
- Easy Collaboration: The platform supports features like comments and reactions on screenshots, making it easier to collaborate and gather feedback from colleagues or clients.
- Template Usage: Zight offers templates for specific purposes such as sales, customer success, and bug fixes, which helps in quickly optimizing screenshots for different audiences.
- Additional Functionalities: Beyond simple editing, Zight lets you add buttons, apply templates, set access permissions, and manage sharing settings, which enhances the overall utility and professionalism of your screenshots.
Using Zight, you can create, edit, and share screenshots that are not only clear and concise but also tailored to meet professional standards and specific needs.
Summary
Do you have your favorite screenshot editor yet? As you can see, it is not that hard to edit screenshots to maintain a professional (or geek!) standard. Native screenshot apps are easy to use with okay editing tools, but if you want the best output, you need an advanced screenshot tool and editor.
Let you in on a top secret? Zight is the best screenshot software out there. So, download the app, then shoot for the stars with your screenshot editing!


