Screenshots are a go-to tool for saving information, capturing interesting moments, or sharing what’s on your screen. As a Mac user, you’ve probably taken your fair share, especially over the past years when nearly half of people capture screenshots at least once a week. However, sometimes, you don’t need the entire screen, just a specific section.
That’s where cropping comes in. Whether trimming out the menu bar, hiding sensitive information, or focusing on a key detail, cropping helps highlight what truly matters. The good news? MacOS makes it easy, offering built-in tools that require no Photoshop skills. Our guide below will walk you through different methods to crop a screenshot on your Mac.
How to Take a Screenshot on Mac Using Keyboard Shortcuts
Knowing how to take a screenshot is essential before cropping one on a Mac. The quickest way is to use keyboard shortcuts. If you’re running macOS Mojave or later, you can even use the built-in cropping tool to edit screenshots as you capture them.
Here are the shortcuts to get you started:
- Capture the entire screen: Press Shift + Command + 3
- Capture a portion of the screen: Press Shift + Command + 4
- Capture a specific window or menu: Press Shift + Command + 4, then hit the Space bar
These shortcuts make screenshotting easy and efficient!
One downside of using keyboard shortcuts to crop screenshots is that you can‘t fine-tune the crop after taking the screenshot this way. If you don‘t get the perfect framing on the first try, you‘ll have to delete it and try again.
1. Built-in Screenshot Tools for Cropping a Capture on Mac
Sometimes, the simplest way to crop a screenshot on your Mac is by using its built-in tools. This is especially handy when you don’t have an internet connection or can’t install third-party software.
a). How to Crop a Screenshot with Mac’s Editor
To get started, you can use a quick keyboard shortcut to capture the entire screen—press Shift + Command + 3 together. After you take a screenshot, a thumbnail of your screenshot will pop up in the bottom-right corner. To crop it quickly, just click on this thumbnail immediately—it only stays there for a few seconds before disappearing. If you miss it, there’s no way to return it, so act fast!
When you click the thumbnail, your screenshot opens in the built-in editor. To crop it, just follow these simple steps:
- Click the crop icon in the top-right corner.
- Adjust the crop by dragging the handles at the corners of the highlighted rectangle to select the area you want to keep.
- Everything outside this rectangle will be removed.
- Once you’re happy with your selection, click Done in the top-right corner to save your cropped screenshot.
b). How to Crop a Screenshot on Mac using Preview
While the Preview app on Mac is usually used for viewing images, it can also be handy for cropping your screenshots. Double-click any image on your Mac, and it will automatically open in Preview and be ready for editing. The Preview app is a sure way to crop a screenshot on Mac if you don’t have a keyboard.
Here’s how you can crop your Mac screenshot with the Preview app.
- Double-click a screenshot to open it in the app.
- Find the Show Markup Toolbar button in the top menu bar. The tool can have a pencil tip or toolbox icon, depending on your Mac.
- A plus sign will appear on your screen when you click the tool. Left-click the mouse button and drag the cursor (plus sign) diagonally till you cover everything you want to crop. Release when you are done.
- When you select an area to crop, a rectangle with blue dots will appear, outlining your selection. Everything inside this rectangle will be kept, and the rest will be cropped away. To finalize, click Crop to Selection from the menu bar to trim your image.
- The screenshot will be cropped. Ensure you save the image before closing the app. Otherwise, you will lose the edited image.
2. How to Crop Your Screenshot using Online Tools
Online tools are a convenient option for cropping screenshots without downloading extra software. While apps like Photoshop or other advanced tools are popular for edits, they might be overkill if you only need a quick crop. Instead, online tools like Small SEO Tools can do the job efficiently. Here’s how to use it:
- Visit the Small SEO Tools website.
- Scroll down and click Upload.
- Select your screenshot and upload it.
- Use your mouse to drag and select the crop area or input the dimensions you need.
- Click Crop Image, and your screenshot will be cropped instantly.
- Download the cropped image to save it to your system.
You can repeat the process for more screenshots—quick and hassle-free!
3. How to Crop a Screenshot Using the Photos App
Like the Preview app, you can crop a screenshot on your Mac using the built-in Photos app. You can either open your screenshot directly in Photos or launch the app first and import the image.
Drag your screenshot into the Photos window to import it
Double-click the screenshot in your Photos library to open it
Click the Edit button in the top right
In either case, here’s how to crop a screenshot using the Mac Photos app.
- When you save a screenshot, the file typically appears on your desktop.
- To open it in Photos, right-click the file, choose Open With, and select Photos from the list. If Photos doesn’t show up, click Open With > Other, then locate and select Photos manually.
- Another way to work with a screenshot in Photos is by using drag-and-drop. Open the Photos app (in your Applications folder or using Command + Space to search)
- Navigate to the Imports section. Drag your screenshot into the space, which will be added to the app.
- Once it’s there, double-click the file and click Edit in the top-right corner to start cropping.
When your screenshot opens in the Photos app, you can crop it by following these steps:
- Select the Crop tab on the top bar.
- Adjust the image size and proportions by dragging the sides and crop handles.
- Once you are done, select Done at the top-right corner.
4. How to Crop your Screenshot on Mac using Zight (Best Method)
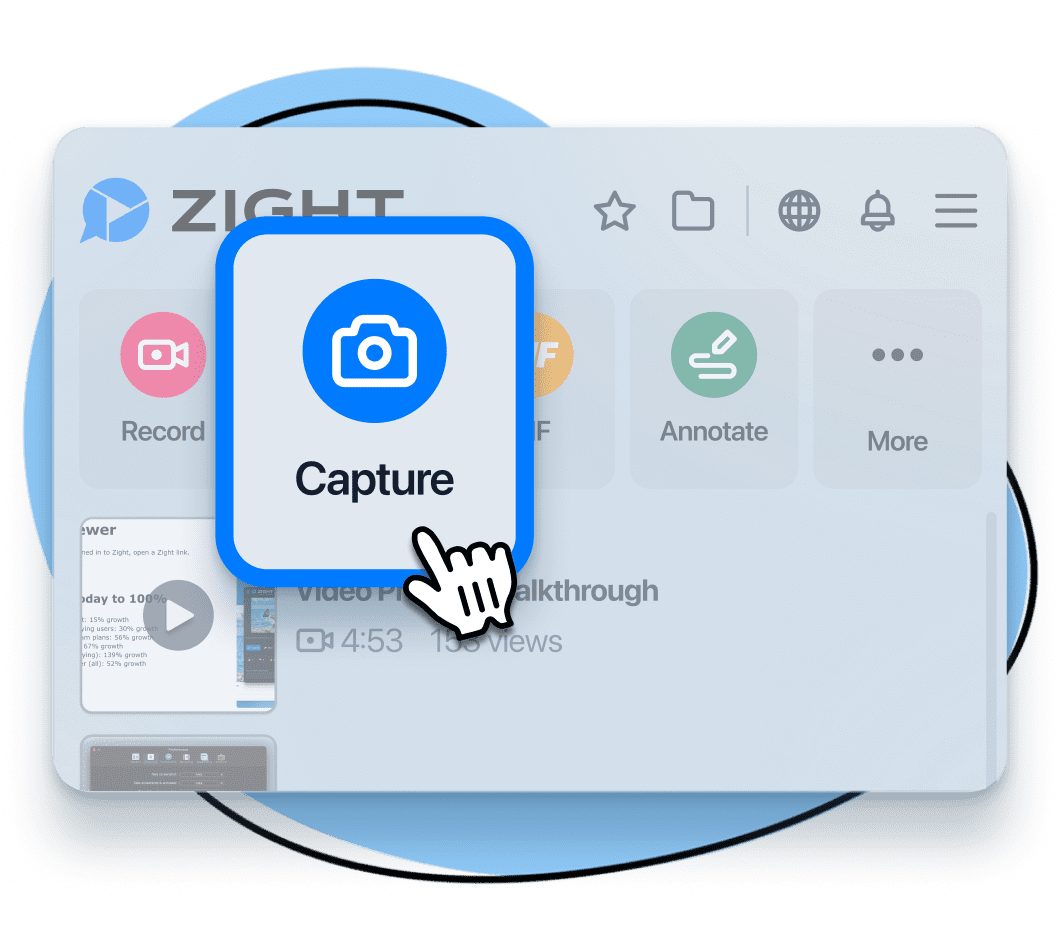
Although built-in tools like Preview or Photos are apps on Mac, you can also crop your screenshots using third-party tools. If you take a lot of screenshots and find yourself cropping them frequently, it might be worth investing in a more powerful screenshot tool. A perfect dedicated screenshot app to use on your Mac is Zight.
Zight is an intuitive, all-in-one screenshot and screen recording tool that helps you easily capture, edit, and share visual content. It’s designed to streamline your workflow, making it simple to take screenshots, record videos, and annotate your visuals all within a single platform.
Whether you’re working on customer support or content creation or want a quicker way to share information, the Zight app will help you do it faster and more efficiently.
Some key features of Zight include:
- Screenshot Capture: Instantly capture your screen or selected areas.
- Screen Recording: Record your screen and webcam for tutorials, demos, or support.
- Annotation Tools: Add text, arrows, shapes, and drawings to your images or videos for clear communication.
- GIF Creation: Easily turn your screen recordings into GIFs.
- Cloud Storage and File Sharing: Save, share, and collaborate on your visuals easily using Zight’s cloud integration.
- Flexible Workflows: Take Mac screenshots with a toolbar icon or keyboard shortcuts and customize them to fit your preferences.
- PNG Format: Save high-quality screenshots in PNG format for clarity.
- Cross-Platform Compatibility: Easily share via messaging platforms like Slack, Asana, or email.
How to Take a Screenshot using Zight
Zight simplifies the process of taking screenshots on your Mac. Here’s how you can get started:
a). Using the Zight App
- Launch the Zight App: Open Zight on your Mac.
- Select the Screenshot Tool: Click on the screenshot icon in the Zight app’s toolbar.
- Capture your Screen: You can capture the entire screen, a specific window, or just a selected area. Once you’ve chosen your desired capture method, Zight will take the screenshot instantly.
b). Using Keyboard Shortcuts
For even faster access, you can use the following keyboard shortcuts:
Command + Shift + 5: Opens the Zight screenshot app.
You can also customize these shortcuts in Zight’s preferences to suit your needs.
Once you’ve captured your screenshot on Mac, it’s instantly uploaded to the cloud, where you can edit your screenshot using Zight’s built-in editing tools, making it easy to share or access anytime.
Now, you’ve successfully mastered the art of screenshotting with Zight. Whether capturing crucial information, documenting your office achievements, or preserving creative ideas, the Zight app ensures that capturing and sharing moments is effortless and efficient in the workplace.
How to Crop your Screenshot using Zight
Zight offers an easy way to crop screenshots, allowing you to focus on the most important parts of your image. Follow these simple steps to crop your screenshot:
- Take Your Screenshot: Once you’ve captured your screenshot on Mac using Zight, it will automatically open in the Zight editor.
- Select the Crop Tool: The editing interface offers various options. To crop your screenshot, click on the Crop Tool in the toolbar.
- Adjust the Crop Area: Drag the corners or edges of the crop box to select the area you want to keep. The area inside the box will remain, while the outer parts will be cropped out. You can adjust the crop box as needed for a precise selection.
- Confirm the Crop: Once satisfied with the selected area, click Apply or Done to crop the screenshot.
- Save or Share: After cropping, you can save the cropped screenshot to your computer or share it directly via Zight’s cloud storage for easy collaboration.
Conclusion
Cropping a screenshot on your Mac is simple when you know the steps. We hope this guide was helpful and that you learned how to crop a screenshot on Mac. Whether you’re a student, a professional, or someone who values a tidy workflow, mastering this skill makes capturing and editing your screen efficient and practical.
With a little practice and the right method, you’ll soon be cropping screenshots like a pro. The key is to keep it simple. Focus on your main subject and cut out anything that doesn’t enhance your message. So, next time you need to capture a portion of your screen, remember these easy steps, and you’ll be all set. Happy cropping!


