
Ready to Boost Your Productivity?
Save time and money while boosting your productivity with Zight — free tools for screen recording, screenshots, GIFs, and webcam capture.
Try Zight for Free🔍 How to Use Zight's Overlay Image Tool
Overlaying images is a creative way to display your photos. It means placing one picture on top of another picture to create a collage of several different images. How to overlay images? Don’t worry. Here's a straightforward process to overlay images online:
Upload Your Base Image
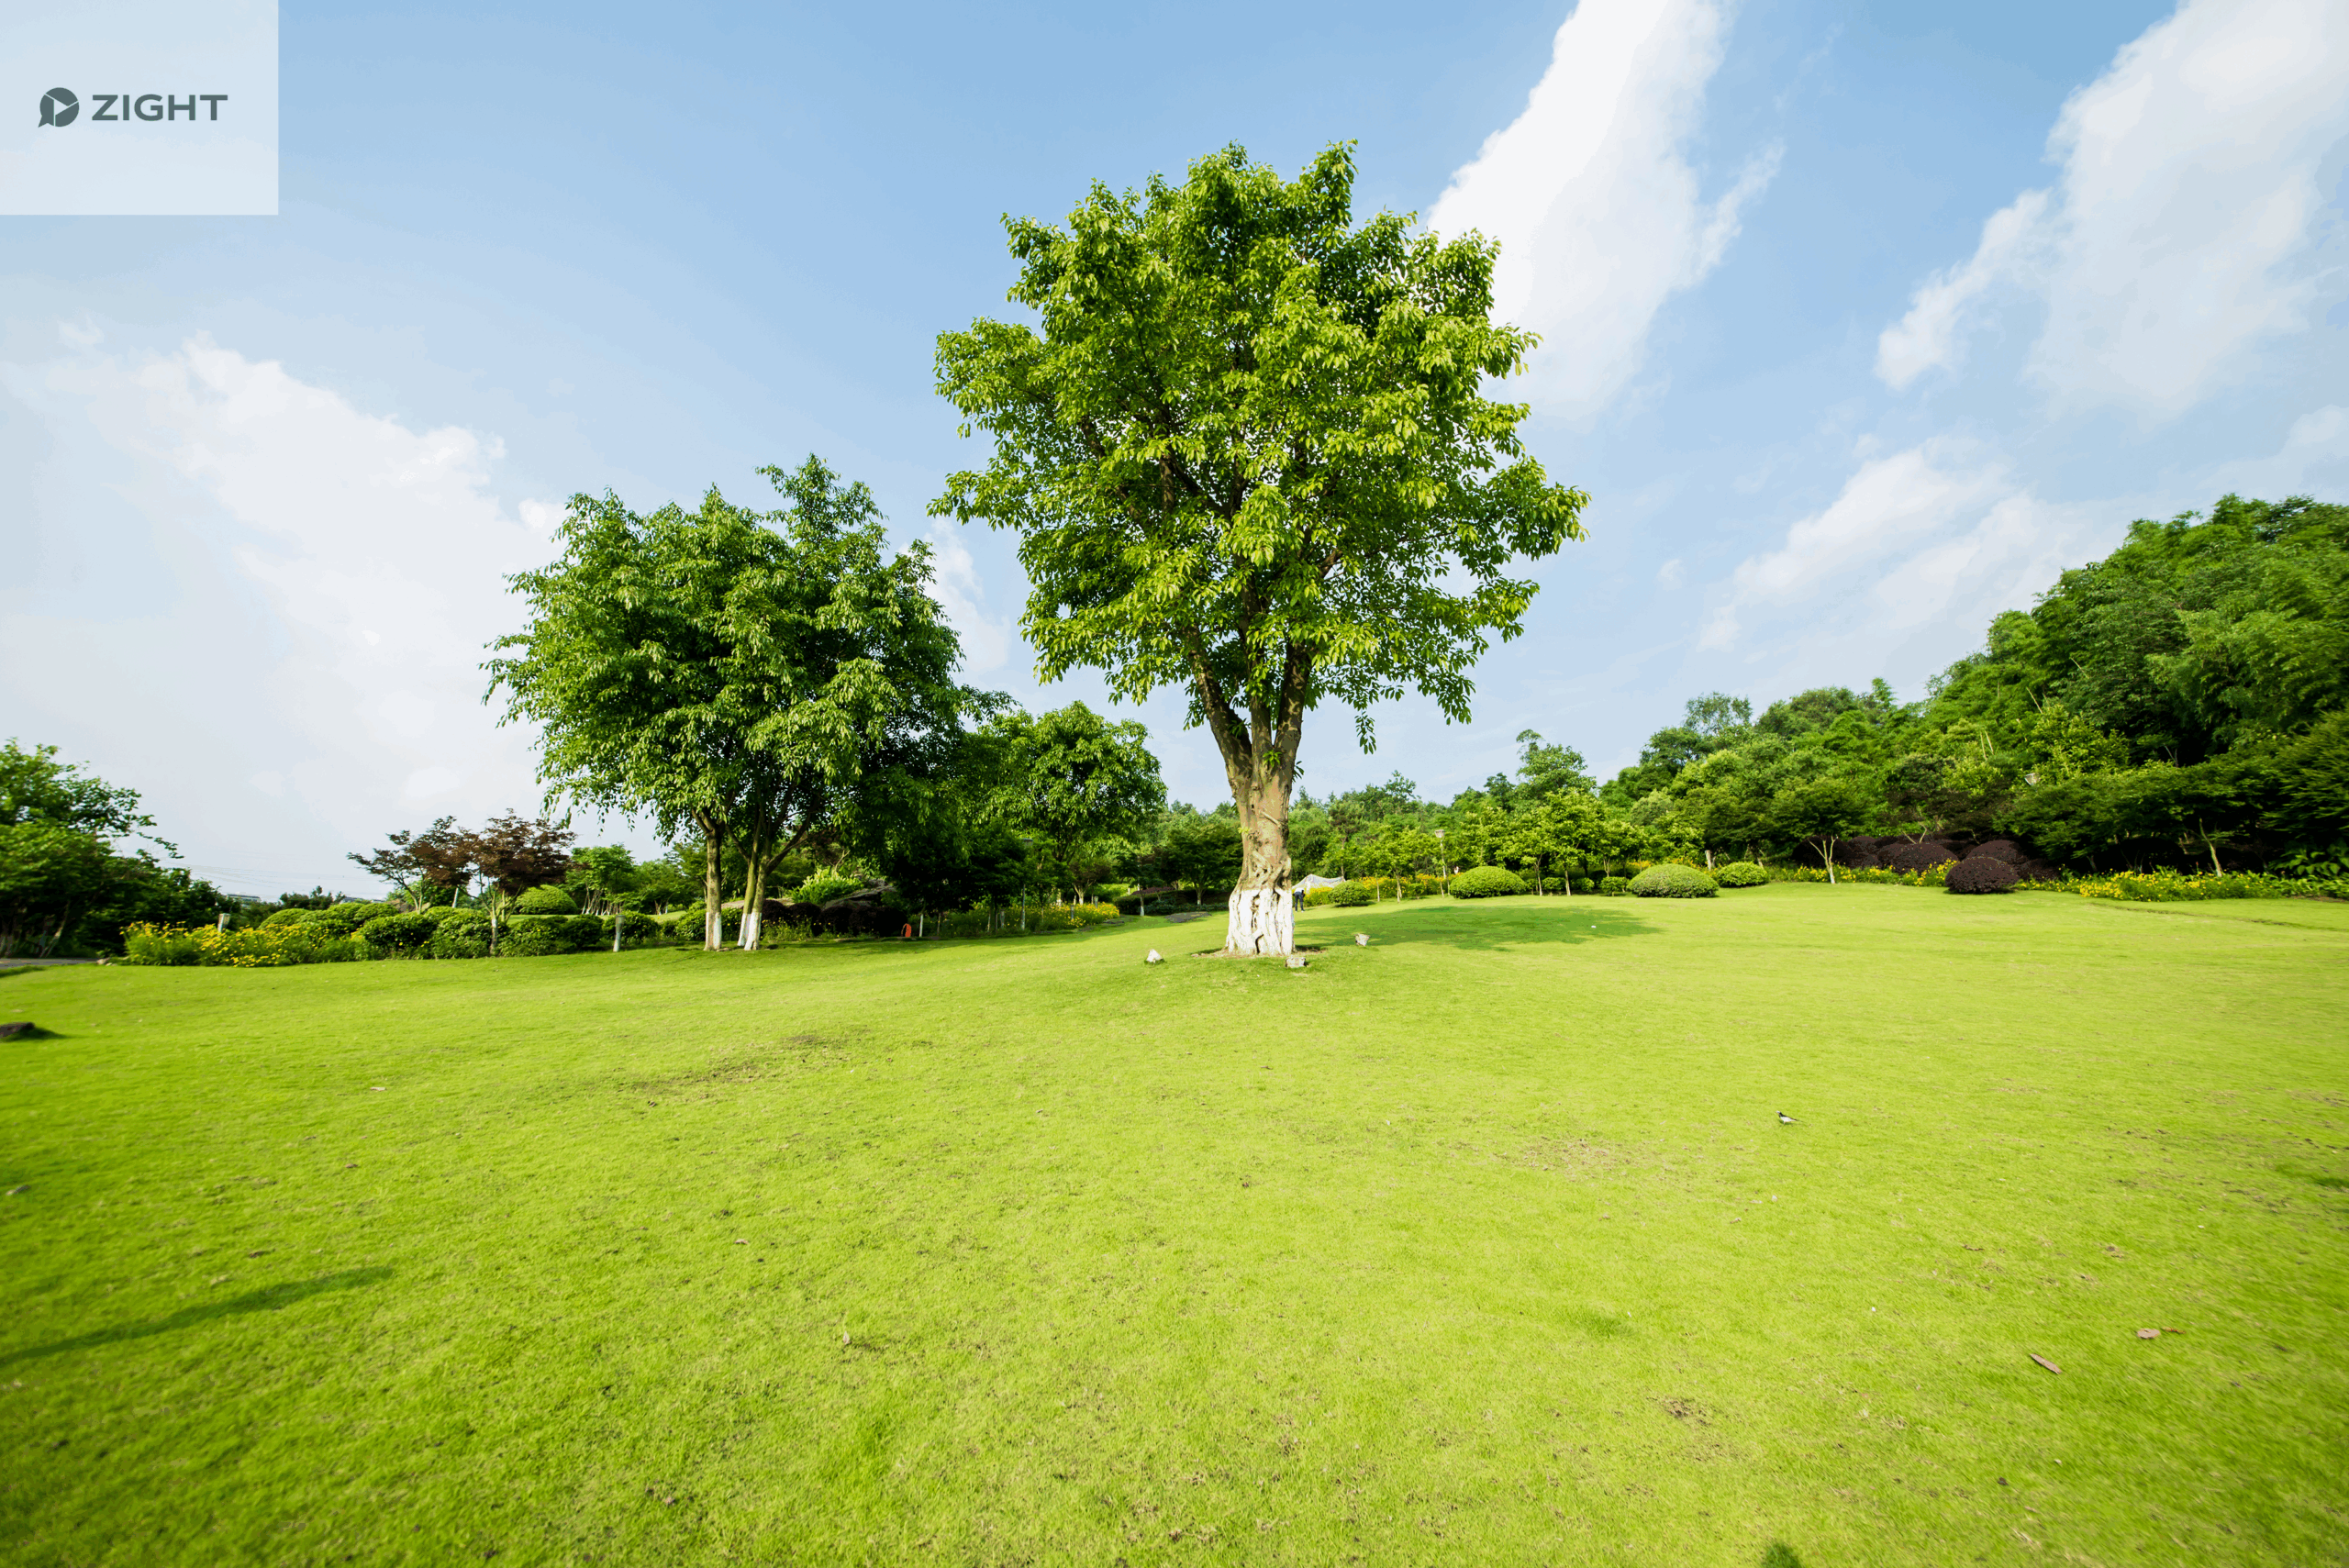
Upload a base image that will serve as the background.
Upload an Overlay Image
Upload an overlay image that will be placed on top.
Adjust Settings
Adjust the opacity of the overlay image using the slider. Set the X and Y position where the overlay should appear. Click "Overlay Images" to generate the result.
Download Your Result
Download the final overlaid image when ready.
Why Overlay Images?
There are several reasons one might want to overlay images. They include:
- Enhanced Communication: Overlaying images can help convey complex ideas more effectively than text alone.
- Visual Appeal: Well-layered visuals make documents more aesthetically pleasing, keeping readers engaged and interested.
- Data Presentation: Combining charts or graphs with relevant images can enhance the clarity of the information being presented.
- Professional Design: In business settings, professionally designed documents with overlaid images can reflect a company’s brand and values more effectively.
- Personal Projects: Whether for invitations, photo albums, or other personal projects, image overlaid designs can create customized and memorable visuals.

Why Choose Zight to Overlay Images?
Zight’s Overlay Image Tool is the fastest, most intuitive way to blend images for creative, professional, or personal projects. Here are other reasons why Zight is the best choice to overlay images online:
✅Easy-to-Use Drag and Drop Interface– Simply upload and position the overlay using your mouse or touch on a mobile device. No fancy skills or expertise needed.
✅Overlay Images Online– Zight is a browser-based tool, meaning you don’t have to download or install anything to overlay images or photos.
✅Adjustable Overlay Transparency– Adjust opacity with a convenient slider and position (X/Y coordinates) with a convenient slider.
✅Multiple File Formats Supported– Our image overlay tool works with various image file formats, such as PNG, JPG, WebP, and SVG.
✅Preview– You can apply the changes and immediately see the result. If it suits you, save the processed image to your device.
✅High-Quality Output– Download your overlaid images in high resolution for professional use.
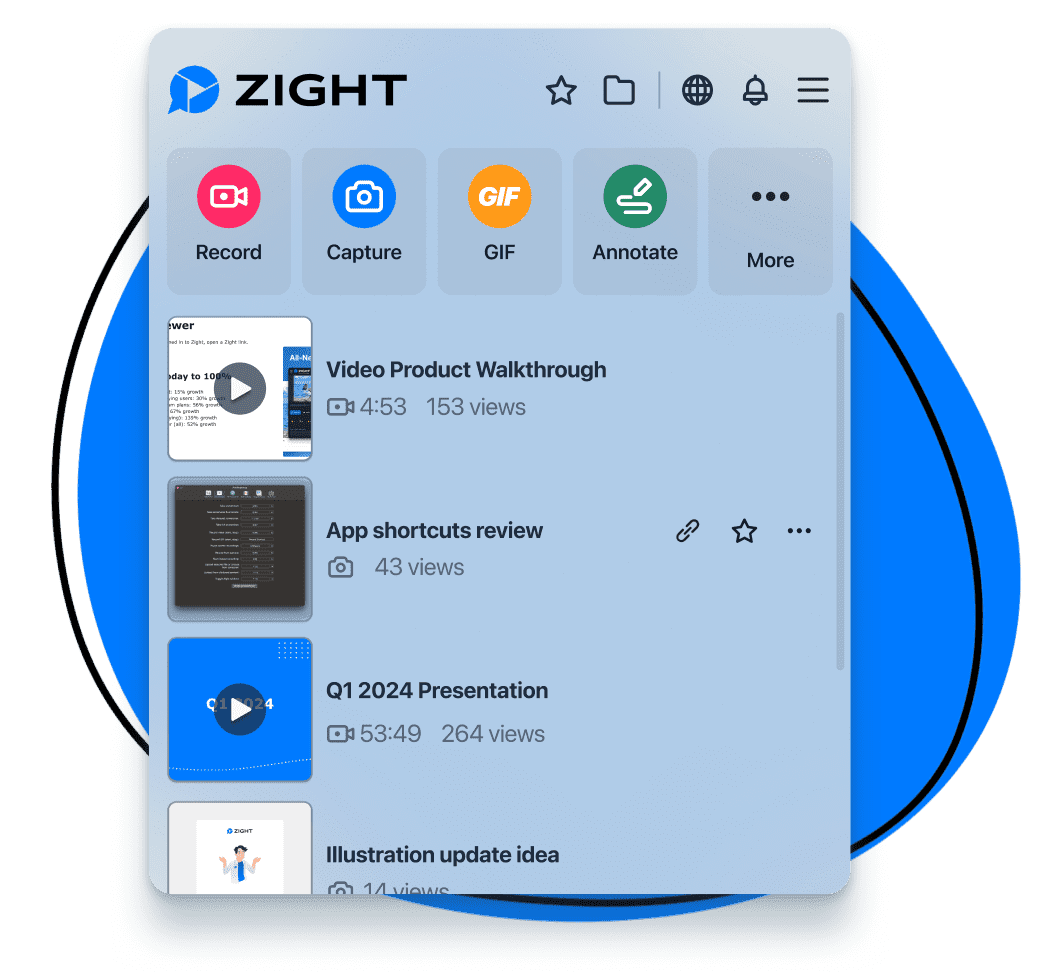
🛠️ Zight: Your All-in-One Solution
📹 Screen Recording – Capture high-quality videos for presentations and tutorials.
🎬 GIF Maker– Create and share engaging animated GIFs.
📸 Screenshot Tool – Take quick, annotated screenshots for feedback and collaboration.
🎥 Video Editing Suite– Trim, split, merge, crop, and enhance your videos with filters and fine-tuning for professional-quality results.
📝 Annotation Tools – Add text, arrows, and highlights to your screen-recorded videos, images, or screenshots.
🤖 AI (Artificial Intelligence)– Generate captions, summaries, and insights from your video content.
🔗URL Shortener – Generate trackable short links for easy sharing.
Unlock More Tools
Expand your toolkit with these additional free converters and utilities.
Try Our Overlay Image Tool
Zight allows you to overlay images online. Just upload two pictures, and they will be combined into one.
Overlay Images NowFAQS About Zight's Overlay Image Tool
No, there are no limitations to using this picture overlapping tool. To overlay a picture, you don’t even need to join up or log in. There are no restrictions or fees, and Zight is always available for free.
No, overlays can be used by everyone. Whether you’re a professional photographer, a social media enthusiast, or someone who simply enjoys editing photos, overlays provide a user-friendly way to enhance your images.
Absolutely. After adding the overlay image on the Zight overlay image tool, select its layer and use the Opacity slider to adjust its transparency.
The primary goal of an overlay is to enhance the functionality and aesthetic appeal of an image or interface while effectively communicating a message. Here are the main purposes of using overlays:
- Enhance visual appeal to add depth and style and create a cohesive look for branding.
- Highlight text and draw focus.
- Convey a message to deliver branding.
- Guide viewer attention.
- Set the mood or tone.
- Add image overlays for functional enhancement, such as protective use.
- Create artistic effects, especially layered creativity and blending images.
A Comprehensive Guide on the Overlay Image Tool
Image overlay is one of those concepts that’s easier to grasp once you see it in action. It starts with a base image and an overlay image placed on top. Transparency (opacity) controls how much of the base image shows through. Fully opaque overlays hide the base, while semi-transparent ones create a blended effect. You can look at it as stacking transparent sheets, where each layer adds something new without completely hiding what’s beneath.
Not many people know that overlaying an image can be a great way to add some extra depth to your photos. With the right approach, you can layer images seamlessly, adjust their transparency, or position them precisely, all while keeping your workflow efficient. Let’s get into the details.
What is an Overlay Image?
An image overlay is a visual element placed on top of a base image, allowing both to be visible simultaneously. It can be semi-transparent, fully opaque, or even interactive.
Overlays can be used to enhance, obscure, or emphasize certain aspects of an image or video. They add depth and context by modifying the visual output without altering the image.
Posters, advertisements, and even memes are examples of image overlays, but the possibilities are endless.
Types of Image Overlays

There are many different types of image overlays available, each with its unique look and feel. Some of the most popular types of overlays include:
- Textures: These are images of textures like wood, metal, and stone that you can use to add a unique texture to your photos.
- Color Overlays: Light leaks are images of lens flares, bokeh, and other light effects that you can use to add a dramatic touch to your photos.
- Dust Particles: Dust particles are images of dust, dirt, and other debris that you can use to add a touch of realism to your photos.
- Graphic Overlays: Shapes are images of geometric shapes and other designs that you can use to add a creative touch to your images. They can be shapes, graphic elements, icons, or illustrations.
- Pattern Overlays: Patterns are images of repeating designs that you can use to add a unique pattern to your photos. They can be grids, textures, or geometric shapes.
- Text Overlays: This is where you insert text, titles, captions, or quotes that act like the secondary image, and you place them on top of a picture.
How to Overlay Images Online with Zight
Before you overlay an image, you need to clarify its purpose. Are you looking to provide context, add branding, or create a specific emotional response? Identifying the intention behind the overlay will guide your decisions on color, transparency, and design. Here’s how to overlay images online:
Before you proceed with overlaying images in Zight, ensure you have the images you want to use saved on your computer. This can include photographs, illustrations, logos, or any other graphics relevant to your document.
1. Upload Your Base Image
Upload your photos from a local folder on your computer, oyour base image into the allocated area.

2. Upload your Overlay Image
Upload a secondary image that will be on top of the base image.

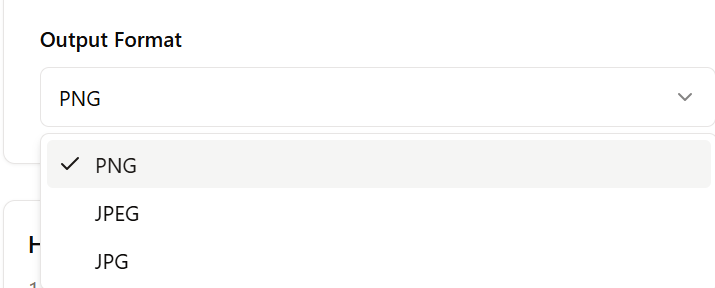
3. Adjust the Overlay Image Settings

There is also an option to choose the image output format you want your overlay image to be in, between JPG, JPEG, and PNG format.
4. Overlay Your Images
Once you have uploaded your two images, it’s now time to layer the images. Click Overlay Images.

Once the multiple images have been processed, this will pop up on your screen.

If you are satisfied with the overlay image, it’s time to download your image. If not, adjust the image overlay settings until you are satisfied the the final result.
5. Download Your Final Result

That’s it. In just a few clicks, you have a new overlay image.
Tips for Successful Image Overlaying
- Plan Layouts: Before you begin, sketch or outline where you wish to place images to each other and to textual content.
- Use High-Quality Images: Always use high-resolution images to avoid pixelation when resizing.
- Maintain Consistency: Keep a consistent theme or style in your overlays, including color schemes and font choices, to maintain professional aesthetics.
- Experiment and Play Around: Don’t be afraid to play with different transparency levels to see what visually appeals to you.
Wrapping Up
A strong visual overlay can take your content from “just okay” to genuinely eye-catching. It’s that subtle design touch that helps your two images stand out and leave a lasting impression.
With Zight, layering images is just one of the many creative features at your disposal. While overlays aren’t complicated, they do take a bit of practice to master. However, once you get the hang of it, you’ll be able to create stunning overlays that look polished and also catch the viewer’s eye.


