
Best Way to Snip on Mac – Using Zight
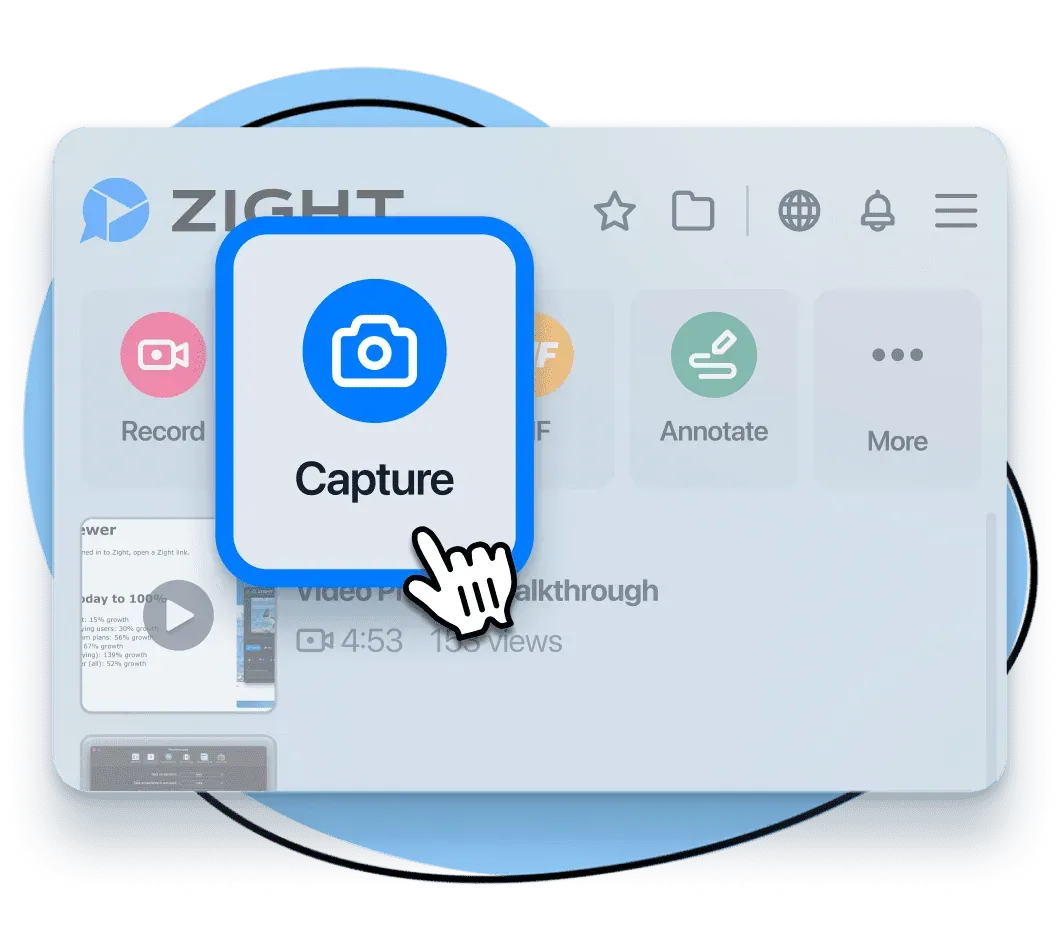
- Open the app and hit Capture. You can also use the Zight snipping tool shortcut Shift + Command + 5 to launch the screenshot app without leaving your workflow.
- Use your mouse to Select Region if you only want to capture a small section of your screen.
- Once you do, the screenshot will upload to the cloud. Zight will also copy its link to your clipboard and load the screenshot on your default browser.
- You can now annotate the screenshot before sharing. For this, you get a string of features such as – a text box, an arrow, a line, an ellipse, a rectangle, a highlighter and more. For each annotation you use, you can select a color and size so everything stands out – you can also select different fonts, sizes, and colors for the text box! When done, click Save.
- On top of annotating, you can use the editing features to blur sensitive information, add stickers, crop, rotate, and so much more.
- When the screen shot looks professionally edited, you can finally share, upload it online, or even download it to your laptop ( not always necessary since you have an online backup, but still a good feature to have! )
- When sharing the screenshot with Zight, you can just copy and paste the link to recipients through chats – like on Slack , Asana , or Trello – or embed it in emails. Your recipient won’t have to download the shared screenshots – they just need an internet connection on a browser to view and even help you annotate to leave collaboration comments!
- You can also secure your screenshots more by setting who can view or interact with them. If you are working on a temporary project, you can even set when a screenshot expires from your Zight dashboard.
- After installing the extension to your browser, click the Zight icon to load the screenshot feature. Click Capture, then choose your options between clicking once to capture a full-screen screenshot, clicking & dragging the mouse to select an area, and clicking the space bar to capture a window.
- With your preference chosen, click Share, and Zight will capture the screenshot. You can then proceed to annotate, edit, share, and save the screenshot following the steps above.
All the shortcuts, paths, and features in a one-pager you can pin to your dock.
a) Capture Your Entire Screen
b) Capture a Selected Portion of the Screen
c) Capture a Specific Window

Wrapping Up