Ready to Boost Your Productivity?
Save time and money while boosting your productivity with Zight — free tools for screen recording, screenshots, GIFs, and webcam capture.
Try Zight for Free🔍 How to Use Zight's Image Sharpener
Instantly enhance your blurry or low-quality images to professional clarity with just a few clicks, maintaining crisp details and vibrant colors for perfect presentation.
Upload Your Image
Start by selecting the JPG or PNG image you want to enhance. Simply drag and drop your file into the upload area or click to browse your files. Our tool accepts images of any size and works with photos, screenshots, graphics, and more.
Sharpen Image Online
Our advanced algorithm automatically analyzes your image and applies precise sharpening techniques to bring out details without creating artifacts. Adjust the sharpening intensity using the slider for custom results - higher values increase the sharpening effect with a recommended range between 1.0-3.0.
Download Your Enhanced Image
Once sharpened, download your professional-quality image in your preferred format (PNG or JPG). Your enhanced image is ready to use in presentations, marketing materials, social media posts, or anywhere else you need crystal-clear visuals that make an impact.

Why Choose Zight Image Sharpener?
Here’s what makes our solution the ideal choice:
✅ Browser-Based Solution – Access our powerful AI image sharpener directly in your browser without downloads or installations.
✅ Precision Control – Fine-tune your results with our intuitive intensity slider for the perfect balance of sharpness.
✅ Compatible Image Formats – Seamlessly process JPG and PNG images for maximum flexibility with your visual content.
✅ Fast Sharpening – Our advanced algorithms deliver professional-quality results in seconds, even with high-resolution images.
✅ Instant Preview – View your enhanced image in real-time before downloading to ensure you’re completely satisfied.
✅ Zero Technical Barriers – No coding or technical knowledge required—simply upload and enhance with ease.

Perfect for Many Professional Use Cases
For Content Creators
Sharpen blurry images, enhance tutorial imagery, and transform low-resolution visuals into crisp, professional content. Stop apologizing for fuzzy video thumbnails or unclear instructional images—our sharpening tool brings clarity to every pixel of your creative work.
For Photographers
Recover subtle details in underexposed shots without introducing noise or artifacts. You’ll preserve your artistic vision while elevating technical quality.
For Marketers
Convert mediocre product photos into captivating visuals that drive engagement and conversions. Use this tool to create scroll-stopping social media graphics, enhance email campaign imagery, and ensure your brand visuals maintain consistent professional quality across all channels.
For Designers
Sharpen typography, enhance texture details in mockups, and transform stock images into custom-looking assets for client presentations.
For Business Teams
Transform hastily captured visuals into polished, boardroom-ready assets in seconds.
For Personal Use
Breathe new life into cherished memories by enhancing family photos, vacation snapshots, and everyday moments. Create frame-worthy images from your smartphone photos without expensive software or technical expertise.
🛠️ More Than Just an Image Sharpener
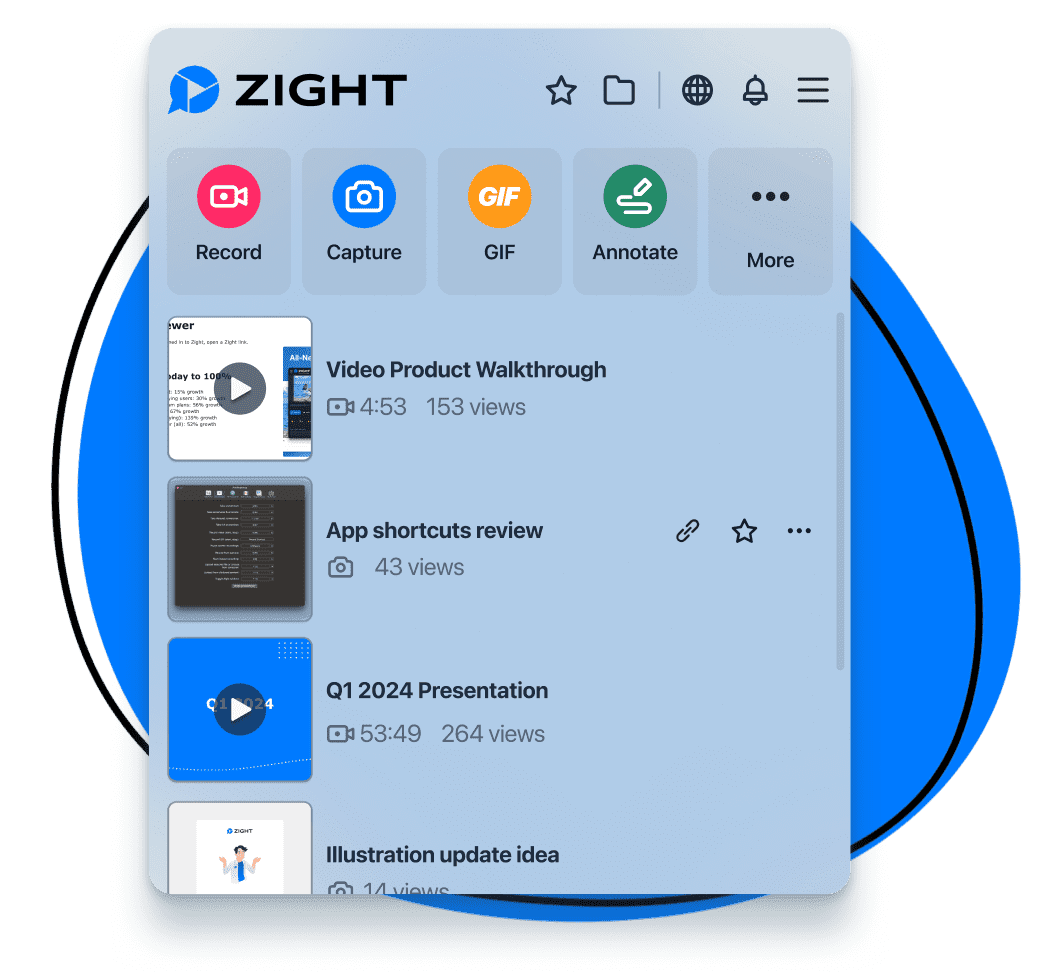
Zight delivers an entire ecosystem of visual communication tools designed to streamline your workflow and elevate your content:
🎥 Screen Recording – Capture professional-quality videos with flexible recording options (full screen, region, or webcam) for compelling presentations, tutorials, and demonstrations.
🎞️ GIF Maker – Create attention-grabbing animated GIFs that boost engagement and clearly illustrate complex processes.
📸 Screenshot Tool – Capture, annotate, and organize screenshots with smart markup tools to provide precise feedback and enhance team collaboration.
✏️ Image Annotation – Add professional callouts, text, arrows, and highlights to any image with our intuitive editing interface.
🔄 Format Converter – Seamlessly convert between image formats (WebP, PNG, JPG, HEIC) to ensure compatibility across all platforms and devices.
🔗 URL Shortener – Generate trackable, branded short links to share your visual content with analytics to measure engagement.
Unlock More Tools
Expand your toolkit with these additional free converters and utilities.
Start Sharpening Your Images Now!
Don't let blurry visuals diminish your presentation quality—use Zight's free Image Sharpener to instantly enhance clarity and make your images more professional and impactful.
Sharpen Your Image NowFAQs About Zight's Image Sharpener
Yes! Zight’s Image Sharpener is completely free to use. It’s accessible via any browser with no installation or extra software needed.
Currently, the Image Sharpener supports PNG and JPG file formats.
Currently, you can only process one image at a time. The process is easy and fast, so you can sharpen many images in quick succession (a few seconds per image). Batch image sharpening coming soon!
Yes, you can fine-tune the sharpening intensity on a scale from 0.0 to 10.0. While the full range is available, most users find the best results with settings between 2.0 and 3.0 for a natural-looking enhancement.
The tool can significantly enhance moderately blurry images by bringing out details and improving clarity. However, results will vary depending on the original image quality—only images with some detail present will show the most improvement.
Yes, Zight’s Image Sharpener is fully compatible with mobile devices. You can enhance your images on smartphones and tablets just as easily as on desktop computers.
Enhance Blurry Images with Zight's Image Sharpener
You captured a screenshot for tomorrow’s client presentation, but it turned out to be a bit blurry. Or, the product photos for your online store are also slightly out of focus. Maybe even the team photo that perfectly captured your company culture turns out just a bit too soft.
Blurry photos are a universal frustration that undermines professional presentations, diminishes marketing materials, and turns potentially great visuals into missed opportunities.
If you have a blurry image that you’d like to use, you can use Zight’s Image Sharpener, a free browser-based tool to sharpen an image without hassle. It’s an easy-to-use tool that will eliminate the need to capture afresh or use expensive photo-editing tools to enhance images.
Today, we’ll talk about how to use the tool to make any image clearer instantly, but first:
What Happens During Image Sharpening?
When you sharpen an image, you’ll essentially increase the contrast between adjacent pixels, particularly along edges where colors change.
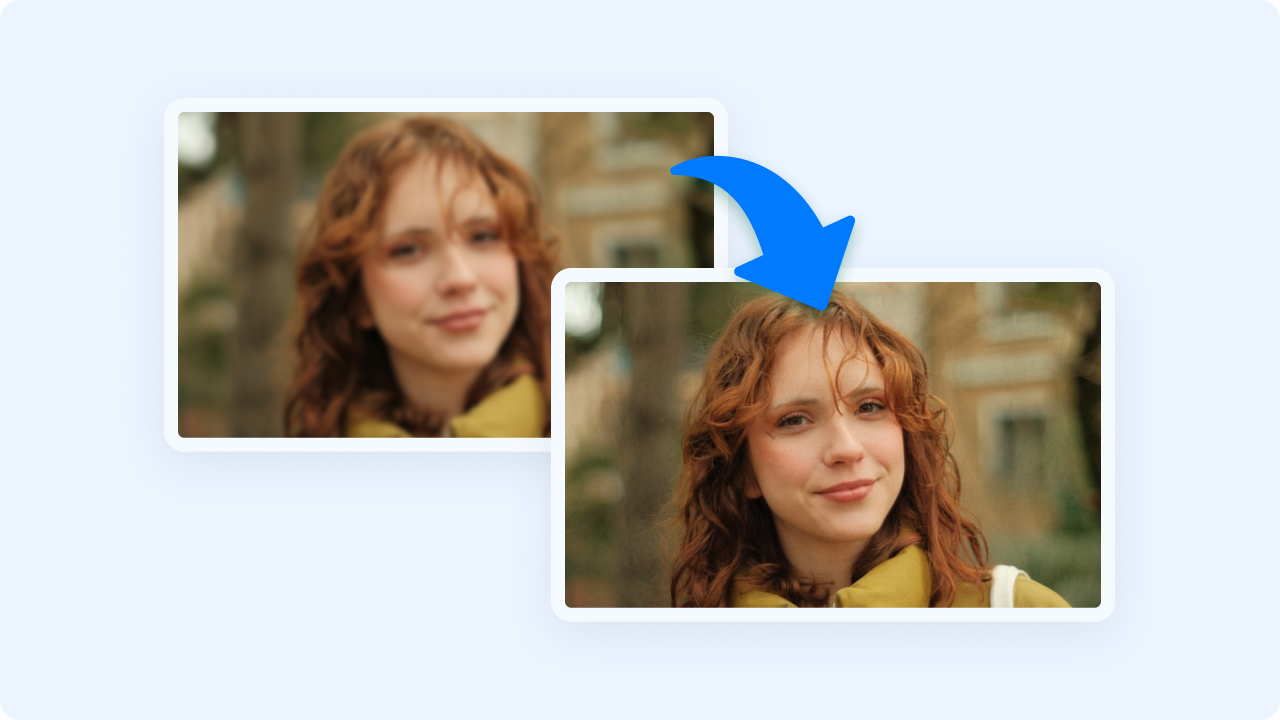
If a photo is blurry, the edges between different elements (like where a person ends and the background begins) appear soft and undefined. Sharpening identifies these edge boundaries and increases the contrast between pixels on either side of the edge.
Think of it like this: In a blurry image, the transition from a dark object to a light background happens gradually across several pixels, creating that soft, out-of-focus look. Sharpening makes the dark pixels slightly darker and the light pixels slightly lighter right at that boundary to create a more defined edge contrast.
This enhancement makes an image clearer and tricks your eye into perceiving the image as being more in focus. It’s similar to how artists use contrasting colors side-by-side to make elements “pop” in paintings.
What Zight’s Image Sharpener specifically does:
- Scans your entire image to identify edges and boundaries.
- Intelligently increases contrast along those edges.
- Preserves smooth areas (like skin or sky) to prevent graininess.
- Balances enhancement to avoid the artificial “over-sharpened” look that creates halos.
It’s important to understand that sharpening can’t recover details that weren’t captured in the original image. If text is so blurry that the letters merge together, or if a face is just a complete blur, no amount of sharpening will magically recover that information.
However, for slightly out-of-focus photos, sharpening can make a dramatic difference in usability and professional appearance. Here’s how to use Zight’s free tool:
How to Use Zight’s Image Sharpener
To use this free online image sharpener, first click this link to open it on your browser: https://zight.com/tools/sharpen-image/
The interface is clean and intuitive, featuring a central upload area where you can drag and drop your image or browse to select a file, alongside a settings panel that allows you to adjust the sharpening intensity with a simple slider and choose between PNG or JPG output formats.
Step 1: Upload Your Image
If you have the image saved on your computer, simply locate it in your file explorer (Windows) or Finder (Mac), click on the image file, and without releasing your mouse button, drag it directly onto the upload area of Zight’s interface. Release your mouse button, and the image will automatically begin uploading.

Alternatively, you can click the “Choose File” button centered in the upload area. This will open your computer’s file browser, allowing you to navigate to the folder where your image is stored.
Select the image you want to enhance, click “Open,” and the tool will immediately begin processing your file.

Step 2: Adjust the Sharpening Settings
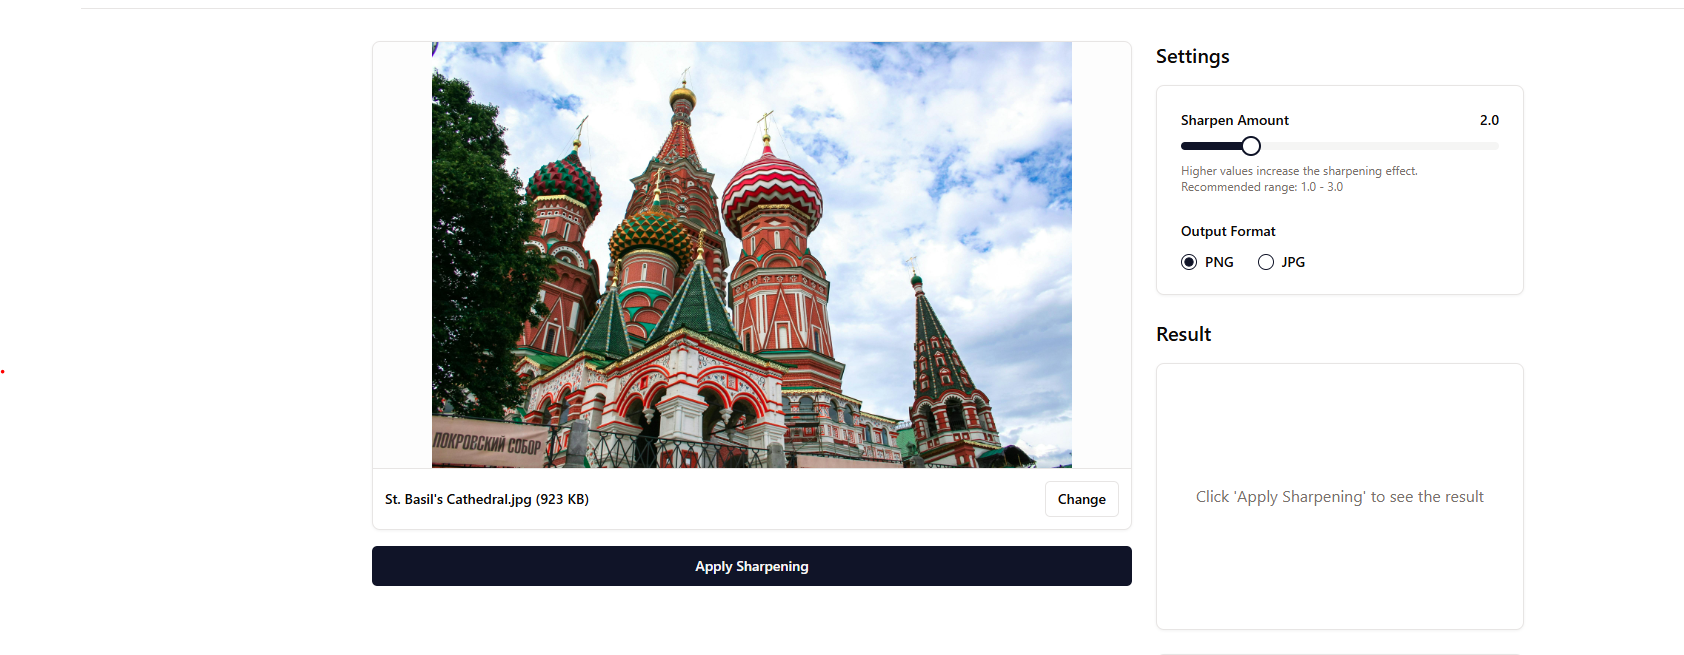
The Settings panel on the right side of the screen contains the “Sharpen Amount” slider, which is preset to 2.0. While you can adjust this slider anywhere between 0.0 and 10.0, the sweet spot typically falls between 2.0 and 3.0. This range provides the optimal balance between enhancing clarity and avoiding artificial-looking results. Values below 2.0 might not provide enough sharpening for most images, while settings above 3.0 can create unnatural edge halos and amplify image noise.
After selecting your preferred sharpening intensity, click the “Apply Sharpening” button to process your image.

This will generate a preview showing you exactly how your enhanced image will look. Take a moment to examine the results, particularly in areas with fine details or text. If the sharpening appears too subtle or too aggressive, you can readjust the slider and apply the changes again until you achieve the perfect balance.
Step 3: Choose Your Output Format and Download

Before downloading your enhanced image, select your preferred output format from the “Output Format” options in the Settings panel. You can choose between PNG and JPG formats depending on your needs. Of course, PNG is ideal for graphics, screenshots, and images where maximum quality is essential, while JPG works better for photographs and when a smaller file size is important.
Once you’re satisfied with both the sharpening effect and have selected your preferred format, click the “Download” button. This will save the enhanced image to your device in the chosen format, ready to be used in your presentations, websites, social media posts, or other projects. The downloaded file maintains the original dimensions of your image, but with the improved sharpness you’ve applied.
Bonus Tip: Compare Your Results with Zight’s Image Merger
After sharpening your image, you might want to see exactly how much it has improved compared to the original. A side-by-side comparison can be invaluable for subtle enhancements or when you’re trying to find the optimal sharpening settings for your specific image type.
Zight offers another useful tool that’s perfect for this purpose: the Image Merger. With this tool, you can place your original and sharpened images side by side for easy comparison. We used the tool to compare our sharpened image, and these were the results:
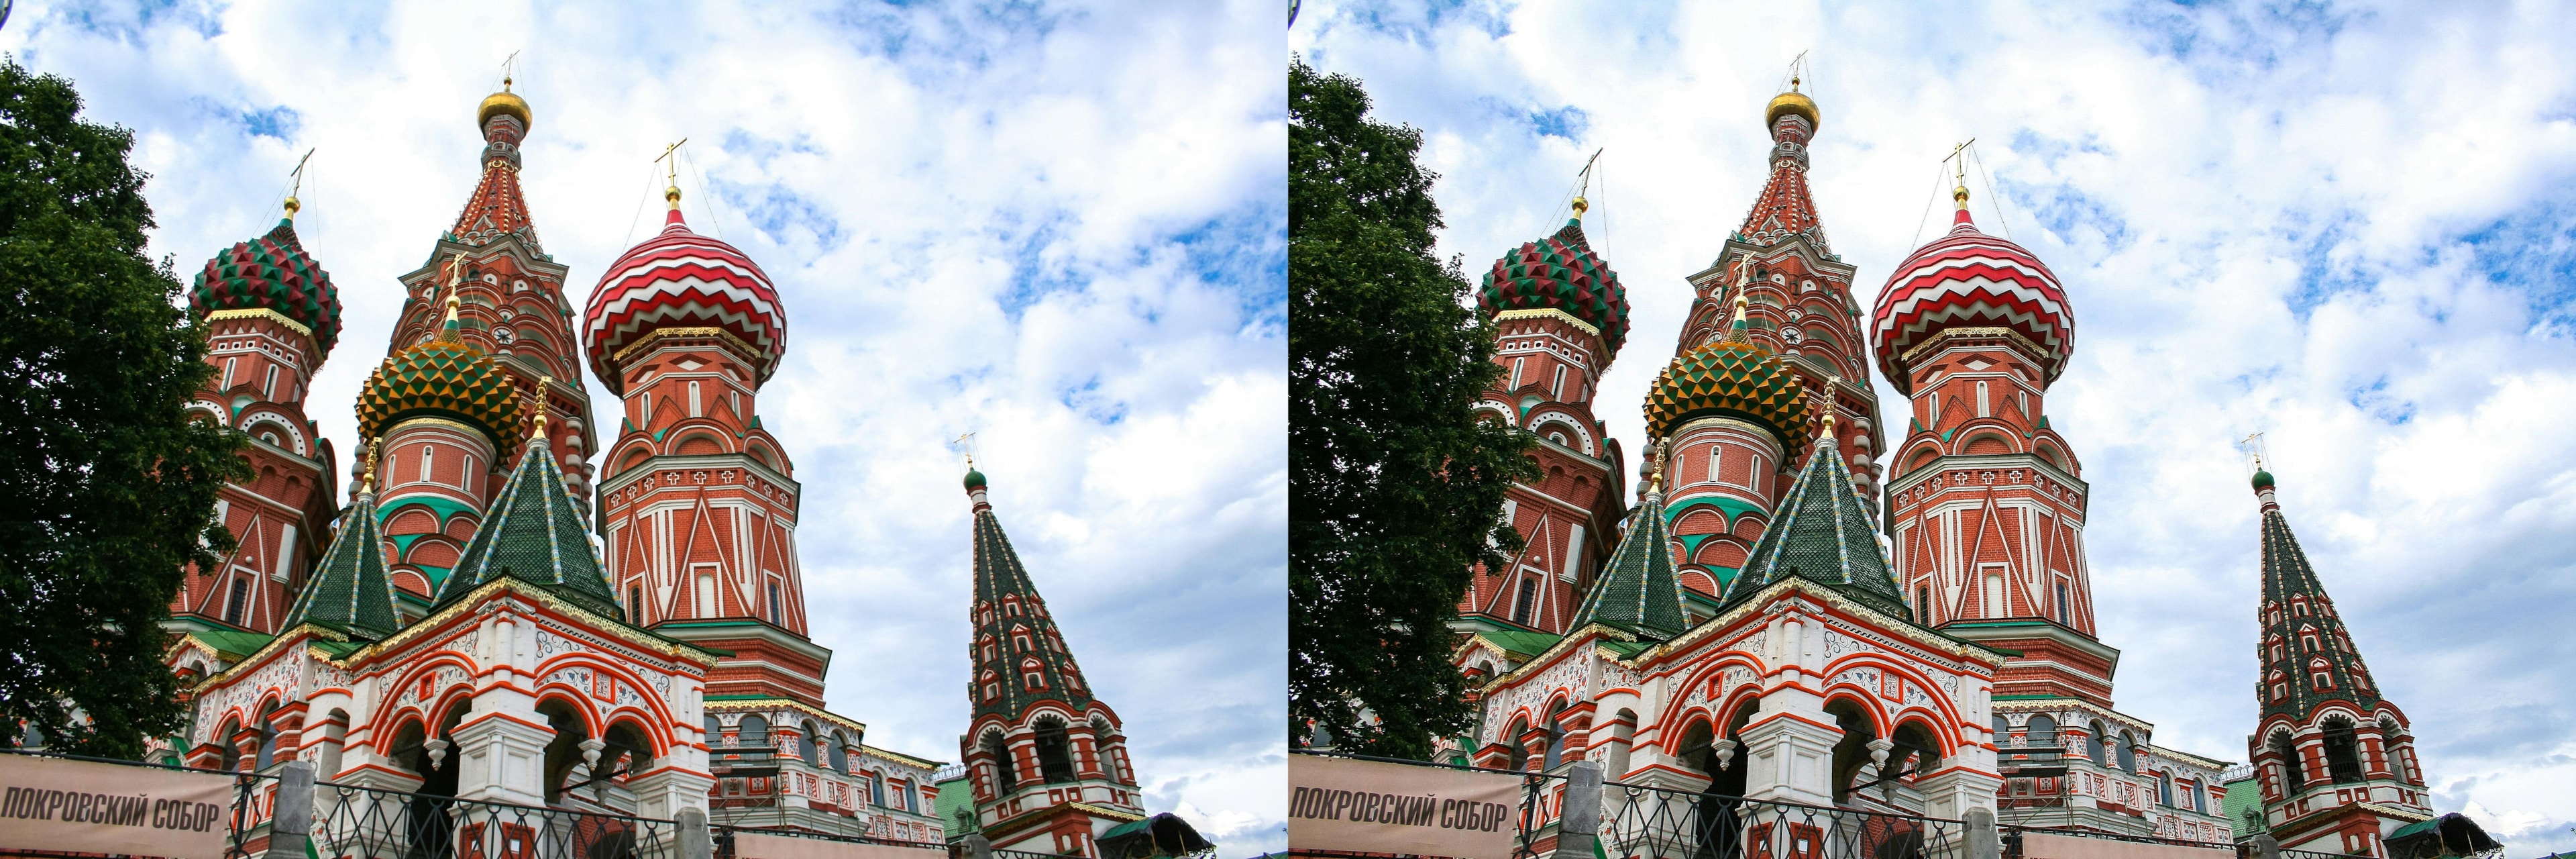
As you can see in the example above, the sharpened image on the right shows enhanced architectural details, crisper edges, and more defined textures compared to the original on the left, while maintaining natural color balance and avoiding any artificial-looking artifacts.
Wrapping up…
Image sharpening is essential whenever you’re dealing with slightly blurry photos, need to enhance important visual details, or simply want to make your images look more professional. With Zight’s Image Sharpener, the process takes just three simple steps: upload your image, adjust the sharpening intensity (aim for the 2.0-3.0 sweet spot for optimal results), and download your enhanced image in your preferred format.
Zight also offers a comprehensive visual communication toolkit that includes screenshot capture, screen recording, GIF creation, annotation tools, and AI-powered features to help you communicate more effectively.
For other image and file conversion needs, you can also use these useful free browser-based tools to elevate your visual content without needing technical expertise or expensive software.


