
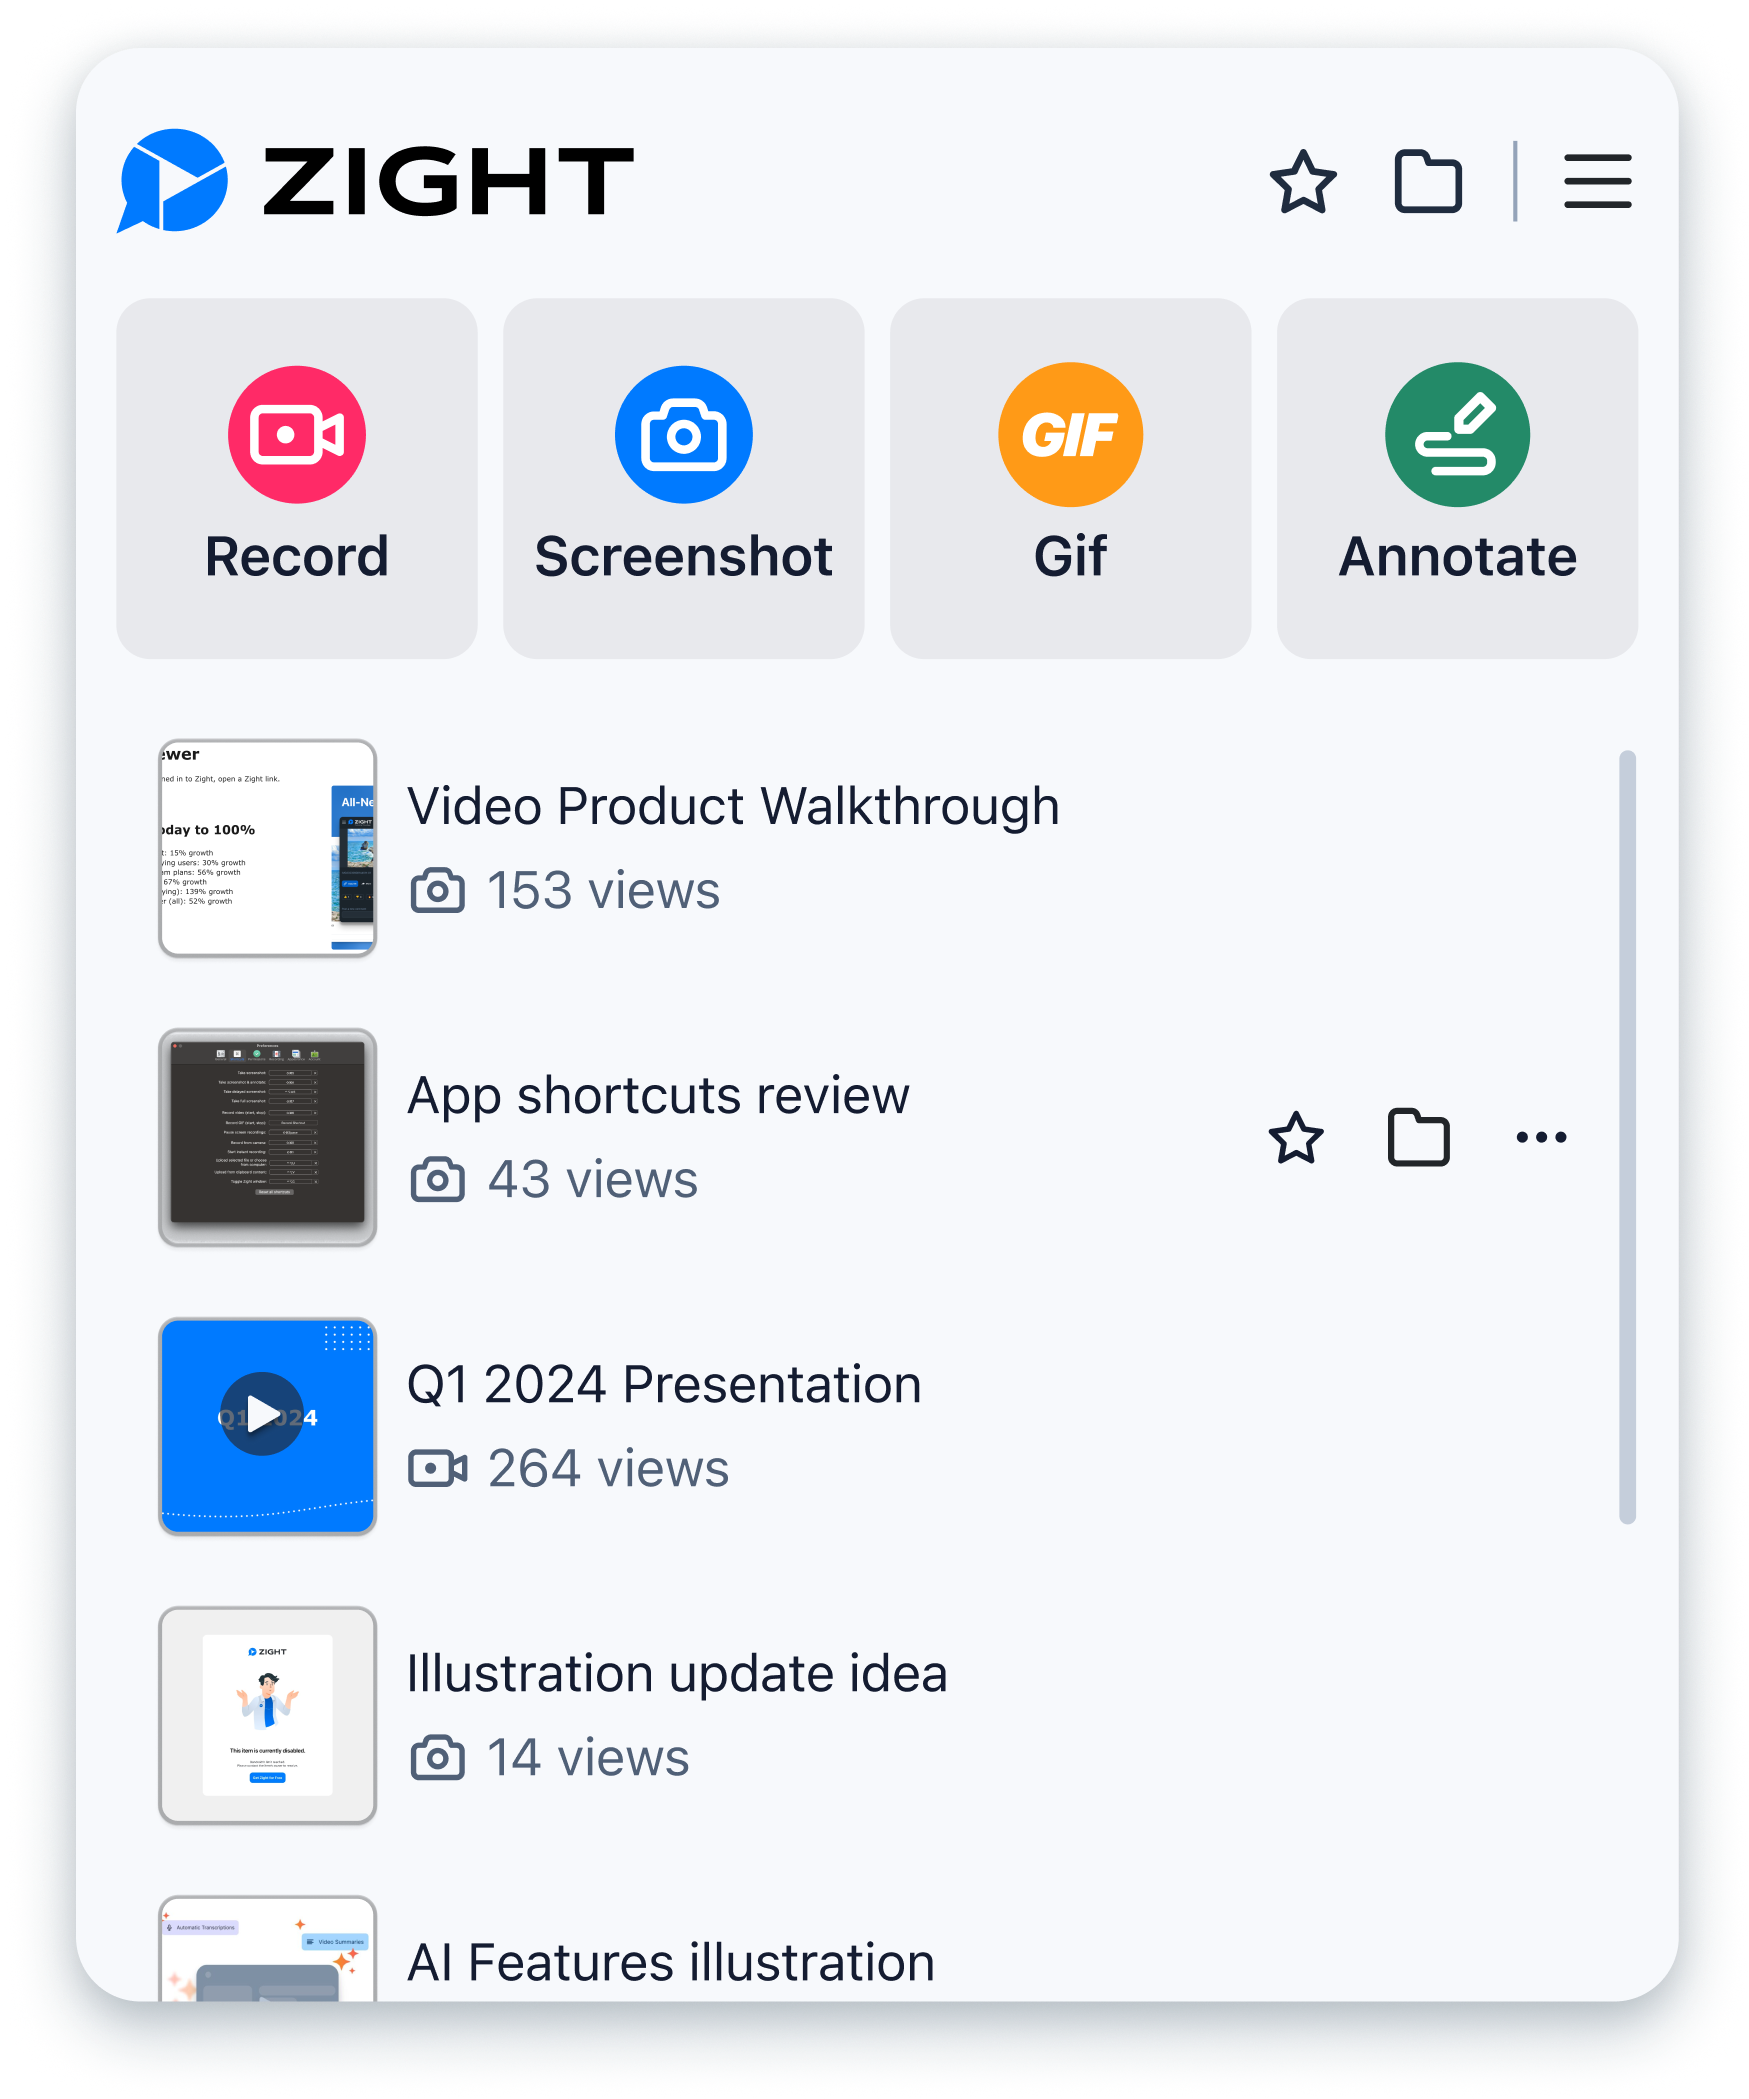
How To Use Zight on Chrome
Explore other Zight features by clicking the buttons.
Getting Started with Chrome
Add the Zight extension to your Chrome web browser for quick and easy access.
- To get started, click here go to navigate to Zight on the Chrome web store
- Click ‘Add to Chrome’
- Once you see the pop up, click ‘Add Extension’
- The extension will then download and appear in your toolbar
- You may also opt to ‘pin’ the Zight extension for even quicker access
Screen Recording on Chrome
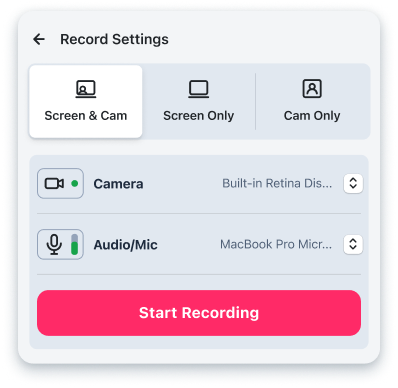
Use Chrome to easily record your screen. You can record your full screen or current tab. Record with or without a camera overlay and set your preferences for camera and mic.
To record your screen on Chrome with Zight:
- Click on the Zight toolbar icon and select Record
- Select your recording preferences
- Click on Start Recording
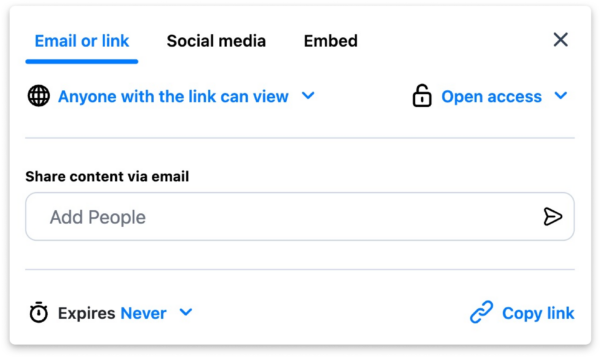
- Then share a direct link or download your recording
Screenshot on Chrome
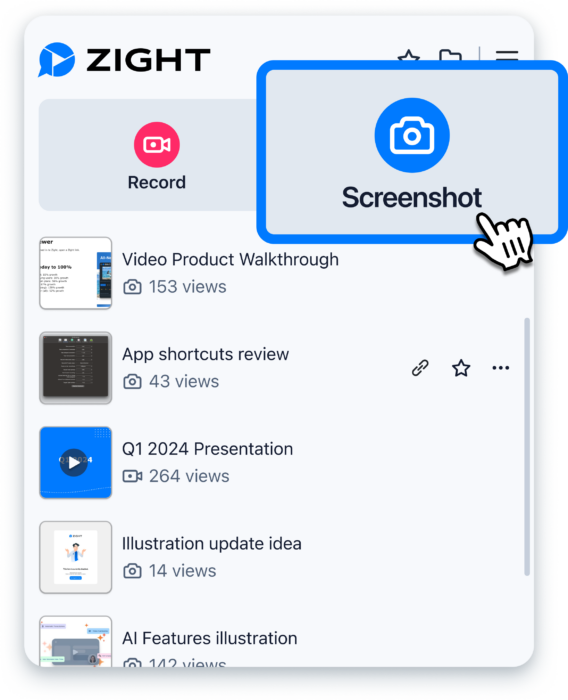
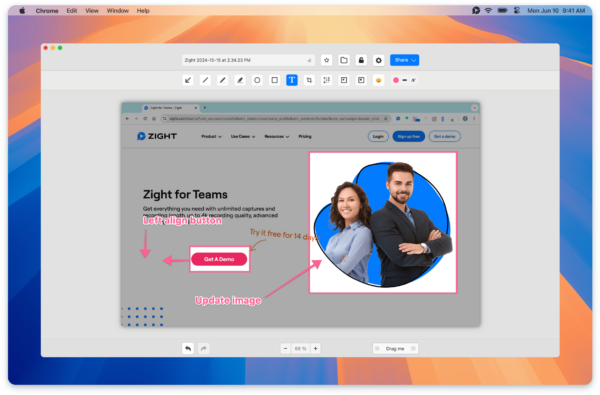
Take a full or partial screenshot and send it in seconds. Zight automatically stores the image in the cloud for easy access and organization. No more desktop screenshot clutter for you.
Here is how you can take a screenshot on Chrome with Zight.
Option 1:
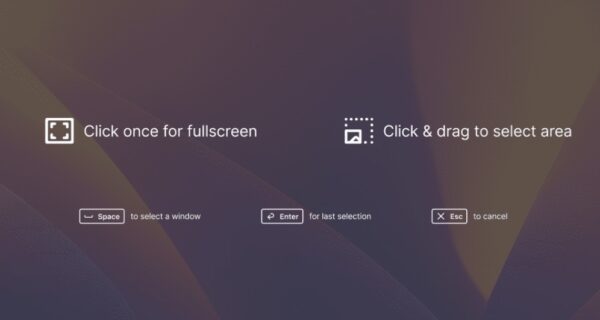
- Click on the Zight icon in the top right corner of your screen and select the screenshot option
- Use your mouse to control the tool and select the area on your screen you wish to capture
- Press ‘Space’ to capture visible area, press ‘E’ to capture entire page, or press ‘D’ to capture your desktop
Option 2:
- Use keyboard shortcuts. Simply select Alt + Shift + V to capture a screenshot of your entire screen
Ultimate Guide to Chrome Screen Recorders
Chrome extensions for screen recording and screenshots are incredibly useful tools that can enhance productivity, improve communication, and streamline various workflows for the entire team.
This guide will explore the benefits of using these tools, why you might choose them over other options, and practical applications for both screen recording and screenshots.
Benefits of Using Chrome Extensions for Screen Recording and Screenshots
1. Convenience and Accessibility
Chrome extensions provide quick access to apps from your browser. This means you can install a screen recorder and quickly record your screen or capture a screenshot without needing to open a separate application. It’s a seamless integration into your browsing experience, saves time, and simplifies content creation.
2. Ease of Use
A Chrome screen recorder is designed with user-friendliness in mind. Most typically offer intuitive interfaces and straightforward controls, making it easy for anyone, regardless of technical expertise, to use them effectively.
3. Instant Sharing and Collaboration
Many Chrome screenshot and screen recorder extension tools come with built-in sharing options.
You can instantly upload your captures to cloud storage, generate shareable links, or directly integrate with collaboration platforms like Slack, Asana, and Trello. This facilitates quick and efficient communication and collaboration.
4. Enhanced Productivity
Using Chrome extensions to record your screen and capture screenshots can significantly enhance your productivity. Whether you’re creating tutorials, documenting processes, providing feedback, or capturing important information, these tools help you accomplish tasks more efficiently.
Why Choose Chrome Extensions Over Other Tools
1. No Installation Hassles
Chrome extensions are easy to install and usually don’t require administrative permissions, making them a hassle-free option compared to standalone software. This is particularly useful in organizational settings where software installation policies might be restrictive.
2. Lightweight and Fast
Chrome extensions are typically lightweight and don’t consume significant system resources. This ensures smooth performance even on devices with limited hardware capabilities.
3. Cross-Platform Compatibility
If you have the Chrome browser installed, you can use these extensions on any operating system, including Windows, macOS, Linux, and Chrome OS – a cross-platform compatibility that ensures a consistent experience across different devices.
Practical Applications for A Screenshot and Screen Recorder Chrome Extension
1. Screen Recording
With a Chrome screen recorder, you can record unlimited videos such as:
-
- Tutorials and Training videos: Recording your screen is ideal for creating step-by-step tutorials and training materials. You can visually demonstrate processes, software usage, and workflows, making it easier for your audience to understand complex concepts.
- Conducting Product Demos: If you need to showcase a product or a new feature, record screen to create engaging demos that highlight key functionalities. This is particularly useful for sales and marketing teams.
- Recording Meetings and Webinars: You can use a Chrome screen recorder to record videos of important Google Meet, Skype, or Zoom meetings, webinars, and virtual events. This ensures that you have a record of the discussion and can revisit the content later or share it with those who couldn’t attend.
- Providing Feedback When reviewing a document, design, or any digital content, screen recording lets you provide detailed feedback. You can highlight specific areas and verbally explain your thoughts, making your feedback more clear and actionable.
2. Screenshots
-
- Capturing Important Information Screenshots are ideal for capturing important information quickly. Whether it’s a snippet of a web page, an error message, or a section of a document, screenshots allow you to save and share visual information instantly.
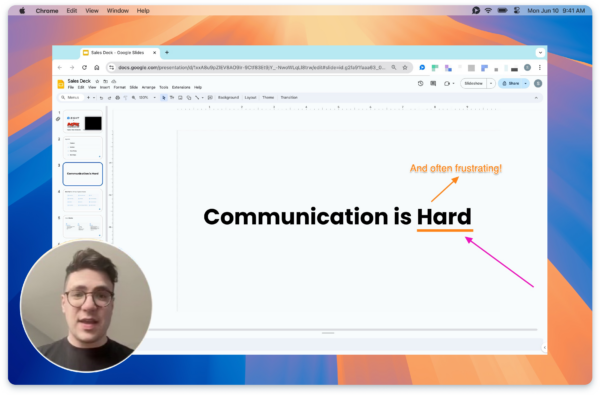
- Annotating and Highlighting Many screenshot tools offer annotation features, enabling you to highlight, draw, and add text to your captures. This is useful for creating visual aids, providing feedback, or emphasizing key points in a document.
- Documenting Processes Screenshots are useful for documenting processes and creating visual guides. By capturing each step of a process, you can create comprehensive guides that are easy to follow.
- Sharing Visual Content Screenshots are an effective way to share visual content with colleagues, clients, or support teams. Whether you’re reporting a bug, showing a design draft, or sharing data from a report, screenshots convey visual information clearly.
Conclusion
Chrome extensions for screen recording and screenshots offer numerous benefits, including convenience, ease of use, and enhanced productivity. They are an excellent choice for anyone looking to capture and share visual information quickly and efficiently.
You, too, can leverage these tools to create tutorials, record meetings, provide feedback, document processes, and share important information with ease!
A Comprehensive Guide to Chrome Screen Recorders and Screenshot Tools
Screen recorders and screenshot tools are essential for various tasks, from creating a tutorial and Google Slides presentation to capturing important information quickly. Chrome extensions provide a convenient way to access these tools directly from your browser with just one click!
Let’s explore some of the best screen recorders and screenshot tools available for your Chrome browser.
Best Google Chrome Screen Recorders
Need a screen recorder tool you can quickly grab and use on your browser tab? You can consider these regardless of how many videos you want to record – you also get free video hosting with each tool!
1. Zight
Zight is the best software you can use to record video on your Google Chrome browser. It is a versatile tool that also captures full page and scrolling screenshots and allows annotation, GIF creation, and cloud storage in just a few clicks on Mac or Windows.
Features:
- Records screen with audio
- GIF creation
- Annotations and editing tools
- Cloud storage and sharing
- Integrations with popular apps like Slack, Asana, and Trello
Pros:
- User-friendly interface
- High-quality recorded videos (4K!)
- Seamless sharing options through a screenshot and video link
Cons:
- Limited features in the free version
How to Use:
- Download the Zight Chrome extension from the Chrome Web Store, and install it on your browser tab.
- Open the Chrome page you want to record and click on the Zight icon in your toolbar.
- Choose between recording screen or screenshot capture.
- Select the area you want to record or capture and click start recording.
- Annotate if needed and save or share videos instantly.
2. Loom
Loom is a popular screen recorder tool known for its simplicity and effectiveness. It allows you to record your screen, voice, and face simultaneously, making it ideal for creating engaging tutorials and presentations.
Features:
- Screen and camera webcam recording
- Instant sharing via links
- Viewer insights and analytics
- Customizable recording quality
Pros:
- Easy to use
- Quick sharing and collaboration
- Free version available with generous limits
Cons:
- Advanced features require paid plans
How to Use:
- Install the Loom Chrome extension from the Chrome Web Store.
- Click on the Loom icon in your toolbar.
- Choose your recording options (screen, webcam, or both).
- Start recording and click the checkmark to stop recording.
- Share the recording via a link or download it.
3. Screencastify
Screencastify is another powerful screen recorder tool that is perfect for educators, marketers, and anyone needing to easily record professional-looking videos.
Features:
- Records computer screen with annotations
- Webcam and microphone recording
- Editing tools like trimming and merging
- Direct upload to YouTube, Google Drive, or download videos to easily share later
Pros:
- Comprehensive editing features
- Easy integration with Google Drive and YouTube
- Free version available
Cons:
- Watermark on videos in the free version
How to Use:
- Install the Screencastify Chrome extension from the Chrome Web Store.
- Click on the Screencastify icon in your toolbar.
- Select your recording options and start recording.
- Annotate your video if needed and save or upload it.
Screenshot Tools
1. Lightshot
Lightshot is a straightforward screenshot tool that allows you to capture, edit, and share an image quickly.
Features:
- Customizable screenshot area
- Simple editing tools
- Instant upload and sharing
- Search for similar images online
Pros:
- Lightweight and fast
- User-friendly interface
- Free to use
Cons:
- Limited editing features compared to more comprehensive tools
How to Use:
- Install the Lightshot Chrome extension from the Chrome Web Store.
- Click on the Lightshot icon in your toolbar or press the assigned hotkey.
- Select the area you want to capture.
- Edit if necessary and save or upload your screenshot.
2. Nimbus Screenshot & Screen Video Recorder
Nimbus is a versatile tool that offers both screenshot and video recording capabilities. It provides a wide range of editing and annotation features.
Features:
- Screenshot capture and editing
- Screen recording with audio
- Annotations and drawing tools
- Upload to Nimbus Note, Google Drive, or save locally
Pros:
- All-in-one tool for screenshots and screen recordings
- Extensive editing features
- Free version available
Cons:
- Some features require a premium subscription
How to Use:
- Install the Nimbus Screenshot & Screen Video Recorder Chrome extension from the Chrome Web Store.
- Click on the Nimbus icon in your toolbar.
- Choose between screenshot capture or screen recording.
- Select the area to capture or record.
- Edit and save or upload your screenshot/recording.
3. Awesome Screenshot
Awesome Screenshot is a comprehensive tool that allows you to capture screenshots, record your screen, and annotate your captures easily.
Features:
- Full-page, visible part, or selected area screenshots
- Screen video recording with audio
- Annotation tools for editing
- Cloud storage and sharing options
Pros:
- Wide range of capture options
- Easy-to-use annotation tools
- Integrates with various cloud services
Cons:
- Some features are locked behind a premium subscription
How to Use:
- Install the extension from the Chrome Web Store.
- Click on the tool’s icon in your toolbar.
- Select the capture option (full page, visible part, or selected area).
- Annotate and save or share your screenshot.
In Closing
Choosing the right screen recorder or screenshot tool depends on your specific needs and preferences. Whether you’re looking for basic functionality or advanced features, there’s a Chrome extension to suit your requirements.
Zight, Loom, and Screencastify offer excellent screen recording capabilities, while Lightshot, Nimbus, and Awesome Screenshot provide robust screenshot options. Install and explore these tools to enhance your productivity and streamline your workflow.
Why Use the Zight Chrome Extension
The Zight Chrome extension is the best screenshot tool, screen recorder, and visual content-sharing software. This guide will outline the benefits of using Zight, highlight its key features, and provide examples of practical applications.
Benefits of Using the Zight Chrome Screen Recorder
1. Comprehensive Functionality
Zight offers a wide range of functionalities in a single tool. With the Zight extension, you can record your screen, capture screenshots, create GIFs, and annotate images and videos. This all-in-one approach saves time and reduces the need to switch between different tools.
2. Ease of Use
The Zight Chrome extension is designed to be user-friendly, with an intuitive interface that makes it easy to start recording or capturing screenshots with just a few clicks. This ease of use ensures that even those with limited technical skills can effectively utilize the tool.
3. Instant Sharing and Collaboration
Zight allows you to instantly upload your recordings and screenshots to the cloud, generating shareable links that you can send to colleagues, clients, or team members. This feature facilitates quick and efficient collaboration, making it easier to share videos and feedback, provide instructions, or showcase work.
4. High-Quality Output
Zight ensures that your screen recordings and screenshots are of high quality, making your content clear and professional. This is particularly important for presentations, tutorials, and any visual content that you share with others.
5. Integration with Popular Tools
Zight integrates seamlessly with a variety of popular tools and platforms, including Slack, Asana, Trello, and more. These integrations enhance your workflow by allowing you to incorporate Zight’s functionalities directly into the tools you already use.
Key Features of the Zight Chrome Extension
1. Screen Recording
- Record your entire screen or a selected area.
- Include audio and webcam footage in your recordings.
- Create high-quality videos suitable for tutorials, presentations, and demonstrations.
2. Screenshot Capture
- Capture the entire screen, a specific tab or window, or a selected area.
- Annotate screenshots with text, arrows, shapes, and more.
- Save screenshots to the cloud and generate shareable links.
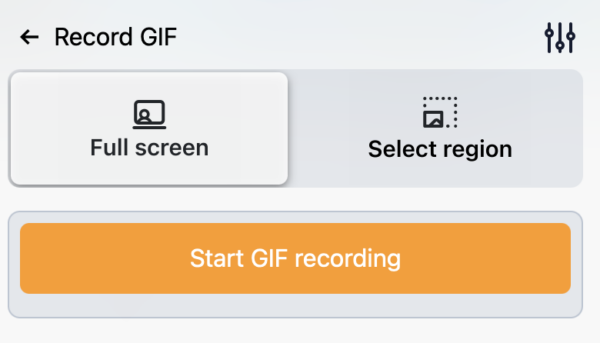
3. GIF Creation
- Easily create animated GIFs from screen recordings.
- Share GIFs to demonstrate quick processes or capture short interactions.
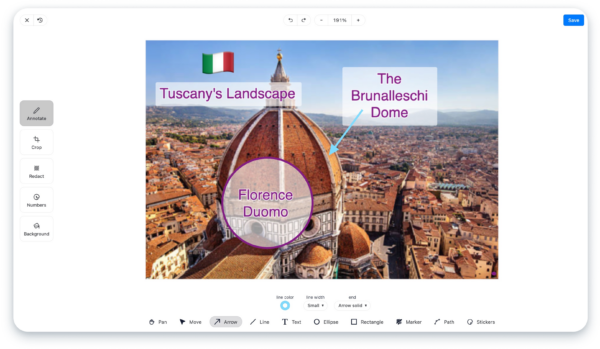
4. Annotations and Editing
- Annotate both screenshots and videos with a variety of tools.
- Add text, arrows, shapes, and highlights to emphasize important information.
- Trim and edit videos to remove unnecessary parts and focus on key content.
5. Cloud Storage and Sharing
- Automatically upload captures to the cloud.
- Generate shareable links for easy distribution.
- Organize and manage your content in a centralized cloud storage.
Practical Applications
1. Creating Tutorials and Training Materials
Use Zight to record step-by-step tutorials and training materials. Annotate your recordings to highlight important steps and provide clear instructions. Share the final product with trainees or clients via a shareable link.
2. Providing Feedback
Capture screenshots or record your screen while reviewing documents, designs, or projects. Use the annotation tools to add comments, highlight areas of interest, and provide detailed feedback. Share the annotated content with your team for easy collaboration.
3. Documenting Processes
Document processes by capturing screenshots of each step. Annotate the screenshots to provide additional context and instructions. This is useful for creating guides, SOPs, and onboarding materials.
4. Conducting Product Demos
Record product demos to showcase features and functionalities. Include audio narration and webcam footage to add a personal touch. Share the demo via a link or embed it in presentations and websites.
5. Reporting Issues and Bugs
Capture screenshots or record your screen to report issues and bugs. Annotate the captures to highlight the problem areas and add notes for clarity. Share the content with your development team for quick resolution.
Wrapping Up
The Zight Chrome extension is a versatile and powerful tool for screen recording, screenshot capturing, and sharing visual content. Its comprehensive functionality, ease of use, instant sharing capabilities, high-quality output, and integration with popular tools make it an excellent choice for professionals across various fields.
By leveraging the Zight Chrome extension, you can enhance your productivity, streamline collaboration, and improve the quality of your visual communication.


