You’re in the middle of an important online presentation. You’ve prepared your slides, and your audience is fully engaged. Suddenly, someone asks if you can share the presentation with them afterward. You could send the slides, but what if you could also share a high-quality recording of the entire session, capturing every detail, every interaction, and every question answered?
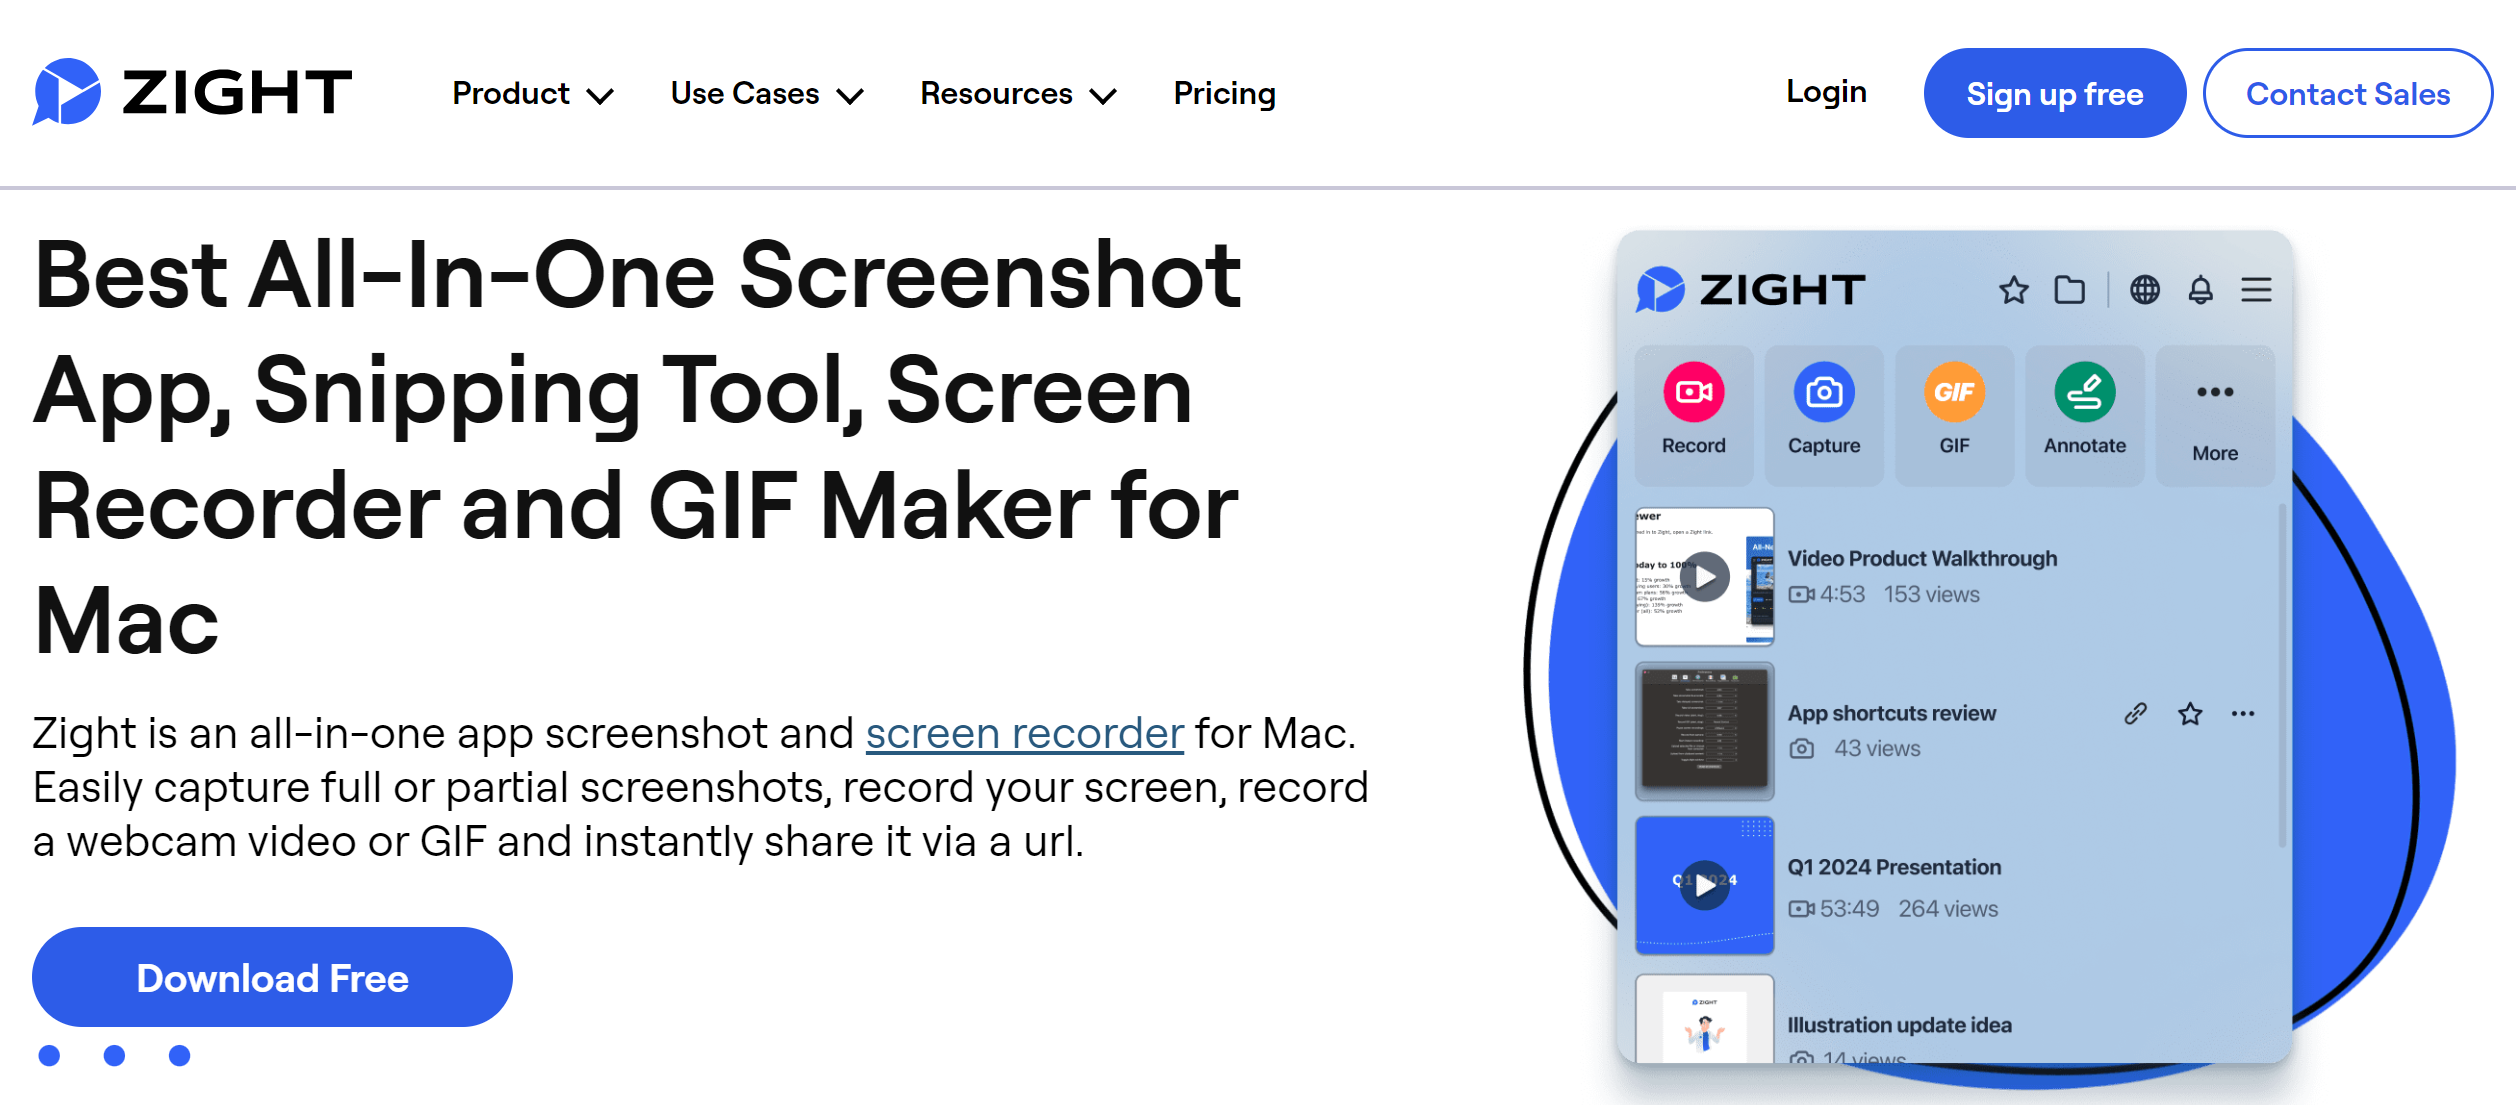
With the Zight screen recorder for Mac, you can do just that. This tool is a comprehensive solution for anyone needing reliable, high-quality screen recording on a Mac.
In this guide, we’ll explore why Zight is the best screen recorder for Mac and how you can make the most of its advanced features.
Why Choose Zight Screen Recorder for Mac?
When screen recording on a Mac, there are numerous software options available. However, the Zight screen recorder is a game-changer for several reasons:
- High-Quality Screen Recording: Zight ensures that your recordings are crisp and clear, maintaining high resolution and smooth frame rates. Whether you’re recording a tutorial, a webinar, or gameplay, Zight delivers top-notch quality every time.
- User-Friendly Interface: One of Zight’s standout features is its ease of use. You don’t need to be a tech expert to start recording. The interface is intuitive, making it easy for beginners and professionals alike to navigate and utilize its features effectively.
- Versatile Recording Options: Zight offers various recording modes, allowing you to capture your entire screen, a selected portion, or even specific windows. This flexibility is beneficial for creating detailed tutorials or focusing on particular aspects of your content.
How to Record Screen on Mac with Zight
Getting started with Zight is a breeze. Here’s a step-by-step guide on how to record your screen on a Mac with audio using this powerful screen recording software.
1. Download and Install Zight
First, visit the Zight website and download the Mac version of the software. Follow the installation instructions to set it up on your device.
- Capture or record your screen
- Annotate your screenshots or screen recordings with text, arrows, lines, and blur
- Instantly share with a link
Typically, this includes creating an account with Zight—this is crucial so you can also have a cloud account and dashboard to work from. If you use Google Chrome, download the Chrome extension as well (it makes it easy to record your online workflows!)
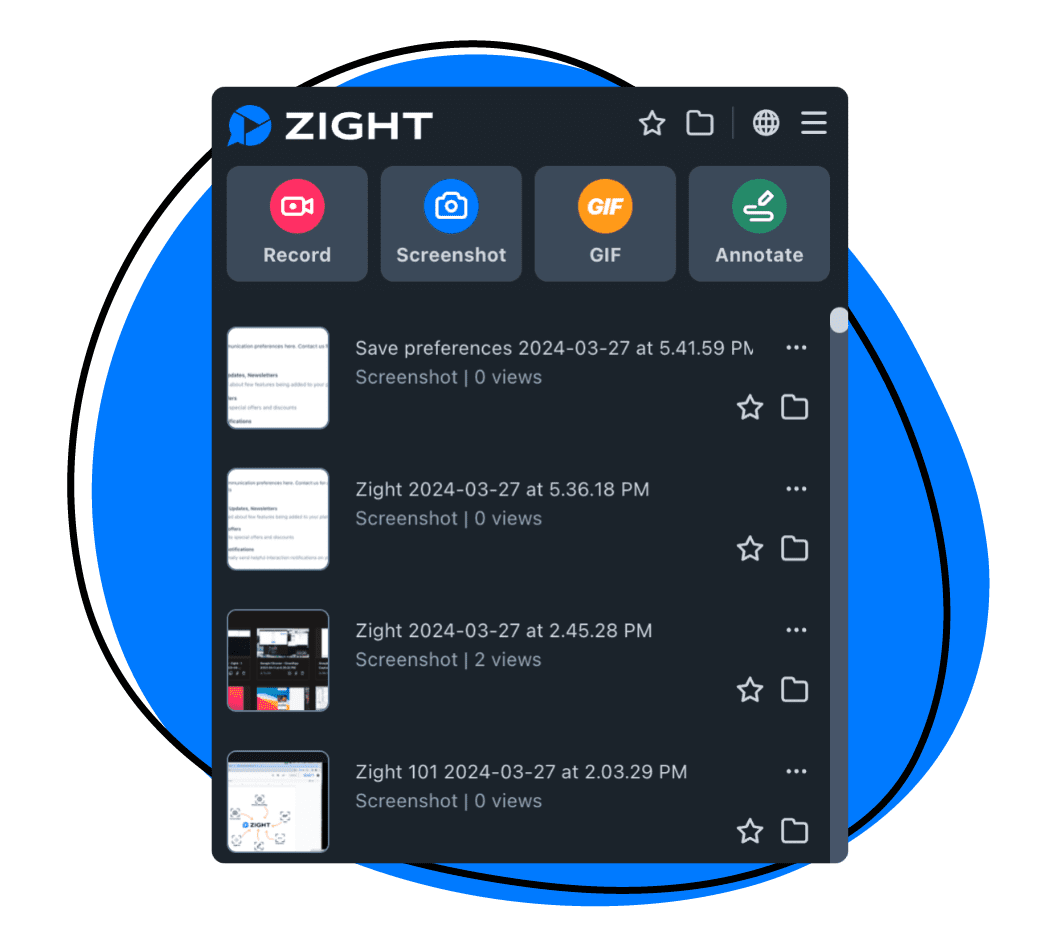
2. Set Up Your Recording Preferences
Once installed, open Zight, click the settings icon and select Settings. Here, you can adjust your recording preferences:
- Where to save your recordings on your computer: you can choose your ideal folder
- Recording quality: this is crucial depending on the clarity of the video you want to record. You can choose between Medium (720p), High (1080p), and Max (4k). With Zight, you can also record GIFs, so also set your recording quality from Low (3fps), Medium (6fps), and High (12fps)
- Set other preferences, like a countdown before you start recording, recording mouse cursor and clicks, and more advanced recording settings
3. Choose Your Recording Mode
Ready to start recording? Open the window you want to record and maximize it to hide distractions like the toolbar. Then, click Shift + Command + 6 to activate the screen recorder. Zight offers two Mac screen recording modes:
- Full Screen: To record the entire screen
- Selected Area: Draw a box around the area you wish to record
Select the mode that fits your purpose, then choose more preferences, including recording Screen Only and Screen & Cam. The former is best when you don’t need to appear in the video, while the latter places your webcam overlay (perfect when you’re recording a presentation or training videos).
Quick Tip: Don’t forget to turn on the mic and audio if they apply to your type of recording.
4. Start Recording
Click the record button to begin capturing your screen. You can pause and resume the recording as needed, making it easy to manage longer sessions or cut out unnecessary parts on the fly.
In addition, you can pause the recording to annotate your video for even better visual communication.
5. Finish Recording
Once you’re done, click the Finish button. Zight will upload the recording to the cloud and open the video link on your browser. You can then edit the video further.
Once done, you can easily share the link to Slack, Trello, Asana, or other communication tools you use—it’s easy! Your recipient will be able to watch the video even if they don’t use Zight and will always access it as long as you keep the link online!
More Zight Features to Use For Mac Screen Recording

When you use Zight, you’re in for a host of professional screen recording and editing features for a high-quality video. Here are some:
1. Advanced Screen Recording Features
Zight’s advanced features elevate your content, making it suitable for a wide range of professional and personal use cases. These include 4K recording, different recording preferences, webcam recording, and GIF recording.
When recording any screen video, you can record audio from the laptop and your microphone and can even use an external camera for the best webcam quality!
2. Annotations and Markup
You can add annotations and markups to highlight critical points as you record. This feature is superb when creating educational content or detailed tutorials.
For instance, if you are a teacher recording an online lesson, you can use arrows to point out specific parts of a diagram or highlight sections of text that are particularly important. This makes your content more interactive and easier to follow.
3. Webcam Overlay
Add a personal touch to your recordings by including a webcam overlay. It’s a great feature for presentations or engaging video content where your presence is essential.
If you are a vlogger or content creator, having a webcam overlay can make your videos more engaging by allowing your audience to see your reactions and expressions in real time. In professional settings, a webcam overlay is invaluable for virtual meetings or webinars, helping maintain a personal connection with your audience.
4. Editing Your Screen Recordings
When you screen record on Mac, Zight makes it easy to polish your recordings with its built-in editing tools. Features like trimming, cropping, fine-tuning, and more help you refine your videos and keep them professional, engaging, and tailored to your audience’s needs.
For example, you can remove any unwanted sections from your recording with the trimming and cutting tools. This allows you to create concise, focused content.
- Educational Content: If you’re an educator creating a tutorial or lecture, you can use the trimming tool to remove unnecessary pauses or mistakes so that the final video is smooth and easy to follow. For example, if you fumbled over an explanation or had a technical glitch, trimming those sections can make your video more polished.
- Business Presentations: Trimming and cutting tools are essential for business professionals preparing product demos, webinars, or training sessions. You can eliminate off-topic discussions or interruptions and focus on the key messages you want to convey.
- Personal Projects: For personal projects, such as vlogs or gaming videos, these tools help you maintain viewer engagement by eliminating long loading times, irrelevant content, or parts where nothing significant happens.
5. Adding Transitions and Effects
Enhance your recordings with transitions and effects. Zight offers a range of options to make your videos more engaging and professional.
- Marketing Videos: If you’re creating marketing videos, adding transitions can help maintain viewer interest and provide a professional look. For example, using fade-ins and fade-outs between sections of your video can make the transitions smoother and more appealing.
- Instructional Videos: Transitions can help differentiate between different steps or segments in instructional videos, making it easier for viewers to follow along. Adding effects like zoom-in or highlight can emphasize critical points, ensuring your audience doesn’t miss important details.
- Creative Projects: For creative projects, such as short films or artistic presentations, using a variety of transitions and effects can add a unique style and help convey your vision. So, experiment with different effects to make your video stand out and be more memorable.
6. Audio Recording
With Zight’s audio editing capability, your videos will have high-quality sound to match the visuals. Here are some audio settings we recommend using before you share your video:
- Podcasts and Voiceovers: If you’re creating a podcast or adding a voiceover to your video, adjust the audio levels to ensure your voice is clear and at an appropriate volume. Also, add background music to enhance the listening experience.
- Webinars and Online Courses: Clear audio is crucial for webinars and online courses. When editing your video, balance the audio levels between different speakers, reduce background noise, and add introductory or closing music for a professional polish.
- Gaming Videos and Vlogs: For gaming videos, you can edit audio to balance the game sounds with your commentary. This ensures that both elements are audible and enhances the overall viewing experience.
Screen Recording Tips for Mac Users
Here are our best tips to help you screen record on a Mac:
1. Plan Your Recording
Before you screen record, take some time to plan out what you want to capture. This means identifying the key points you want to cover, organizing your materials, and determining the flow of your recording.
For instance, outline each step clearly if you’re creating a tutorial. This will help you stay focused and ensure you cover all necessary points without forgetting anything important. Additionally, consider preparing any visual aids or video scripts you might need. Proper planning can save you time during editing and result in a more polished final product.
2. Check Your Settings
Double-check your recording settings before starting. Ensure you have selected the correct resolution, frame rate, and audio input.
For example, if you’re recording a high-definition tutorial, make sure your resolution is set to 1080p or 4K. If you’re capturing fast-moving content, like gameplay, a higher frame rate (such as 60fps) can provide smoother motion.
Also, verify that your audio input is correctly set to the microphone or audio source you intend to use to prevent common issues like poor video quality or missing audio.
3. Minimize Distractions
Close unnecessary applications and disable notifications to create a professional and uninterrupted recording. Background processes and pop-up notifications can distract you and appear in your recording, reducing its quality.
Consider setting your Mac to “Do Not Disturb” mode and closing any programs that might use up system resources or display unexpected alerts. This way, you will focus entirely on your recording – and achieve a cleaner, more professional output.
4. Use a Good Microphone
While you can use your computer’s internal mic, sometimes using an external microphone is better. Doing so will significantly improve the sound quality of your recordings.
Built-in microphones on laptops often pick up a lot of background noise and may not capture your voice clearly. So, look for a microphone with noise-cancellation features if you are in a noisy environment and consider using a pop filter to reduce plosive sounds and ensure your voice is clear and professional.
5. Practice Makes Perfect
Do a few test recordings to familiarize yourself with Zight’s features. Use these test recordings to experiment with different settings and find the optimal configuration for your needs.
Pay attention to any issues that arise, such as audio sync problems or video lag, and adjust your settings accordingly. The more you practice, the more comfortable you’ll become with the software.
Wrapping Up
The Zight Mac screen recorder is an indispensable tool for high-quality screen recordings and screenshots. Its user-friendly interface, versatile recording options, and advanced features make it your best tool—whether you’re a teacher, a gamer, a business professional, or a content creator.
Zight has everything you need to capture, edit, and share your screen recordings easily. So, don’t wait any longer—hit the Sign-Up button to get started!