Google Chrome is the most popular browser, with a global market share of 65.31% . It is easy to use and integrates with most work-related software.
What Are Full-Page Screenshots?
Full-page screenshots grab the entire webpage content, including parts you’d need to scroll to see. This is great for preserving all the details and layout of a page, which can be useful for various reasons, like sharing, documentation, or just keeping a record.
- You get the whole picture, literally. You won’t miss any information or design elements hidden below the fold
- It’s much easier to share one big screenshot than smaller multiple screenshots. One screenshot makes team collaboration easy—you capture and annotate in one go, and your collaborators don’t have to grapple with trying to understand the flow of several screenshots!
- When you need to document a webpage for reference, having the whole page in one image is much more efficient
1. How to Capture a Full-Page Screenshot with Zight
The best way to capture a full-page screenshot is with a third-party tool – and there’s none better than Zight . This is for many reasons, but of note is that dedicated screenshot software takes the work out of simple processes.
- Head over to the Zight website and click Product, then a dropdown appears and click Chrome . When the link loads, click Download Now and enable the extension on Chrome.
- After downloading, you can sign up or log in to your Zight account. It’s easy with just an active email address. We recommend pinning the extension at the top of your browser for easy access.
- Ensure the page you want to capture is open on Chrome.
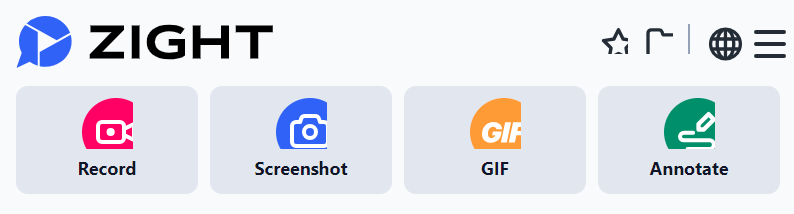
- Then, click the Zight icon from your extensions, and then click Screenshot.
- Here, you will notice four ways to capture your screenshots. For full-page screenshots, you need to focus on the third option – clicking E to Capture the Entire Page.
- It’s really that easy. After clicking the keyboard shortcut, the software will start capturing your entire webpage immediately. You can sit back and watch as Zight scrolls down the page!
- After capturing the entire page, your screenshot will be uploaded to the Zight cloud. The software will then create a shareable link to the image and open it on a new tab.
- Once the link opens, you can annotate the screenshot for better visual communication. For instance, you can leave textual instructions and highlight them with annotations like a line, arrow, ellipse, rectangle, or a marker. If you want to explain something in steps, you can even use the Path annotation, then add numbers by clicking Stickers, then Markers! You can also leave stickers, crop, redact sensitive information, or change the image background.
- Satisfied with the annotation and edits? Click save, and you’ll be ready to share the full-page screenshot. There are two ways to do this. The easiest is as a link. Click Copy Link, then paste it to any chat board. Your recipient will only need to open the link on any browser to view it. Alternatively, click Download and share the screenshot as an attachment.
2. How to Capture a Full-Page Screenshot with Chrome’s Developer Tools
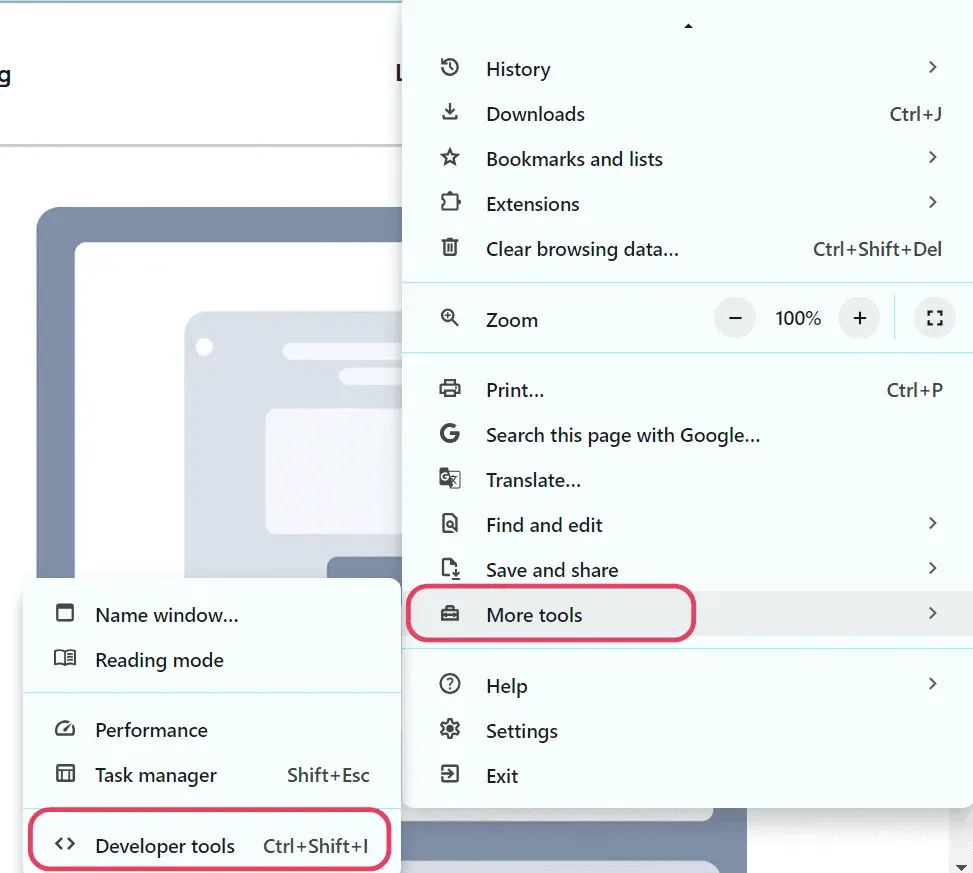
No, you don’t have to be a developer to use Developer Tools! If you want a full-page screenshot, you might as well use the geek process. The good thing is that this is a free method, and you don’t need to download or install anything.
- On Windows/Linux: Press the keyboard shortcut Ctrl+Shift+I .
- On Mac: Press the Mac keyboard shortcut Cmd+Option+I .
3. How to Capture a Full-Page Screenshot on Chrome Using Print/ Save As PDF
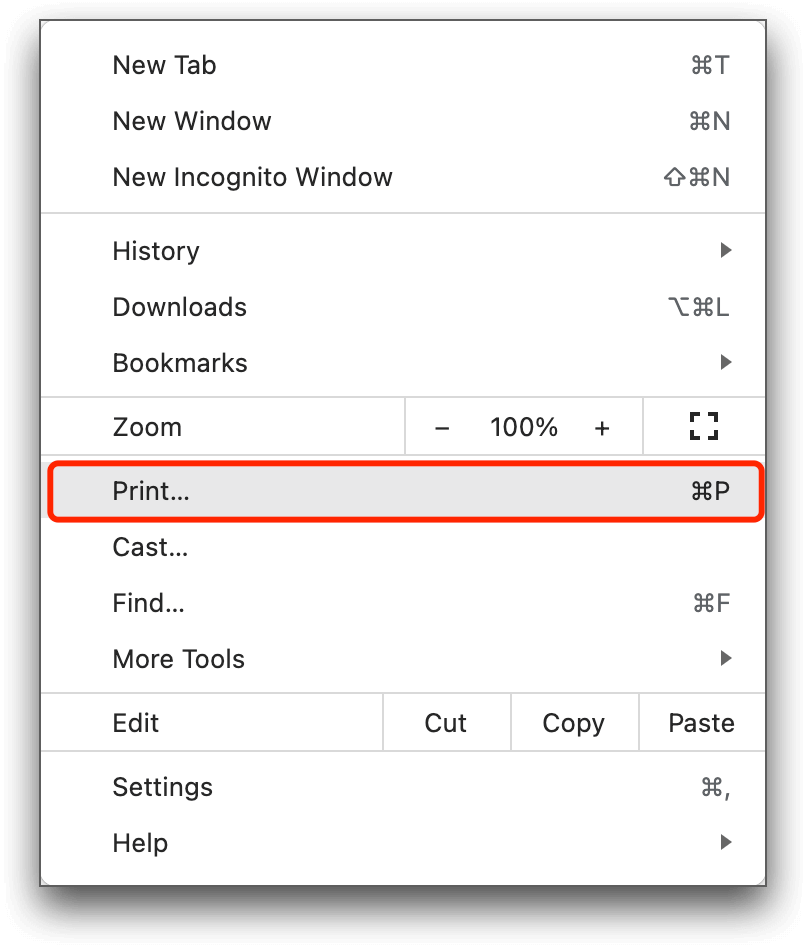
The third method is easier than using Developer tools. You only need to use the Print feature that you can access in three ways:
- Click on the three vertical dots (menu) in the top right corner of Chrome, then select “Print…” from the dropdown menu
- Alternatively, simply press Ctrl+P (Windows/Linux) or Cmd+P (Mac).
- You can also right-click on the page you want to capture and select “Print…” from the pop-up menu.
- Ensure the Destination is set to Save as PDF.
- Ensure the layout is set to “Portrait” for most web pages, but you can switch to “Landscape” if the webpage is wide.
- Click More Settings and set margins to “Default” or “Custom” based on your preference. Custom margins can help include or exclude certain parts of the page.
- Uncheck the “Headers and footers” option if you don’t want the URL and page number to appear on the PDF.
- After setting your preferences, click the “Save” button. Choose the location on your computer where you want to save the PDF file and click “Save” again.
Wrapping Up
To wrap it up, it’s easy to capture full-page screenshots on Chrome whether you have a MacBook or use Windows. You want to avoid capturing, annotating, and then sending multiple screenshots of a page—it’s easier to capture a single, long screenshot and get everything done in one go.