There are plenty of cases where recording and sharing your screen can make collaboration much smoother. In other cases, screen recording is key to creating captivating content. But if you own a Windows computer, how exactly do you screen record?
In this article, we’ll cover how to screen record on Windows using both built-in tools and third-party screen recording apps and how to choose the best tool for your needs!
Why Knowing How to Screen Record is Important
Screen recording tools have a range of different applications. In business settings, they can be used to help explain processes and concepts more thoroughly and efficiently. This helps managers guide and train their employees without the need for time-consuming meetings.
Screen recording software is also commonly used by content creators. Whether you’re sharing your reaction to the latest viral video or live-streaming your gameplay, the ability to screen record unlocks the potential for numerous types of content.
In addition to these common uses, other screen recording tools applications include creating software/product demonstrations, archiving webinars and other digital events, and creating educational materials such as tutorials and guides.
How to Screen Record on a Windows PC
Depending on the version of Windows you are running, you will have two different built-in tools that you can use for screen recording: the Xbox Game Bar (which is available on Windows 10 and Windows 11) and the Snipping Tool (which is available on Windows 11). Here are the steps you can follow to capture screen recordings using both of these tools:
How to Screen Record Using the Xbox Game Bar
- Open the Xbox Game Bar by pressing the “Windows key + G” on your keyboard.
- If prompted, allow the Xbox Game Bar to make changes to your device.
- Click on the “Capture” button or press the “Windows key + Alt + R” to start recording.
- To stop the recording, either click the “Stop” button in the Xbox Game Bar overlay or press “Windows key + Alt + R” again.
- Your recording will be saved to the “Captures” folder in your Videos library by default.
- You can access and manage your recordings by opening the Xbox Game Bar, clicking on the “Show all captures” button, and selecting the recording you want to view or share.
How to Screen Record Using the Windows Snipping Tool
- Open the Windows Snipping Tool by searching for it in the Windows search bar or by navigating to “Start > Windows Accessories > Snipping Tool.”
- Once the Snipping Tool is open, click on the “Mode” button and select the Snip mode you want to use.
- Click and drag to select thie area you want to record, then click “Start” on the Snipping Tool toolbar to start recording.
- Click the “Stop” button to stop recording, then click the “Share” icon to share the file with a person or app or the “Save” button to save it as an MP4 file.
What is the Best App for Screen Recording on Windows?
The Xbox Game Bar and the Snipping Tool can both be used to screen record on a Windows 11 computer. However, downloading a third-party screen recording app can provide you with many additional features and functionalities you don’t get with a built-in tool.
If you would like to use a third-party app to screen record on Windows, here are three of the best choices on the market today:
1. Zight
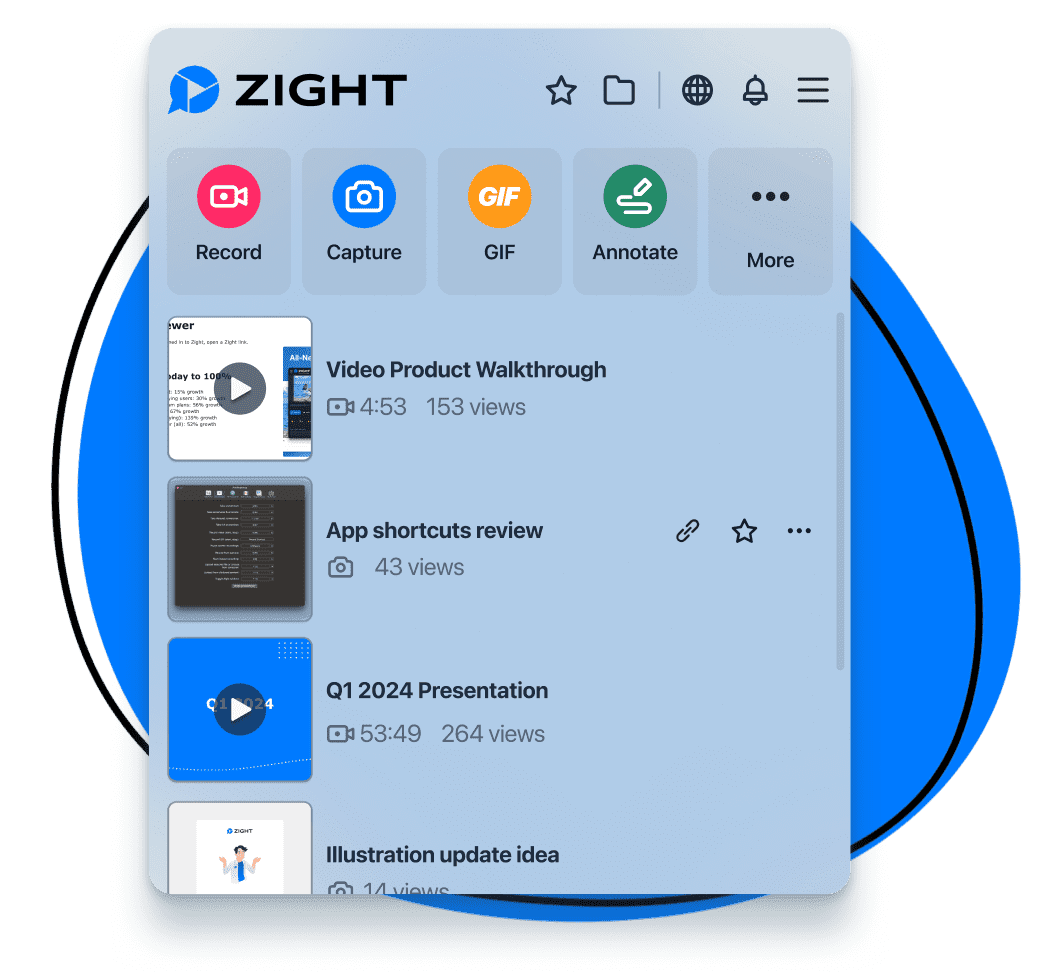
Zight is an AI-powered screen recording and collaboration tool that offers a long list of advanced features. This includes features such as \ customizable recording settings, webcam overlay, microphone audio recording, and the ability to export recordings in various formats. Thanks to its intuitive design and AI-assisted editing features, Zight makes creating stunning, fully customized screen recordings easy.
2. Bandicam
Bandicam is a lightweight screen recording software that captures high-quality videos of your screen, gameplay, or webcam. It offers helpful features like real-time drawing, mouse effects, and hardware acceleration for improved performance.
3. Camtasia Studio
Camtasia Studio is a powerful screen recording tool with plenty of advanced features to help users create professional-looking videos. This includes features such as screen recording, audio recording, video editing, and various effects and annotations.
Conclusion
Screen recording on a Windows PC is made much easier when you choose the right tool! With an AI-powered screen recording tool like Zight, you can get started creating professional-quality screen recordings quickly. And thanks to a broad range of powerful video editing features, you can easily make your recordings your own!
To see why ZIght is the ultimate tool on the market for capturing and editing screen recordings on Windows, be sure to download the Zight app today!


