The best online video cutter depends on what happens after the cut. Use Zight’s Video Trimmer for a quick browser-based trim. Use a full editor when you need a timeline, transitions, layered audio, or extensive color work. Use a recording-and-sharing platform when teammates must review, comment on, organize, and reuse the result.
Quick comparison
| Option | Best for | Verify before choosing |
|---|---|---|
| Zight Video Trimmer | Fast browser-local cuts with a direct download workflow | Input support, export behavior, and performance on your device. |
| Zight video editing | Trimming recordings that already live in a Zight workflow | Current editing features and plan availability. |
| Clipchamp | Browser-based editing with a broader timeline | Export resolution, account requirements, and browser support. |
| Adobe Express | Template-driven social and marketing edits | Free export limits and brand workflow needs. |
| Kapwing | Collaborative web editing and captions | Watermarks, limits, workspace controls, and current pricing. |
| Canva | Design-led short videos and reusable templates | Fine trim precision and advanced audio needs. |
How to choose an online video cutter
Start with the job: remove a mistake, isolate a highlight, shorten a support reply, or create a polished campaign clip. The fastest tool is the one that finishes the whole workflow with the least friction, not the one that opens first. Consider import, trim precision, processing, export, sharing, privacy, and future edits.
Best for a quick trim: Zight Video Trimmer
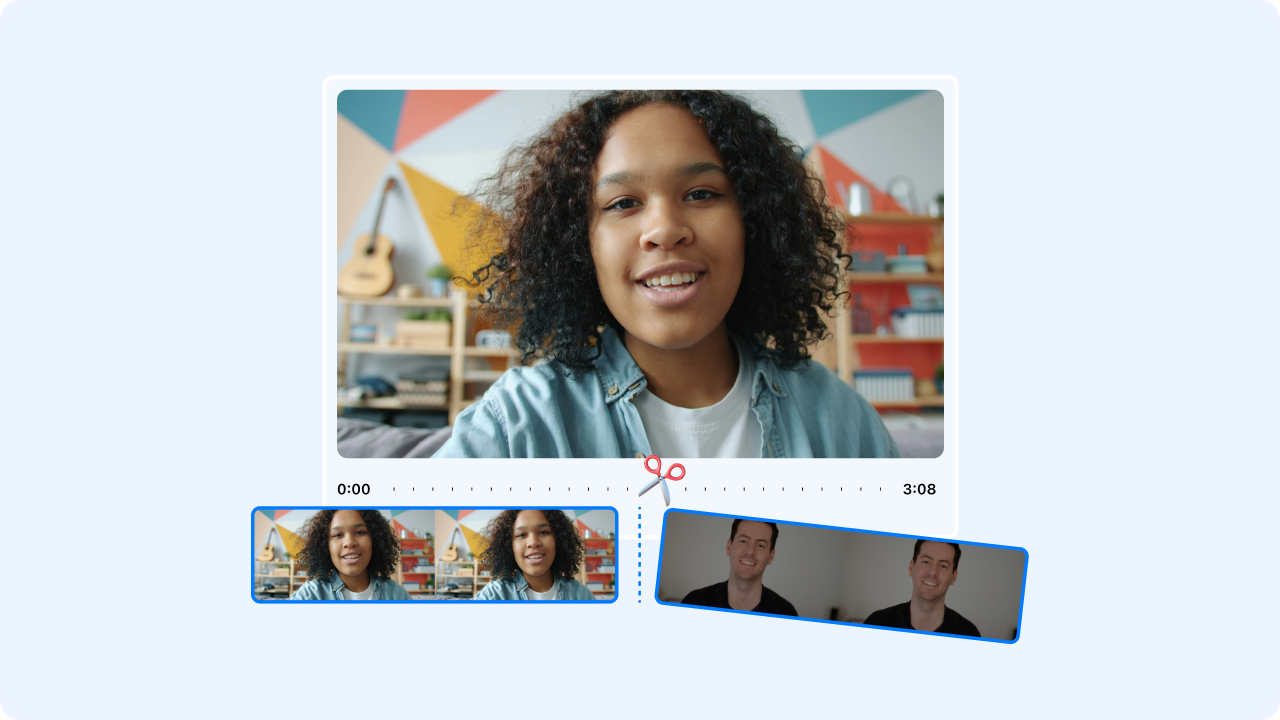
Use the Zight Video Trimmer when the task is a focused cut rather than a production project. Upload the video, set the retained range, preview, export, and download. A browser-local workflow is especially convenient when you do not need a multi-track timeline or a new editing account.
Best for recordings already in Zight
If the video is part of a screen-recording workflow, review Zight’s video editing features. Keeping capture, editing, sharing, and viewer context together can be more efficient than downloading a recording, moving it through a separate editor, and uploading it again.
Clipchamp
Clipchamp belongs on the shortlist for users who want a broader browser editing timeline. It can suit straightforward social, training, and presentation edits. Verify current account requirements, export settings, browser support, stock-asset terms, and whether collaboration fits the team’s actual process.
Adobe Express
Adobe Express is relevant for template-led editing where resizing, branded graphics, captions, and quick creative assembly matter. It can be more tool than needed for a single trim. Check current free-plan exports, project storage, collaboration, and whether the interface gives enough frame-level precision.
Kapwing
Kapwing targets collaborative online video creation with editing, captions, and shared workspaces. Teams should confirm current file, duration, export, watermark, privacy, and workspace limits. Do not rely on an old comparison chart because browser-editor packaging changes frequently.
Canva
Canva is useful when the edited video will sit inside a visual design, campaign template, presentation, or social layout. Its design system can accelerate repeatable creative work. For exact cuts, long sources, layered audio, and large team libraries, test the full path before standardizing.
Lossless trimming versus re-encoding
Some desktop tools can cut at keyframes without re-encoding, which is fast and preserves encoded data. Browser editors often re-encode to create a precise cut or compatible output. That is not inherently bad, but it can change size, codec, and quality. Compare the export with the source.
Trim accuracy and keyframes
Video codecs store some complete frames and many predicted frames. A requested cut may fall between keyframes. A tool can choose speed with a nearby keyframe or precision with re-encoding. For a support clip, a small difference may not matter. For a timed demo or dialogue edit, preview the exact first and last frames.
Browser privacy and device limits
Browser-local processing can keep the media on the device, but confirm the tool’s actual behavior rather than assuming every web editor is local. Long, high-resolution files can use significant memory and CPU. Prefer a clear soft warning and test on the device class your team uses.
Captions, transcripts, and accessibility
A shorter video is easier to watch, but it still needs context. Preserve or regenerate captions when trimming changes timing. Include a written summary for support, documentation, and accessibility. Verify that the final export has the intended audio and that captions do not end after the shortened video.
Sharing after the cut
Downloading is only one destination. A team may need a share link, ticket attachment, project comment, knowledge article, or social upload. Name the file descriptively and keep the source if further edits are likely. For additional techniques, see how to make a video shorter.
A practical five-minute test
Take the same one-minute source into each shortlisted tool. Remove five seconds from the beginning and end, preview the boundary, export, and record time-to-result. Compare output size, dimensions, codec, audio sync, visible quality, login friction, and how easily a teammate can receive the result.
Recommendation by workflow
Choose Zight Video Trimmer for a fast, focused local cut. Choose a broader web editor when captions, templates, layers, or collaboration are central. Choose a desktop editor for long sources, advanced production, or predictable offline processing. Standardize only after testing your normal file types and destinations.
Export settings to inspect
Do not accept an export merely because it completed. Confirm width, height, frame rate, video codec, audio codec, duration, orientation, and file size. Watch for a vertical source exported into a horizontal canvas with unnecessary bars. Check that rotation metadata is respected on mobile. If a tool offers quality labels instead of numbers, test each label with the same source and document the actual result. Teams benefit from a short approved preset list more than a vague instruction to choose “high quality.”
Team governance after selection
Once a tool passes the pilot, define where source files live, who may publish externally, how sensitive clips are redacted, and when temporary exports are deleted. Document whether browser-local processing is required for specific content classes. Provide an escalation path for files that are too long or complex for the standard cutter. A small operating guide prevents employees from moving customer or product data through random converters whenever an unusual format appears.
Frequently asked questions
What is the best free online video cutter?
For a focused browser-based trim, Zight Video Trimmer is a practical option. Test your file and desired output before standardizing.
Do online cutters reduce video quality?
Some re-encode the video. Quality impact depends on codec, bitrate, resolution, and the source.
Can I trim without uploading?
Some browser-local tools process on the device. Verify each tool’s implementation and privacy policy.
Why is a cut not frame-perfect?
Compressed video uses keyframes and predicted frames; precise boundaries may require re-encoding.
Should I keep the original?
Yes, until the export has been reviewed and the recipient confirms it works.