For content creators, business professionals, and anyone else who needs to capture and share content from their device’s screen, a good capture app is an excellent tool to have. The best part about some of the top screen capture apps on the market today is the fact that they are intuitive and easy to use.
Still, mastering all the features that your capture app offers can sometimes take a little time. To help speed up the process, here is everything you need to know about using a capture app such as Zight.
What is a Capture App, And How Do They Work?
A capture app is a tool that lets you capture screenshots and screen recordings from your device. Along with this core functionality, capture apps also offer numerous other features to help you create customized content from your screen captures and share it with your audience. This includes features like video editing tools, the ability to choose which portion of the screen you want to record, integrations with messaging and social media platforms for easily sharing your files, and more.
Some capture apps are more advanced than others, and choosing one that will offer all the features you need is important. Leading apps such as Zight, Bandicam, and OBS Studio are known for offering an advanced assortment of features while still being user-friendly.
As for how capture apps are most commonly used, there are two primary use cases: content creation and business use. Capture apps help content creators create high-quality content from their screen recordings (such as gameplay recordings) or live stream their screen to share it with their audience in real time. Meanwhile, business professionals commonly use capture apps to create tutorials and other training programs or communicate ideas visually.
How to Use a Capture App
If you want to get started using a capture app to record and edit content from your screen, you’ll be happy to know that the process is relatively straightforward and simple! Here are the steps you can follow to get started:
1. Download and Set Up the App
Once you’ve chosen the capture app you would like to use, follow its instructions to download and initialize it. Once the app is downloaded, you must typically accept a few agreements and enter some basic information. You may also need to select a few personalization options, such as resolution settings and integrations with other apps.
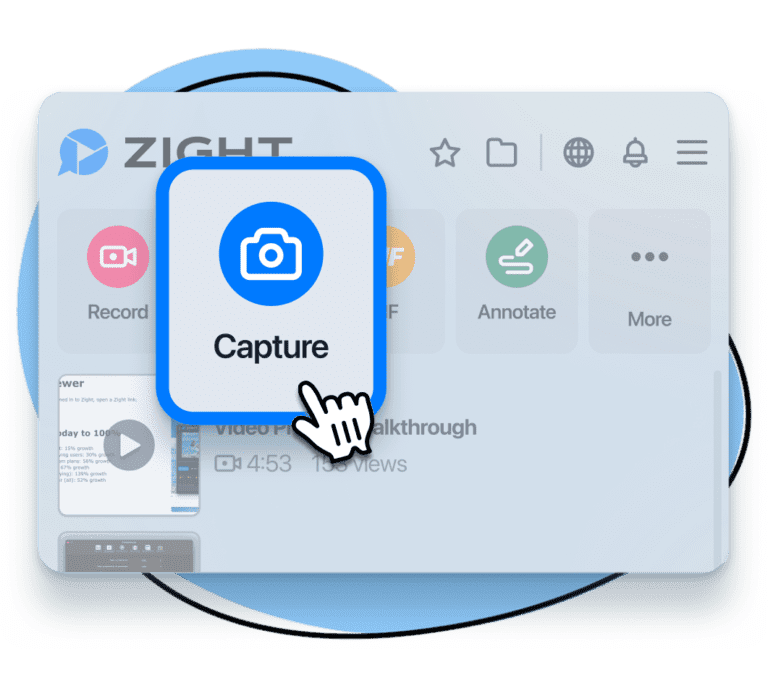
2. Initiate the Capture Process
Every capture app differs regarding how you initiate a capture process, but the steps are typically simple and similar across all apps. In most cases, it’s as easy as opening up the app and clicking a single button, but if you are having issues, you can check to see if the app offers any tutorials or other onboarding instructions.
3. Choose the Appropriate Capture Mode
Once you’ve started a new capture, you’ll need to choose the capture mode you want to use. This usually means choosing between a screenshot, a screen recording, or a video recording.
A screenshot is just a static image of your screen and something everyone should already be familiar with. A screen recording captures video from your screen and audio from your device, external audio recorded via your microphone, or both depending on your settings. A video recording, meanwhile, is an external video that is recorded using your device’s camera.
Along with choosing the capture mode you want to use, you can also choose whether you want to capture your entire screen or just a specific portion of it.
4. Utilize Editing Tools Within the Capture App
Many screen capture apps will offer various tools and features that you can use to edit your content once it is captured. With Zight, for example, you can trim your video’s length, split and merge video clips, fine-tune how it looks by editing things such as contrast and saturation, and use filters to add a wide range of digital effects to your video.
Choosing a capture app with good video editing features enables you to record and edit videos within the same app, saving you a lot of time during the content creation process.
5. Save and Export Captured Content
Once you’ve got your video or screenshot looking like you want it to, you can save and export your captured content. Saving a video will convert it to an MP4 file that is stored on your device, and many capture apps also offer integrations with messaging tools and social media apps so that you can easily share your content with others.
10 bonus tips to help you get the most out of your capture app like Zight:
- Learn Keyboard Shortcuts: Familiarize yourself with the keyboard shortcuts for your capture app. This can significantly speed up your workflow, allowing you to quickly capture screenshots or start recordings without navigating through menus.
- Use Annotations: Take advantage of annotation tools within your capture app to add arrows, text, and highlights to your screenshots or video recordings. This is particularly useful for creating tutorials or highlighting important information.
- Set Up Hotkeys for Quick Access: Customize hotkeys for starting and stopping recordings or taking screenshots. This will save you time and make the capture process more efficient.
- Experiment with Different File Formats: Depending on your needs, different file formats may be more appropriate. For example, GIFs are great for short, looping animations, while MP4s are better for longer video content.
- Optimize Settings for Performance: Adjust the app’s settings to balance quality and performance. Lowering the resolution or frame rate can reduce file size and improve performance on lower-end devices.
- Use Cloud Storage: Integrate your capture app with cloud storage services like Google Drive or Dropbox. This allows for easy access and sharing of your captured content from any device.
- Schedule Recordings: If your app supports it, schedule recordings ahead of time. This is useful for capturing live events or webinars without having to start the recording manually.
- Utilize Background Recording: Some apps offer background recording, allowing you to capture your screen without the recording interface being visible. This is great for unobtrusive recordings.
- Create Templates for Consistency: For recurring content, such as tutorials or social media posts, create templates that include pre-set annotations and editing effects. This ensures consistency across your content and saves time.
- Regularly Update the App: Keep your capture app updated to benefit from the latest features and improvements. Developers often release updates that enhance functionality, fix bugs, and improve performance.
By incorporating these tips, you can maximize the efficiency and effectiveness of your capture app, making it an even more powerful tool for content creation and business use.
Conclusion
Capture apps make the process of capturing and editing content from your screen easier than ever before. And while mastering all of the tools and features offered by more capable apps such as Zight can take some time, the benefits are well worth it in the end!
After choosing and downloading a capture app, be sure to explore all the app offers and experiment with its capabilities. Reviewing any onboarding materials that come with the app (such as video tutorials) can also be a big help.
Content drives almost everything online, and capture apps are a powerful tool for creating content your audience will enjoy. As the capabilities of these apps continue to advance, capture apps are poised to break down content creation barriers and make it something that anyone can easily do. With that in mind, there’s no better time to get started using a capture app than now!


