How to Convert MOV to MP4: 5 Methods for Mac (Plus How to Skip Conversion Entirely)
If you’ve ever recorded your screen with QuickTime Player on a Mac, you already know the problem: the file saves as .mov, and now you need to share it with a Windows colleague, upload it to a platform that demands .mp4, or embed it somewhere that flat-out rejects Apple’s native format. Learning how to convert MOV to MP4 shouldn’t require a video engineering degree — but the number of confusing, ad-riddled tools out there makes it feel that way.
If the goal is audio instead of another video format, Zight’s convert MP4 to MP3 tool can pull an MP3 from the file.
The good news: you have multiple reliable, free options already on your Mac. The even better news: you can sidestep the entire format-conversion headache by recording with a tool that delivers an instantly shareable cloud link instead of a local .mov file. That’s exactly what Zight does — and we’ll show you how after walking through every conversion method worth your time.
⚡ Quick Answer
To convert MOV to MP4 on Mac for free, open your .mov file in iMovie, click File → Share → File, and export as MP4. For more control over compression and quality, use HandBrake (free, open-source) or VLC Media Player. If you want to skip the conversion step entirely, Zight — a screen recording, screenshot, and async video tool — records your screen and instantly generates a shareable cloud link that works on any device, any browser, with no file-format friction.
Why MOV Files Cause Sharing Problems in 2024
Apple’s .mov container format (QuickTime) has been around since 1991. It’s technically capable — supporting high-quality H.264 and H.265 codecs — but it creates real friction in cross-platform workflows:
- Windows compatibility: While Windows 10/11 can play most .mov files, many enterprise Windows machines lack the proper codecs. Your colleague sees a black screen or an error.
- Platform upload limits: Slack, some LMS platforms, and many web-based tools prefer or require .mp4. LinkedIn’s video uploader has historically choked on .mov files over 1 GB.
- File size: QuickTime’s default recording settings produce .mov files that are 2–5× larger than an equivalent .mp4 compressed with H.264. A 5-minute screen recording can easily be 500 MB+ as a .mov.
- Email attachment limits: Most email providers cap attachments at 25 MB. A raw .mov from QuickTime is almost never under that threshold.
The core issue isn’t really the format — it’s the workflow. You recorded something to share it, and now there’s a conversion step standing between you and your recipient. Let’s eliminate that step, starting with the manual methods and ending with the approach that makes all of this unnecessary.
Method 1: Convert QuickTime to MP4 With iMovie (Free, Built-In)
iMovie ships free on every Mac. If you just need to change video format on Mac without installing anything, this is your fastest path. When I tested this with a 3-minute QuickTime screen recording (1080p, 247 MB .mov), iMovie exported a 41 MB .mp4 in under 90 seconds on an M2 MacBook Air.
Step-by-step: iMovie MOV to MP4
- Open iMovie from your Applications folder (or Spotlight: ⌘ + Space → type “iMovie”).
- Click Create New → Movie.
- Click the Import Media button (down arrow icon) and select your .mov file.
- Drag the clip from the media library to the timeline at the bottom.
- Go to File → Share → File… (or press ⌘ + E).
- In the export dialog, set Resolution to the original (e.g., 1080p), Quality to High or Best (ProRes), and Compress to Faster for a smaller file.
- Click Next, choose a save location, and click Save. The output file is .mp4.
Pro tip: iMovie’s “High” quality setting uses H.264 at a variable bitrate that’s perfectly fine for screen recordings. Only choose “Best (ProRes)” if you plan to edit the file further in Final Cut Pro — ProRes files are massive and defeat the purpose of converting.
Limitations: iMovie re-encodes the video, which takes time on longer recordings (a 30-minute .mov took ~8 minutes on my M2). You also can’t batch-convert multiple files at once.
Method 2: How to Convert MOV to MP4 With HandBrake (Free, Open-Source)
HandBrake is the gold standard for free video conversion on Mac, Windows, and Linux. It gives you granular control over codec, bitrate, resolution, and frame rate — which matters if you’re compressing a long recording for upload or archival.
Step-by-step: HandBrake MOV to MP4
- Download HandBrake from handbrake.fr (version 1.8.x as of mid-2024).
- Open HandBrake and drag your .mov file onto the window, or click Open Source and browse to it.
- Under Format, make sure MP4 is selected (it usually is by default).
- Choose a Preset. For screen recordings, “General → Fast 1080p30” works well. For webcam-quality video, “General → Very Fast 720p30” keeps file sizes tiny.
- Under the Video tab, set the codec to H.264 (x264) for maximum compatibility, or H.265 (x265) for smaller files at the cost of slower encoding.
- Set your Save As destination at the bottom of the window.
- Click the green Start Encode button.
Pro tip: For screen recordings with lots of static UI (code editors, dashboards, slide decks), use a Constant Quality RF value of 24–28 instead of the default 22. The visual difference is imperceptible on screen recordings, but the file will be 30–50% smaller. I’ve compressed 800 MB QuickTime recordings down to 45 MB this way with zero visible quality loss.
Limitations: HandBrake has a learning curve. The number of settings can be overwhelming if you just want a quick conversion. It also doesn’t support batch processing through the GUI as intuitively as it should — you need to add items to the queue one at a time.
Method 3: Convert MOV to MP4 With VLC (Free)
Most people know VLC as a media player, but it has a surprisingly capable conversion feature hidden under its menus. It’s not the most polished experience, but it works if you already have VLC installed.
Step-by-step: VLC MOV to MP4
- Open VLC and go to File → Convert / Stream… (on macOS) or Media → Convert / Save (on Windows).
- Click Open Media and select your .mov file.
- Under Choose Profile, select Video – H.264 + MP3 (MP4).
- Click Save as File, then choose your destination and filename (make sure it ends in .mp4).
- Click Save (or Go on some versions) to start the conversion.
Gotcha I’ve hit: VLC’s macOS conversion dialog is notoriously finicky. On VLC 3.0.20 running on macOS Sonoma 14.x, the “Save” button sometimes appears grayed out until you manually type the .mp4 extension in the filename field. If the conversion starts but produces a 0 KB file, re-open VLC and try again — it’s a known bug that’s been around for years.
Limitations: VLC’s conversion quality is adequate but not configurable like HandBrake. You can’t adjust bitrate or quality presets without diving into custom profile editing, which is undocumented territory for most users.
Method 4: Use macOS Finder to Change Video Format (Quick Action)
Starting with macOS Monterey (12.0), Apple added a built-in “Encode Selected Video Files” Quick Action in Finder. It’s the fastest way to convert MOV to MP4 on Mac free without opening any application.
Step-by-step: Finder Quick Action
- Right-click (or Control-click) your .mov file in Finder.
- Hover over Quick Actions in the context menu.
- Click Encode Selected Video Files.
- In the dialog that appears, choose your settings:
- Setting: 1080p (or 720p / 480p for smaller files)
- Encode for: Greater Compatibility (this produces H.264 .mp4)
- Click OK. A new .mp4 file appears alongside the original .mov.
Pro tip: This method also works with batch selection. Select multiple .mov files in Finder, right-click, and the Quick Action converts them all in one go. It’s the only built-in method that handles batch conversion gracefully.
Limitations: You get exactly three resolution options and no control over quality/bitrate. The “Greater Compatibility” setting works well, but “HEVC” outputs to .mov again (defeating the purpose). Also, this Quick Action doesn’t appear on macOS Catalina or earlier.
Method 5: Online MOV to MP4 Converters (Use With Caution)
Tools like CloudConvert, Convertio, and Zamzar let you upload a .mov and download an .mp4 — no software install required. They’re convenient in a pinch, but I recommend them only for non-sensitive content.
When online converters are fine:
- The video contains no proprietary information, code, or personal data.
- The file is under 500 MB (most free tiers cap at 100–500 MB).
- You need a one-time conversion and don’t want to install anything.
When to avoid them:
- The recording contains customer data, internal dashboards, API keys, or anything your security team would flag.
- You’re on a metered connection — uploading and re-downloading a 500 MB file eats bandwidth.
- You need to do this frequently. The upload/convert/download cycle takes 3–10 minutes per file.
Privacy note: Read the terms of service carefully. Some free converters reserve the right to retain uploaded files for “up to 24 hours” for processing. If your screen recording shows a customer’s account page or your company’s Stripe dashboard, that’s a compliance risk.
Comparison Table: MOV to MP4 Conversion Methods
| Method | Cost | Speed (5-min clip) | Quality Control | Batch Support | Install Required |
|---|---|---|---|---|---|
| iMovie | Free (pre-installed) | ~90 seconds | Basic (resolution, quality tier) | ❌ No | ❌ No |
| HandBrake | Free (open-source) | ~60 seconds | ✅ Full (codec, bitrate, RF, resolution) | ✅ Queue | ✅ Yes |
| VLC | Free | ~2 minutes | Limited (profile-based) | ❌ No | ✅ Yes |
| Finder Quick Action | Free (macOS 12+) | ~45 seconds | Minimal (3 presets) | ✅ Yes | ❌ No |
| Online converters | Free (with limits) | 3–10 min (upload/download) | Varies | Usually paid | ❌ No |
| Zight (skip conversion) | Free plan available | 0 seconds (no conversion needed) | Auto-optimized | N/A | ✅ Mac/Win/Chrome |
The Better Approach: Skip the MOV to MP4 Conversion Entirely
Here’s what I realized after converting my hundredth .mov file: the format was never the problem — the workflow was. Every time I recorded with QuickTime, I followed the same tedious pattern:
- Record screen with QuickTime → get a .mov file
- Convert .mov to .mp4 (2–10 minutes depending on method)
- Upload .mp4 to Google Drive, Dropbox, or Slack (another 1–5 minutes)
- Copy the share link, paste it into a message
- Hope the recipient can play it
That’s 5 steps and 5–15 minutes of overhead for every single recording. Multiply that by a team of 10 people recording walkthroughs, bug reports, and tutorials — and you’re looking at hours of wasted time per week.
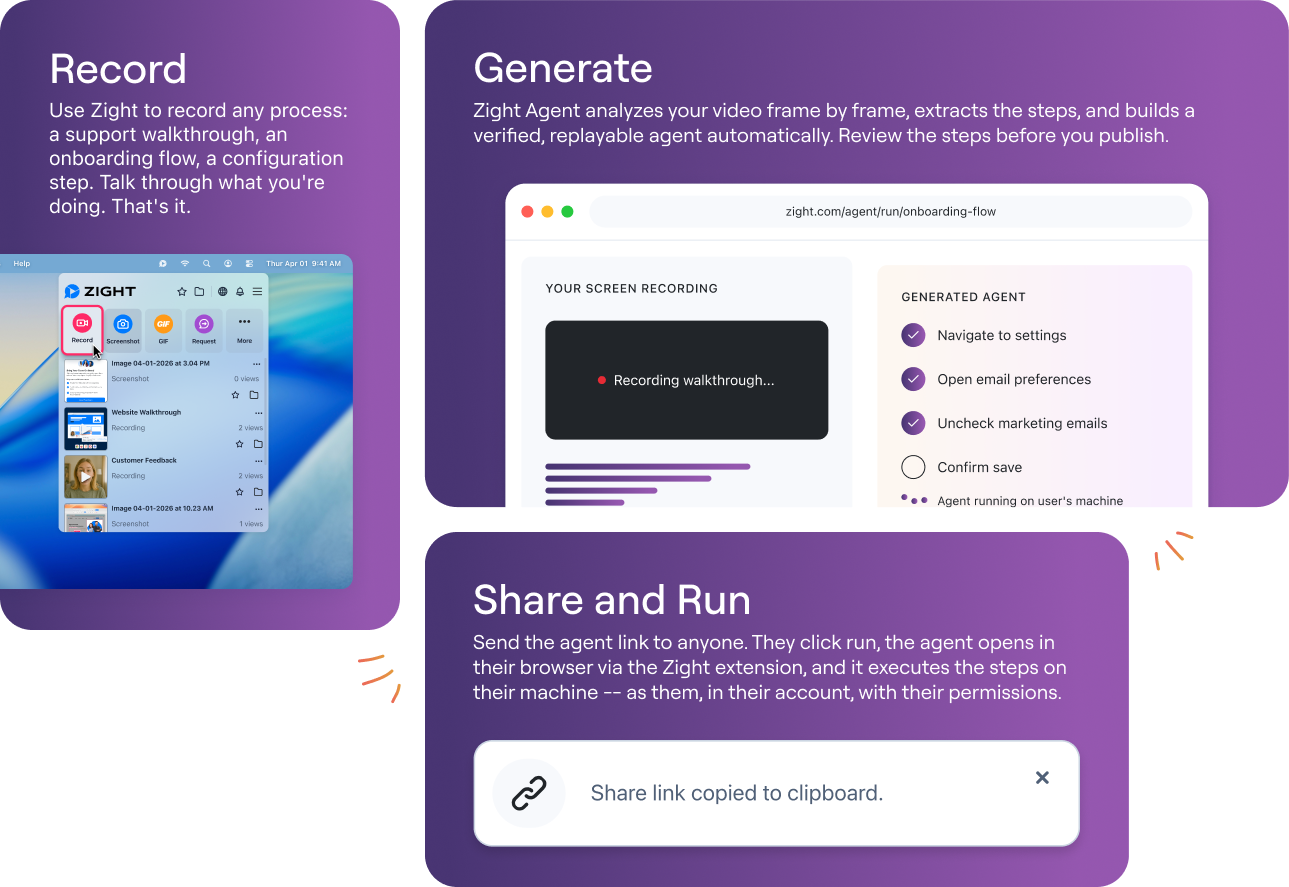
Zight is a screen recording, screenshot, and async video tool that eliminates steps 2 through 5 entirely. When you record with Zight, here’s what happens:
- Click the Zight menu bar icon (or use the keyboard shortcut) → record your screen.
- When you stop recording, Zight automatically uploads the video to the cloud and copies a shareable link to your clipboard.
- Paste the link anywhere — Slack, email, Jira, Notion, Linear. The recipient clicks and watches instantly in their browser. No downloads, no codec issues, no “I can’t open this file.”
The video plays on any device, any OS, any browser. There’s no .mov, no .mp4, no format negotiation. The recipient doesn’t need Zight installed — they just click and watch.
Why This Matters for Teams
We’ve seen teams at Zight use this approach to cut the time spent on bug reporting by 60–70%. Instead of a developer writing a 10-paragraph email trying to describe a visual bug, they record a 30-second Zight video showing the exact behavior, paste the link in a Jira ticket, and move on. The QA engineer on the other end — whether they’re on Windows, Linux, or a Chromebook — clicks the link and sees exactly what happened.
Beyond screen recording, Zight includes:
- Annotation and trimming: Edit your recordings directly in Zight — trim the beginning and end, add annotations, blur sensitive information — before sharing. No need for a separate video editor.
- Cloud-based file sharing: Every recording, screenshot, and GIF gets a shareable cloud link automatically. Set expiration dates, password-protect links, or track who viewed your content.
- Integrations: Drop Zight links directly into Slack, Jira, Asana, Zendesk, Linear, and 30+ other tools your team already uses.
- Cross-platform: Available on Mac, Windows, and Chrome. Your whole team can use it regardless of their OS.
Honest limitation: Zight’s built-in video editor handles trimming, annotations, and basic edits — it’s not a replacement for Premiere Pro or DaVinci Resolve. If you need multi-track editing, color grading, or complex transitions, you’ll still need a dedicated NLE. But for the 95% of screen recordings that just need a quick trim before sharing, it’s more than sufficient.
When You Still Need to Convert MOV to MP4
To be clear — there are legitimate cases where file conversion is the right move:
- You have existing .mov archives that need to be standardized to .mp4 for storage or compliance reasons.
- You’re uploading to a platform with strict format requirements (some LMS platforms, certain ad platforms, or legacy CMS systems).
- You’re editing footage from an iPhone or DSLR that recorded in .mov and need to deliver in .mp4 for a client.
- You need to compress a large file for email or a platform with upload size limits.
For these cases, HandBrake is my recommendation for power users, and the Finder Quick Action is perfect for anyone who wants a one-click solution with no learning curve. But if you’re converting screen recordings you just made in order to share them — stop. That entire step is unnecessary with the right recording tool.
Frequently Asked Questions
Is MOV the same quality as MP4?
MOV and MP4 are both container formats — they can hold the same H.264 or H.265 video codec inside. The quality difference depends on the codec and compression settings, not the container. A .mov and an .mp4 encoded with identical H.264 settings will be visually indistinguishable. The key difference is compatibility: .mp4 is universally supported across all operating systems and platforms, while .mov occasionally causes issues on Windows and Linux.
Can I convert MOV to MP4 without losing quality?
Yes, but with a caveat. If your .mov file already uses the H.264 codec (which QuickTime recordings do), tools like FFmpeg can “remux” the file — changing the container from .mov to .mp4 without re-encoding the video. This is lossless and nearly instantaneous. In HandBrake, however, the conversion always re-encodes, which introduces a small (usually imperceptible) quality loss. For screen recordings, set HandBrake’s RF quality value to 18–20 for virtually lossless output.
How do I convert QuickTime to MP4 on Mac for free?
The fastest free method is the Finder Quick Action: right-click your .mov file, go to Quick Actions → Encode Selected Video Files, choose “Greater Compatibility,” and click OK. This is available on macOS Monterey (12.0) and later. Alternatively, open the file in iMovie and export via File → Share → File. Both methods are completely free and require no additional software.
Why does QuickTime save as MOV instead of MP4?
QuickTime Player is Apple’s native media framework, and .mov is Apple’s native container format — developed by Apple in 1991. When Apple built QuickTime Player’s screen recording feature, they defaulted to their own format. Apple has no incentive to default to .mp4 since .mov works perfectly within the Apple ecosystem. The friction only appears when you need to share outside that ecosystem, which is why tools like Zight that record to cloud-based shareable links bypass the format issue entirely.
What is the fastest way to share a screen recording with someone on Windows?
The fastest way is to use a screen recording tool that generates a shareable link instead of a local file. With Zight, you record your screen, and the moment you stop, a link is copied to your clipboard. The recipient — regardless of whether they’re on Windows, Mac, Linux, or mobile — clicks the link and watches the video in their browser. No file downloads, no codec compatibility issues, no conversion needed. If you already have a .mov file, the Finder Quick Action (macOS 12+) is the fastest local conversion method.
Stop Converting, Start Sharing
If you’ve read this far, you now have five solid methods to convert MOV to MP4 — from built-in macOS tools to powerful open-source converters. Bookmark this guide for the next time you need to deal with a stubborn .mov file.
But if you’re recording screen videos regularly — for bug reports, product walkthroughs, customer support, team updates, or onboarding — the smarter move is to eliminate the conversion step from your workflow entirely. Zight gives you one-click screen recording that instantly delivers a shareable, browser-playable link. No format headaches. No file size juggling. No “can you resend that in a different format?” messages.
👉 Try Zight’s screen recorder for free and see what your workflow looks like without the conversion tax.
Written and tested by the Zight team. Last updated June 2025. Tools tested on macOS Sonoma 14.5, M2 MacBook Air, with HandBrake 1.8.1, VLC 3.0.20, and iMovie 10.4.


