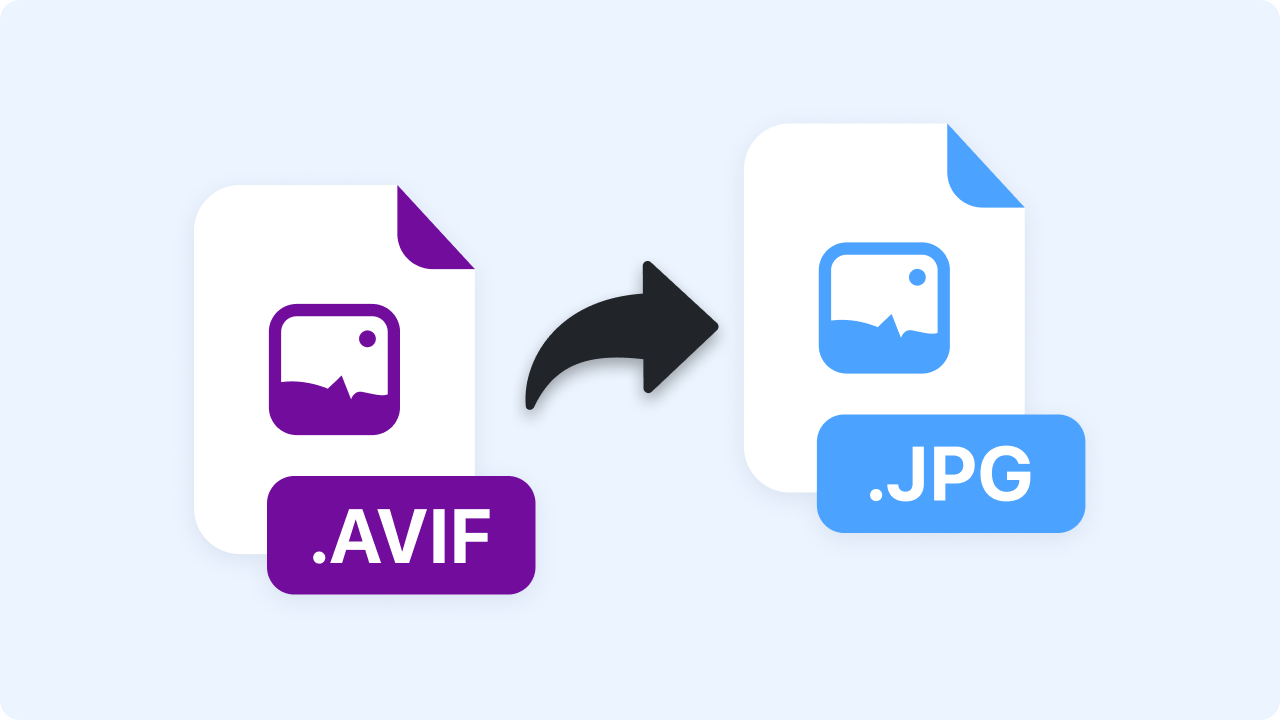
AVIF is excellent at making web images smaller, but it is not the format every person, app, or upload form expects. Converting an AVIF file to JPG is useful when you need a broadly accepted image for email, an older CMS, a desktop app, or a client who cannot open the original. It is not automatically the best move: JPG cannot keep AVIF’s transparency, HDR color information, or its usually better compression efficiency.
When to convert AVIF to JPG
Convert AVIF to JPG when compatibility matters more than preserving the original file’s capabilities. A JPG is likely to open in legacy workflows and upload successfully to services that reject AVIF. Keep AVIF when the image is staying on a modern website and smaller delivery size or image quality is the priority. Always retain the original AVIF; conversion is a new, lossy derivative, not an upgrade.
| Your situation | Best choice | Why |
|---|---|---|
| Modern website with AVIF support | Keep AVIF | It can deliver comparable visual quality at a smaller size. |
| Upload form says “JPG or PNG only” | Convert a copy to JPG | JPG is the compatible interchange file. |
| Image has a transparent background | Use PNG or WebP instead | JPG has no alpha channel; a background must be flattened. |
| Product photo for broad sharing | High-quality JPG copy | It is familiar to recipients and photo-friendly. |
| Text, logos, or UI screenshots | Prefer PNG; test WebP | JPG artifacts can soften edges and lettering. |
What AVIF and JPG actually are
AVIF is an image format based on the AV1 video codec. In practical terms, it was designed to make images efficient on the web while retaining visual detail. Browsers and image pipelines increasingly support it, but support is not universal in every native app, enterprise uploader, email client, or older editing tool.
JPG (or JPEG) is the long-established photographic image format. Almost every operating system, office suite, website builder, and messaging tool recognizes it. That reach is its advantage. Its compromises are equally important: it is lossy, does not support transparency, and is generally a poor choice for crisp graphics with small text.
This distinction prevents a common mistake: format names are not quality rankings. AVIF is often more efficient; JPG is often more portable. The correct decision depends on what happens after export.
When converting AVIF to JPG makes sense
You need to upload an image to a restrictive system
Some platforms still list only JPG, PNG, and GIF in their upload requirements. If an AVIF download will not attach to a ticket, profile, marketplace listing, or document editor, make a JPG copy that meets the requested pixel dimensions and file-size cap. Check the destination’s requirements before converting so you do not create the wrong size twice.
You are handing the image to another person
A JPG is a safer handoff when you do not control the recipient’s computer or software. For a client review, a slide deck, or an email attachment, compatibility often outweighs a small file-size gain. If the image is part of a visual explanation, pairing the JPG with a short screen recording can remove ambiguity; Zight’s screen recorder is built for capturing and sharing that walkthrough by link.
Your editor or operating system will not preview AVIF
Preview problems are workflow problems, not proof that the file is corrupt. Confirm the file opens in a current browser first. If it does, a JPG derivative may be the quickest way to keep moving in an editor that lacks AVIF decoding. Avoid repeatedly re-saving the JPG as you make edits; each lossy export can introduce more artifacts.
You need one predictable email or document format
Many document and email workflows handle JPG reliably. For a photo or a flattened visual, JPG is usually sensible. For a logo with a transparent background, export PNG instead; a white, black, or checkerboard-looking background is not “lost” by accident—it is what happens when transparency is flattened.
When you should not convert to JPG
Do not convert merely because you have heard JPG is standard. Keep the AVIF master if it is used on a site that serves AVIF correctly. Converting it first can make the file larger and removes options you may need later. Also avoid JPG for images that need transparency, such as badges, cutout products, and overlays. For those, PNG preserves alpha; WebP may also be appropriate when the receiving system accepts it.
Use extra caution with screenshots, diagrams, and screenshots of code. Compression blocks and color smearing are more visible around sharp edges than in a photograph. If a customer needs to inspect a UI state, a shareable screenshot or a PNG export is normally clearer than a low-quality JPG.
Before you convert: make four decisions
- Identify the destination. Is this for a website, print vendor, email, slide, social post, or application upload? The destination determines dimensions, color, and allowed extensions.
- Inspect transparency. If the image has transparent pixels, decide on a deliberate background color or use a format that preserves transparency.
- Choose pixel dimensions. Resizing and format conversion are different operations. Do not shrink an image unless the destination needs a smaller pixel size.
- Save the AVIF. Treat it as the source. Name the output clearly, such as
product-shot-1600.jpg, so it does not replace the original.
How to convert AVIF to JPG on Mac
The most dependable route depends on which apps are installed and what version of macOS you use. A current browser is a useful fallback because it can display AVIF even when a native workflow is inconsistent.
Method 1: use Preview when it can open the file
- Duplicate the AVIF in Finder so the original stays untouched.
- Open the copy in Preview. If it does not open, skip to the browser or a dedicated image editor rather than forcing an unsupported workflow.
- Choose File → Export.
- Choose JPEG as the format, set the quality slider, and select a clear destination.
- Open the JPG and zoom into important edges, text, and faces before sending it.
Preview’s quality setting is a trade-off, not a fixed “best” value. Start high for photos intended for review or print; reduce quality only when a destination has a strict size limit. Compare the exported file at 100% zoom rather than judging the thumbnail.
Method 2: use an image editor
Affinity Photo, Adobe Photoshop, Pixelmator Pro, and other current editors can be better choices when you also need to crop, adjust color, or flatten an intentional background. Open the AVIF, make edits once, then export a JPG at the final size. One final export is better than an edit-save-edit cycle in JPG.
Method 3: use a current browser for a quick visual check
Drag the AVIF into a current browser to verify that the image itself renders. This does not convert it, but it separates “my app cannot decode AVIF” from “the download is bad.” If the browser displays it, use a trustworthy local converter or editor for the export rather than uploading sensitive assets to an unknown site.
How to convert AVIF to JPG on Windows
Windows support depends on the installed codecs and applications. Start by opening the source in a current browser or an image editor that documents AVIF support. If a program opens it, export a JPEG copy at the required dimensions; if it does not, install a reputable, current image application rather than changing the original extension.
- Make a duplicate of the AVIF file.
- Open that copy in a compatible editor.
- Check the canvas size and whether transparent areas are present.
- If transparency exists, add the intended background before export.
- Use Export or Save a copy, select JPEG/JPG, and set quality.
- Reopen the finished JPG in a different viewer to confirm it is usable outside the export app.
Renaming .avif to .jpg is not conversion. It only changes the filename label, leaving the AVIF data inside. Programs that rely on the file’s contents will still reject or misread it.
How to convert AVIF to JPG in a browser—safely
Browser-based converters are convenient for non-sensitive, one-off images, but they deserve the same scrutiny as any file-upload service. Read its privacy statement, look for clear deletion rules, and avoid uploading customer screenshots, identity documents, unreleased designs, or images with location information unless you trust the operator and its terms.
- Verify that the service explicitly accepts AVIF and exports JPG.
- Check whether processing occurs locally in the browser or on a server; do not assume either.
- Upload a copy, not the only original.
- Choose the output quality and background color if transparency is present.
- Download the JPG, then inspect its dimensions, file size, and visual quality.
- Delete the online job or file where the service provides that control.
If you are creating a support article or a repeatable team instruction, document the approved method once. A short recording made with a screen recording tool is often easier for colleagues to follow than a long email describing export menus.
Quality, file size, and color: what changes during conversion
AVIF-to-JPG conversion has two separate quality questions: decoding the source and encoding the result. A clean AVIF can still become a visibly degraded JPG if you choose aggressive compression, resize unnecessarily, or export multiple times. Conversely, a very large, high-quality JPG may be visually close to the source but defeats the goal of a small upload.
| Setting | What it changes | Practical guidance |
|---|---|---|
| JPEG quality | Compression artifacts and file size | Start high; lower only after comparing at 100% zoom. |
| Pixel dimensions | Detail and file size | Match the destination’s displayed size; avoid enlarging. |
| Chroma subsampling | Color detail near edges | Use cautious settings for text and UI graphics. |
| Background color | How transparent pixels appear | Choose intentionally before exporting to JPG. |
| Color profile | How colors look across apps | Use the destination’s requested profile; test critical brand colors. |
HDR is another caveat. AVIF can carry capabilities that conventional JPG cannot represent in the same way. If the image was created for an HDR display or has subtle highlight detail, inspect the JPG on the intended display and expect a standard-dynamic-range result. For brand assets, do not guess: request the approved source and export specification from the design team.
AVIF-to-JPG workflow for web teams
Website teams should distinguish an authoring file from a delivery file. A designer may supply AVIF because the production image pipeline can serve it efficiently. The marketing teammate who needs a visual in a presentation, sales email, or help-center article may need a JPG or PNG derivative. Neither person is wrong; they are serving different destinations.
Build the handoff around named derivatives. Keep an untouched source folder, a web-delivery folder, and an interchange folder. Record the intended dimensions and the background treatment in the filename or asset record. This makes it much less likely that someone uploads a compressed JPG back into the web pipeline and quietly replaces the better source.
For responsive websites, do not create a single giant JPG and call the job complete. The CMS or image service may generate responsive versions, but you should confirm that it receives the source it expects and that its output is sharp at typical viewport widths. Use an actual device or browser developer tools to check visual quality; a dashboard thumbnail tells you very little about the delivered file.
When a screenshot is being used to explain a workflow, clarity can be more valuable than file compression. Capture the relevant area, remove unrelated tabs or personal data, and annotate only the step that needs attention. Zight’s Mac screenshot guide is a useful companion when the task starts with a capture rather than a downloaded asset.
How to choose a JPG quality setting without guesswork
There is no universal “90% is best” setting because applications label JPEG quality differently and content varies. A portrait with smooth gradients, a product photo with fine texture, and a dashboard screenshot will reveal compression in different places. Make a small test set instead of one arbitrary export.
- Export two or three JPG copies at clearly different quality settings.
- Compare each at 100% zoom, focusing on text, high-contrast edges, skies, skin, and repeated textures.
- Check the file sizes and the destination’s maximum upload size.
- View the finalist at the size it will actually be displayed; an image that is technically imperfect may be perfectly adequate at 800 pixels wide.
- Keep the best acceptable file and discard only the derivatives—not the source AVIF.
This is particularly useful for images that will live beside video instructions or product documentation. A large photo may need a smaller JPG for email, while the detailed original can remain in an asset library. If you need to explain that trade-off to a colleague, a short how-to video can show the before-and-after without creating another long email chain.
Batch conversion and naming conventions
When a team receives a folder of AVIF assets, test one representative image before converting the whole batch. Confirm the desired dimensions, quality setting, background treatment, and destination. Then use a repeatable local batch workflow that writes to a separate output folder. Do not mix source and output files; accidental overwrites are hard to spot when dozens of thumbnails look alike.
Name derivatives in a way a future teammate can understand: campaign-hero_1600w_white-bg.jpg tells a better story than final-final-2.jpg. Record the format and pixel width, and use versioning only when the image content itself changes. This small discipline is especially helpful when visual assets accompany software demos or documentation that must be refreshed later.
Common AVIF-to-JPG mistakes
Using JPG for an image that needs transparency
A JPG cannot retain an alpha channel. If a transparent logo becomes a white rectangle, choose PNG instead or explicitly place it on the background you want.
Confusing a smaller file with a better export
Small is not always useful. A heavily compressed JPG can look fine in a message preview and fail in a presentation. Judge at the target size and at 100% zoom, then compare file size.
Exporting a JPG repeatedly
Each lossy re-encode can add artifacts. Preserve the AVIF and an editable source if one exists, make edits in a lossless or project format, and export JPG once at the end.
Ignoring metadata and privacy
Images may contain camera data, location information, or embedded profiles. Check whether the intended recipient needs that metadata. If not, remove it using a trusted local workflow—but do not remove essential copyright or attribution data without understanding your rights and obligations.
Sending an image without enough context
When the conversion is part of a product question or review, the file alone may not show what changed. Use a concise annotation or a screen-recording share workflow to show the original, the export setting, and the result.
A practical delivery checklist
- The original AVIF remains stored safely.
- The JPG has the required width, height, and orientation.
- Transparent areas were intentionally flattened—or a different format was chosen.
- Quality was checked at 100% zoom and at the destination’s normal display size.
- The filename makes the derivative unmistakable.
- The destination opens the actual exported file successfully.
- Sensitive source files were not sent to an untrusted conversion service.
When you should keep AVIF instead
Do not convert an AVIF merely because JPG is familiar. For a modern website where browser support and the publishing workflow are already in place, AVIF can reduce transfer size while preserving useful visual detail. That can help pages feel faster, especially when images are large or numerous. Conversion makes sense at the boundary where a recipient or tool does not support AVIF—not as a default archival format.
A practical workflow keeps the original high-quality source, keeps AVIF for compatible web delivery, and creates JPG only for the specific channel that needs it. That approach avoids repeatedly recompressing a lossy file and makes future changes easier. If an upload form rejects AVIF, check whether it accepts PNG as well as JPG; screenshots, diagrams, and images with sharp text can sometimes look better as PNG. Format choice should follow the image content and the destination, not a universal rule.
Keep a small note of which destination required the JPG. That turns a one-off compatibility fix into useful publishing knowledge: the next time the same system receives an AVIF, you will know whether to convert before upload or keep the more efficient original format.
A final AVIF-to-JPG checklist
Before converting, confirm that JPG is solving a compatibility problem rather than becoming a habit. AVIF can be the better delivery format when the destination supports it and the goal is a smaller web image. JPG is useful when a recipient, uploader, editor, or legacy workflow cannot accept AVIF. Keeping the original AVIF means you can make a new JPG later at a different size or quality instead of repeatedly saving an already-lossy JPG.
After conversion, inspect the image at the size people will actually use. Check edges around text and logos, smooth gradients such as skies or shadows, and areas with fine texture. Use a descriptive filename and alt text when the image is headed to a site. Finally, make sure the conversion did not quietly change the dimensions or strip information your workflow needs. A compatible file is only useful when it still looks right in the place it is meant to appear.
Frequently asked questions about AVIF to JPG
Can I convert AVIF to JPG without losing quality?
Not in the strict sense. JPG is lossy, and AVIF may contain information JPG cannot retain. You can make a visually strong JPG by exporting at a high quality, keeping the final pixel dimensions appropriate, and avoiding repeated re-exports. Keep the AVIF source for future use.
Why is my converted JPG bigger than the AVIF?
AVIF is often more efficient than JPG at similar perceived quality. A high-quality JPG can therefore be substantially larger. Reduce JPG quality or dimensions only after checking that the image still meets the destination’s needs.
Does AVIF support transparency?
AVIF can support transparency. JPG cannot. If the AVIF has transparent pixels, exporting to JPG requires flattening those pixels against a chosen background. PNG is often the better compatibility format for transparent graphics.
Is it safe to use an online AVIF converter?
It can be acceptable for non-sensitive files, but the safety depends on the service’s handling of uploads, retention, and terms. Use a local editor for confidential, customer, or unreleased material whenever possible.
Should I use JPG or PNG for a converted screenshot?
PNG is usually preferable for screenshots containing text, interfaces, line art, or sharp edges. JPG is generally better suited to photographs, especially when a smaller broadly compatible file is needed.
Choose the format for the next step
AVIF is worth keeping when it is doing its job: delivering a modern web image efficiently. Make a JPG copy only when a real compatibility requirement calls for it, and select PNG instead when transparency or crisp text matters. That small decision avoids broken uploads, bloated assets, and fuzzy screenshots.
Use Zight to capture, annotate, and share the visual context around your image workflow.
Quality checklist before converting AVIF to JPG
Before you export, check whether the AVIF uses transparency, HDR color, or very small file-size expectations. JPG is excellent for compatibility, but it cannot preserve alpha transparency and may increase the file size compared with AVIF. If the image is for a CMS, email, slide deck, or customer upload form, compatibility usually wins. If it is for a modern web page, keep the AVIF version as your source and create JPG only for destinations that require it.
Recommended Zight workflow for AVIF files
- Use the AVIF to JPG converter when a destination cannot accept AVIF.
- Keep the original AVIF in your source folder so you can regenerate alternate sizes later.
- If you need to explain the visual change to a teammate or customer, add the converted image to a Zight capture or share a quick visual note.
- For batches, name files clearly with the destination or campaign so older JPG fallbacks do not replace your optimized web originals.