Scrolling Screenshot Mac: How to Capture an Entire Page in 2026
You need a scrolling screenshot on Mac — maybe it’s a full-page design mockup, a long Slack thread, an entire support article, or a webpage you need to share with your team. You hit Cmd + Shift + 3 and… you get exactly one screen’s worth of content. That’s it. macOS still has no native scrolling screenshot feature in 2026 — not in Sonoma, not in Sequoia. You need a third-party tool to capture an entire page on Mac.
⚡ Quick Answer
macOS does not support scrolling screenshots natively. To take a full page screenshot on Mac, you need a third-party app. Zight is a screen capture and async communication tool that includes a dedicated scrolling capture Mac feature — press a keyboard shortcut, select the area, and Zight automatically scrolls and stitches the entire page into a single, shareable image. It also gives you instant annotations, a shareable link, and cloud hosting, making it the fastest way to capture and share long content on macOS.
In this guide, you’ll learn every method available to take a scrolling screenshot on Mac in 2026 — from free browser-based workarounds to dedicated apps like CleanShot X and Zight. We’ll compare them side by side with an honest feature table so you can pick the approach that fits your workflow, whether you’re a developer filing bugs, a PM documenting requirements, a designer capturing full-page mockups, or a support rep walking a customer through a long interface.
Why macOS Doesn’t Have a Native Scrolling Screenshot Feature
Apple’s built-in screenshot tools — Cmd + Shift + 3 (full screen), Cmd + Shift + 4 (selection), and Cmd + Shift + 5 (Screenshot toolbar with recording options) — are solid for capturing what’s currently visible on your display. But none of them can scroll past the viewport and stitch frames together into a single image.
This has been the case through every modern macOS release, including macOS Sonoma (14) and macOS Sequoia (15). Apple Community forums are full of users asking for this exact feature — threads dating back years with hundreds of “I have this question too” votes — and the answer is always the same: it doesn’t exist natively.
iOS actually introduced a limited version on iPhone and iPad: in Safari, you can take a screenshot and then tap “Full Page” to capture the entire webpage as a PDF. But macOS Screenshot.app doesn’t have this. Even on macOS Sequoia in 2025, you’re out of luck.
If you want to capture an entire page on Mac — whether it’s a webpage, a long document, a Notion page, a Figma file, or a scrolling interface in any app — you have three realistic options:
- Browser Developer Tools — Free, limited to web pages, requires some technical comfort
- CleanShot X — Paid Mac screenshot utility with scrolling capture
- Zight — All-in-one screen capture tool with scrolling screenshots, annotations, screen recording, GIF creation, async video, and instant sharing
Let’s walk through each one step by step, then compare them directly.
Method 1: Scrolling Screenshot on Mac Using Browser Developer Tools (Free)
If the content you need to capture is a webpage — and only a webpage — your browser can technically do it. But calling this a “scrolling screenshot” is generous. What actually happens is the browser renders the full DOM to a static image. It doesn’t scroll; it rasterizes. Here’s how to do it in Chrome, Safari, and Firefox.
Full Page Screenshot in Google Chrome
- Open the webpage you want to capture.
- Press
Cmd + Option + Ito open Developer Tools. - Press
Cmd + Shift + Pto open the Command Menu. - Type “Capture full size screenshot” and select it from the list.
- Chrome saves a full-length PNG of the entire page to your Downloads folder.
Pro tip: You can also use the Device Toolbar (Cmd + Shift + M inside DevTools) to set a custom viewport width before capturing, which is useful if you want the screenshot to match a specific screen size or responsive breakpoint.
Full Page Screenshot in Safari
- Enable the Develop menu: go to Safari → Settings → Advanced and check “Show features for web developers.”
- Open the webpage, then press
Cmd + Option + Ito open Web Inspector. - Click the Elements tab, right-click the
<html>node, and select “Capture Screenshot.” - Safari exports a full-length image of the page.
Safari’s method is the least intuitive of the three browsers. You need to know to right-click a specific DOM node — most people won’t discover this on their own.
Full Page Screenshot in Firefox
- Open the webpage in Firefox.
- Right-click anywhere on the page and select “Take Screenshot.”
- Click “Save full page” in the top-right corner of the overlay.
- Download the image or copy it directly to your clipboard.
Firefox is the most user-friendly of the three browsers for this task. The “Save full page” option is clearly labeled and doesn’t require opening Developer Tools at all. If you’re looking for a free, no-install method and you already use Firefox, this is the fastest path.
Limitations of the Browser DevTools Method
While these browser methods work for simple static pages, they fall apart quickly in real-world use:
- Web pages only — Can’t capture long PDFs, Notion docs, Figma files, Slack threads, spreadsheets, or any native Mac app.
- Lazy-loaded content breaks — Images that load on scroll often appear as blank rectangles. Infinite-scroll pages (Twitter/X, social feeds) get cut off.
- Sticky elements repeat — Fixed headers, cookie banners, chat widgets, and floating navbars render on top of content at every scroll point, creating ugly overlapping artifacts.
- No annotation tools — You get a raw PNG with no way to highlight, blur sensitive data, add arrows, or add text callouts.
- No sharing workflow — The file lands in your Downloads folder. You still need to upload it to Slack, email, Jira, or wherever it needs to go.
- Very large pages can crash — Extremely long pages can produce images that are tens of thousands of pixels tall, which some tools can’t even open.
If you only need an occasional full page screenshot of a simple, static webpage, browser DevTools work. For anything beyond that — capturing app interfaces, annotating what you capture, or sharing it instantly — you need a dedicated tool.
Method 2: Scrolling Screenshot on Mac Using CleanShot X
CleanShot X is a well-known Mac screenshot utility that includes a scrolling capture feature. It’s popular in the Mac power-user community and frequently recommended in forums.
How to Take a Scrolling Screenshot with CleanShot X
- Install CleanShot X from the Mac App Store or their website ($29 one-time, or $8/month for CleanShot Cloud).
- Open the content you want to capture.
- Use the keyboard shortcut or click the menu bar icon and select “Scrolling Capture.”
- Select the area of the screen you want to scroll-capture.
- CleanShot begins auto-scrolling and captures each frame.
- When it finishes (or you press Esc to stop), it stitches the frames into a single image.
- You can annotate the result using CleanShot’s built-in editor, save it locally, or upload to CleanShot Cloud.
CleanShot X: What It Does Well
- Reliable scrolling capture — Works in browsers and many native Mac apps.
- Clean UI — Well-designed overlay and quick-access toolbar.
- Annotation tools — Arrows, text, blur, shapes, and more built in.
- Desktop icon hiding — Automatically hides messy desktops before a capture.
- One-time pricing option — $29 for the app without cloud features.
CleanShot X: Where It Falls Short
- Mac only — No Windows app, no Chrome extension. If your team is cross-platform, half your people can’t use it.
- Screenshot-focused — No screen recording, no async video, no GIF creation. It’s a screenshot tool, not a communication platform.
- Cloud features cost extra — The $29 version saves files locally. Cloud upload and shareable links require CleanShot Cloud at $8/month.
- No team management — No shared workspace, no team analytics, no brand customization for shared links.
- No integrations beyond basic — Limited native integrations with project management and support tools.
CleanShot X is a good screenshot utility if all you need is captures on a single Mac. But if your workflow involves sharing, collaboration, screen recording, or working with anyone who isn’t on macOS, it’s not the complete solution.
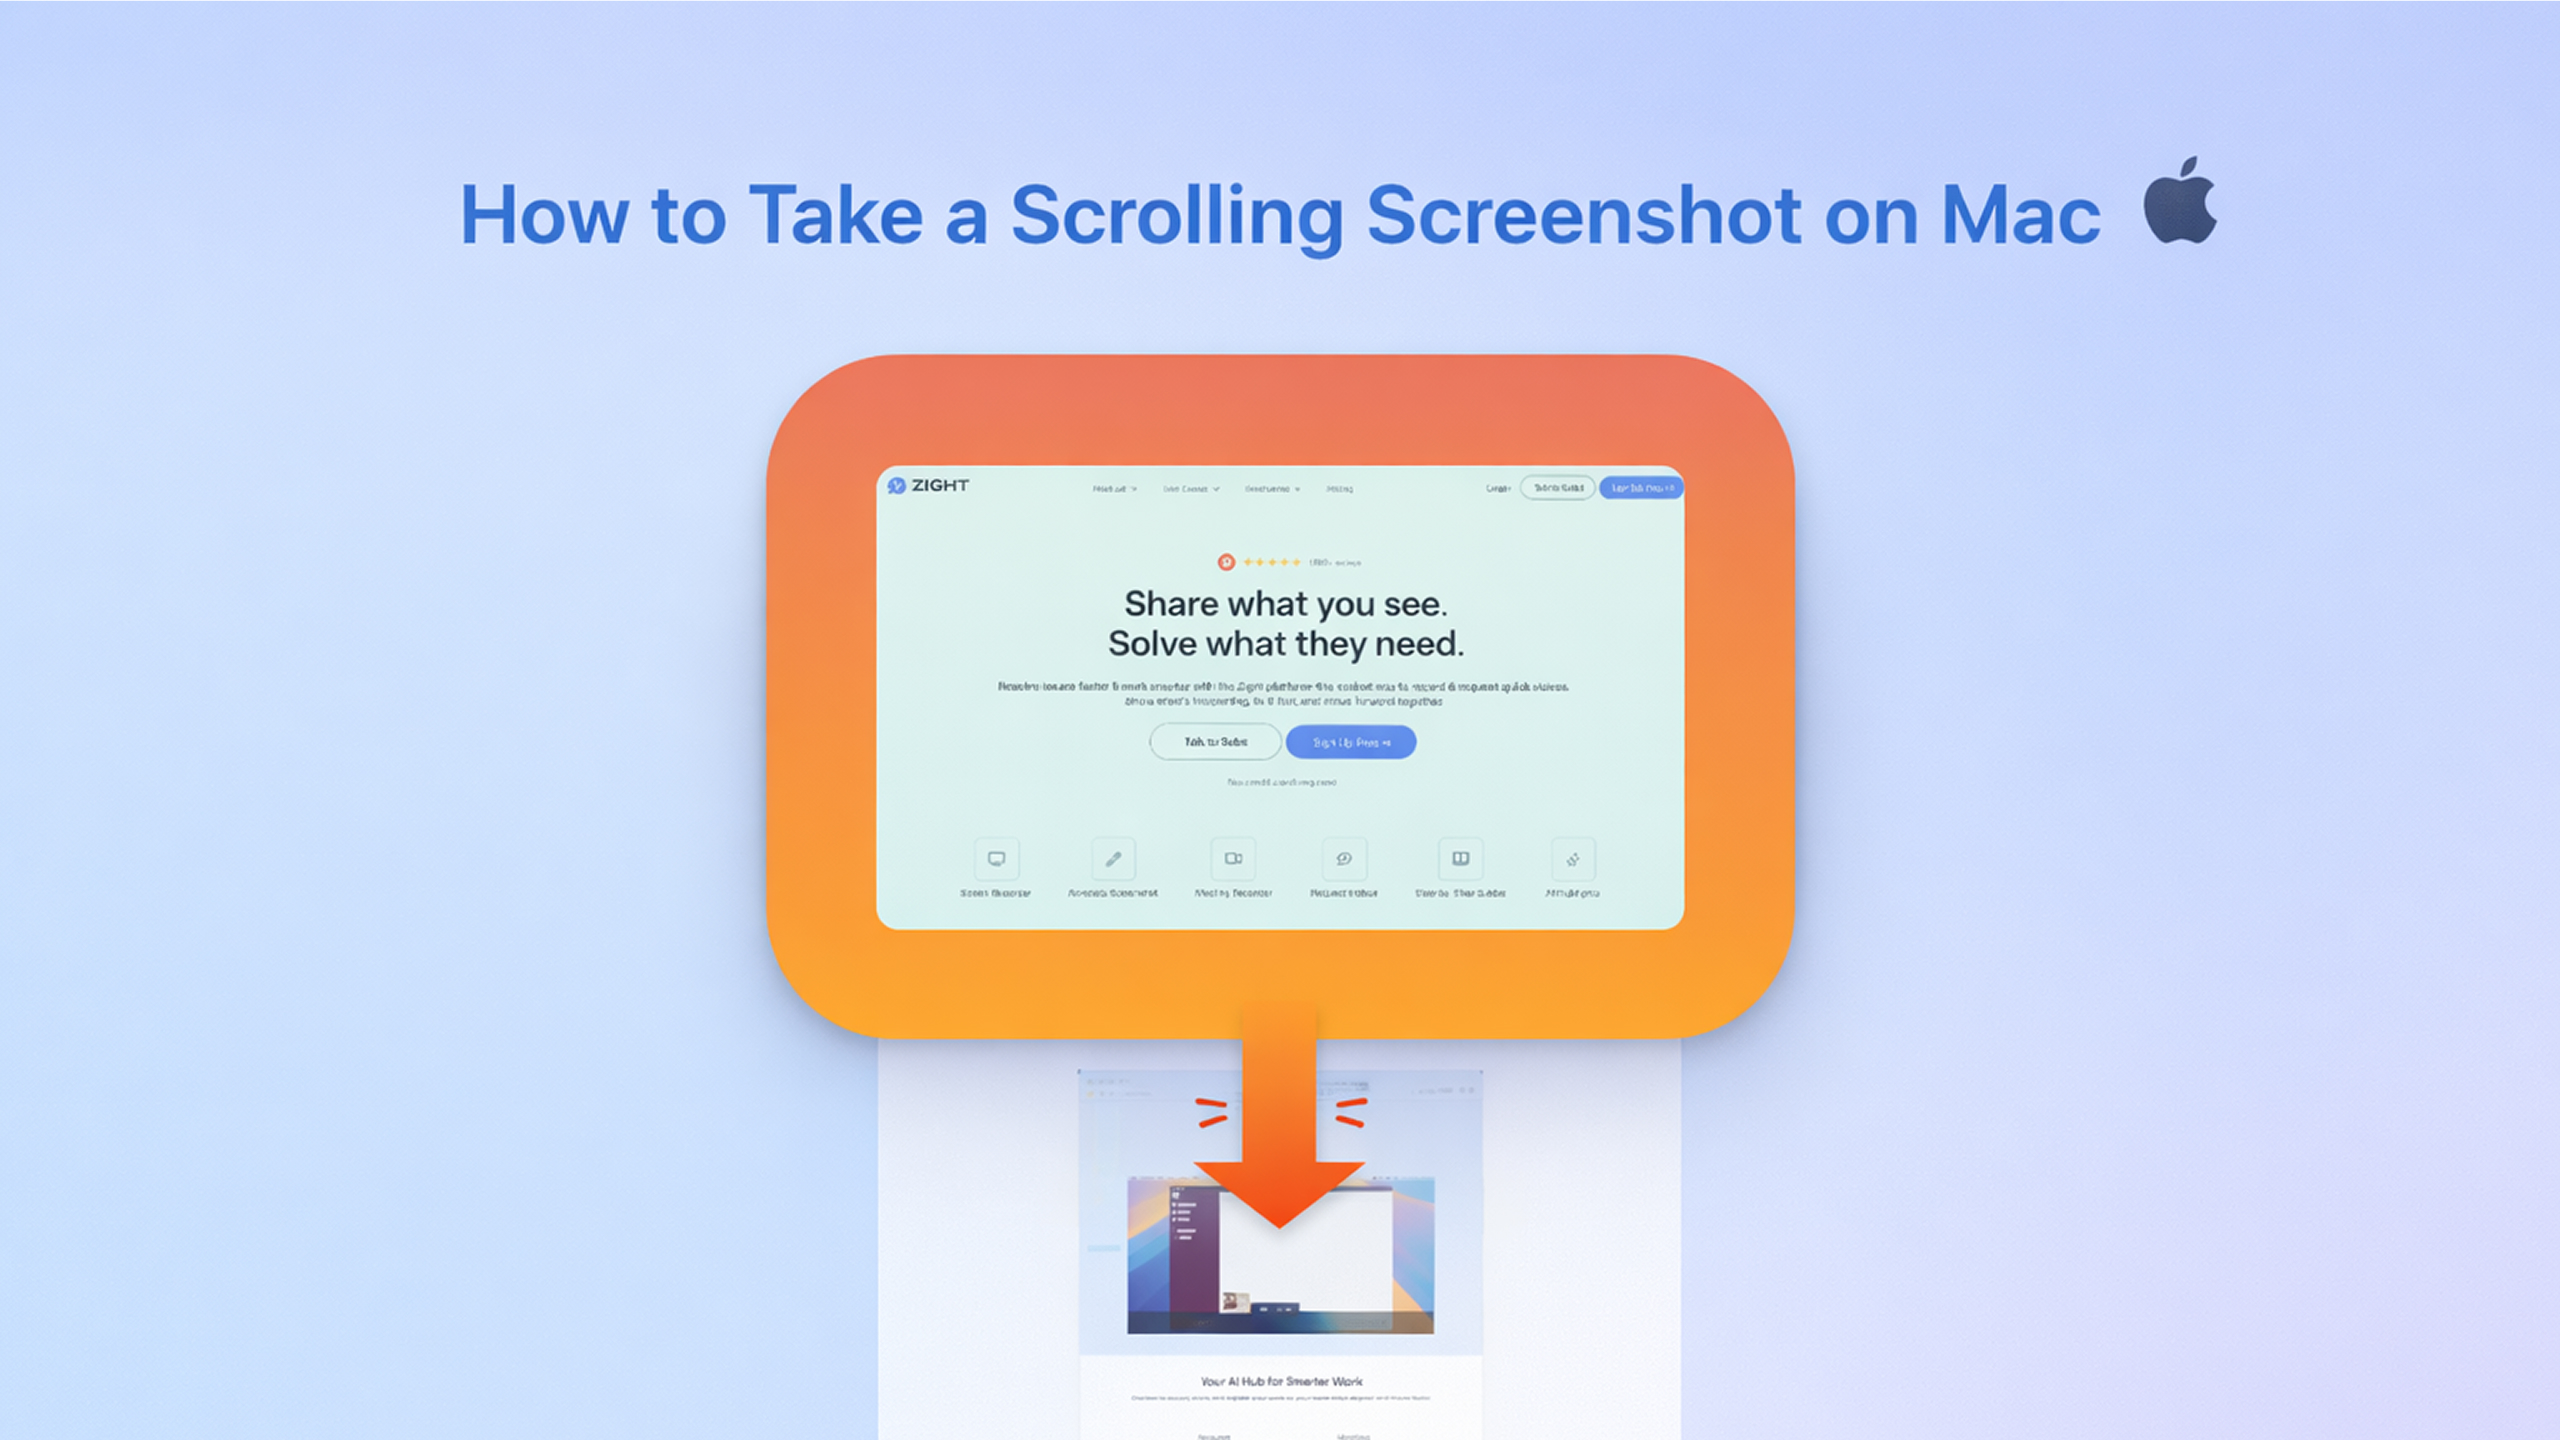
Method 3: Scrolling Screenshot on Mac Using Zight (Recommended)
Zight (formerly CloudApp) is a screen capture and async communication tool built for teams. It includes screenshots, scrolling capture, screen recording, GIF creation, async video with webcam, annotations, and instant cloud sharing — all from one app. It runs on Mac, Windows, and Chrome.
The reason Zight is the recommended method here isn’t just the scrolling capture feature (though that works great). It’s that a scrolling screenshot is almost never the final step in your workflow. You capture the page because you want to show someone something — file a bug, give design feedback, document a process, answer a support ticket. Zight handles the entire flow: capture → annotate → share → track views.
How to Take a Scrolling Screenshot on Mac with Zight
- Install Zight: Download it from zight.com/mac and install it. Zight runs in your menu bar and is ready to capture anytime.
- Activate scrolling capture: Press
Cmd + Shift + 6(or set your own custom shortcut in Preferences) to start a scrolling screenshot. - Select the capture area: Click and drag to draw a rectangle around the area you want to scroll-capture. This works in any app — browsers, Notion, Slack, Figma, PDFs, spreadsheets, native macOS apps.
- Let Zight scroll and stitch: Zight automatically scrolls the content within your selected area, capturing each frame and stitching them together into one seamless, full-length image. You don’t need to do anything — just watch it scroll.
- Annotate: The capture opens in Zight’s annotation editor. Add arrows, text labels, numbered steps, rectangles, blur over sensitive information, or highlight key areas. This is where the screenshot becomes useful — it’s not just a picture, it’s a message.
- Share instantly: Click “Share” and Zight uploads the annotated image to the cloud. A short, shareable link is copied to your clipboard automatically. Paste it into Slack, Jira, email, Notion, Linear, Zendesk — anywhere that accepts a URL. Recipients don’t need Zight installed to view it.
The entire process — from pressing the shortcut to having a shareable, annotated link on your clipboard — typically takes under 15 seconds.
Why Teams Choose Zight Over Other Scrolling Capture Tools
- Works in any app, not just browsers — Capture scrolling content in Notion, Figma, Slack, Google Sheets, PDFs, Apple Mail, Xcode, VS Code, terminal windows — anything on your Mac screen.
- Annotations are built in — Arrows, text, blur, highlights, numbered steps, shapes, and freehand drawing. No need to open Preview or another editing app.
- Instant shareable link — Every capture is uploaded to the cloud and a short link is copied to your clipboard. Share in 2 seconds, not 2 minutes.
- View tracking — See when someone opens your link, so you know if your bug report was seen or your feedback was reviewed.
- Cross-platform — Mac, Windows, and Chrome extension. Your entire team can use the same tool regardless of OS.
- More than screenshots — Screen recordings, GIF creation, and async video with webcam overlay are built into the same app. When a scrolling screenshot isn’t enough, switch to a screen recording without changing tools.
- Team features — Shared collections, custom branding for links, team analytics, SSO, and admin controls for enterprise teams.
- Integrations — Connects with Slack, Jira, Zendesk, Asana, Trello, Notion, GitHub, Linear, and more. Drop a Zight link and it unfurls with a rich preview.
Scrolling Screenshot Mac: Feature Comparison Table
Here’s how the three methods stack up side by side. This table is honest — browser DevTools win on price, CleanShot X wins on simplicity if you’re a solo Mac user, and Zight wins on workflow completeness and team collaboration.
| Feature | Browser DevTools | CleanShot X | Zight |
|---|---|---|---|
| Price | Free | $29 one-time (app) / $8/mo (cloud) | Free plan available; paid plans for teams |
| Scrolling capture | No (full-page render only) | Yes | Yes |
| Works in any app | ❌ Browsers only | ✅ Most Mac apps | ✅ Any app on screen |
| Handles lazy-loaded content | ❌ Often breaks | ✅ Scrolls live content | ✅ Scrolls live content |
| Built-in annotations | ❌ | ✅ | ✅ Arrows, blur, text, shapes, numbered steps |
| Instant shareable link | ❌ File saved locally | ⚠️ Requires $8/mo cloud plan | ✅ Included — auto-copied to clipboard |
| View tracking | ❌ | ❌ | ✅ |
| Screen recording | ❌ | ❌ | ✅ |
| GIF creation | ❌ | ❌ | ✅ |
| Async video with webcam | ❌ | ❌ | ✅ |
| Windows support | ✅ (browser-based) | ❌ Mac only | ✅ |
| Chrome extension | N/A | ❌ | ✅ |
| Team workspace / admin | ❌ | ❌ | ✅ |
| Integrations (Slack, Jira, etc.) | ❌ | Limited | ✅ 20+ native integrations |
| Sticky header handling | ❌ Headers repeat | ✅ | ✅ |
When to Use Each Method: A Decision Framework
Not every situation calls for the same tool. Here’s a quick guide to help you decide:
Use Browser DevTools If…
- You need a full page screenshot of a simple, static webpage once in a while.
- You’re comfortable opening Developer Tools and typing commands.
- You don’t need to annotate or share the image quickly.
- Budget is zero and you don’t want to install anything.
Use CleanShot X If…
- You’re a solo Mac user who primarily needs better screenshots (not recording or video).
- You don’t need to share via cloud links frequently.
- Your team is 100% on Mac.
- You don’t need screen recording, GIF creation, or async video.
Use Zight If…
- You need to capture, annotate, and share in one workflow — not three separate steps.
- You capture scrolling content in any app, not just browsers.
- You also need screen recordings, GIFs, or async video (most people who need scrolling screenshots need these too).
- You work on a cross-platform team (Mac + Windows + browser users).
- You want instant shareable links without manually uploading to Slack, Google Drive, or email.
- You need team features: shared collections, view tracking, admin controls, custom branding.
- You want one tool that replaces your screenshot app, screen recorder, GIF maker, and file sharing flow.
Real-World Use Cases for Scrolling Screenshots on Mac
If you’re wondering whether a scrolling screenshot tool is worth installing, here are the specific scenarios where teams use this feature daily:


Leave a Reply