- Mac: Use QuickTime Player (Control + Command + N) or the Screenshot Toolbar (Command + Shift + 5) for basic recordings.
- Windows: Xbox Game Bar (Windows + G) handles recordings with shortcuts like Windows + Alt + R to start/stop.
- Zight: A paid tool ($7.95/month) with AI features, annotations, and easy sharing for business use.
- Third-Party Tools: OBS Studio (free) for advanced streaming and Snagit ($62.99) for quick, annotated recordings.
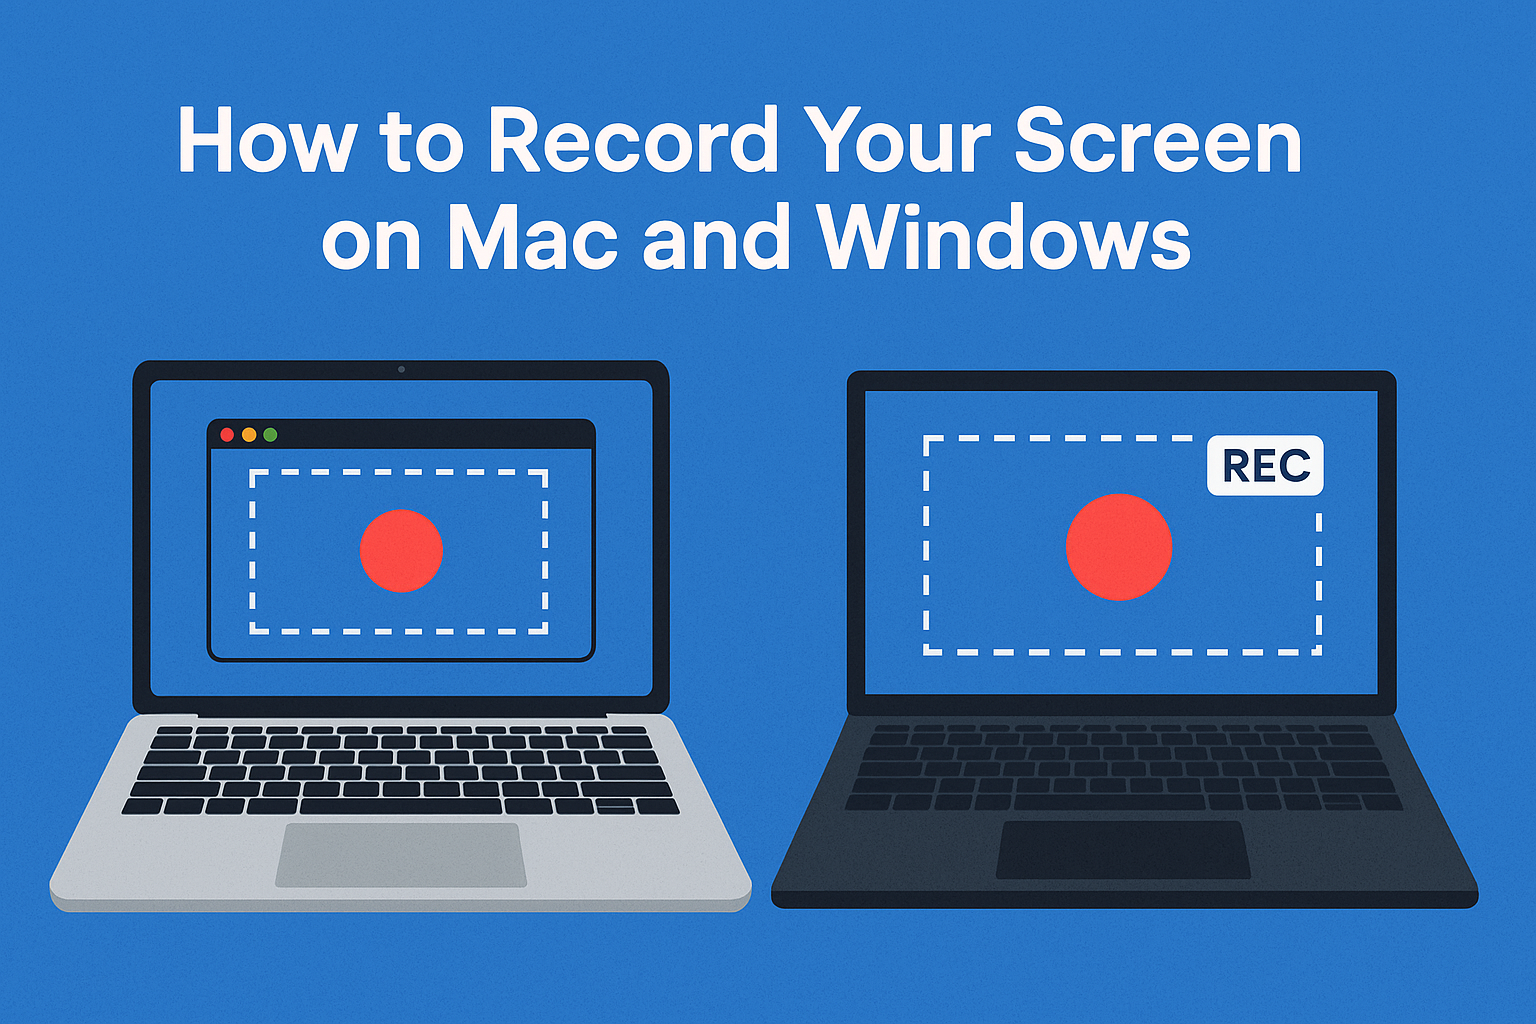
How to Record your Computer Screen for FREE
Built-in Screen Recording Tools
If you’re looking to record your screen without downloading extra software, both Mac and Windows come equipped with built-in tools. These options are perfect for basic recording needs and are easy to get started with.macOS: QuickTime Player and Screenshot Toolbar
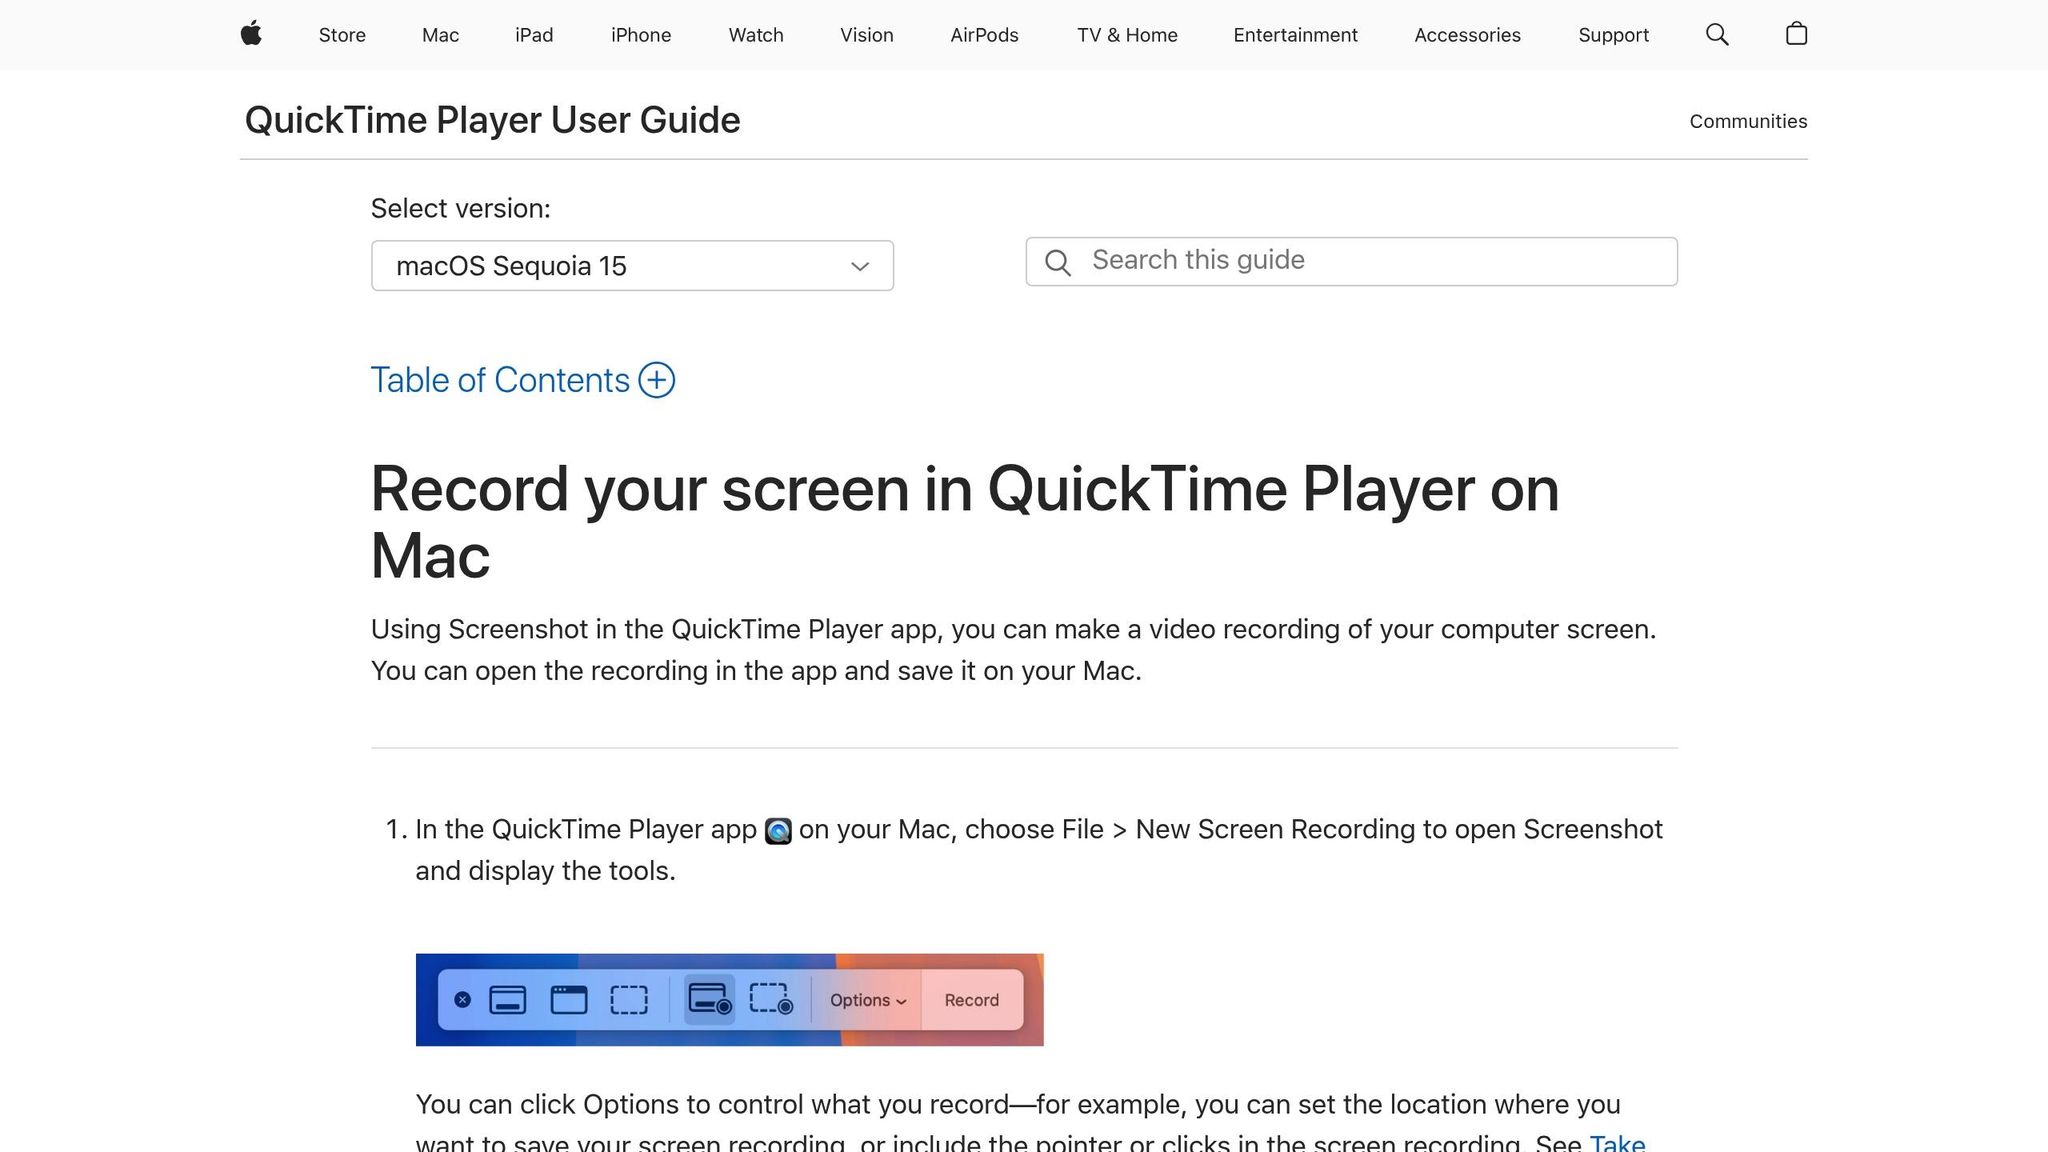 Mac users have two built-in tools for screen recording: QuickTime Player and the Screenshot Toolbar (available on macOS Mojave 10.14 or later). QuickTime Player is simple to use. Open the app, then go to File > New Screen Recording (or press Control + Command + N). Click the arrow next to the Record button to adjust settings like microphone input, volume, and whether to display mouse clicks. To avoid audio feedback, use a built-in mic or headphones. Once ready, click the Record button. You can either capture the whole screen by clicking anywhere or select a specific area by dragging your cursor and clicking “Start Recording.” To stop, click the Stop button in the menu bar or press Command + Control + Esc. The recording will automatically open in QuickTime Player, and the file is saved with a default name like “Screen Recording [date] at [time].mov.” For those on macOS Mojave or later, the Screenshot Toolbar offers another option. Press Command + Shift + 5 to bring up the toolbar. It lets you record the entire screen, a specific window, or a custom area. If QuickTime Player doesn’t work for some reason, this tool is a great alternative. However, note that some apps may block screen recording due to security or copyright restrictions.
 Windows: Xbox Game Bar
 Windows 10 and 11 users can use the Xbox Game Bar, a tool originally made for gamers but equally handy for general screen recording. To enable it, head to Settings > Gaming > Xbox Game Bar and toggle it on. Once activated, press Windows + G to open the Game Bar interface, which includes recording controls and audio settings. To start recording, press Windows + Alt + R or click the record button. Use the same shortcut to stop recording. You can also toggle the microphone on or off with Windows + Alt + M and take screenshots using Windows + Alt + PrintScreen. To capture both system audio and microphone input, open the Game Bar settings (Windows + G), go to the Capturing section, and choose the “All” option. Recordings are saved as MP4 files in the Videos > Captures folder. Keep in mind that recording sessions are capped at 4 hours, and the Game Bar cannot record the Windows desktop, File Explorer, or certain apps that block recording, like Netflix or Disney Plus. If the Game Bar doesn’t open with Windows + G, make sure it’s enabled in the Gaming settings. For microphone issues, ensure the app has permission under Settings > Privacy & security > App permissions > Microphone. Error 0x82323619? That means your disk is out of space – clearing some room should fix it. While the Xbox Game Bar is great for basic tasks, it lacks advanced features like control over output formats and compression settings. Up next, we’ll explore how Zight can take your screen recording to the next level with more powerful functionality.
 How to Use Zight for Screen Recording
 While the built-in recording tools on your devices can handle simple tasks, Zight takes things a step further by offering advanced features tailored for professional communication and productivity.
 Key Features of Zight
Zight offers an all-in-one solution for visual communication. You can record your entire screen, focus on specific areas, or even capture webcam-only footage. It supports both system audio and microphone input, ensuring high-quality recordings. Once you finish, Zight automatically generates shareable links, so you don’t have to worry about dealing with large file transfers. During recording, you can use annotation tools to add text, arrows, or shapes, making your content more engaging and clear. After recording, Zight’s editing tools let you trim, cut, split, or merge videos to create polished results. For quick demos, its GIF maker can turn clips into loopable GIFs of up to 15 seconds. Zight also includes AI-powered features to streamline your workflow. It can automatically generate video summaries, smart titles, and transcriptions, which saves time and makes it easy to organize and search through your content library. For teams, Zight’s integration capabilities are a game-changer. It connects seamlessly with platforms like Slack, Microsoft Teams, and Jira, allowing you to share recordings directly within your existing workflows. You can also upload large files and create shareable links with options like password protection and expiration dates for added security.“Zight helps me show my work with my team and our customers quickly and effectively. I love how easy it is to make sure we’re producing the highest quality work and can draw attention to the things that matter.” – Customer Advocate & Marketing – DriftReady to start recording? Here’s how to use Zight on your preferred platform.
Step-by-Step Guide to Recording with Zight
Zight’s professional-grade tools make it easy to create high-quality recordings. Follow these simple steps to get started:- For Windows users: Download and install the Zight app from the official downloads page. Once installed, adjust your settings, such as video quality and audio source, then click Record to start capturing. Hit Stop when you’re done.
- For Mac users: Download the desktop app and sign in after installation. Open the app, select “Record Screen” from the menu bar, adjust your settings, and click the red record button to begin. Use the stop button to end the session.
- For Chrome users: Install the Zight extension from the Chrome Web Store. Click the extension icon in your browser, choose the screen recording option, tweak your settings, and hit record to start capturing.
Third-Party Screen Recording Software
When to Use Third-Party Tools
While built-in screen recording tools like Mac’s QuickTime or Windows’ Xbox Game Bar are great for basic tasks, they often fall short when it comes to more advanced needs like live streaming or high-quality production work. Third-party software steps in to fill these gaps, offering features that go well beyond the basics. For instance, if you’re creating professional content that demands 4K resolution, advanced audio controls, or multiple audio tracks, third-party tools are the way to go. Built-in options are typically limited to 1080p resolution and basic audio capabilities. macOS users, in particular, often face challenges when trying to capture system audio using QuickTime Player, making third-party solutions a more reliable choice. When it comes to editing, built-in tools usually only allow for basic trimming. Third-party software, on the other hand, provides robust editing capabilities, including precise cuts, annotations, and the ability to integrate multiple video sources. This is especially important for creating tutorials, product demos, or educational content that require a polished finish. For teams and businesses, workflow integration is another area where third-party tools shine. Many of these solutions offer features like automatic transcriptions, AI-powered summaries, and seamless sharing options, all of which can save time and streamline collaborative projects. Here’s a closer look at two popular third-party tools that cater to different recording needs.Overview of OBS Studio and Snagit
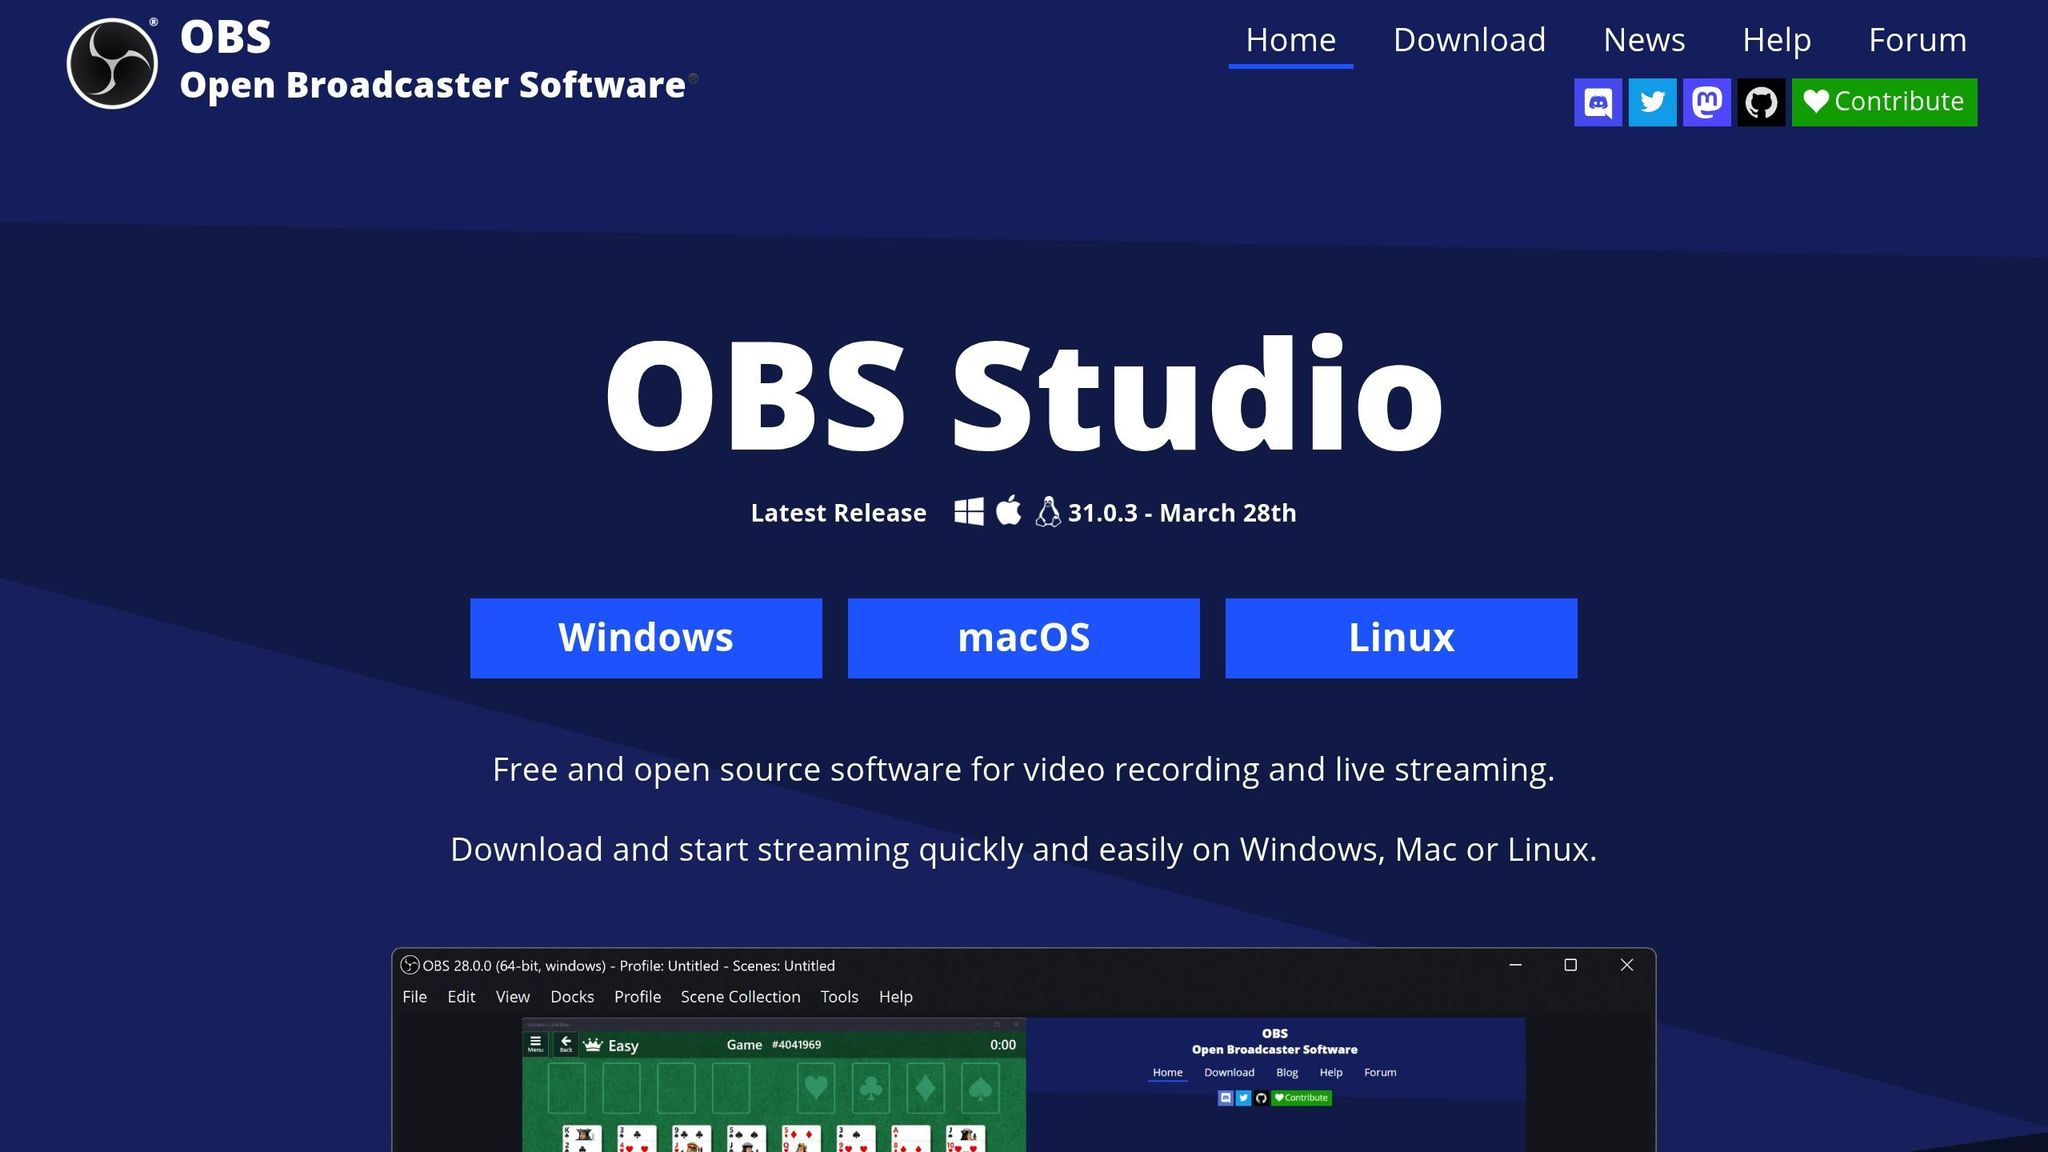 OBS Studio is a free, open-source software compatible with Windows, macOS, and Linux, making it accessible to nearly everyone. With a 4.7/5 user rating, it’s highly regarded for its advanced streaming capabilities and flexible scene creation tools. OBS Studio allows you to mix audio and video in real-time, combining inputs like webcam footage, screen captures, and multiple audio sources. It also supports recording separate audio tracks, which is a big plus for post-production editing. Additionally, its plugin support lets users expand its functionality even further. However, OBS Studio does come with a learning curve. Setting it up can be a bit technical – for example, matching the “Base (Canvas) Resolution” to a specific application window’s dimensions. Mac users may need to install Blackhole drivers to capture system audio without lag, and older computers might require reduced resolution settings for better performance. While beginners might find it daunting and may need extra tools for post-production, its extensive features make OBS Studio a top choice for serious creators. Snagit, on the other hand, is a simpler, more user-friendly option priced at $39.99 per year. It’s perfect for quick screen captures and basic video creation, earning a user-friendliness rating of 4.7/5 . Snagit is particularly popular for creating tutorials and documentation, thanks to its easy annotation tools. However, its video editing features are fairly limited, and some users have reported occasional performance issues on older devices or glitches with scrolling window captures . Both tools serve different purposes. OBS Studio is ideal for those who need professional-grade streaming and recording features, while Snagit is a great choice for users looking for a straightforward, efficient screen capture tool with strong annotation capabilities.
 sbb-itb-5d91f01
Comparing Screen Recording Tools
Comparison Table
Finding the right screen recording tool can feel overwhelming with so many options out there. To make it easier, here’s a quick rundown of some popular choices:| Software | Best For | Price | Platforms | Key Strength | Editing Capabilities |
|---|---|---|---|---|---|
| QuickTime Player | Basic Mac recordings | Free | macOS only | Built-in simplicity | None |
| Xbox Game Bar | Gaming content | Free | Windows only | Optimized game capture | Basic trimming |
| Zight | Business communication | Free – $7.95/month | Windows, macOS, Chrome, iOS | AI-powered features | Basic with AI enhancement |
| OBS Studio | Live streaming | Free | Windows, macOS, Linux | Advanced streaming tools | None (requires external editor) |
| Camtasia | Professional production | $249.99 (one-time) | Windows, macOS | Complete video studio | Advanced (multi-track) |
| Loom | Quick sharing | Free – $12.50/month | Cross-platform | Rapid communication | Basic with AI enhancement |
| Snagit | Screenshots & simple videos | $62.99 (one-time) | Windows, macOS | Screenshot integration | Basic |
| ScreenPal | Beginners | Free – $4/month | Cross-platform | User-friendly interface | Basic |
Choosing the Right Tool
The comparison above highlights the strengths of each tool, but picking the right one depends entirely on your needs. Instead of focusing solely on features or pricing, think about how you’ll use the software. For example:- Business Communication: If you’re creating content for work, tools like Zight stand out with AI-powered transcription and smart titling features. Loom is another great choice for quick sharing and team collaboration. Both tools align with the fact that 75% of employees prefer watching videos over reading documents or emails.
- Gaming Content: Xbox Game Bar is tailored for gamers, offering smooth capture of gameplay. However, its editing features are limited, so you might need additional software for post-production.
- Professional Creators: For those producing polished, professional videos, Camtasia is a top pick. It comes with robust editing tools, including multi-track capabilities. ScreenFlow is another excellent choice for Mac users, especially given that video tutorials are three times more likely to be watched on YouTube than written instructions.
- Budget-Friendly Options: Built-in tools like QuickTime Player or Xbox Game Bar are great starting points. For more advanced needs, free software like OBS Studio offers flexibility without any cost.
- Cross-Platform Compatibility: If you work across multiple devices, tools like Zight are a solid choice. It integrates seamlessly across desktop, browser, and mobile platforms, and even offers a Chrome extension for easy screen recording. This is especially useful for teams using a mix of operating systems.


