How to Crop a Screenshot on Mac, Windows, and Zight (2024 Guide)
You just took a screenshot, but it captured your entire desktop — tabs you’d rather not share, Slack DMs, a half-finished Spotify queue. Now you need to know how to crop a screenshot so you only share the part that matters. The good news: every major operating system includes a free way to do this. The better news: there’s a faster workflow that lets you crop, annotate, and share in a single step.
⚡ Quick Answer
To crop a screenshot on Mac, open the image in Preview, select the area you want with the rectangular selection tool, then press ⌘+K to crop. On Windows, open the screenshot in the Photos app (or Snipping Tool), click the crop icon, adjust the handles, and save. The fastest method: use Zight, a screenshot and screen recording tool that lets you capture only the region you need, crop it further, add annotations, and share via an instant link — all without ever opening a separate editor. Zight is available for Mac, Windows, and Chrome and eliminates the capture → open → crop → save → upload → share workflow entirely.
In this guide, I’ll walk you through the exact steps to crop a screenshot on macOS (using Preview), Windows (using Photos and Snipping Tool), and Zight — with a comparison table so you can decide which workflow fits your needs. Whether you’re filing a bug report, giving design feedback, or documenting a process, these are the methods I reach for daily after years of testing screenshot tools.
Why You Need to Crop Screenshots (Before You Share Them)
Cropping isn’t cosmetic — it’s functional. An uncropped screenshot forces the viewer to hunt for the relevant detail. In practice, I’ve found that cropped, annotated screenshots get responses 2–3× faster than full-screen captures dumped into a Slack thread. Here’s what cropping solves:
- Privacy: Remove personal tabs, notifications, bookmarks, or email previews that snuck into the frame.
- Clarity: Focus the viewer’s eye on exactly what you’re referring to — the broken button, the misaligned text, the wrong data.
- File size: A cropped screenshot can be 60–80% smaller than a full-screen capture, which matters when pasting into Jira tickets or documentation tools with size limits.
- Professionalism: In client-facing contexts, a tight crop with an annotation says “I care about your time.”
The question isn’t whether to crop — it’s which workflow gets you from screenshot to shared link fastest. Let’s walk through each option.
How to Crop a Screenshot on Mac (Using Preview)
macOS has one of the best built-in screenshot tools of any operating system. Since macOS Mojave (10.14), pressing ⌘+Shift+5 gives you a full capture toolbar. But capturing a region and cropping an existing screenshot are two different workflows. Here’s how to crop a screenshot on Mac using Preview — the default image viewer that’s more powerful than most people realize.
Step 1: Open Your Screenshot in Preview
By default, macOS saves screenshots to your Desktop as PNG files named with a timestamp (e.g., Screenshot 2024-07-15 at 2.34.12 PM.png). Double-click the file — it should open in Preview automatically. If it opens in a different app, right-click the file → Open With → Preview.
Pro tip: If you just took the screenshot and see the floating thumbnail in the bottom-right corner of your screen, click it immediately. This opens a quick-edit view where you can crop without even saving to Desktop first — a shortcut most people miss.
Step 2: Select the Area You Want to Keep
In Preview, make sure the Rectangular Selection tool is active. You’ll find it in the toolbar, or go to Tools → Rectangular Selection. Now click and drag across the portion of the screenshot you want to keep. You’ll see a dotted-line rectangle (marching ants) around your selection.
Take a second to get the selection right — you can click and drag the edges of the selection to fine-tune it before committing. In my experience, rushing this step is the #1 reason people end up cropping twice.
Step 3: Crop with ⌘+K
With your selection active, press ⌘+K (or go to Tools → Crop). Preview immediately removes everything outside the selection. The image resizes to match your crop.
Step 4: Save Your Cropped Screenshot
Press ⌘+S to save over the original, or File → Export if you want to save it as a new file or change the format (JPEG, TIFF, etc.). Preview supports exporting to JPEG with adjustable quality — useful when you need smaller files for email or documentation.
Gotcha: Preview doesn’t have an undo history after you close the file. If you save and close, the crop is permanent. If you think you might need the original, use Export instead of Save to keep both versions.
How to Crop a Screenshot on Windows (Two Methods)
Windows gives you two solid options for cropping screenshots. The workflow you choose depends on whether you’re cropping an existing screenshot or capturing a new one. Here’s how to crop a screenshot on Windows using both approaches.
Method A: Crop an Existing Screenshot with the Photos App
Step 1: Locate your screenshot. If you pressed PrtScn or Win+Shift+S, check your clipboard or the Screenshots folder inside Pictures. Right-click the file → Open with → Photos.
Step 2: Click the Edit image icon (pencil icon) in the toolbar at the top of the Photos window. In Windows 11’s Photos app, this opens the editing panel immediately.
Step 3: Click the Crop button (it looks like two overlapping right angles). Drag the corner and edge handles to frame the area you want to keep. You can also choose preset aspect ratios — handy for social media or documentation templates.
Step 4: Click Save as copy (recommended) or Save to overwrite the original. The “Save as copy” option is a lifesaver I’ve learned to always use — it preserves the original in case you need it later.
Method B: Capture and Crop with Snipping Tool
If you haven’t taken the screenshot yet, Snipping Tool (built into Windows 10 and 11) lets you capture only the region you need — essentially cropping at capture time.
Step 1: Press Win+Shift+S to open Snipping Tool’s capture overlay. Your screen dims, and a toolbar appears at the top.
Step 2: Select Rectangular Snip (the default mode) and drag to select the exact area you want. Release to capture.
Step 3: A notification appears with the snip. Click it to open in Snipping Tool’s editor. From here, you can use the crop tool to fine-tune further, or add basic annotations (pen, highlighter, ruler).
Step 4: Click the Save icon (floppy disk) or press Ctrl+S to save the cropped screenshot.
Pro tip: Snipping Tool in Windows 11 (version 11.2308 and later) now supports text extraction via OCR. After capturing a snip, click the “Text actions” button to copy text directly from the image — useful for grabbing error messages from screenshots without retyping.
How to Crop a Screenshot with Zight (Capture, Crop, Annotate, Share — One Workflow)
Here’s where things change fundamentally. The built-in tools on Mac and Windows work, but they’re designed for editing images — not for the actual task you’re trying to accomplish, which is usually communicating something visually to another person. That’s a critical distinction.
After recording hundreds of screen sessions and taking thousands of screenshots with Zight over the past three years, the pattern that works best is: capture only what you need → annotate it → share a link. No saving to Desktop, no opening in Preview, no uploading to Slack or Google Drive separately. Zight collapses five steps into one.
Zight is a screenshot, screen recording, and async video tool for Mac, Windows, and Chrome that generates an instant shareable link for every capture. Here’s the exact workflow:
Step 1: Capture Only the Region You Need
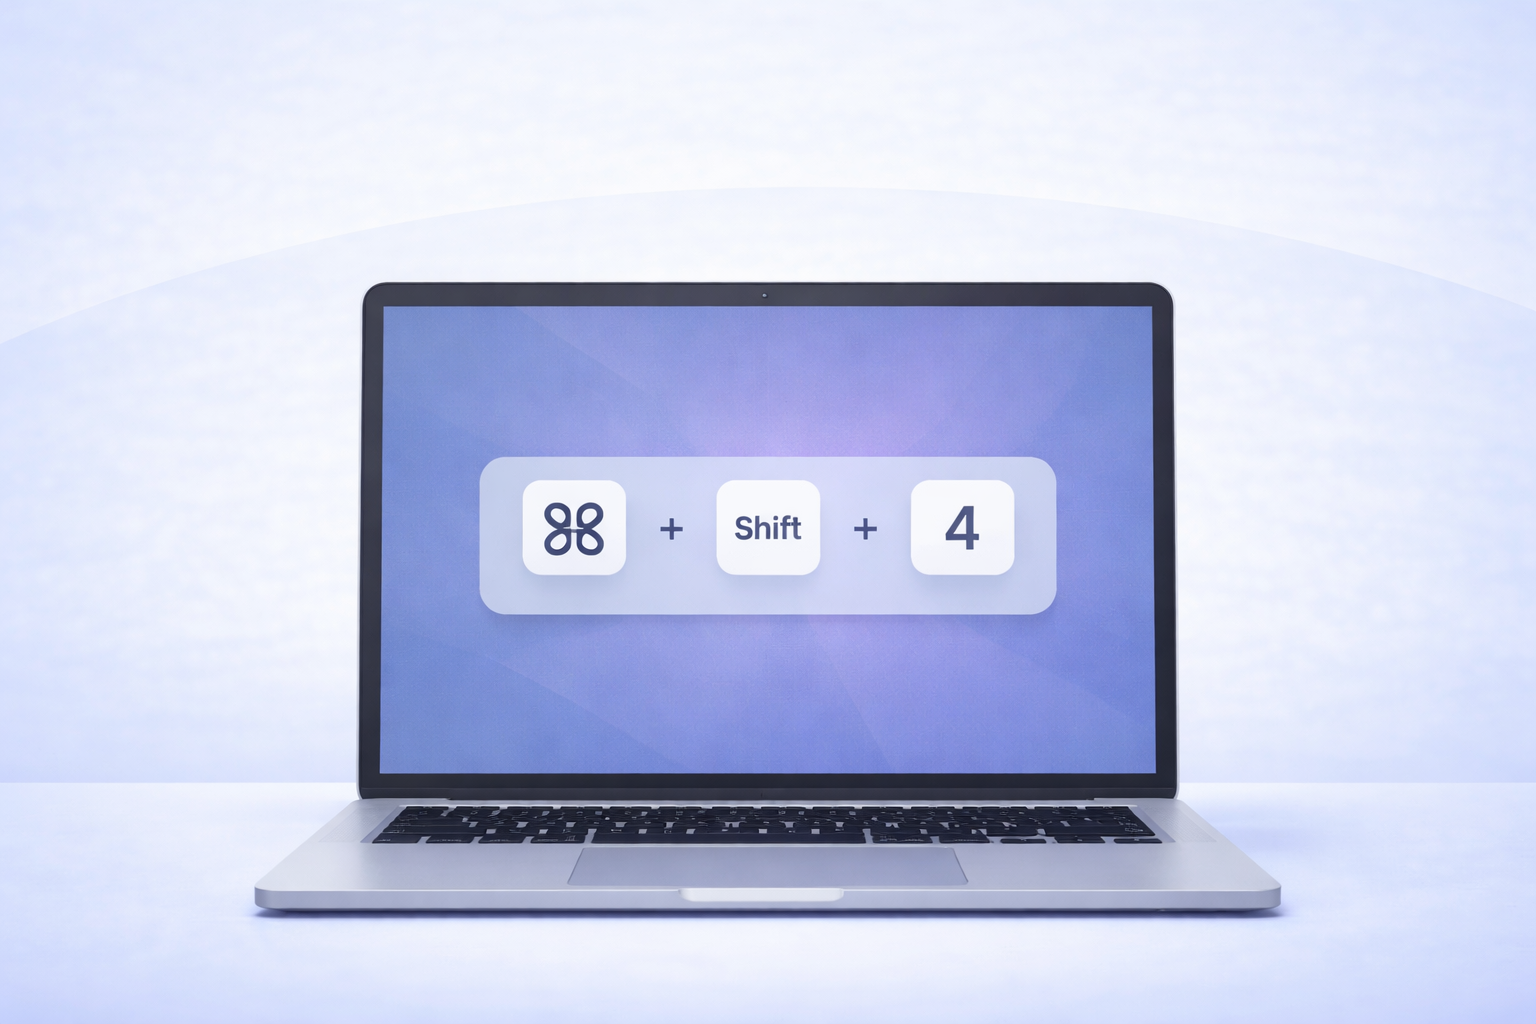
Click the Zight icon in your menu bar (Mac) or system tray (Windows), then select Screenshot. Alternatively, use the keyboard shortcut — on Mac it’s ⌘+Shift+6 by default (customizable in Zight Preferences). Your cursor turns into a crosshair. Click and drag to select the exact region you want.
This is already a crop — you’re capturing only the area you need, not the full screen. In my experience, this eliminates the need to crop after the fact about 80% of the time.
Step 2: Fine-Tune Your Crop (If Needed)
After capturing, Zight opens the image in its built-in editor. If you captured slightly too much, click the Crop tool in the editing toolbar. Drag the handles to adjust, then press Enter or click the checkmark to apply. The crop is instant — no loading time, no separate app.
Step 3: Add Annotations
This is where Zight creates a workflow that built-in tools simply can’t match. Right in the same editor, without switching apps, you can:
- Add arrows pointing to the exact element you’re referencing
- Draw boxes around sections to highlight them
- Add text labels with custom colors and sizes
- Blur sensitive information — names, emails, account numbers — with one click
- Add numbered steps so the viewer follows your intended reading order
We’ve seen teams at Zight use the annotation features to replace entire paragraphs of written explanation. A screenshot with two arrows and a text label communicates in 3 seconds what a 200-word Slack message takes 2 minutes to read.
Step 4: Share via Instant Link
When you’re done editing, Zight automatically uploads the image and copies a shareable link to your clipboard. Paste it into Slack, Jira, Notion, email, a GitHub issue — anywhere that accepts a URL. The recipient clicks the link and sees your cropped, annotated screenshot immediately. No attachments, no file size limits, no “can you re-send that as a PNG?”
Pro tip: Zight links include view tracking, so you can see if (and when) someone opened your screenshot. For async teams spread across time zones, this is genuinely useful — you know whether the person has seen your bug report or design feedback without pinging them.
How to Cut a Screenshot: Built-In Tools vs. Zight (Comparison Table)
Whether you think of it as cropping, cutting, or trimming a screenshot, here’s how the three methods stack up side by side:
| Feature | Preview (Mac) | Photos / Snipping Tool (Windows) | Zight (Mac, Windows, Chrome) |
|---|---|---|---|
| Crop screenshots | ✅ Yes | ✅ Yes | ✅ Yes |
| Region capture (crop at capture time) | ✅ ⌘+Shift+5 region mode | ✅ Win+Shift+S | ✅ Crosshair selection |
| Annotations (arrows, text, boxes) | ⚠️ Basic markup tools | ⚠️ Pen and highlighter only | ✅ Full annotation suite |
| Blur / redact sensitive info | ❌ No | ❌ No | ✅ One-click blur tool |
| Instant shareable link | ❌ Must upload separately | ❌ Must upload separately | ✅ Auto-generated link |
| View tracking | ❌ No | ❌ No | ✅ Yes |
| Cloud storage included | ❌ Local file only | ❌ Local file only | ✅ Yes, with search |
| Screen recording | ⚠️ QuickTime (separate app) | ⚠️ Game Bar / Snipping Tool | ✅ Built-in, same workflow |
| GIF creation | ❌ No | ❌ No | ✅ Yes |
| Price | Free (built-in) | Free (built-in) | Free tier available; Pro from $9.95/mo |
To be honest: if all you need is a one-off crop with no annotations and no sharing, Preview and Photos work fine. They’re free, they’re already on your computer, and they get the job done. Where they fall short is the full workflow — the moment you need to add context, redact information, or share the result quickly with someone else, you’re switching between 2–3 apps and dealing with file uploads. That’s the gap Zight fills.
When to Use Each Method
Not every screenshot needs the same workflow. Here’s the decision framework I use:
Use Preview (Mac) or Photos (Windows) When:
- You need a quick crop for personal use (saving a recipe, cropping a meme)
- You’re working offline and don’t need to share
- You don’t need annotations or blur
- You’re already in a workflow that doesn’t require a link
Use Zight When:
- You’re sharing the screenshot with a teammate, client, or stakeholder
- You need to point out a specific element (bug, design issue, data point)
- The image contains sensitive information that needs to be blurred
- You want a searchable archive of your screenshots and recordings
- You’re doing this multiple times per day (the time savings compound fast — we’ve seen teams save 15+ minutes daily)
- You want to pair a screenshot with a quick screen recording or GIF for additional context
Advanced Tips for Cropping Screenshots Like a Pro
After years of doing this daily, here are the non-obvious tricks I’ve picked up:
1. Capture a Tight Region First, Crop Second
Both macOS (⌘+Shift+5 → Capture Selected Portion) and Windows (Win+Shift+S) let you capture a specific region. This is faster than full-screen capture + crop — and produces smaller files. Use full-screen capture only when you specifically need the full context.
2. Use Keyboard Shortcuts Religiously
The difference between a 30-second workflow and a 2-minute workflow is usually keyboard shortcuts. Memorize these:
- Mac: ⌘+Shift+5 (capture), ⌘+K (crop in Preview), ⌘+Z (undo)
- Windows: Win+Shift+S (Snipping Tool), Ctrl+E (edit in Photos), Ctrl+S (save)
- Zight: Customizable hotkey for screenshot (default ⌘+Shift+6 on Mac), then all editing happens in the same window
3. Always Blur Before Sharing
I’ve seen more accidental data exposure from uncropped screenshots than I can count — email addresses, customer names, auth tokens visible in browser tabs. If you’re sharing externally, take 5 seconds to blur anything sensitive. Zight’s blur tool makes this a single drag gesture. With Preview or Photos, you’d need a third tool like Pixelmator or Paint.NET.
4. Save as PNG for Text, JPEG for Photos
PNG preserves sharp text edges and is lossless — ideal for UI screenshots, code, error messages. JPEG compresses more aggressively, which works for photographic content but creates blurry artifacts around text. Default to PNG unless file size is a hard constraint.
Frequently Asked Questions
How do I crop a screenshot on Mac without any additional software?
Open the screenshot in Preview (double-click the file), select the area you want to keep with the Rectangular Selection tool, then press ⌘+K to crop. Save with ⌘+S. No additional downloads required — Preview comes pre-installed on every Mac. For even faster results, click the floating thumbnail that appears after taking a screenshot (bottom-right corner) to edit immediately.
How do I crop a screenshot on Windows 11?
You have two options. To crop an existing screenshot, open it in the Photos app, click the Edit (pencil) icon, then select the Crop tool and adjust the handles. To capture an already-cropped screenshot, press Win+Shift+S to open Snipping Tool’s region selector and drag to capture only the area you need. Both methods are free and built into Windows 11.
Can I crop and annotate a screenshot in one step?
Yes — tools like Zight let you capture a specific region (effectively cropping at capture time), add annotations such as arrows, text, boxes, and blur, and then instantly share via a link, all in a single workflow. Built-in tools like Preview and Photos require you to crop in one app and then use a separate tool for annotation and sharing.
What is the fastest way to crop and share a screenshot?
The fastest method is to use a tool that combines capture, crop, annotation, and sharing into one workflow. With Zight, you press a keyboard shortcut, drag to select a region, optionally crop or annotate, and a shareable link is automatically copied to your clipboard — typically in under 10 seconds. Using built-in OS tools, the same process involves 3–5 separate apps and manual file uploading, taking 1–3 minutes.
Is there a free way to crop screenshots online?
Yes, there are browser-based image editors like Photopea and iLoveIMG that can crop screenshots without installing software. However, these require uploading your image to a third-party server, which introduces privacy concerns — especially for work screenshots that may contain sensitive data. For a free option that stays on your machine, use Preview (Mac) or Photos (Windows). For a tool that crops, annotates, and shares securely, Zight offers a free tier.
Stop Cropping Screenshots the Hard Way
Here’s the reality: every developer, PM, and customer success rep I’ve worked with takes dozens of screenshots per week. Most of them need cropping. Many need annotation. Nearly all of them get shared with someone else. If you’re still doing the capture → save → open in editor → crop → save again → upload → paste loop, you’re spending 2–3 minutes on something that should take 10 seconds.
Built-in tools are great for occasional use. But if visual communication is part of your daily work — bug reports, design reviews, customer support, internal documentation, onboarding — Zight turns a five-step workflow into one step. Capture the region, annotate it, share the link. Done.
Ready to crop, annotate, and share screenshots in seconds? Try Zight for free — no credit card required. Available for Mac, Windows, and Chrome.
Based on testing by the Zight team. Last updated July 2024.


