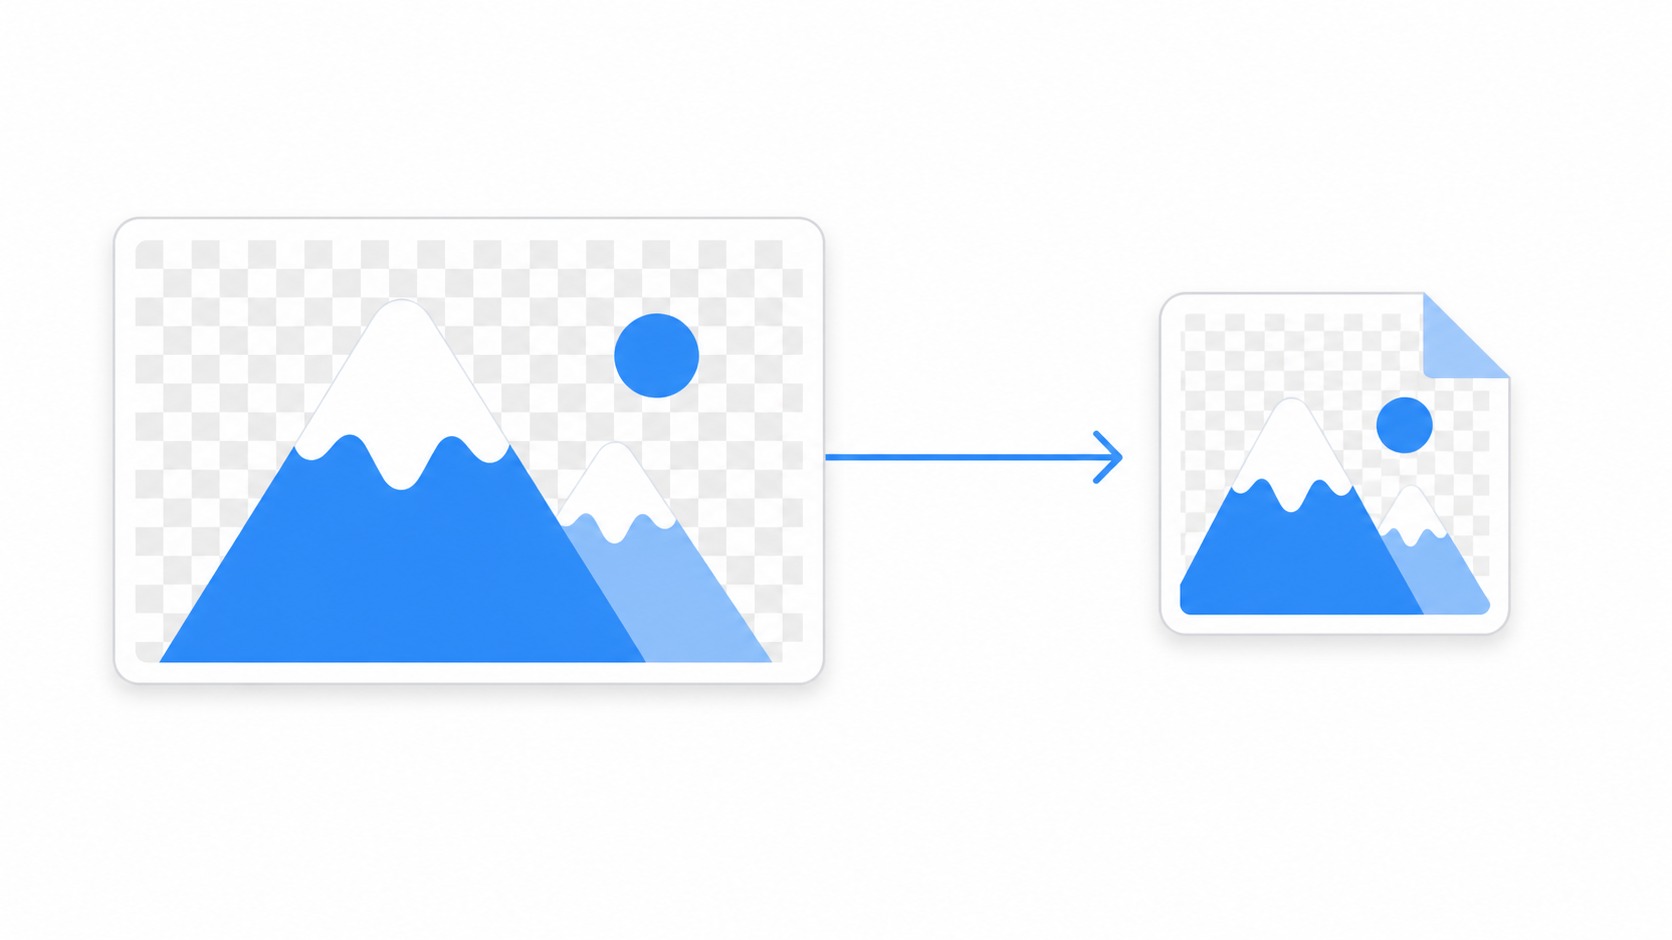
PNG files become a problem at the exact moment they are supposed to be helpful. A transparent product image looks perfect in a design file, then turns into a heavy attachment, a slow-loading help article graphic, or a blurry export with a pale edge around the object. Compression only helps if it keeps the transparency clean.
Quick answer
To compress a PNG without losing transparency, keep the file in a format that supports alpha transparency, resize oversized dimensions first, remove unused metadata, use lossless PNG compression when sharp edges matter, and test the image on light and dark backgrounds before sharing. Convert to WebP only when the destination supports transparent WebP.
Decision table
| Method | Transparency support | Best use |
|---|---|---|
| Lossless PNG compression | Keeps full transparency. | Logos, UI screenshots, icons, and images with sharp edges. |
| Resize dimensions | Keeps transparency if exported correctly. | Images that are much larger than their display size. |
| Reduce color palette | Can keep transparency, but needs testing. | Simple graphics, flat illustrations, and limited-color UI images. |
| Convert to WebP | Supports transparency in modern workflows. | Web pages and tools that accept WebP uploads. |
| Flatten to JPG | Does not preserve transparency. | Only when a solid background is acceptable. |
Why PNG compression is different
PNG is often chosen because it keeps edges sharp and supports transparent pixels. That makes it useful for logos, interface captures, product images, stickers, and graphics placed on different backgrounds. The same strengths can also create large files when the canvas is big or the image contains many unique colors.
The goal is not to make the smallest possible file at any cost. The goal is to keep the transparent edge clean, preserve the detail people need, and reduce the parts of the file that do not improve understanding.
Start with dimensions before compression
If a PNG is 4000 pixels wide but will appear at 900 pixels wide, compressing alone is the wrong first move. Use an image resizer to match the real display size, then compress the resized copy. That single step often removes more waste than aggressive quality settings.
Keep a high-resolution original if the image may be reused later. Export a separate web or sharing version for the current job. That prevents a support article, email, or ticket attachment from carrying pixels nobody can see.
Check transparency before and after
A transparent PNG can look fine in a viewer with a white background and fail on a dark page. Always test the compressed image on at least two backgrounds. Look for white halos, jagged edges, gray boxes, missing shadows, and small semi-transparent details that vanished during export.
If the image has soft shadows or anti-aliased edges, transparency quality matters more than raw file size. A slightly larger PNG with clean edges is usually better than a tiny file that looks unprofessional wherever it is placed.
Lossless compression for logos and UI
Use lossless PNG compression when the asset includes text, interface details, icons, or brand marks. Lossless compression rewrites the file more efficiently without intentionally changing visible pixels. It is the safest default when clarity is more important than squeezing out every byte.
This is especially important for screenshots. Text and thin lines degrade quickly when the wrong format or setting is used. If a customer needs to read a label, do not trade that label for a smaller attachment.
Palette reduction can work for simple graphics
Some PNGs can be made smaller by reducing the number of colors. This works best for flat graphics, diagrams, and simple UI images. It can work poorly for gradients, shadows, photos, and screenshots with many subtle tones.
When you reduce colors, compare edges and transparent areas closely. If the image picks up banding or rough outlines, return to a less aggressive setting. The best compression setting is the one that survives the actual background and display size.
When WebP is the better answer
Transparent WebP can be much more efficient for web use, but the destination must accept it. Use the PNG to WebP converter when you control the website or know the upload system supports transparent WebP. Keep the PNG when a platform, template, or recipient expects PNG.
Do not convert just because a tool offers the option. A smaller file that cannot be uploaded, previewed, or reused in the workflow is not an improvement. Match the format to the destination.
Avoid flattening unless you mean it
Flattening a PNG onto a white or colored background removes transparency. That may be fine for a social post, a PDF, or a screenshot that will always appear on one background. It is not fine for a logo, product cutout, icon, or reusable asset that needs to sit on different colors.
If you must flatten, choose the exact background color used in the destination. Guessing white can create an obvious rectangle later on off-white, dark, or gradient backgrounds.
Compressing screenshots for sharing
Product screenshots often include large blank areas. Crop or resize before compressing. Use the screenshot app to capture only the relevant window or region, then use annotations to call out what matters before reducing file size.
For support, clarity beats perfection. A cropped, annotated, moderately compressed PNG is better than a huge full-screen image with no direction. The recipient should know where to look within a second or two.
Handling very large PNG attachments
If a platform has a strict upload ceiling, use the 8MB compressor after resizing and format checks. If the image is a tall walkthrough or a combined screenshot, the image splitter can also make it easier to share readable sections instead of one enormous file.
Splitting is useful when compression would make text too small or muddy. A set of clear images is more useful than one compressed image nobody can read.
Metadata and hidden weight
PNG files can carry metadata, color profile information, and editor leftovers. Removing unnecessary metadata can reduce file size without affecting transparency. Keep essential color information when brand accuracy matters, but do not carry unused editing data into every web image.
For routine support screenshots, metadata removal is usually safe. For brand assets, design handoffs, or print-adjacent work, confirm with the design owner before stripping profiles or changing export settings.
Common PNG compression mistakes
The first mistake is converting to JPG and discovering the transparent background is gone. The second is shrinking dimensions until text becomes unreadable. The third is testing only on a white background and missing edge artifacts that appear on the real page.
Another common mistake is compressing the master asset instead of creating a delivery copy. Keep originals clean. Compress the version meant for a ticket, article, email, or page.
A simple decision workflow
Ask four questions in order. Is the image larger than its display size? Resize it. Does it need transparency? Keep PNG or transparent WebP. Does the destination support WebP? Consider conversion. Does the image still exceed the limit? Use measured compression or split the image.
That order prevents over-compression. You remove unnecessary dimensions first, then choose the right format, then compress only as much as the destination requires.
How to inspect a transparent PNG
Put the image on a white background, a dark background, and the actual destination background. This catches the edge problems that a normal file preview hides. Pay attention to corners, soft shadows, hairline borders, and any semi-transparent pixels around text or icons.
Zoom to the display size first, then zoom in for diagnosis. The display-size view tells you whether the audience will notice a problem. The zoomed view tells you what caused it. Do not reject a useful compression setting because of artifacts that only appear at 500 percent and never appear in the final layout.
If the image is a logo or product mark, ask whether transparency is part of the brand asset requirement. Some marks need clear space and a specific export profile. Treat those files differently from disposable screenshots.
Use cases for PNG compression
Support teams compress PNG screenshots so they can attach or upload visual context quickly. The best support image is cropped, annotated, readable, and small enough to move through the ticket system without friction. It does not need to preserve every pixel from a full Retina display.
Web teams compress transparent PNGs when the asset must sit cleanly on a page. They should test the asset against the page color and any hover or dark-mode state. A file that looks fine in isolation can show a visible matte when the page background changes.
Design and product teams compress PNGs for review packets, release notes, and quick collaboration. They should keep the source asset elsewhere and export delivery copies for each destination. That keeps the review lightweight without damaging the reusable original.
Troubleshooting transparency problems
If a white rectangle appears, the file was flattened or the destination is showing a preview on white. Reopen the file in a viewer that shows transparency and confirm whether the alpha channel still exists. If it does not, return to the source and export PNG again.
If edges look pale on dark backgrounds, the asset may have been matted against white before export. Re-export from the original with real transparency, or rebuild the edge against the intended background. Compression cannot fully repair a bad matte.
If the file stays too large, separate the problem. First reduce dimensions. Then remove metadata. Then test WebP if the destination accepts it. Only after those steps should you use stronger compression that changes visible detail.
A final review checklist
Confirm the file opens with transparency intact, appears clean on the destination background, and remains readable at the final display size. Check whether the upload system changed the format after upload, because some platforms create their own preview or derivative file.
Name the compressed copy clearly so nobody mistakes it for the master. A filename such as product-card-transparent-web.png tells the next person what the file is for. That small bit of discipline prevents teams from reusing a heavily compressed delivery file as a source asset later.
How to brief someone else before they do the work
If you hand this task to a teammate, do not just say compress png. Give them the purpose, audience, destination, and constraint. A support reply, a public help article, an internal review, and a customer handoff all require different tolerance for file size, context, privacy, and polish.
Use the decision table as a short brief. If the job looks like Lossless PNG compression, name that explicitly and explain why. If it looks more like Resize dimensions, tell the teammate what trade-off matters most. A clear brief prevents the editor from optimizing the wrong thing and creating another review cycle.
What to save for audit or reuse
Keep the source file, the delivery file, and a short note about what changed. That note does not need to be formal. It can be as simple as the page range used, the bitrate chosen, the crop reason, the compression setting, or the link destination. The point is to make the work repeatable.
This matters most when the asset supports a customer, prospect, legal review, bug report, or training workflow. Someone may need to know whether the file was edited, why a section was removed, or where the original lives. A clean delivery file plus a traceable source is easier to defend than a mystery attachment.
How to review the result with a non-expert
Ask the reviewer what they understand from the final file before explaining your choices. If they can identify the point quickly, the how to compress png images without losing transparency workflow probably worked. If they ask where to look, what changed, or why the file was sent, the asset needs more context or a different format.
Review against real conditions. For Reduce color palette, test the destination where the viewer will open it. For Convert to WebP, check whether the chosen format still supports the viewer’s decision. For Flatten to JPG, confirm that you did not accidentally replace an archive-quality source with a smaller delivery copy.
When to stop optimizing
Optimization has a point of diminishing returns. Stop when the file is clear, safe to share, accepted by the destination, and small enough for the workflow. Chasing a smaller number can waste time and damage the part of the asset that actually helps the viewer.
A useful test is whether another round of editing would change the viewer’s outcome. If it would not help them understand, approve, reproduce, or act faster, stop. Send the file with a clear note and move on to the next step in the workflow.
Documentation habits that prevent repeat mistakes
Create a tiny internal note for recurring compress png tasks. Include preferred settings, naming examples, privacy checks, and the approved place to store originals. Teams do not need a long policy for every asset, but they do need a shared default that keeps quality consistent.
Update that note when a tool, CMS, ticket system, or sharing workflow changes. Many quality problems come from old instructions that were correct for last year’s destination. A five-minute update can prevent dozens of bad exports, oversized attachments, or confusing handoffs.
Handoff examples you can copy
For an internal teammate: I prepared this for compress png and optimized it for review, not archiving. The source file is still available, the delivery version is the one attached or linked here, and the main thing to check is whether the viewer can understand the point without extra explanation.
For a customer or prospect: I pulled together the smallest useful version so you do not have to sort through unrelated material. Please review the visible section, file, or recording linked here and use the written note as the source for what action is needed next.
For documentation or enablement: this asset should support the written process, not replace it. Add the file near the step where it helps, label it with the product area and date, and remove it when the workflow changes. That keeps how to compress png images without losing transparency work from becoming stale visual clutter.
For support or engineering: include the context that a viewer cannot infer from the asset. Add account type, browser or device where relevant, the expected result, the actual result, and whether the file has been edited for privacy or size. The more sensitive the workflow, the more important that note becomes.
For a manager reviewing the process: judge the output by whether it reduced confusion, not by whether every possible setting was perfect. A clean, timely, well-labeled delivery file is usually better than an overworked asset that arrives after the decision has already moved on.
What good looks like after sharing
A good compress png outcome is quiet. The recipient opens the asset, understands why it was sent, and can act without asking for a cleaner file, a missing page, a different format, or the original context. That is the standard to use when judging the final result. If the next message is a decision, approval, reproduction note, or useful question, the asset did its job.
The file should also be easy for your own team to recognize later. Clear title, clear destination, clear source, and clear owner matter more than people expect. Many teams lose time not because the asset was bad, but because nobody can tell which version should be used. Put the final version where the next person will naturally look for it.
Finally, the workflow should be repeatable by someone who was not present for the first request. If another teammate can follow the same notes and produce a similar result for compress png, you have a working process rather than a one-off fix.
That repeatability is what separates a useful content operation from a collection of improvised exports. The goal is not to make every asset perfect. The goal is to make the next share clear, appropriately scoped, and easy to trust. When in doubt, choose the version that makes the recipient’s next action obvious.
Useful Zight workflows
- resize an image
- convert PNG to WebP
- split an image
- compress files under 8MB
- capture screenshots
- annotate images
Frequently asked questions
Can PNG compression keep transparency?
Yes. Lossless PNG compression and careful resizing can keep transparency intact. Always export to a format that supports alpha transparency and test the result on different backgrounds.
Why did my transparent PNG get a white background?
It was likely flattened or converted to a format that does not preserve transparency, such as standard JPG. Re-export from the original as PNG or transparent WebP.
Is WebP better than PNG for transparency?
WebP can be smaller and supports transparency, but it is only better when the destination supports WebP. PNG remains a safe choice for broad compatibility.
Should I resize before compressing a PNG?
Yes, if the image dimensions are larger than needed. Resizing oversized images usually reduces file size while preserving more clarity than aggressive compression.
How do I avoid halos around transparent edges?
Export from a clean original, preserve alpha transparency, avoid flattening onto the wrong color, and test the result on light and dark backgrounds.
Next step
Keep the transparent edge clean, reduce only what the viewer will not miss, and use PNG to WebP or image resizing when the destination calls for it.