Guides
How to Use Zight Integration in Slack
Zight makes it simple to capture and share quick screen recordings directly within Slack. Perfect for async updates, quick demos, or explaining something visually without scheduling a meeting.
1
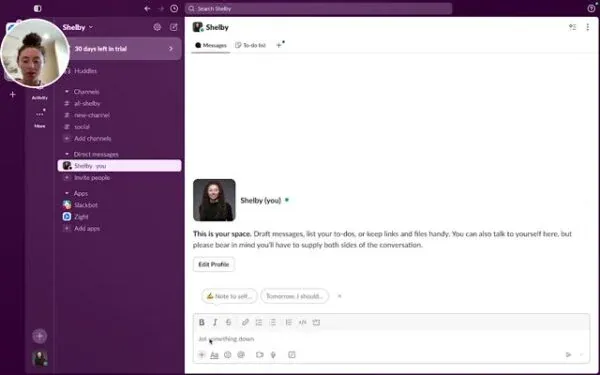
Open Slack and Start a Message
2
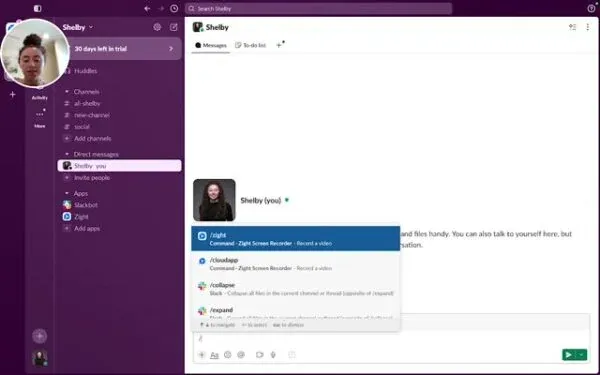
Locate and Select Zight
- Type “/zight” and click send.
3
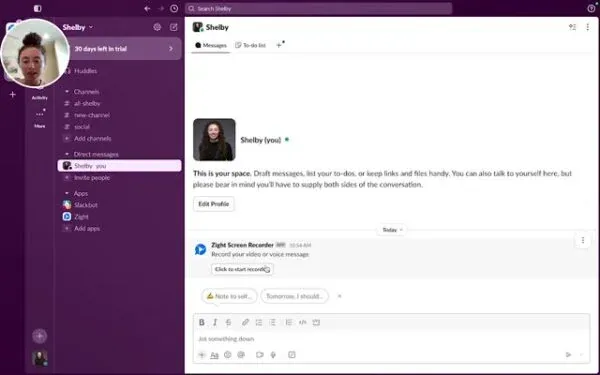
Click on “Click to start recording”
4
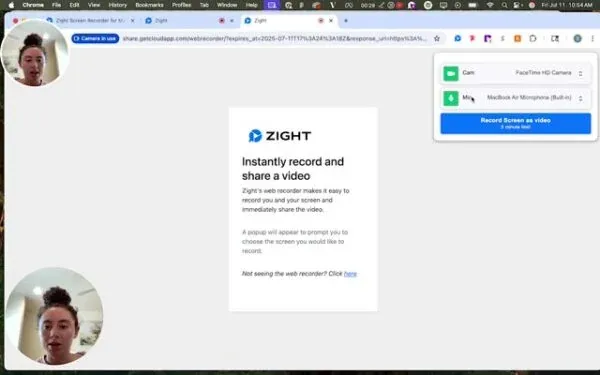
Set Up Camera and Mic
- Choose your camera and mic settings, then click on “record screen as video”.
5
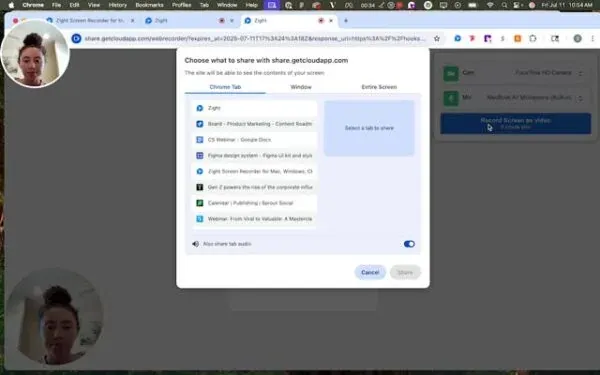
Select the Screen to Record
6
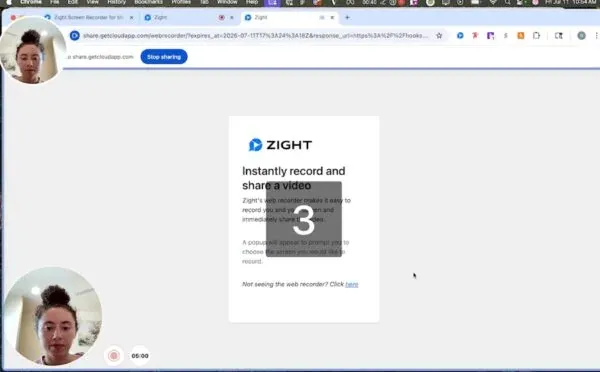
Start Sharing and Recording
- A countdown will begin, then start sharing your screen to make the video recording.
7
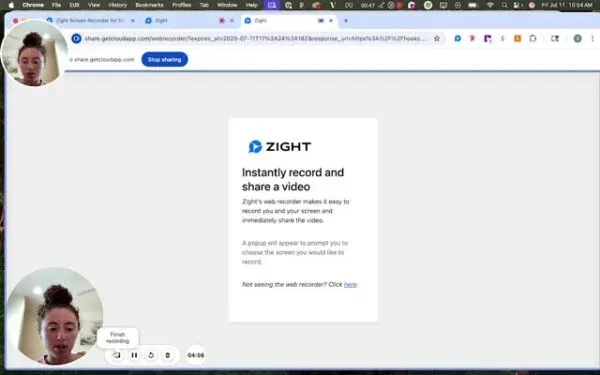
End the Recording When You Are Done
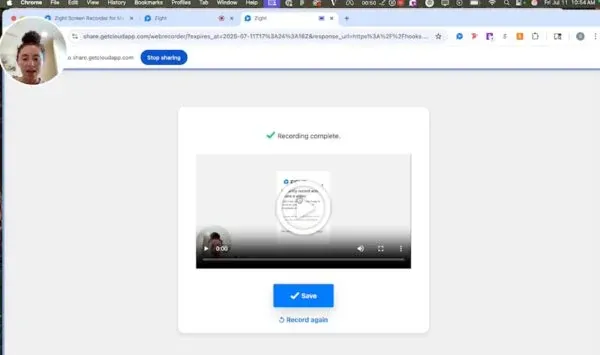
8
Review and Save the Video
- You can watch your video before sending it. Click on “Save” to send the video in Slack.
9
Return to Slack
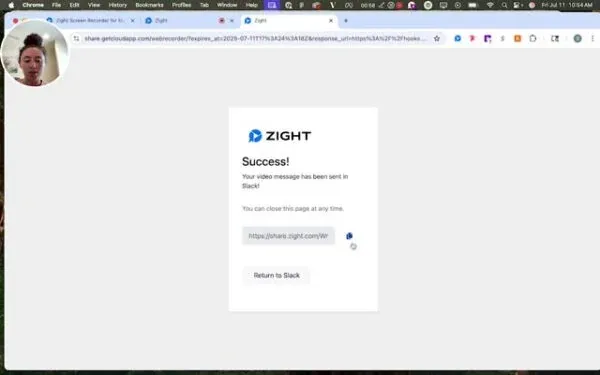
10
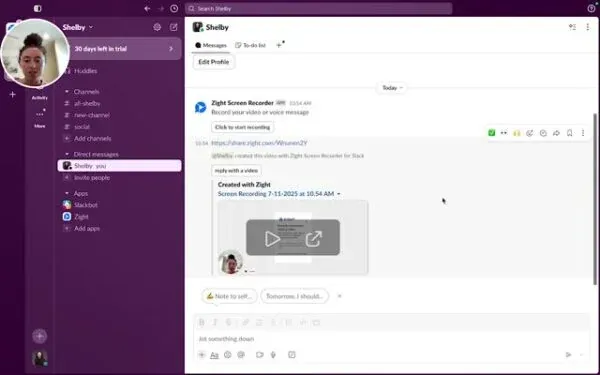
Confirm Video Sent in Slack
- Your recording will appear in Slack message.