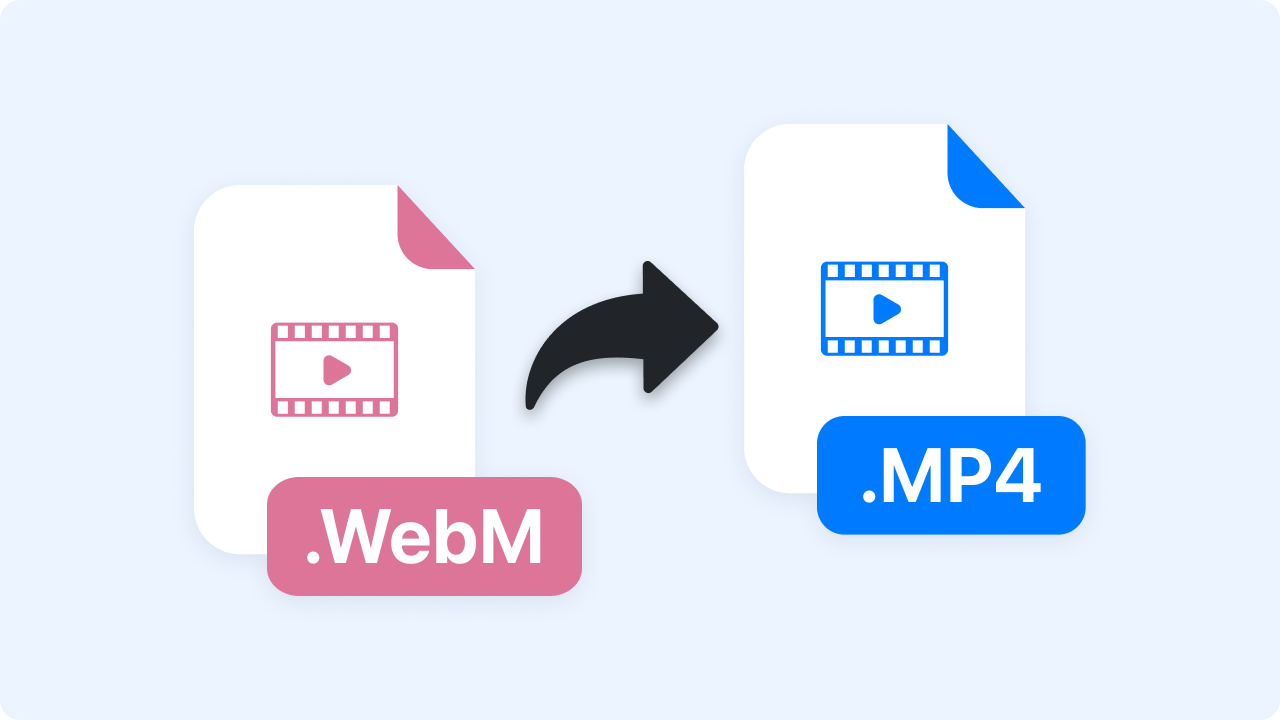
WebM to MP4: How to Convert Video Files Quickly (5 Easy Methods for 2026)
You just recorded your screen, exported a tutorial, or downloaded a clip — and it’s stuck in WebM format. Now your colleague can’t open it, your video editor won’t import it, or your client’s iPhone refuses to play it. Converting WebM to MP4 is one of the most common video workflow headaches in 2026, especially for remote teams sharing recordings across different platforms and devices. MP4 (H.264) is the universal standard that plays everywhere — browsers, phones, Slack, email, LMS platforms — while WebM remains niche despite its open-source origins.
⚡ Quick Answer — WebM to MP4
To convert WebM to MP4, you can use a free online converter like CloudConvert or HandBrake, run a one-line FFmpeg command, or use VLC’s built-in conversion feature. The fastest approach for teams, however, is to skip the conversion step entirely — Zight is a screen recording and async video tool that records and exports directly to MP4 (H.264), so your clips are universally compatible from the moment you hit stop. No file juggling, no quality loss, no extra software.
In this guide, we’ll walk through five proven methods to convert WebM to MP4 — from no-install browser tools to power-user command-line workflows — plus show you how to eliminate the conversion problem altogether. Whether you’re a developer sharing bug reproductions, a product manager recording walkthroughs, or a customer success rep building a video knowledge base, you’ll find the right approach below.
Why Would You Need to Convert WebM to MP4?
Before jumping into the methods, it’s worth understanding why this conversion keeps coming up. WebM is an open, royalty-free video format developed by Google. It’s excellent for web playback — YouTube and most browsers support it natively — but the format falls short in several real-world scenarios:
- Device compatibility: Apple devices (iPhones, iPads, older macOS versions) don’t natively play WebM files. Neither do many Android gallery apps or smart TVs.
- Video editing software: Adobe Premiere Pro, Final Cut Pro, DaVinci Resolve, and Camtasia all prefer MP4/MOV inputs. Importing WebM often requires plugins or transcoding first.
- Workplace tools: Slack, Microsoft Teams, Google Slides embed previews, and most LMS platforms expect MP4. WebM files get treated as generic attachments.
- Email and client sharing: When you attach a recording to an email or drop it into a client portal, MP4 is the only format that reliably previews inline.
- File size and quality: While WebM (VP8/VP9) can be efficient, MP4 (H.264) has broader hardware-accelerated decoding, meaning smoother playback on more devices with less battery drain.
The bottom line: MP4 is the lingua franca of video. If you need your recording to just work everywhere — convert it to MP4, or better yet, record in MP4 from the start.
WebM vs. MP4: A Quick Comparison
Before converting, here’s how the two formats stack up in 2026:
| Feature | WebM (VP8/VP9) | MP4 (H.264/H.265) |
|---|---|---|
| Browser support | Chrome, Firefox, Edge, Opera | All major browsers including Safari |
| Mobile playback | Limited (Android partial, iOS poor) | Universal (iOS, Android, all devices) |
| Video editors | Limited native support | Supported by all major NLEs |
| Slack / Teams preview | No inline preview | Full inline preview + playback |
| Average file size | Slightly smaller (VP9) | Slightly larger but hardware-decoded |
| Codec licensing | Royalty-free (open source) | Licensed (but universally adopted) |
| Streaming/embedding | Good for web-only use | Best for cross-platform distribution |
Verdict: Unless you’re optimizing exclusively for web delivery and file size, MP4 is the safer, more versatile choice for professional workflows.
Method 1: Convert WebM to MP4 Online (No Install Required)
Online converters are the fastest path when you have a single file and don’t want to install anything. Several reputable tools handle this for free.
Step 1: Choose an online converter
Reliable options in 2026 include CloudConvert, Convertio, and FreeConvert. CloudConvert supports files up to 1 GB on its free tier and doesn’t add watermarks.
Step 2: Upload your WebM file
Navigate to the converter’s website, click “Select File,” and choose your .webm file from your local drive. Most tools also accept files from Google Drive, Dropbox, or a direct URL.
Step 3: Set the output format to MP4
Select MP4 as your target format. If the tool offers codec options, choose H.264 for maximum compatibility. Leave the resolution and bitrate at “auto” or “same as source” unless you need to resize.
Step 4: Convert and download
Click “Convert.” Processing typically takes 30 seconds to 2 minutes for a 5-minute recording. Once finished, download the MP4 file to your computer.
Pros: Zero installation, works on any OS, quick for one-off files.
Cons: File size limits on free tiers, requires uploading potentially sensitive recordings to a third-party server, slower for large or batch files.
Method 2: Convert WebM to MP4 with HandBrake (Free Desktop App)
HandBrake is a free, open-source video transcoder available for Windows, macOS, and Linux. It’s the go-to desktop tool for video conversion without any cost.
Step 1: Download and install HandBrake
Visit handbrake.fr and download the version for your operating system. Installation takes about one minute.
Step 2: Open your WebM file
Launch HandBrake and drag your .webm file into the application window, or click “Open Source” and navigate to the file. HandBrake will scan the file and display its properties.
Step 3: Select the MP4 output preset
In the Preset dropdown, choose “Fast 1080p30” for a solid balance of speed and quality. Under the Summary tab, ensure the format is set to MP4. Under the Video tab, confirm the codec is H.264 (x264).
Step 4: Set your destination and start
Click “Browse” at the bottom to choose where the MP4 will be saved. Then click the green “Start Encode” button. A 10-minute screen recording typically converts in 1–3 minutes depending on your hardware.
Pros: No watermarks, no file size limits, granular quality controls, batch queue support.
Cons: Requires installation, slightly steeper learning curve for first-time users.
Method 3: Convert WebM to MP4 with VLC Media Player
If you already have VLC installed (and millions of people do), you can convert video files without downloading anything else. Most people don’t realize VLC has a built-in conversion feature.
Step 1: Open VLC’s Convert/Save dialog
Launch VLC, then go to Media → Convert / Save (or press Ctrl + R on Windows / Cmd + Shift + S on Mac).
Step 2: Add your WebM file
Click the “+ Add” button and select your .webm file. Then click “Convert / Save” at the bottom of the dialog.
Step 3: Choose the MP4 profile
In the Profile dropdown, select “Video – H.264 + MP3 (MP4)”. This ensures your output uses the H.264 codec in an MP4 container with audio intact.
Step 4: Set the output file and convert
Click “Browse” next to “Destination file” and choose a save location. Make sure the filename ends in .mp4. Click “Start.” VLC will process the file — the progress bar at the bottom shows conversion status.
Pros: Free, likely already installed, simple interface.
Cons: Limited quality controls, no batch processing, occasional audio sync issues with complex WebM files.
Method 4: Convert WebM to MP4 Using FFmpeg (Command Line)
For developers and power users, FFmpeg is the gold standard. It’s a free, open-source command-line tool that handles virtually any audio/video conversion with full control over every parameter.
Step 1: Install FFmpeg
If you haven’t already, install FFmpeg:
- macOS:
brew install ffmpeg - Windows: Download from ffmpeg.org and add to your system PATH
- Linux:
sudo apt install ffmpeg(Debian/Ubuntu) or equivalent
Step 2: Run the conversion command
Open your terminal and run:
ffmpeg -i input.webm -c:v libx264 -crf 23 -preset medium -c:a aac -b:a 128k output.mp4Here’s what each flag does:
-i input.webm— specifies the source file-c:v libx264— encodes video with H.264-crf 23— sets quality (lower = higher quality; 18–23 is ideal for screen recordings)-preset medium— balances encoding speed and compression efficiency-c:a aac— encodes audio with AAC-b:a 128k— sets audio bitrate
Step 3: Batch convert multiple WebM files (optional)
To convert every WebM file in a folder at once:
for f in *.webm; do ffmpeg -i "$f" -c:v libx264 -crf 23 -preset medium -c:a aac -b:a 128k "${f%.webm}.mp4"; donePros: Maximum control, best quality-to-size ratio, batch processing, scriptable, no GUI overhead.
Cons: Requires command-line comfort, initial setup on Windows can be tricky.
Method 5: Skip the Conversion — Record Directly in MP4 with Zight
Every method above solves the same problem after the fact — you have a WebM file and need to convert it. But what if you never had to convert in the first place?
Zight is a screen recording, screenshot, and async video tool built for teams that need to share visual communication quickly. When you record with Zight’s screen recorder, your video is automatically encoded in MP4 (H.264) — the universally compatible format. No conversion step, no quality loss from re-encoding, no file format headaches.
Here’s what makes Zight the smarter workflow:
- Instant MP4 output: Every recording exports as MP4 by default — ready for Slack, email, Notion, Confluence, or any platform.
- Instant shareable link: Recordings upload to the cloud automatically. Share a link instead of attaching large files. Recipients don’t need to download anything.
- Annotations and screenshots: Need a quick annotated screenshot instead of a full video? Zight handles that too — capture, annotate, share in seconds.
- GIF creation: For short demos (under 30 seconds), Zight can export as a GIF that embeds directly in chat messages and tickets.
- Cross-platform: Available on Mac, Windows, and Chrome. Your team uses the same tool regardless of operating system.
- Built for async work: Add webcam overlay, trim clips, and organize recordings in folders — no editing software needed.
When you’re a developer recording a bug reproduction, a PM walking through a feature spec, or a CS rep building a help center — the minutes you save by not converting files add up to hours every month.
Which WebM to MP4 Method Should You Use?
Here’s a decision framework based on your situation:
| Scenario | Best Method | Why |
|---|---|---|
| One-off file, no software installed | Online converter (Method 1) | Zero setup, fast for single files |
| Multiple files, want a GUI | HandBrake (Method 2) | Free, batch queue, granular controls |
| Already have VLC installed | VLC (Method 3) | No extra downloads needed |
| Developer / technical user | FFmpeg (Method 4) | Maximum control, scriptable, best quality |
| Recording screens regularly for work | Zight (Method 5) | Eliminates conversion entirely — records in MP4 |
Tips for Getting the Best Quality When Converting WebM to MP4
Regardless of which method you choose, keep these best practices in mind:
- Don’t re-encode more than once. Every conversion introduces a tiny amount of quality loss (called “generation loss”). Convert once from WebM to MP4 and work with the MP4 from that point forward.
- Match the original resolution. Don’t upscale a 720p WebM to 1080p MP4 — you’ll get a bigger file with no real quality improvement. Keep resolution the same or downscale.
- Use CRF 18–23 in FFmpeg or HandBrake. For screen recordings with text and UI elements, CRF 18–20 preserves crisp readability. For webcam-style footage, CRF 23 is usually sufficient.
- Keep the audio bitrate at 128k or higher. If your WebM has voiceover narration, dropping below 128 kbps AAC can make speech sound muffled.
- Check playback after conversion. Quickly scrub through the MP4 to verify audio sync, visual quality, and that the full duration converted correctly.
Frequently Asked Questions
Is converting WebM to MP4 free?
Yes. All five methods described in this guide include free options. Online converters like CloudConvert offer free tiers (typically up to 1 GB per file), and desktop tools like HandBrake, VLC, and FFmpeg are entirely free and open source. Zight also offers a free plan that includes screen recording with MP4 output.
Does converting WebM to MP4 reduce video quality?
There is a small amount of quality loss whenever you transcode between lossy codecs (VP8/VP9 to H.264). However, for most screen recordings and webcam videos, the difference is imperceptible — especially if you use a quality setting like CRF 18–20 in FFmpeg or HandBrake. To avoid quality loss entirely, record in MP4 from the start using a tool like Zight’s screen recorder.
Can I convert WebM to MP4 on a Mac without installing software?
Yes. You can use an online converter like CloudConvert or FreeConvert directly in Safari or Chrome — no installation required. If you’re comfortable with Terminal, you can also install FFmpeg via Homebrew (brew install ffmpeg) and run a single command.
Why do some screen recorders save files as WebM instead of MP4?
Browser-based screen recorders — especially Chrome extensions and web apps — often default to WebM because the browser’s built-in MediaRecorder API uses VP8/VP9 codecs natively. This is technically efficient for the browser but creates compatibility problems when you try to share or edit the recording outside the web. Desktop tools like Zight use native encoding to output MP4 (H.264) directly, bypassing this limitation.
What is the fastest way to convert a large WebM file to MP4?
For large files (500 MB+), FFmpeg with hardware acceleration is the fastest option. If your machine has an NVIDIA GPU, use -c:v h264_nvenc instead of libx264. On macOS with Apple Silicon, use -c:v h264_videotoolbox. These hardware encoders can convert a 1-hour WebM file in under 5 minutes. HandBrake also supports hardware encoding — look for “VideoToolbox” or “NVENC” in the Video codec dropdown.
Stop Converting — Start Recording in MP4 with Zight
Converting WebM to MP4 is straightforward once you know the tools — but it’s also a workflow step that shouldn’t exist. Every conversion takes time, introduces potential quality loss, and adds friction to sharing recordings with your team.
Zight eliminates the problem at the source. Record your screen, webcam, or both — and get an instantly shareable MP4 link the moment you stop recording. No file conversion, no uploading to a third-party converter, no wondering if the recipient can open your file.
Whether you’re explaining a bug to your engineering team, walking a client through a dashboard, or building a library of onboarding videos, Zight keeps your workflow fast and your files universally compatible.


