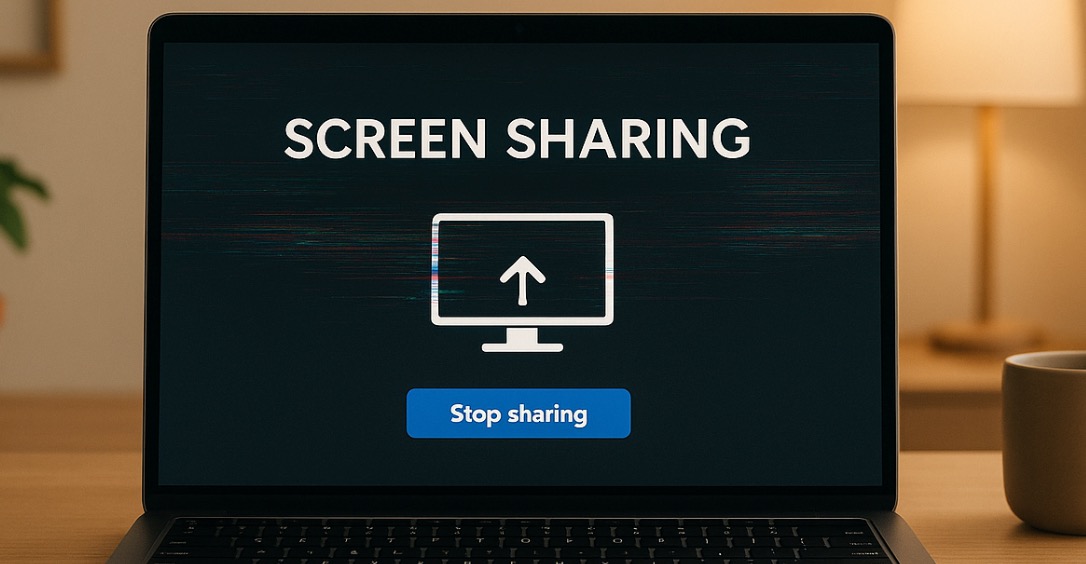
Screen sharing issues can disrupt meetings and waste valuable time, but most problems are easy to fix. Here’s what you need to know:
- Common issues include black screens, frozen displays, lag, missing buttons, and connection drops.
- Main causes often involve outdated software, misconfigured settings, or network restrictions.
- Quick fixes: Check your internet, update your software, enable permissions, and adjust device settings.
Zoom Screen Share Not Working? Quick Solutions and Tips!
Common Screen Sharing Problems and Their Causes
Knowing the typical issues that arise during screen sharing can save you a lot of time and frustration. By pinpointing these problems and understanding their causes, you can troubleshoot efficiently and get back to collaborating without unnecessary delays.
Most Frequent Screen Sharing Issues
Here are some of the most common challenges people face with screen sharing:
- Black or blank screens: This happens when the application fails to detect or display content properly.
- Frozen displays: Only a static image is shared, even though activity is ongoing on the presenter’s side.
- Audio and video lag: Presentations suffer from delayed cursor movements or out-of-sync audio and video.
- Missing or disabled screen sharing buttons: Without these, starting a session becomes impossible.
- Unexpected connection drops: These interruptions force users to restart sessions, breaking the flow.
- Partial screen sharing: Only parts of the screen are visible, leaving out important content.
Recognizing these problems is the first step in understanding what’s causing them.
What Causes Screen Sharing to Fail
The root causes of these issues often involve technical conflicts or incorrect settings. Here’s a closer look at the most frequent culprits:
- Browser and operating system conflicts: Some browsers and OS security measures block screen sharing by default. For instance, Safari on Mac requires manual permission adjustments.
- Outdated software and drivers: Old versions of software or device drivers can interfere with smooth communication between devices.
- Security and privacy settings: Macs, in particular, often block screen sharing until permissions are explicitly granted.
- Network and firewall restrictions: Limited bandwidth or blocked ports can prevent smooth sharing.
- Hardware acceleration issues: High-resolution displays sometimes experience freezing due to conflicts with hardware acceleration.
- Improper display configurations: Misconfigured display settings can stop the screen from being captured correctly.
- Cross-platform compatibility problems: Devices running different operating systems may struggle to communicate effectively.
Understanding these causes helps you tackle screen sharing problems head-on and ensures smoother sessions in the future.
How to Fix Screen Sharing Problems Step by Step
Screen sharing not working as it should? Follow these steps to troubleshoot and resolve common issues, so you can get back to smooth and hassle-free sharing.
Test and Fix Your Internet Connection
A reliable internet connection is essential for successful screen sharing. If your connection is unstable, you might experience freezing, lagging, or complete failure. Start by pinpointing whether the issue lies with your internet service provider, your router, or your internal network setup.
Restarting your equipment is often the quickest fix and a good place to start.
- Restart your modem and router: Unplug them for 60 seconds before plugging them back in.
- Inspect your cables: Ensure all connections are secure and free from visible wear or damage.
- Run a speed test: For HD video conferencing, aim for at least 1.5 Mbps upload and download speeds. If your speeds fall short, reach out to your internet provider.
- Use a wired connection: Connect your computer directly to your router with an Ethernet cable to avoid Wi-Fi-related issues.
- Optimize your Wi-Fi: Place your router in a central, elevated location, away from walls and obstructions. Switch between 2.4 GHz and 5 GHz bands or use a Wi-Fi analyzer to find the best channel in crowded areas.
- Clear your DNS cache: This can resolve connectivity hiccups. Also, run your computer’s built-in internet troubleshooter and scan for malware that might be slowing you down.
Once your internet is stable, move on to addressing software and permission settings to ensure uninterrupted screen sharing.
Update Your Software and Devices
Outdated software is a common culprit behind screen sharing glitches. Keeping your software up to date not only resolves bugs but also ensures compatibility between devices and applications.
- Update your browser: For Google Chrome, go to More > Help > About Google Chrome. If an update is available, click Relaunch. If not, you’re already up to date.
- On macOS: The first time you attempt to share or record your screen, a prompt may appear asking for permission. Click Allow. If you missed this step, go to your system settings to enable screen and audio sharing.
- Restart your apps: After updating, restart your applications to apply the changes.
Regular updates are key to minimizing disruptions during screen sharing sessions.
Enable Screen Sharing Permissions
Even with a stable internet connection and up-to-date software, screen sharing can fail if permissions aren’t properly configured. Modern operating systems and browsers often block screen sharing by default to protect your privacy, so you’ll need to grant access manually.
- macOS users: Open System Preferences > Security & Privacy > Privacy. Under Screen Recording and Accessibility, check the box next to your browser or conferencing app. You may need to click the lock icon and enter your password to make changes. Restart the app afterward.
- Windows users: Go to Settings > Privacy for Camera and Microphone. Ensure your conferencing app or browser has the necessary permissions. Adjust app-specific settings if you’re using Windows 10 or 11.
- Browser settings: During a meeting, look for the screen sharing or camera icon in the address bar and select Allow when prompted. Chrome users can also adjust permissions under Settings > Privacy and Security > Site Settings.
- Test permissions: After making adjustments, start a screen sharing session to verify everything is working. Restart the app if problems persist.
With 78% of remote workers relying on personal computers for work, ensuring your device has the correct permissions is crucial for maintaining smooth communication during meetings.
sbb-itb-5d91f01
Device Settings That Improve Screen Sharing
Tweaking your device and browser settings can help resolve common screen sharing issues like black screens, lag, and display glitches. Here’s a guide to adjusting your settings for smoother screen sharing.
Turn Off Browser Hardware Acceleration
While “hardware acceleration” might sound like it would enhance performance, it can actually cause problems during screen sharing. This feature shifts processing tasks from your CPU to your graphics card, which can sometimes create conflicts.
“Hardware acceleration transfers CPU processing work to inactive hardware resources like a GPU, audio card, or memory card.” – Chiradeep BasuMallick, Technical Writer
Issues like blocky visuals, dropped frames, or even black screens can often be traced back to hardware acceleration. For example, SMART Technologies found that disabling this feature on older Chromebooks significantly improved screen sharing for users facing these problems.
Here’s how to turn it off in different browsers:
- Google Chrome: Go to Settings > System, toggle off “Use graphics acceleration when available”, and restart Chrome.
- Firefox: Click the menu (three lines in the top-right corner), select Settings, scroll to the Performance section, uncheck “Use recommended performance settings”, and then uncheck “Use hardware acceleration when available.” Restart Firefox to apply the changes.
- Chromebooks: Type
chrome://flagsinto the address bar, press Ctrl+F, search for “hardware”, and disable “Hardware-accelerated video decode.” Click “RELAUNCH NOW” to apply.
Disabling hardware acceleration might slightly increase CPU usage but ensures a smoother screen sharing experience.
Remove Settings That Block Screen Sharing
After disabling hardware acceleration, check for other system settings that could interfere with screen sharing. Many security features, while designed to protect your privacy, can unintentionally block screen sharing. These include firewalls, parental controls, and device restrictions.
macOS Firewall Settings: The built-in macOS firewall is a common culprit. Even when exceptions seem properly configured, it can block screen sharing. To fix this, go to System Preferences > Security & Privacy, adjust the firewall and sharing settings to allow screen sharing, or temporarily disable the firewall during key meetings.
Power Saving Modes: Power-saving settings can throttle your device’s performance, which directly impacts screen sharing quality. Disable power-saving mode before important meetings to ensure your device has the resources it needs.
Network Restrictions: Some network configurations, especially on guest networks, can block screen sharing. Check with your network administrator to ensure necessary ports and mDNS services are enabled.
Digital Rights Management (DRM): Streaming services often have DRM protections that can block screen sharing. If you’re trying to share content from these platforms, DRM restrictions might be the issue.
For wireless display technologies like AirPlay or Google Cast, adjust your device-specific settings:
- iOS Devices: Open Control Center and tap “Stop Mirroring” to disconnect active sessions. Alternatively, go to Settings > AirPlay & Handoff and turn off AirPlay.
- Android Devices: Navigate to Settings > Connected devices > Connection preferences and disable Google Cast.
Systematically work through these potential obstacles. Start with obvious culprits like firewalls and permissions, then check power management and network settings to ensure screen sharing works as it should.
How Zight Solves Screen Sharing Problems
Zight tackles some of the biggest challenges in remote work by offering a dependable platform for screen sharing that works flawlessly across devices. Even during disruptions, Zight records your screen, giving support teams the tools they need to diagnose and fix problems quickly. This reliability ensures smooth collaboration, no matter the device.
Zight Works on All Devices and Platforms
Zight’s cross-platform compatibility is a standout feature, working seamlessly on Mac, Windows, Chrome, and iOS. With over 5 million users, it’s clear that Zight has earned trust in diverse technical environments. Customizable shortcuts further enhance the user experience, allowing individuals to tailor workflows to their specific devices. This reduces setup time and makes teamwork more efficient.
Features That Make Collaboration Better
Zight takes live screen sharing to the next level by transforming it into a streamlined, recorded communication process. Its all-in-one interface lets users create screenshots, videos, screen recordings, and GIFs – all without needing multiple apps. Need to emphasize a key point? Use the built-in annotation tools to highlight areas or add explanatory text, ensuring your audience stays on the same page.
Zight also includes an analytics feature to track content views and engagement, while collections help you organize related materials into troubleshooting libraries. Want to integrate visual content into your workflow? Embed codes make it easy to add content directly into documentation or project management tools. And while collaboration is key, Zight doesn’t overlook security – details on that are coming up next.
Safe and Managed Team Communication
Zight ensures secure communication during critical business interactions with enterprise-grade security measures. It uses up to 256-bit encrypted connections via TLS 1.2, keeping your data safe. Administrators have control over sharing settings, with options to make content public, private to the organization, or password-protected. Automatic expiration dates ensure that recordings aren’t accessible longer than necessary.
Additional security features include SSO with SAML provisioning, domain lockdown, and IP whitelisting. For extra privacy, Zight’s blur tool allows users to hide sensitive information before sharing.
“Zight claims no ownership over any of your data. You retain all intellectual property and other rights to your documents and the information contained therein.” – Zight
With SOC 2 compliance and a strong commitment to data ownership, Zight not only meets corporate governance standards but also makes secure troubleshooting a practical part of everyday workflows.
Key Points for Fixing Screen Sharing Issues
Screen sharing hiccups can disrupt the flow of meetings or collaborative sessions, but they’re often easy to fix with a little preparation. In fact, over 70% of these issues arise from misconfigured settings or outdated software. With a few straightforward steps, you can avoid most problems and keep your sessions running smoothly.
Start by tackling the usual culprits:
- Check your internet speed: Use online tools to ensure you have enough bandwidth. If possible, switch to a wired Ethernet connection for better stability.
- Update everything: Keep your apps, operating system, and drivers up to date. Updates often include bug fixes and performance improvements.
- Confirm permissions: Make sure your screen sharing app and system settings have the necessary permissions enabled.
- Adjust device settings: For example, disabling hardware acceleration in your browser or clearing the cache can resolve performance issues.
For businesses looking for a dependable solution, tools like Zight can simplify screen sharing. With cross-platform compatibility and enterprise-level security, Zight minimizes common issues. Plus, its screen recording feature can help support teams quickly troubleshoot problems, ensuring meetings stay on track.
FAQs
Why does my screen sharing keep disconnecting during meetings, and how can I fix it?
If your screen sharing keeps cutting out during meetings, the culprit is usually an unstable internet connection or low bandwidth. To fix this, connect to a reliable network, and if possible, switch to a wired connection for a more stable experience.
Another common issue could be your device’s firewall or security software blocking the screen-sharing app. Check the settings and make sure the app is allowed to run without restrictions. Also, updating your network drivers or the app itself can address compatibility or performance glitches.
If the problem persists, try restarting the app, clearing its cache, or checking your device settings to re-enable screen-sharing permissions. These quick fixes often solve the issue, helping you share your screen seamlessly during meetings.
How do I set up screen sharing permissions on macOS?
To set up screen sharing permissions on macOS, start by opening System Preferences and heading to Security & Privacy. Go to the Privacy tab and select Screen Recording from the sidebar. Here, you’ll see a list of apps. Check the box next to the app you want to grant screen sharing access to. If the app isn’t showing up, launch it first – this prompts macOS to add it to the list. Once you’ve made your changes, restart the app to ensure the new permissions take effect.
What should I do if turning off hardware acceleration doesn’t fix my screen sharing issues?
If turning off hardware acceleration doesn’t fix your screen sharing problems, consider switching it back on. For certain tasks like screen sharing, having hardware acceleration enabled can sometimes boost performance.
Also, double-check that both your browser and graphics drivers are up to date. Using outdated software often leads to compatibility hiccups. Take a moment to review your browser settings to ensure hardware acceleration is set up properly. These quick checks can resolve many common screen sharing issues and help things run more smoothly.


