How to Convert Video to GIF: 5 Fast Methods That Actually Work in 2025
You have a screen recording that perfectly captures a bug, a product feature, or a quick tutorial — but the person on the other end needs a lightweight, looping visual they can drop into a Slack thread, a support ticket, or a README file. You need to convert video to GIF, and you need it done in under a minute without wrestling with bloated desktop software or shady online converters that watermark your output.
⚡ Quick Answer — Convert Video to GIF
The fastest way to convert video to GIF is to use a tool that records and converts in one step. Zight is a screen recording, screenshot, and GIF-creation tool for Mac, Windows, and Chrome that lets you record any portion of your screen and instantly export it as an optimized GIF — no separate conversion step required. If you already have a video file (MP4, MOV, WebM), you can also use browser-based converters like EZGif, built-in OS tools, or FFmpeg on the command line. This guide walks through all five methods, ranked from fastest to most customizable.
Zight is an async visual communication tool — screen recorder, screenshot app, GIF maker, and annotation tool in one — used by product teams, developers, and customer success teams to communicate faster without scheduling another meeting. When it comes to GIF creation, it eliminates the two-step “record → convert” workflow entirely, which is why I’m covering it first below. But I’ll also walk through free browser-based converters, command-line options, and native OS approaches so you can pick whatever fits your workflow.
Why Convert Video to GIF in the First Place?
Before diving into the how, a quick word on the why — because the format you choose actually matters for how your content gets received.
- Universal playback: GIFs autoplay in virtually every platform — Slack, GitHub, Notion, Jira, email clients, even SMS. No “click to play” friction.
- Smaller context, bigger impact: A 5-second GIF showing a UI bug communicates more than a 3-paragraph description. After filing hundreds of bug reports, I can tell you: the ones with GIFs get fixed faster.
- No audio needed: Tutorials, product demos, and feedback loops often don’t need sound. GIFs strip that overhead and keep file sizes manageable.
- Looping by default: Perfect for micro-tutorials (“click here, drag there, done”) that the viewer needs to watch twice.
The trade-off? GIFs can balloon in file size if you’re not careful — a 30-second, full-screen recording at high resolution can easily exceed 50 MB. Every method below includes optimization tips so your GIFs stay lean.
Method 1: Convert Video to GIF Instantly with Zight (Recommended)
Best for: Teams who need to record and share GIFs in one workflow — no file juggling, no separate conversion tool.
Platforms: Mac, Windows, Chrome extension
Time to first GIF: Under 30 seconds
This is the method I reach for daily, and the one I recommend to anyone who makes GIFs more than once a week. Here’s why: Zight doesn’t make you record a video and then convert it. You choose “GIF” as your output format before you record, and the tool handles encoding in real time.
Step-by-Step: Record a GIF with Zight
- Install Zight — Download the Mac or Windows app from zight.com/screen-recorder, or grab the Chrome extension if you only need browser-based recording.
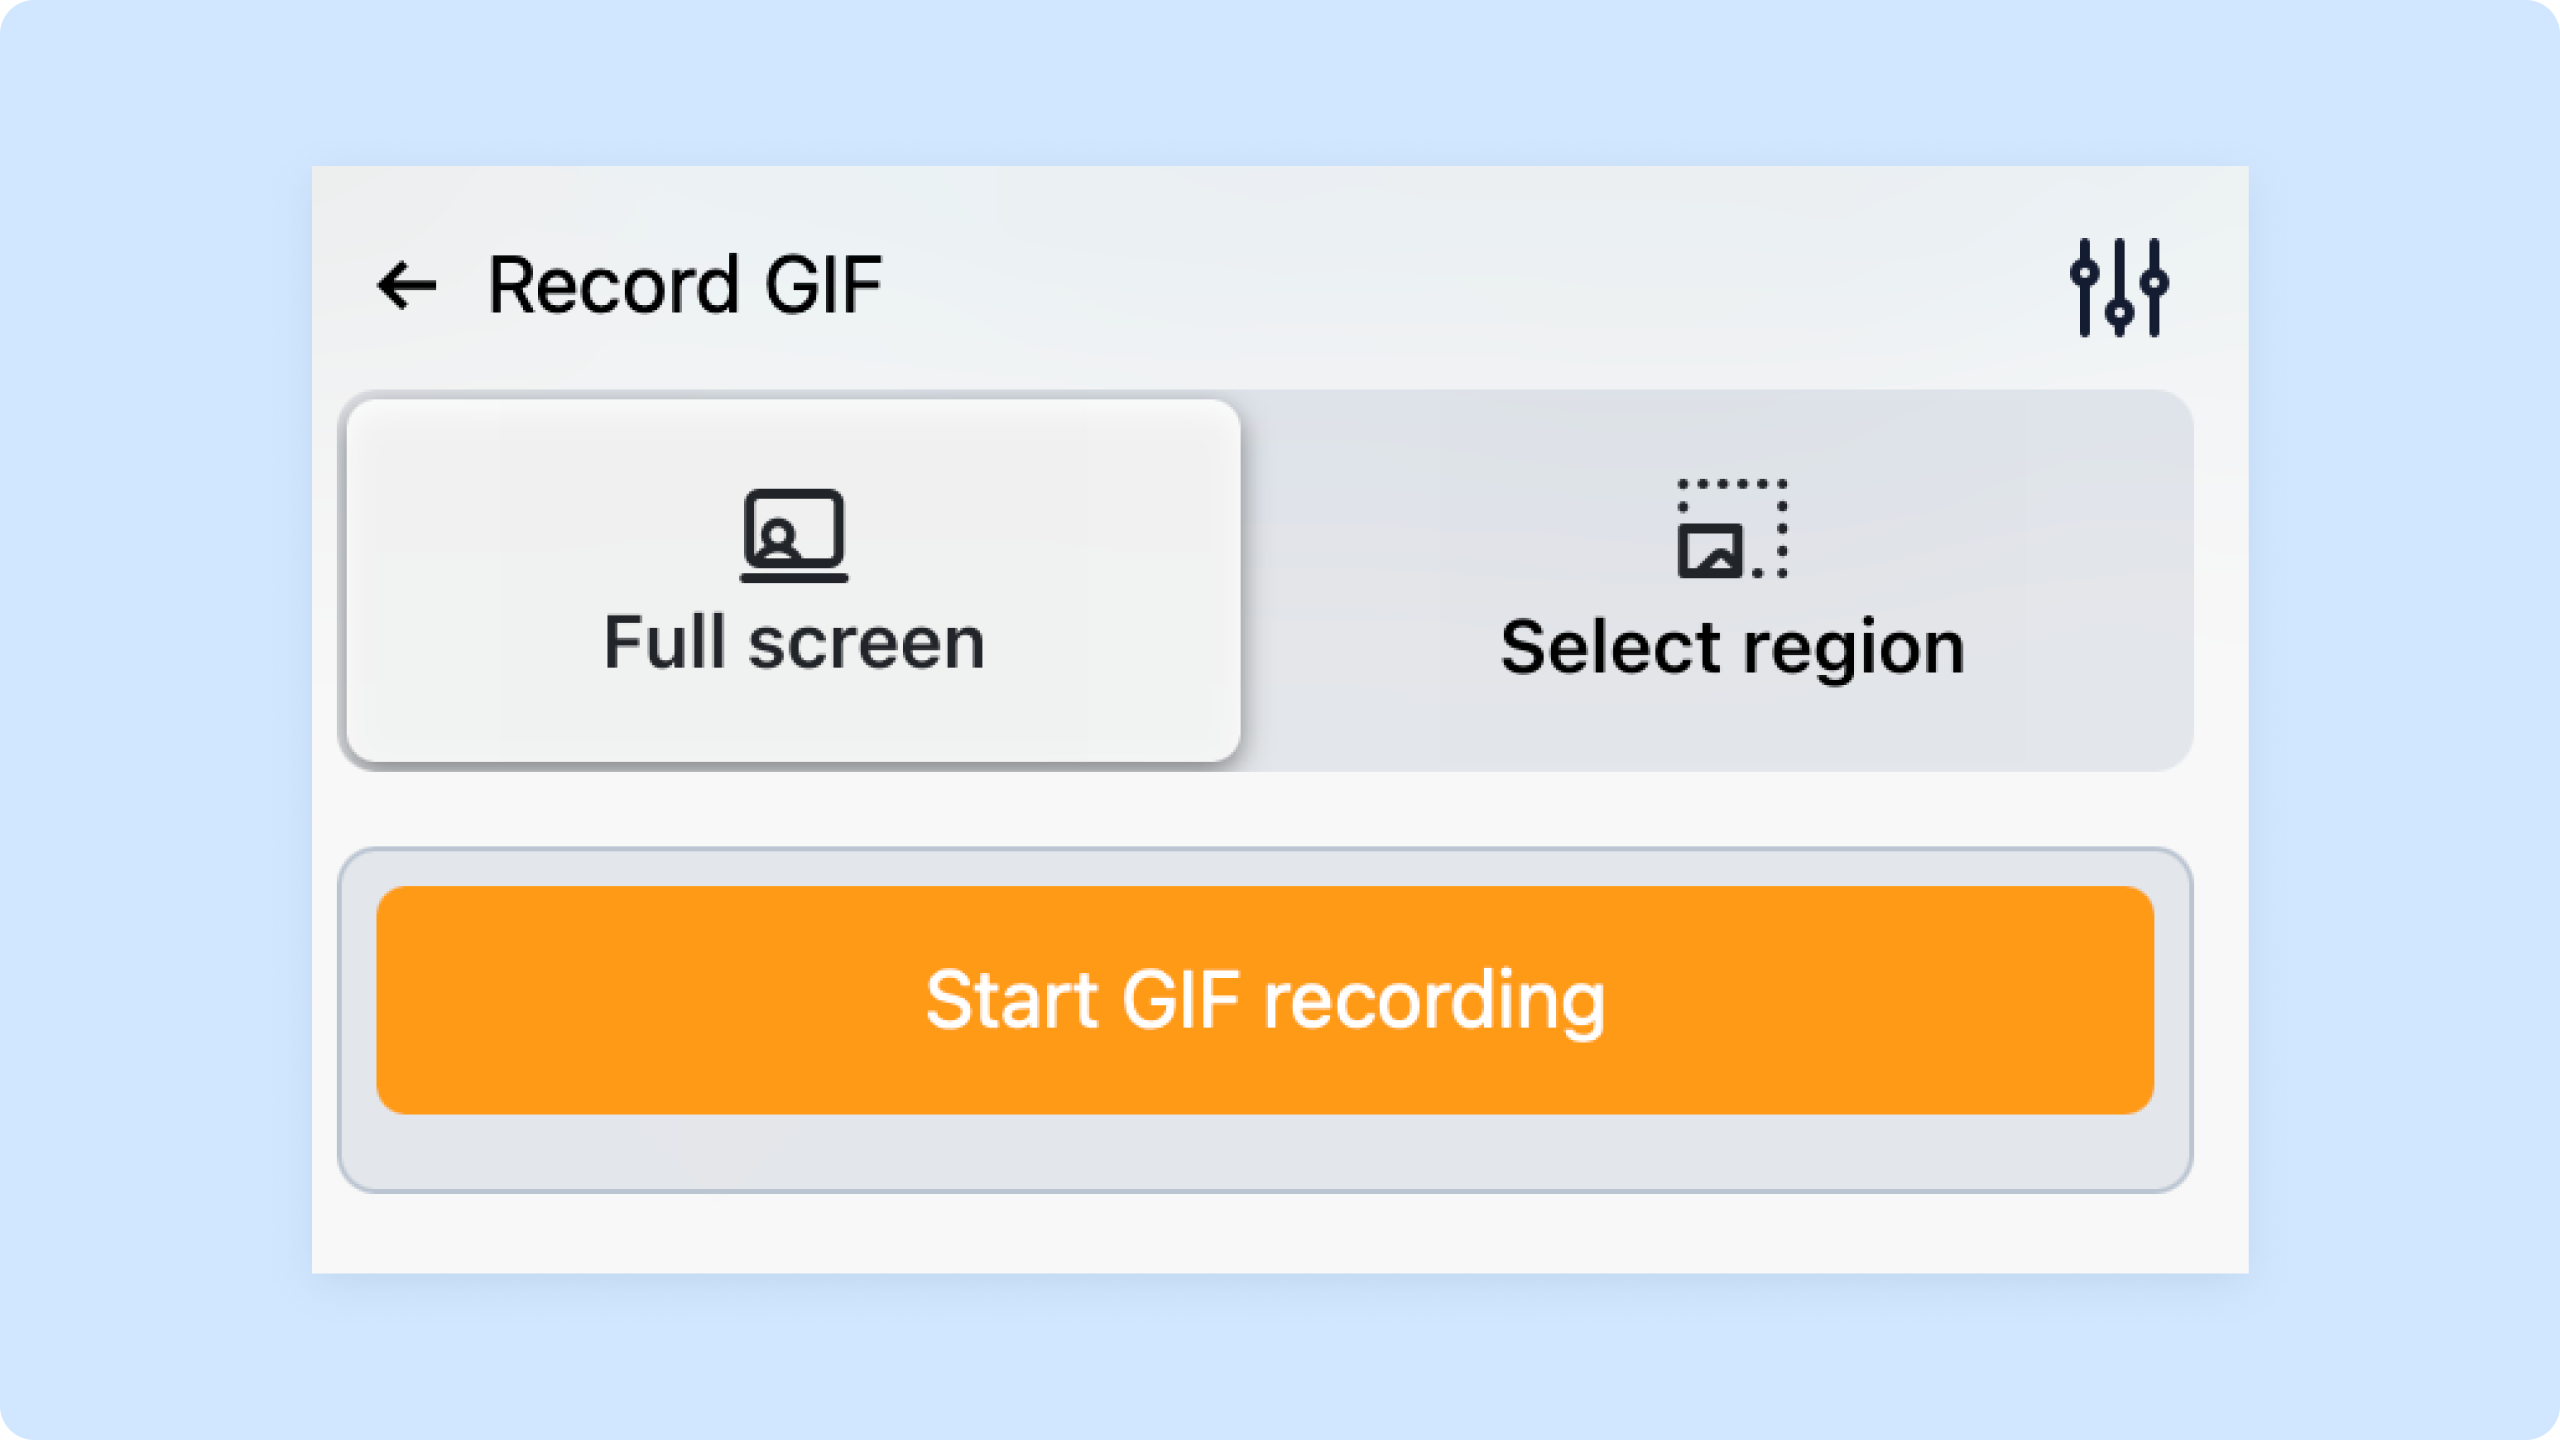
- Open the recorder — Click the Zight icon in your menu bar (Mac) or system tray (Windows). Select “Record GIF” from the dropdown. On Mac, the keyboard shortcut is
⌘+Shift+Gby default. - Select your capture area — Drag to select a region of your screen. Pro tip: keep the area small. A 600×400 capture at 10 fps stays under 5 MB for a 6-second clip. Full-screen GIFs at 1080p will balloon past 20 MB fast.
- Record your action — Click the red button to start, perform the action you want to capture, then click stop (or press the shortcut again). Zight encodes each frame to GIF in real time.
- Trim and annotate (optional) — The Zight editor lets you trim the start/end, add arrows or text annotations, and adjust playback speed. The one-click trim feature (introduced in Zight 6.x) means you don’t need to re-record if you captured a few extra seconds.
- Share instantly — Hit “Copy Link” to get a shareable Zight URL, or download the .gif file to embed wherever you need it. The link auto-copies to your clipboard — paste it into Slack, Jira, or a GitHub issue and move on.
Pro tip: If you already have an MP4 or MOV file and want to convert it, drag the file onto the Zight app icon. Zight will open it in the editor where you can trim, crop, and export as GIF. This is the fastest path when a teammate sends you a video that needs to become a GIF for documentation.
Why This Method Wins
- No two-step workflow — record and get a GIF, not “record → export MP4 → upload to converter → wait → download.”
- Automatic cloud hosting — the shareable link means you never hit email attachment size limits.
- Annotations built in — add arrows, boxes, and text labels before the GIF is finalized. Most online converters strip you of any editing capability.
- Team-ready — Zight’s team plan lets you organize GIFs into collections, which is invaluable for building a library of product demos or onboarding clips.
Method 2: Convert Video to GIF Using EZGif (Free, Browser-Based)
Best for: One-off conversions when you already have a video file and don’t want to install anything.
Platforms: Any browser
Max file size: 200 MB (as of 2025)
EZGif is the tool that dominates search results for this query, and for good reason: it works, it’s free, and it handles a wide range of video formats. When I tested it against Zight for a quick MP4-to-GIF conversion, the output quality was comparable — but the workflow has more steps and zero annotation capabilities.
Step-by-Step
- Go to ezgif.com/video-to-gif.
- Click “Choose File” and upload your MP4, WebM, AVI, or MOV file (max 200 MB).
- Click “Upload video!” and wait for processing. Upload times vary — a 30 MB MP4 took about 12 seconds on a fast connection in my testing.
- Set your start time, end time, frame rate (10 fps is a good balance), and output size. Lower the resolution here — outputting at 480px wide instead of 1080px can cut file size by 70%.
- Click “Convert to GIF!” and wait for encoding.
- Preview the result, then use EZGif’s optimize tool to reduce the file size further (lossy compression at 35 works well without visible quality loss).
- Click “Save” to download the .gif file.
Honest assessment: EZGif is excellent for what it does. The limitations: you’re uploading potentially sensitive screen recordings to a third-party server, there’s no annotation or editing beyond basic trimming, and the ad-heavy interface can be distracting. For teams with compliance requirements or NDA-protected content, uploading recordings to a free web tool may not be an option.
Method 3: Convert Video to GIF with FFmpeg (Command Line)
Best for: Developers who want maximum control over output quality, or anyone who needs to batch-convert multiple files.
Platforms: Mac, Windows, Linux
Cost: Free (open source)
If you’re comfortable with the terminal, FFmpeg is the most powerful (and most customizable) way to convert video to GIF. It’s what many online tools — including several free web converters — use under the hood.
Step-by-Step
- Install FFmpeg. On Mac:
brew install ffmpeg. On Ubuntu:sudo apt install ffmpeg. On Windows, download from ffmpeg.org and add to your PATH. - Generate a color palette (this step dramatically improves GIF quality):
ffmpeg -i input.mp4 -vf "fps=10,scale=480:-1:flags=lanczos,palettegen" palette.png - Convert using the palette:
ffmpeg -i input.mp4 -i palette.png -lavfi "fps=10,scale=480:-1:flags=lanczos [x]; [x][1:v] paletteuse" output.gif - Trim if needed by adding
-ss 00:00:02 -t 5before-i input.mp4to start at 2 seconds and capture 5 seconds.
Pro tip: The two-pass palette method above produces GIFs that are noticeably sharper than single-pass conversion. When I compared the output, the palette-based GIF had cleaner gradients and fewer dithering artifacts — it’s worth the extra command.
Gotcha: FFmpeg’s default GIF output (without the palette trick) looks significantly worse than what you’d get from Zight or EZGif. Always use the palette method for screen recordings.
Method 4: Use macOS Built-in Tools + Shortcuts App
Best for: Mac users who want a zero-install option and don’t mind a slightly manual process.
Platforms: macOS 12 Monterey and later
Step-by-Step
- Record your screen using the built-in tool: press
⌘+Shift+5, select “Record Selected Portion,” and capture your action. The output saves as a .mov file. - Open the Shortcuts app (pre-installed on macOS 12+).
- Create a new shortcut with these actions in order: “Get File” → “Encode Media” (set format to GIF, and check “Loop Forever”) → “Save File.”
- Run the shortcut, select your .mov file, choose a save location, and you have a GIF.
Honest limitation: macOS 14 Sonoma’s built-in screen recorder lacks the annotation layer that Zight adds, and the Shortcuts-based conversion gives you virtually no control over frame rate, resolution, or optimization. The resulting GIFs tend to be large. In practice, the difference between this approach and Zight is about 4 extra steps and a 3–5× larger file size for the same content.
Method 5: Adobe Express or Canva (Design-Focused)
Best for: Marketing teams who need to add branding, overlays, or text to their GIFs.
Platforms: Browser
Cost: Free tiers available, paid plans for HD export
Step-by-Step
- Go to Adobe Express (express.adobe.com) or Canva (canva.com) and log in.
- Create a new project and upload your video file.
- Trim, add text, overlays, or branding elements using the visual editor.
- Export/download as GIF.
When this makes sense: If you’re creating a GIF for a tweet, an ad, or a branded help article where visual polish matters more than speed. For daily developer or support workflows, this is overkill — the upload-edit-export cycle takes 3–5 minutes versus 30 seconds with Zight.
Comparison Table: 5 Ways to Convert Video to GIF
| Method | Speed | Quality Control | Annotations | Privacy | Cost | Best For |
|---|---|---|---|---|---|---|
| Zight | ⚡ Fastest (record → GIF in one step) | Good — adjustable FPS, region select | ✅ Built-in arrows, text, shapes | ✅ Your cloud or local file | Free tier; paid plans from $9.95/mo | Teams, daily workflows |
| EZGif | Fast (upload + convert) | Good — FPS, resize, optimization | ❌ None | ⚠️ Files uploaded to third-party server | Free | One-off conversions |
| FFmpeg | Medium (setup required) | Excellent — full control | ❌ None (add via other tools) | ✅ 100% local | Free (open source) | Developers, batch processing |
| macOS Shortcuts | Slow (multi-step) | Limited — no FPS/size control | ❌ None | ✅ Fully local | Free (built-in) | Mac users, occasional use |
| Adobe Express / Canva | Slow (design-focused) | Moderate | ✅ Text, branding, overlays | ⚠️ Cloud-based | Free tier; paid for HD | Marketing, branded content |
GIF Optimization Tips: Keep File Sizes Under Control
After recording hundreds of screen sessions and converting them to GIFs, the pattern that works best for keeping quality high and file sizes low is this:
- Keep it short. 3–8 seconds is the sweet spot. Anything over 15 seconds should probably be an MP4 or a Zight async video instead.
- Record only what matters. Select a tight region around the relevant UI element — don’t capture your entire 27″ display to show a dropdown menu.
- Use 10 fps for screen recordings. UI interactions don’t need 30 fps. Dropping to 10 fps cuts file size by roughly 60% with negligible visual difference for button clicks and form fills.
- Scale down to 480–640px wide. Most GIFs are viewed in chat windows or documentation sidebars — you don’t need 1920px.
- Use lossy GIF compression. Tools like EZGif’s optimizer or
gifsicle --lossy=35on the command line can shave 30–50% off file size without obvious quality loss.
Pro tip: In Zight, the region-select capture naturally limits your frame size, which is why Zight GIFs tend to be smaller than GIFs made from full-screen recordings that are then cropped after the fact. Starting small beats shrinking after.
When to Use a GIF vs. a Screen Recording vs. a Screenshot
Choosing the right format for the right situation saves everyone time — including you. Here’s the framework we’ve seen teams at Zight use:
| Situation | Best Format | Why |
|---|---|---|
| Showing a static UI element, error message, or design comp | Screenshot with annotations | Fastest to create and consume |
| Demonstrating a 3–10 second interaction (click, drag, toggle) | GIF | Autoplays, loops, embeds everywhere |
| Walkthrough over 15 seconds, or needs audio narration | Screen recording (MP4/video) | Smaller file size for long content; audio support |
| Explaining a complex process with context | Async video with webcam overlay | The human element builds trust and clarity |
The beauty of using Zight is that all four options live in the same menu bar dropdown — you don’t need four different tools. Click the icon, choose your format, capture, share. Done.
Frequently Asked Questions
How do I convert an MP4 video to GIF without losing quality?
Some quality loss is inherent in the GIF format — it only supports 256 colors per frame. To minimize it, use a palette-based conversion (FFmpeg’s two-pass method), keep your output resolution under 640px wide, and set the frame rate to 10–15 fps. Zight optimizes these settings automatically when you choose GIF as your recording format, which is why the output looks sharp without manual tuning.
What is the maximum length a GIF should be?
There’s no hard technical limit, but practically, GIFs over 15 seconds become unwieldy — file sizes often exceed 20 MB, and most platforms (Slack, GitHub, email) struggle with large GIFs. Aim for 3–10 seconds. If your content runs longer, a screen recording in MP4 format (via Zight or another screen recorder) is more efficient.
Is it safe to upload videos to free online GIF converters?
It depends on what you’re recording. Most free converters process your file on their servers — your video exists on a third-party machine, at least temporarily. For public content, that’s fine. For internal product screenshots, customer data, or anything under NDA, use a local tool like FFmpeg or a trusted platform like Zight that gives you control over where your content lives.
Can I convert a YouTube video to GIF?
Yes — though you should only do this with content you have rights to. The easiest workflow: use Zight’s screen recorder to capture the portion of the YouTube video playing in your browser, choosing GIF as the output format. This records only what’s on your screen, so it works with any video source.
Does Zight work on both Mac and Windows for GIF creation?
Yes. Zight has native apps for macOS and Windows, plus a Chrome extension for browser-only workflows. The GIF recording feature works identically on both desktop platforms — same keyboard shortcuts (customizable), same annotation tools, same instant-share functionality.
Start Converting Video to GIF in Seconds
If you convert video to GIF regularly — for bug reports, product documentation, customer onboarding, or team updates — the fastest path is eliminating the conversion step entirely. Zight lets you record your screen directly as a GIF, annotate it, and share it with a link, all in under 30 seconds.
No file uploads to sketchy converters. No command-line setup. No 4-step Shortcuts automations. Just click, record, share.
👉 Try Zight free — start recording GIFs instantly
Based on testing by the Zight team · Last updated January 2025


