Typically, screenshots only capture what fits within the confines of your screen, leaving out content that requires scrolling to access. The challenge is when you want to capture everything in a single frame, from the top to the bottom, including those small bits that often get left behind.
Before we explain the different ways of capturing a scrolling screenshot, let’s understand it in detail. A scrolling screen capture, also known as a full-page screenshot or long screenshot, captures the entire length of a webpage, including content that extends beyond the screen’s visible area.
This differs from a traditional screenshot, which only captures what’s visible on the screen without including the content that requires scrolling. Scrolling screen capture becomes essential when you need to preserve the entirety of a webpage, such as articles, infographics, or social media threads, in a single image. Let’s dive into the different ways of capturing a full-size screenshot.
How to Take a Scrolling Screen Capture on Chrome
If you don’t know how to take a full-page screenshot on Chrome, we are going to help you out by providing step-by-step guides on different ways, starting with the best.
1. Using a Dedicated Software- Zight

Is there an easier way to do things than using the dedicated method? We could think of many reasons why not to use native screenshot tools and, instead, use Zight.
Imagine capturing not only scrolling screenshots but also webcam videos, screen recordings, and GIFs (here’s how to record a GIF)- all without ever leaving the Zight platform.
There will be no need to juggle different tools or waste time switching between applications. Zight combines everything you need in a unified experience, ensuring maximum efficiency and productivity.
Zight isn’t just about convenience for capturing full-page screenshots. The screenshot tool has different value-addition features designed to elevate your content creation game, asynchronous communication and enhance productivity.
Instant sharing with customizable links? Check. Secure file sharing with password protection and expiration dates to ensure your data is organized into collections and accessible whenever you need it? Double check. You can add annotations such as text and arrows, analytics, video editing, and custom branding options? You bet! This all-in-one screenshot software gives you the tools you need to create professional-looking content with ease.
Step 1: Install the Zight Chrome Extension

- To get started, click here to navigate to the Zight extension on the Chrome web store
- Click ‘Add to Chrome’
- Click ‘Install Extension.’ The extension is free to install.
- A new window will open. Click ‘add to chrome’ and then select ‘add extension’ in the pop-up window
- You may also opt to ‘pin’ the Zight extension to your taskbar for even quicker access
Step 2: Open Your Webpage
Navigate to the webpage that you want to capture. Whether it’s a lengthy article, an entire webpage, or a long chat thread, Zight can handle it.
Step 3: Choose Your Frame – Full Screen or Region
Once you’ve activated the screenshot function, the next step is to decide the frame of your capture. Since you want a full-page screenshot, choose Full Screen to capture everything displayed on your device.
Step 4: Saving the Chrome Full-Page Screenshot
After capturing a screenshot, it will automatically upload to Zight’s secure cloud and add a Zight link to your clipboard. This means you can now paste the link or the content into your chosen platform by simply dragging the link on your clipboard.
Step 5: Share your Screenshot
Share your full-page screenshot by clicking the “Share” button, copying the autogenerated link to send it to anyone, dragging and dropping screen recordings into emails and chat apps, or sharing your video directly to platforms like Trello, Asana, and Slack, or embedding it in an email.
2. Use Developer Tools
You’ve probably heard about capturing screenshots using developer tools in Google Chrome, and you already know the struggle is real. Although it may sound difficult, it’s not only for developers, and we’ll guide you below.
Google Chrome offers a convenient way to capture a screenshot of an entire webpage in one step. While not immediately obvious, this method involves going through the inspect panel and using a command in Developer Tools. However, despite this complexity, our guide simplifies the process for you. Below are the steps to screenshot a full page in Chrome using Developer Tools.
Step 1: Find the Developer Tools

The feature has been hidden in Google Chrome’s Developer Tools, an extensive settings hub providing detailed access to nearly all webpage elements. However, you must first find the Developer Tools interface before accessing the feature.
See the three dots in the top right corner of your Chrome browser to the right of the address bar? Click on them, navigate to More Tools, and select the last item, Developer Tools. Alternatively, you can use the shortcuts: Alt + Command + I on Mac or Ctrl + Shift + I on Windows.
Step 2. Go to the Device Toolbar
If you have never seen what comes next for the first time, it might seem like you’ve entered the Matrix. But don’t worry. There is a menu bar located within the Developer Tools screen. You’ll notice a fresh set of three vertical dots. Click on them, then select Run Command.

Step 3. Choose the Size
Now, you should define what width and height you want your screenshot to be. In the Run command box that appears, type “screenshot” to bring up related options. You will be looking for the Capture full-size screenshot result.
Set any image parameters or choose one of the options in the Responsive menu bar.
Step 4. Capture your screenshot
Click on the three dots by the size settings. Choose Capture full-size screenshot to screenshot the entire page. Choose the folder and save the image to your computer.

Select the Screenshot button, which will capture a screenshot of the current webpage (without displaying the underlying code).
Step 5: Finish the Screenshot
Wait for the screenshot process to complete. Your screenshot will be saved in PNG format within your default downloads folder, but remember to save it if prompted.
As I said earlier, this method can be a pain, but it’s convenient if you intend to capture many screenshots. However, it can be a good method if you lack the best screenshot tools and can’t install an extension.
3. Save the page as a PDF

So, it’s a picture you need, but will a PDF work? If a PDF works, there is a solution to save your web page in PDF format if you want to save it completely and not in JPG, PNG, or any other image format. Follow the steps:
Step 1: Open the webpage you want to save as a PDF in Google Chrome.
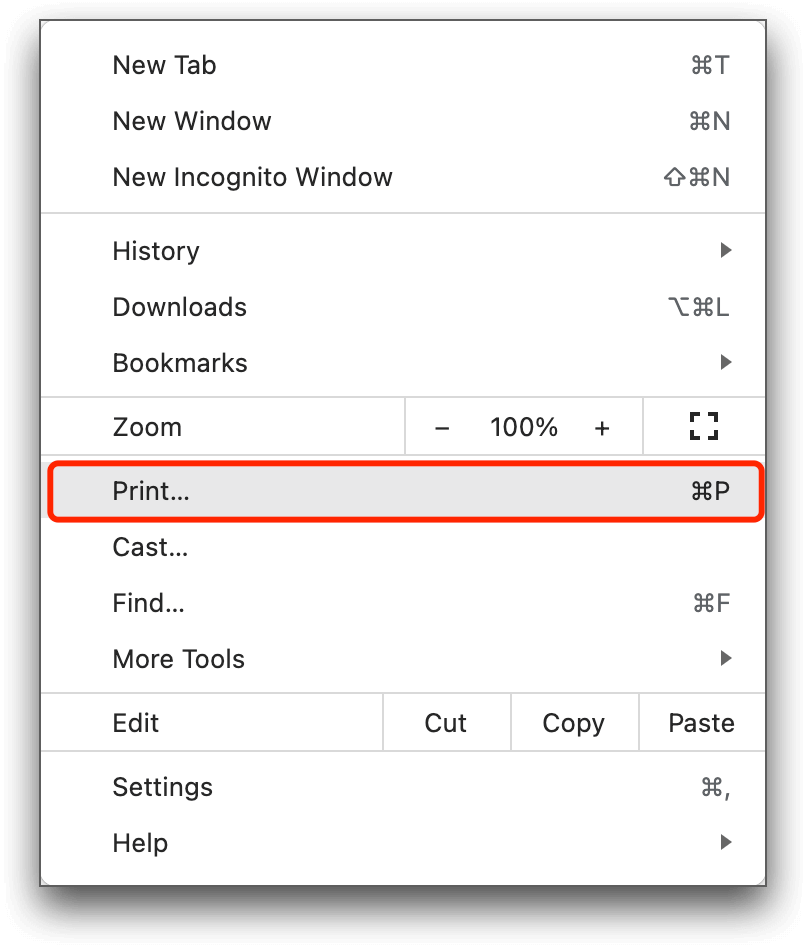
Step 2: Click the three dots button in the top-right corner of Chrome, then navigate to File > Print from the drop-down menu… (If the menu bar is not visible on Windows, press F11 or right-click on the webpage and choose Print…). Alternatively, you can press the keyboard shortcut “Ctrl + P” on Windows or “Command + P” on Mac to open the print dialog.
Step 3: Select “Save as PDF” as the Destination option.
Step 4: Click on Save to initiate the download of the webpage.
Remember that this method might alter the page formatting to fit what you view on the screen view onto a PDF page.
4. Use a Browser Extension to Capture a Full-Page Screenshot
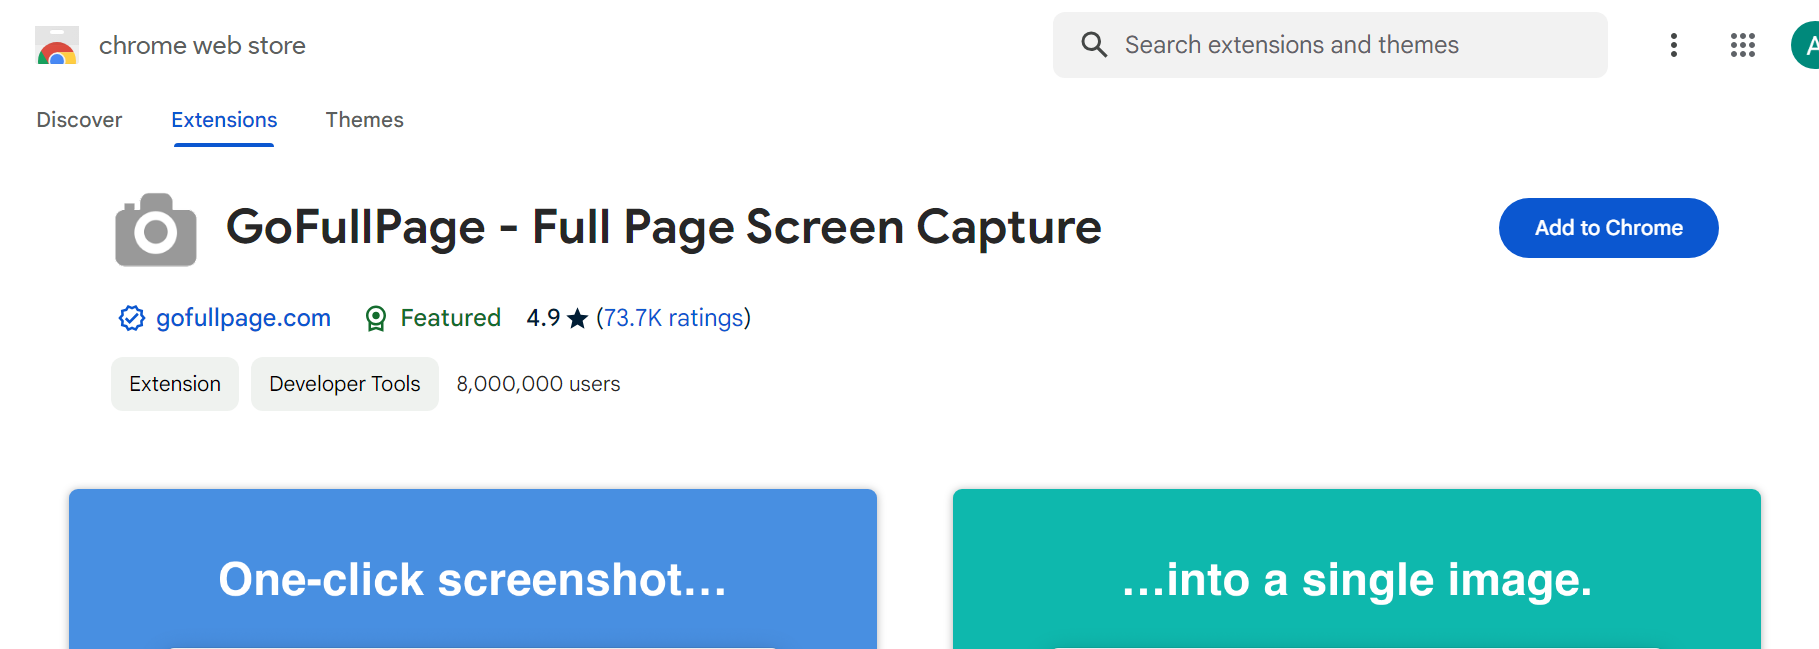
Another similar way to using Zight, the all-in-one tool, is using a browser extension for a Chrome full-page screenshot. Browser extensions enhance your browsing experience by adding extra features. One of the Chrome extensions that stands out is the GoFullPage Screen Capture, which enables you to capture full-page screenshots effortlessly.
Here’s a step-by-step guide to download and use it:
Step 1: Head to the official Chrome Web Store website and type “GoFullPage” into the search bar.
Step 2: Locate “GoFullPage – Full Page Screen Capture” in the search results and click on “Add to Chrome.”

Step 3: After downloading and installing the extension on your browser, click on the extension icon next to the address bar.
Step 4: Once the extension is installed, find “GoFullPage – Full Page Screen Capture” and click on the pin icon next to it to ensure it stays visible. Now, the extension will be readily accessible next to the other extension icons.
Step 5: Head to the webpage you wish to capture, click on the GoFullPage icon, and patiently wait for the process to finish. Your screenshot will automatically be saved to the designated drive.
Conclusion on Ways to Take a Scrolling Screen Capture- Chrome
Capturing scrolling screenshots on Chrome doesn’t have to be a daunting task. These four easy methods allow you to seamlessly capture and share entire web pages. Let’s not forget the all-in-one tool waiting to elevate your screen capture game- Zight.
Its all-in-one capabilities for screenshots, videos, screen recording, and more make it a standout choice. So, why settle for less when you can easily capture and share web content using Zight?
So, why not get Zight today – it’s your best screenshot tool for Chrome!


