There are many reasons you might need to take screenshots on your Mac. Whether you’re demonstrating software bugs, guiding friends or family on how to use a program, or simply saving a workflow for future reference, screenshots are incredibly useful. In addition, if you are wondering if you need a dedicated screenshot app to take screenshots? The simple answer is yes. Using the best screenshot app will help you capture high-quality screenshots.
However, managing these screenshots can be tricky especially if you’re used to Windows. You might be puzzled when your screenshot isn’t copied to the clipboard and end up spending the next half hour hunting through your files to find it. So, where do they get saved on your Mac? Can you change their default location? We’re here to clear up these questions and help you streamline your screenshot management.
What is the Default Save Screenshot Location?
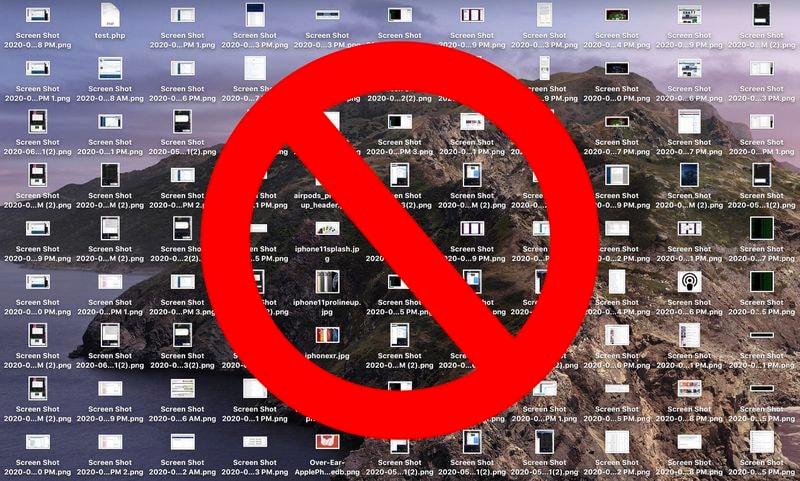
No matter how you take a screenshot using the built-in macOS options, it saves to the same location. By default, when you capture a screenshot, it’s saved as a PNG file given the name “Screenshot” followed by the date and time it was taken (such as “Screen Shot 2024-07-24 at 10.58 AM”) and will be saved to your desktop.
How to Find Mac Screenshots
MacOS Spotlight tags your screenshots with a unique key that’s saved in the file’s metadata. This makes it super simple to find all your screenshots using Finder, Spotlight, or even Terminal.
1. Using Finder
The easiest way to access your screenshots is to navigate to the Finder, and then to the Desktop folder of the user taking the screenshots.
To find all your screenshots on your Mac:
- Click on the desktop, then choose File > Find from the Finder menu, or press Command + F combination on your keyboard.
- A Finder Search window will appear.
- Click This Mac next to “Search:” under the toolbar to set your search scope to the entire boot drive.
- Type or paste kMDItemIsScreenCapture:1 into the search field. Starting with macOS 10.8, all screenshots are saved with the “kMDItemIsScreenCapture” flag, making them easy to find.
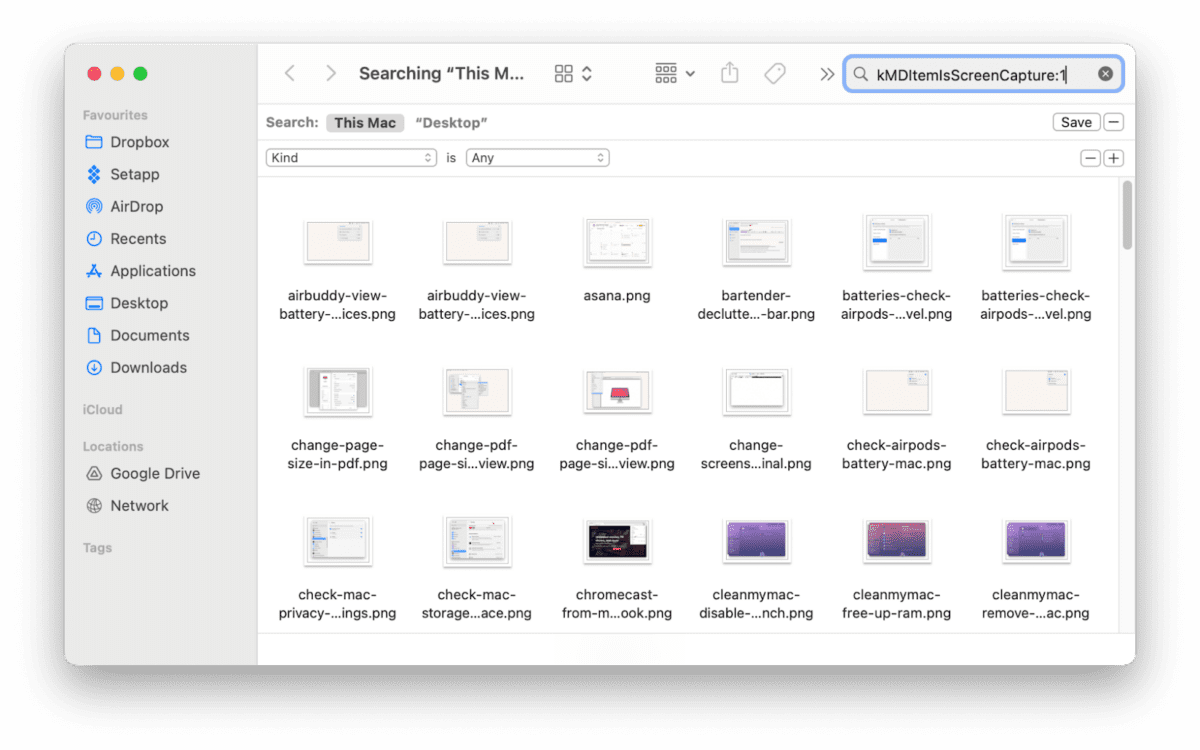
The Finder Search window will immediately display all matching screenshots saved on your Mac’s startup drive, including any cached in your iCloud Drive.
To delete all these screenshots at once, no matter where they are stored, choose Select All from the Finder’s Edit menu, then drag the files to the Trash.
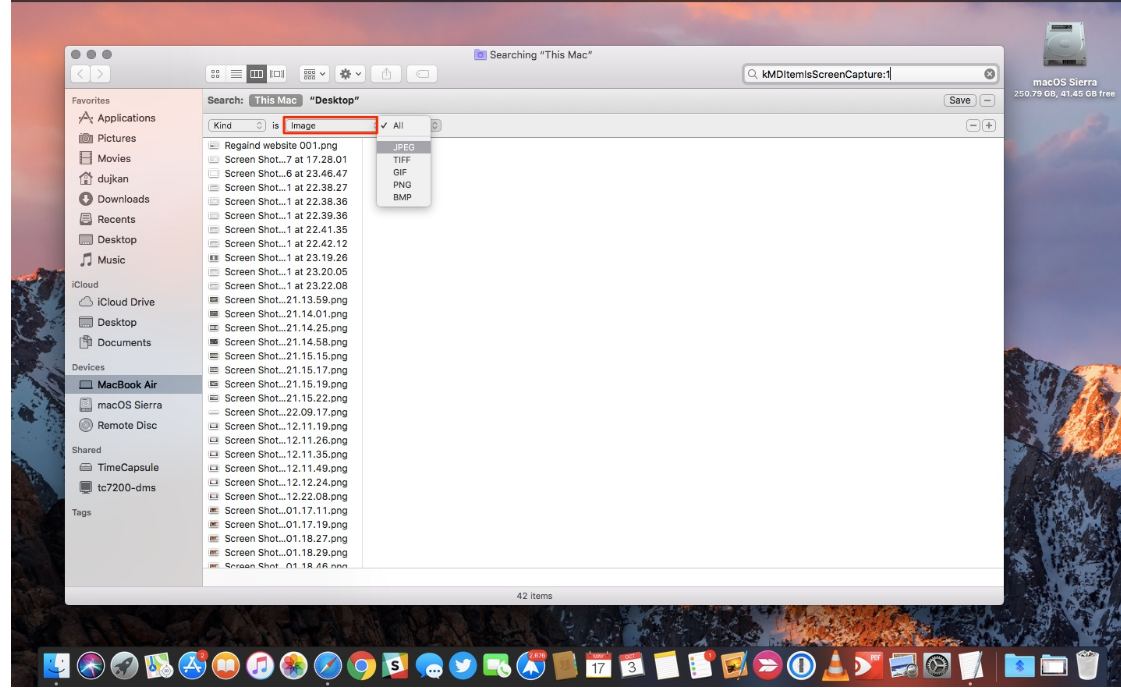
To narrow your search to specific file types, click the Image menu and choose between JPEG, TIFF, GIF, PNG, or BMP. By default, macOS saves screenshots as PNGs.
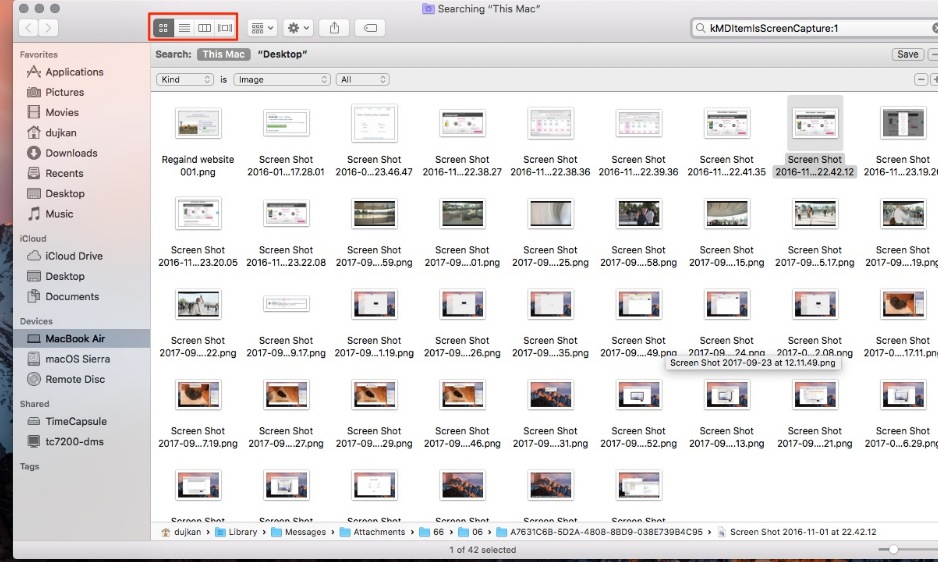
To visually browse your saved screenshots, switch to the Icons view in the toolbar. You can also press Command + 1, Command + 2, Command + 3, or Command + 4 to quickly switch between the Icons, List, Columns, and Cover Flow views.
Finally, you can save this search for easy access from the Finder’s side menu by clicking Save in the top-right corner of the window. Name your custom search (e.g., “Screenshots“), ensure the Add to Sidebar box is checked, and then click Save. This will create a new Smart Folder based on your search criteria.
2. With Spotlight
If you want another way to find your screenshots, use Spotlight.
- Press Command+Space on your keyboard to open Spotlight Search or click the Spotlight icon in your Mac menu bar.
- Type “kMDItemIsScreenCapture:1” in the search bar, and you’ll see a list of matching screenshot files as in the results below. Alternatively, you can type “screenshot” in Spotlight, and it will show your screenshots. Click the tiny Show All button next to Images to see them all in Finder.
- Use the arrow keys on your keyboard to highlight an item in your search results.
You can even see its preview image right in the Spotlight overlay. To reveal the file’s full path at the bottom of the overlay, just hold the Command key. To open the highlighted file, press Enter.
Spotlight shows only a few items for each file type. To see more results, click Show All in Finder or Search in Finder at the bottom of the overlay.
If you want to find screenshots with a specific string in their file names, you can do that too. Just start your search with “name: STRING,” like this: name: 2024-10 kMDItemIsScreenCapture:1
Alternatively, you could omit “name:” from your query altogether and go with 2024-10 kMDItemIsScreenCapture:1
3. Using Terminal
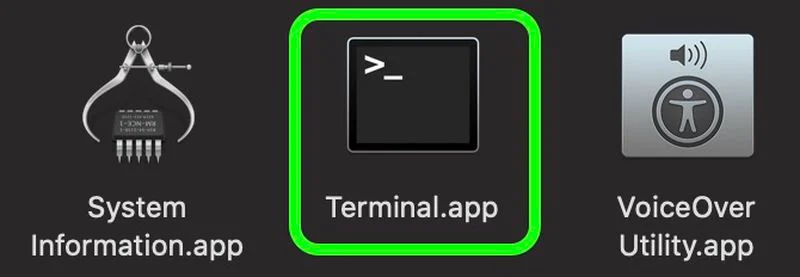
Terminal can be found in the Utilities folder within your Applications. The Terminal application is where you’ll enter commands to change the screenshot location.
Step 1: Go to Applications > Utilities and double-click on Terminal to open it
Step 2: Type the following command: com.apple.screencapture location [don’t forget the space after ‘location’].
Step 3: Drag the folder you want to save screenshots in onto the Terminal window.
Step 4: Press Return.
Step 5: To make sure it works, type: killall SystemUIServer
Step 6: Press Return.
Your screenshots will now be saved by default in your chosen folder. To switch back to saving them on the Desktop, simply use these commands:
- Type: com.apple.screencapture location ~/Desktop
- Press Return.
- Type: killall SystemUIServer
- Press Return.
Can you Change Where Screenshots are Saved on Your Mac?
Yes. Many Mac users find their desktops cluttered with screenshots and aren’t sure how to change their save location. Depending on your MacOS version, there are different ways to tidy up your desktop, such as changing where your screenshots are stored.
1. Change Where Screenshots are Saved in macOS Mojave or Later via the Screenshot Tool
Fortunately, changing screenshot location is easy if you’re running macOS Mojave and later.
Here’s how you can change screenshot location on your Mac:
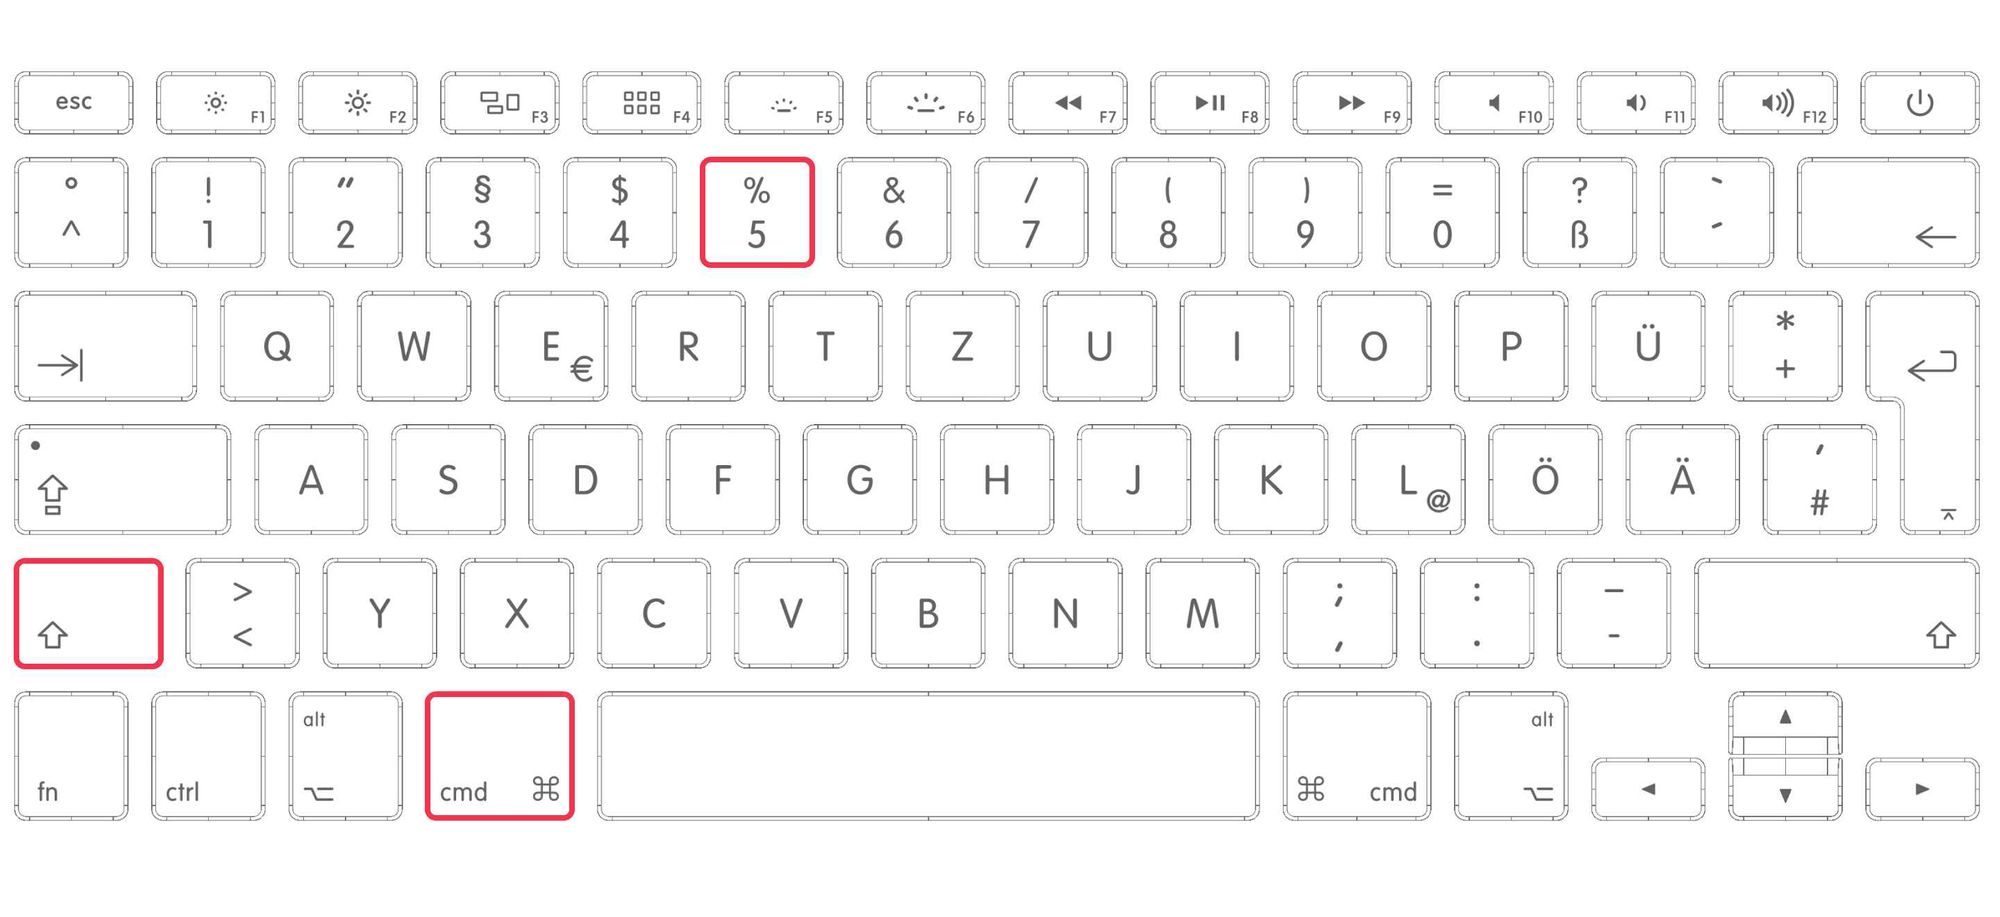
- Press Command + Shift + 5 to open the Screenshot app
- Look to the bottom of the screen and then Click Options
- From the Save to section, select your preferred location
- If you select any other location, you can choose another documents folder or create a new one.

2. Change Screenshot Location on Earlier macOS Versions
If you’re using an older version of macOS, like anything before Mojave, changing the screenshot location isn’t as straightforward. However, you can still do it with Terminal. Here’s how:
- Create a Folder: On your Mac, make a new folder and name it something like “Screenshots.“
- Open Terminal: Use Spotlight by pressing Command + Space, type “Terminal” into the search field, and hit Return.
- Enter the Command: In Terminal, type defaults write com.apple.screencapture location and then drag your new “Screenshots” folder into the Terminal window. This will add the folder’s path to the command.
- Apply the Change: Press Return to execute the command, then close Terminal.
Your screenshot images will now be saved in the folder you created.
Managing Screenshots and Captures: The Better Way- Zight
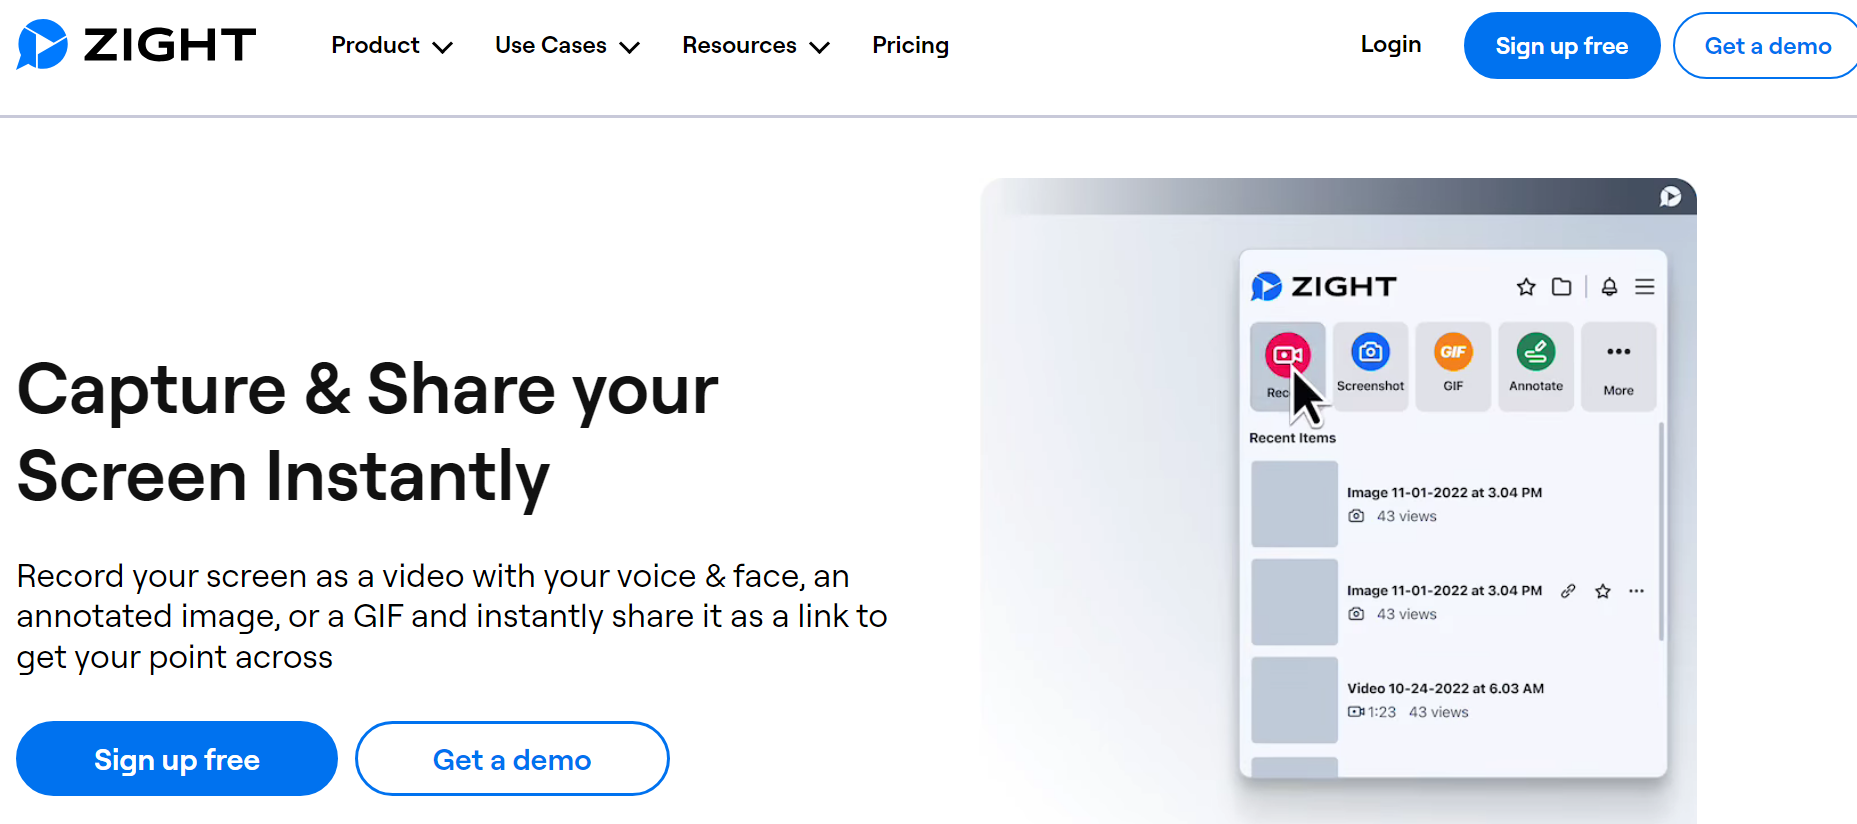
If you’re not storing your screenshots on the desktop or you want more control, you should turn to a third-party app such as Zight. Not only is it a screenshot app, but it’s an all-in-one tool that also comes with a screen recording tool, a GIF maker, and a webcam recorder.
However, since we are talking about Zight’s screenshots, how is it a better option to keep your desktop clutter-free and your screenshots organized? Here are the reasons.
Zight Screenshot Features
- Easy Capture: Zight offers customizable keyboard shortcuts and a menu bar access option for taking screenshots
- Flexible Capture Options: Capture specific areas of your screen, entire windows, or even scrolling screenshots, providing more control over what you capture.
- Annotation and Editing: Zight allows you to annotate and edit your screenshots before saving them, making it easier to highlight important details.
- Cloud Storage Integration: Save your screenshots directly to Zight’s cloud storage or integrate with other cloud services for seamless access and sharing.
Why Use Zight?
If you are looking for an easy way to save screenshots and need more convincing, here it goes:
- Centralized Access: No more hunting for screenshots scattered across your desktop as you can keep all your screenshots organized in one place with Zight’s library or dashboard.
- Enhanced Organization: You can tag screenshots with keywords, organize them into collections, and quickly find them using Zight’s search feature.
- Collaboration Options: Share and collaborate on screenshots directly through Zight, streamlining communication and project workflows.
Now you know where screenshots go on your Mac and how to change screenshot location on your Mac and have a better option to save screenshots. Why not sign up and get started with Zight to find where your screenshots are saved on Mac easier?


